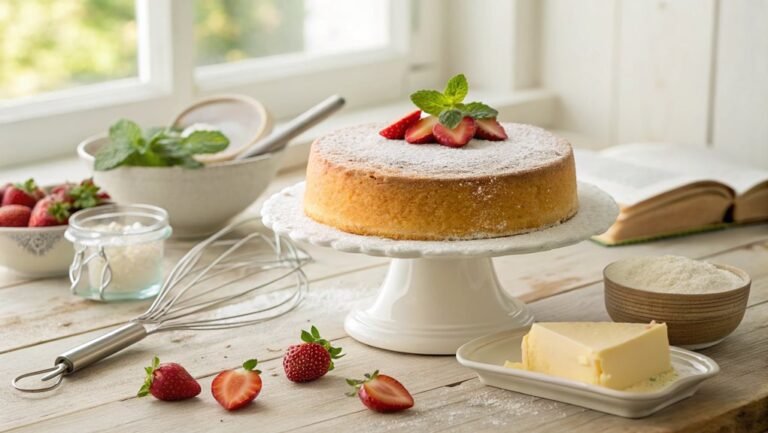
Orange Poppy Seed Cake Recipe
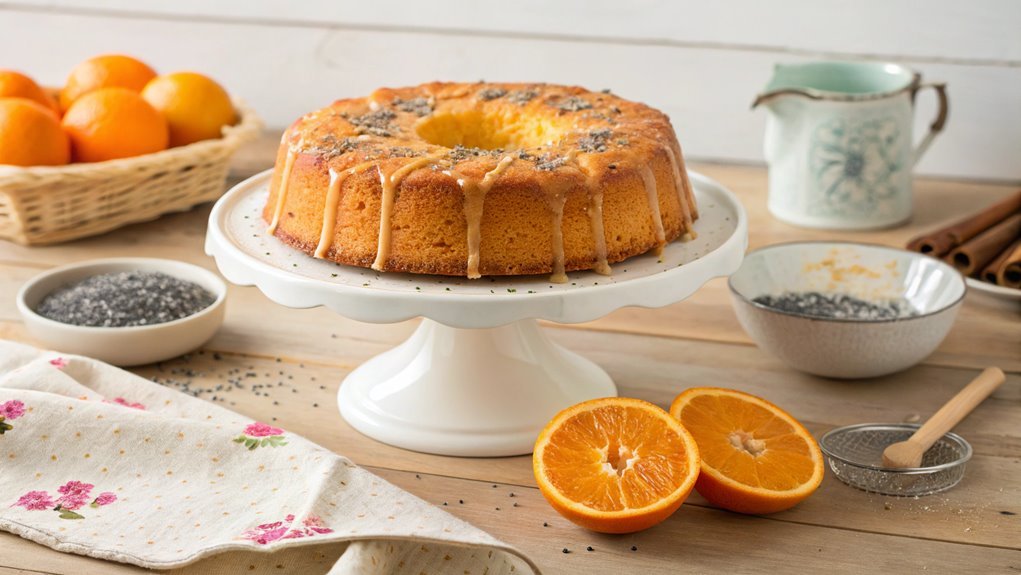
Discover the Orange Poppy Seed Cake recipe, a delightful blend of citrus and crunch that enhances any meal. This cake is not just a treat but a chance to impress your guests with its unique and refreshing flavor.
With a few staple ingredients, you can create a moist dessert that’s surprisingly easy to make. Before gathering your tools and ingredients, let’s review the steps to ensure your cake turns out perfectly every time.
Recipe
Orange Poppy Seed Cake is a delightful treat that combines the bright, zesty flavor of orange with the nutty crunch of poppy seeds. This moist cake is perfect for any occasion, from a casual afternoon tea to a festive gathering.
It’s not only simple to make but also incredibly satisfying, as each bite bursts with citrus flavor and a sprinkle of crunch. Topped with a light glaze or served with a dollop of whipped cream, this cake will surely impress your family and friends.
To start baking this delectable cake, you’ll need to gather your ingredients and set your oven to the right temperature. The cake is typically baked until golden brown, achieving that perfect balance of fluffiness and moisture.
As the cake bakes, the wonderful aroma of oranges will fill your kitchen, making it hard to resist indulging in a slice right away. Whether served plain or dressed up with glaze, this Orange Poppy Seed Cake is bound to become a favorite.
Ingredients:
- 1 ½ cups all-purpose flour
- 2 tablespoons poppy seeds
- 1 teaspoon baking powder
- ½ teaspoon baking soda
- ¼ teaspoon salt
- ½ cup unsalted butter, softened
- 1 cup granulated sugar
- 2 large eggs
- 1 tablespoon orange zest
- ½ cup freshly squeezed orange juice
- 1 teaspoon vanilla extract
- Optional: powdered sugar for dusting or glaze
Now let’s move on to the cooking steps.
Cooking Steps
You’re just a few steps away from creating a delicious orange poppy seed cake that’ll wow everyone!
Start by gathering your ingredients and tools, making sure you have everything you need at hand.
Then mix the dry ingredients together for that perfect base.
Combine the wet ingredients thoroughly before folding in those delightful poppy seeds, and you’ll be on your way to baking magic at 350°F!
Step 1. Prepare Ingredients and Tools
Gathering ingredients and tools is an essential first step in creating a delicious orange poppy seed cake. You’ll need to assemble everything before diving into the fun of baking. Start by grabbing all the key ingredients: flour, sugar, eggs, orange zest, orange juice, butter, baking powder, poppy seeds, and a pinch of salt.
Don’t forget to gather some essentials like measuring cups and spoons, mixing bowls, and a whisk or electric mixer. A good quality loaf or Bundt pan will be vital for shaping your cake beautifully.
Next, line your baking pan with parchment paper; this simple step will make it a breeze to remove your cake later. Preheat your oven to the right temperature so it’s ready to go when your batter is mixed. Keep a spatula handy, as you’ll use it to fold in the poppy seeds while mixing.
Feel the excitement building as you prepare! Each ingredient contributes to the scrumptious flavor, and having everything at your fingertips makes the process smooth and enjoyable.
You’re just moments away from creating a delightful treat that’s sure to impress everyone!
Step 2. Mix Dry Ingredients Together
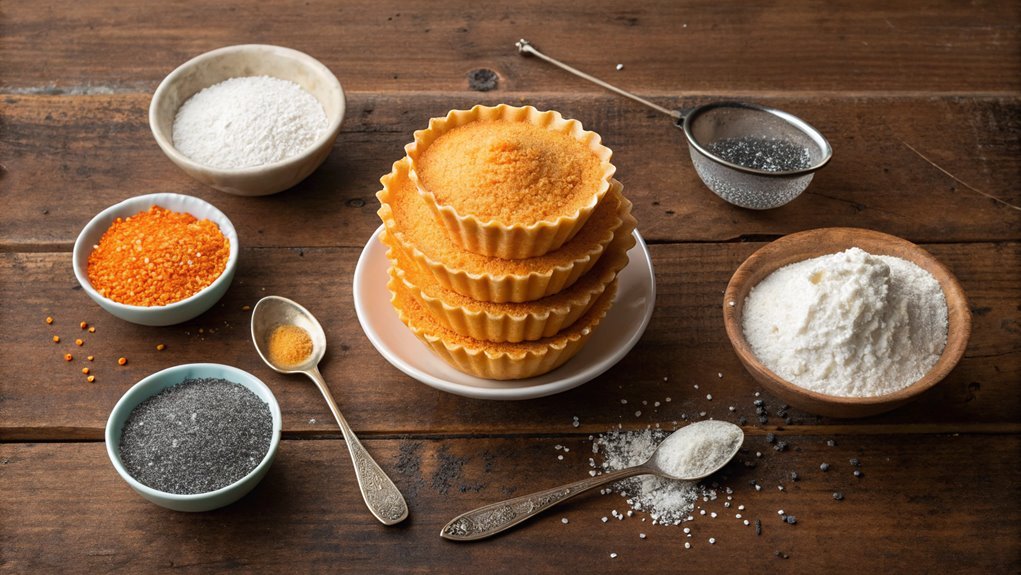
Start by adding flour, sugar, baking powder, and salt to a large mixing bowl. This is where the magic begins!
Grab a whisk and gently mix these dry ingredients together until they’re well combined. You want to verify that the baking powder and salt are evenly distributed, so your cake rises perfectly when it bakes.
As you whisk, take a moment to appreciate the fine, fluffy texture of the flour and how it blends seamlessly with the sugar. It’s a delightful sight!
Now, sprinkle in those zesty orange poppy seeds — they’ll add a gorgeous little crunch and a burst of flavor to your cake.
Keep mixing until everything is uniform, creating a lovely, dry mixture that’ll serve as the base for your batter. This step is essential because it lays the foundation for the cake’s flavor and texture.
Once everything’s combined, set the bowl aside, and get ready for the next steps. You’re well on your way to baking something truly delicious!
Don’t rush — enjoy this process, and get excited about the delicious orange poppy seed cake that’s soon to come.
Step 3. Combine Wet Ingredients Thoroughly
Next, you’ll want to combine three key wet ingredients: eggs, orange juice, and vegetable oil. Start by cracking the eggs into a large mixing bowl. Make sure you’re using fresh eggs for the best flavor!
Then, pour in the orange juice—freshly squeezed is ideal, but store-bought works too. The bright, citrusy taste of the orange will really shine in your cake.
Next, add the vegetable oil. This ingredient keeps your cake moist and tender, making it absolutely irresistible!
Once everything’s in the bowl, grab a whisk or an electric mixer. Start mixing until everything’s well-combined and smooth. You want to see a beautiful, homogenous blend without any eggy streaks, which is essential for a consistent texture in your cake.
As you mix, take a moment to relish the delightful aroma of the orange juice mingling with the eggs. It’s truly fantastic!
You’re setting the foundation for a cake that will impress everyone. So, mix it well, and get excited for the next steps. With these wet ingredients perfectly combined, your Orange Poppy Seed Cake is on its way to becoming a sweet success!
Step 4. Fold in Poppy Seeds
Gently fold in the poppy seeds to your wet mixture, ensuring they’re evenly distributed throughout. This step is essential for that delightful crunch in every bite of your Orange Poppy Seed Cake. Use a rubber spatula or wooden spoon—these tools make it easier to lift and turn the mixture without overmixing, which could make your cake dense.
As you fold, take a moment to admire the tiny, speckled seeds against the bright mixture. The contrast adds a charming visual appeal that’s just as enticing as the flavor. Remember, you want the seeds to be mixed in well, but be gentle! This technique helps maintain the airiness of your batter, ensuring your cake turns out light and fluffy.
Once the poppy seeds are fully incorporated, you’ll already start to envision that scrumptious cake rising in the oven. This is an exciting part of the process, and you’re just a few steps away from a delicious treat!
Step 5. Bake at 350°F
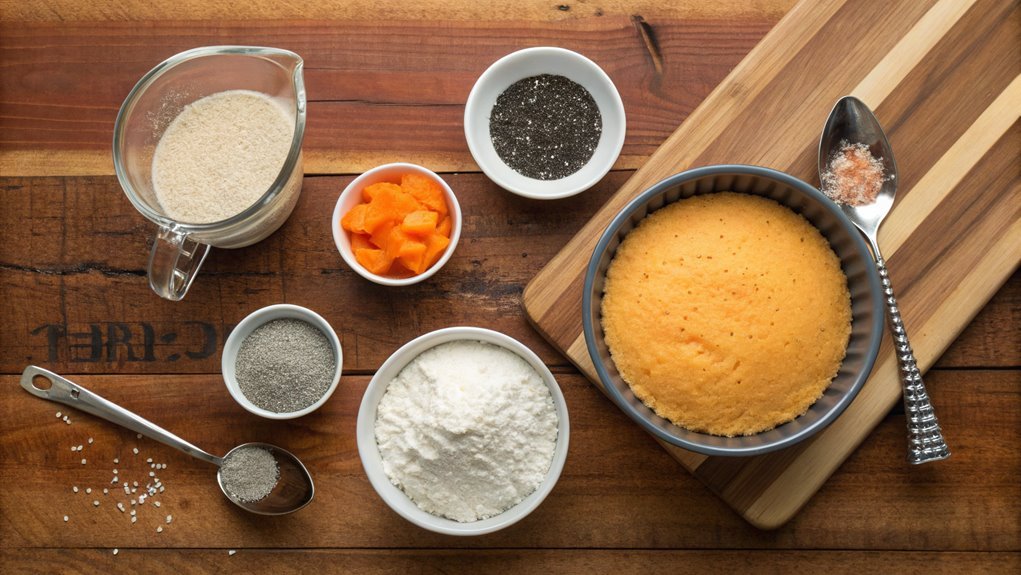
Preheat your oven to 350°F, the perfect temperature for baking your Orange Poppy Seed Cake. Once the oven reaches that warm glow, it’s time to transfer your beautiful batter into a greased cake pan. Spread it evenly to guarantee it bakes uniformly, allowing that delightful poppy seed crunch to shine through.
Now, slide your cake into the preheated oven. As it bakes, the aroma of orange and poppy seeds will fill your kitchen, filling the air with anticipation. Keep an eye on the clock, baking for about 30 to 35 minutes. You want a golden-brown top and a toothpick inserted in the center to come out clean.
Patience is key! When the timer goes off, resist the temptation to plunge in immediately. Allow the cake to cool in the pan for about 10 minutes before transferring it to a wire rack. This step helps maintain its fluffy texture.
Once cooled, it’s time to slice, serve, and enjoy every moist bite. You’re officially a baker now! This cake isn’t only a treat for your taste buds; it’ll impress anyone lucky enough to share in your culinary creation. Happy baking!
Final Thoughts
As you savor each bite of your delicious orange poppy seed cake, it’s clear that this recipe not only brings vibrant flavors to your table but also showcases the joy of home baking.
The combination of fresh oranges and crunchy poppy seeds creates a delightful treat perfect for any occasion. It’s amazing how such simple ingredients can transform into something truly special.
So, as you take a moment to reflect on your baking experience, consider these reasons to share this joy with others:
- Perfect for gatherings: Impress friends and family at your next event with a stunning dessert.
- Versatile: Enjoy it as a breakfast option, a sweet snack, or a stunning dessert.
- Family favorite: Kids will love the unique flavors and textures!
- Simple ingredients: You probably have most of the ingredients already in your pantry.
- Creates memories: Baking together can strengthen bonds with loved ones.
Whether you tweak the recipe to your liking or stick to the classic version, this cake is sure to please.
So roll up your sleeves, whip up another batch, and relish the satisfaction of your homemade creation.
Happy baking!
Frequently Asked Questions
Can I Use a Gluten-Free Flour Substitute?
Sure, you can use a gluten-free flour substitute! While traditional flour provides structure, alternatives like almond or coconut flour offer unique textures and flavors. Just adjust the liquid and baking time for best results.
How Can I Store Leftover Cake?
To store leftover cake, wrap it tightly in plastic wrap or foil, and place it in an airtight container. You can refrigerate it for up to a week or freeze it for longer freshness.
Can I Make This Cake Dairy-Free?
Absolutely, you can make this cake dairy-free! Just substitute dairy ingredients with almond milk and a dairy-free yogurt. You’ll create a delicious treat that everyone can enjoy, proving that desserts can cater to all dietary needs.
What Kind of Frosting Pairs Well With This Cake?
For a cake like this, a tangy cream cheese frosting or a light citrus glaze works wonders. You’ll enhance the flavors beautifully without overpowering the cake, making every bite a delightful experience you won’t forget.
How Long Does the Cake Last After Baking?
After baking, the cake lasts about 3 to 5 days at room temperature if wrapped tightly. If you refrigerate it, you can extend its freshness to about a week. Just remember to check for moisture!
