Classic Vanilla Cake Recipe
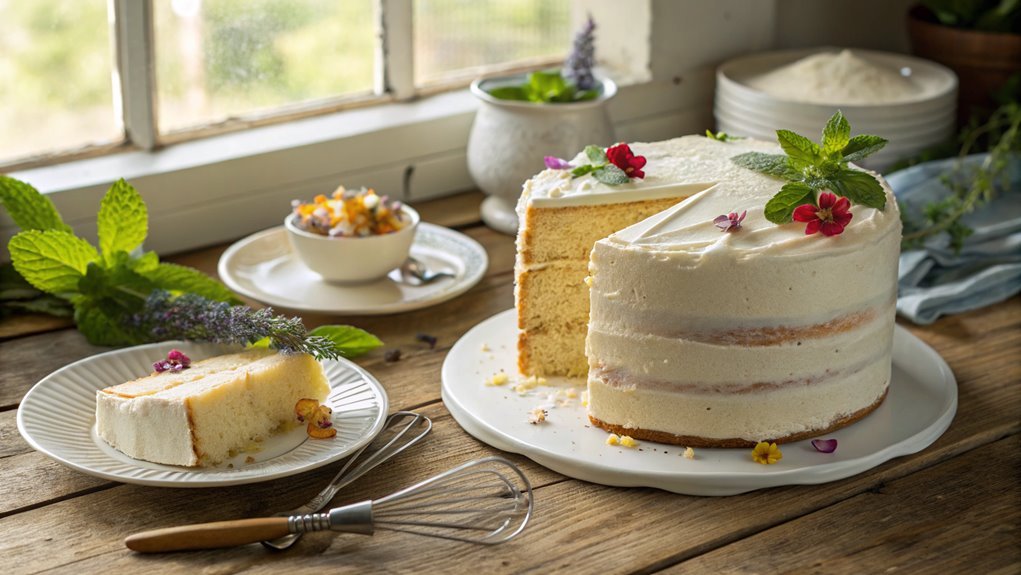
When it comes to baking, a classic vanilla cake is often top of mind. Its airy texture and subtle sweetness make it perfect for any celebration.
With only a few ingredients and simple steps, this recipe balances ease and flavor. However, mastering the technique is crucial to elevate your cake from ordinary to exceptional.
What makes the difference for that ideal crumb and rise? Let’s explore the essential elements that can transform your baking experience.
Recipe
If you’re looking for a classic dessert that’s both simple and beloved, you can’t go wrong with a vanilla cake. This timeless recipe creates a light and fluffy cake that’s perfect for any occasion, from birthday celebrations to afternoon tea.
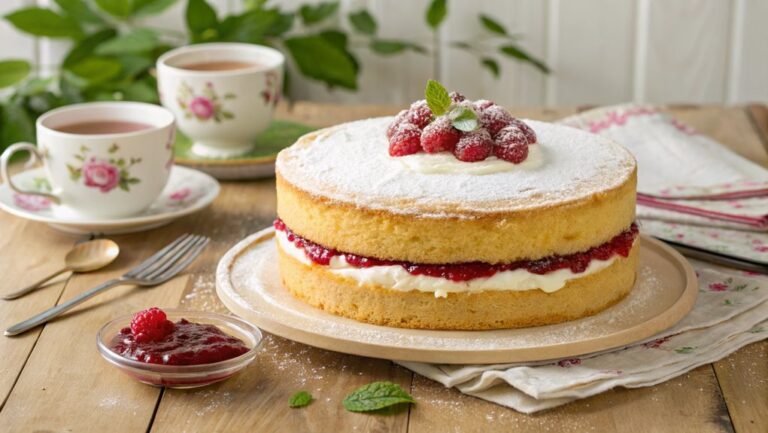
The basic vanilla flavor is versatile and can be enhanced with different frostings, fillings, or even served plain with a dusting of powdered sugar. With just a few essential ingredients and straightforward instructions, you can whip up this delightful treat in no time.
Baking a classic vanilla cake at home not only fills your kitchen with a comforting aroma, but it also provides the satisfaction of crafting something delicious from scratch.
Whether you choose to enjoy it as is or transform it into a layered masterpiece, this vanilla cake serves as a wonderful foundation for your baking creativity. Gather your ingredients and let’s get started on this delightful vanilla cake!
Ingredients:
- 2 ½ cups all-purpose flour
- 2 ½ tsp baking powder
- ½ tsp salt
- 1 cup unsalted butter, softened
- 2 cups granulated sugar
- 4 large eggs
- 1 tbsp pure vanilla extract
- 1 cup whole milk
Now let’s move on to the cooking steps.
Cooking Steps
Now that you’ve gathered all your ingredients, it’s time to get cooking!
Start by preheating your oven to 350°F, creating the perfect environment for baking.
As you mix together the dry and wet ingredients, you’ll feel the excitement of bringing this classic vanilla cake to life.
Step 1. Preheat Oven to 350°F
Before you start mixing your ingredients, preheating your oven to 350°F is crucial for achieving the perfect vanilla cake. This temperature is ideal because it allows your cake to rise beautifully and bake evenly. If you don’t preheat the oven, your cake mightn’t have the texture you desire, leading to a dense or uneven bake.
So, turn on your oven now! While it’s heating up, you can focus on gathering your ingredients and tools. It won’t take long for the oven to reach the desired temperature, usually around 10 to 15 minutes. Once it’s ready, the magic of baking can truly begin.
As you prepare to mix your ingredients, remember that an accurately preheated oven is your ally in creating that light and fluffy cake you’ve been dreaming about. An oven thermometer can also be super handy if you want to verify your oven heats correctly.
Preparing your baking space now will set you up for success. You’ll soon be enjoying the delightful aroma of your vanilla cake baking in the background. Get excited! You’re just moments away from creating a delicious, classic treat that everyone will love.
Step 2. Mix Dry Ingredients Together
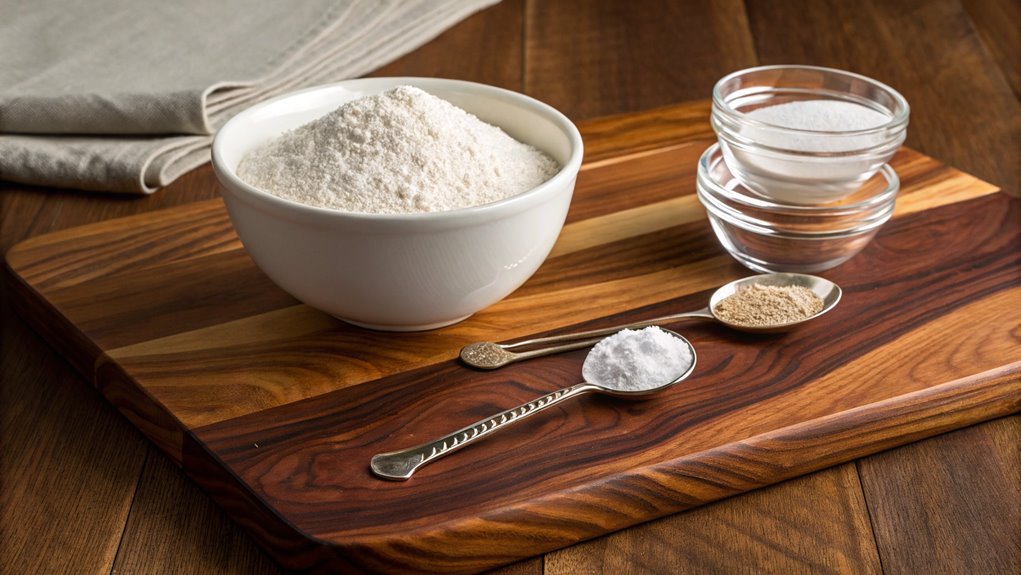
With the oven preheating, it’s time to mix your dry ingredients together. Grab a large mixing bowl and add the flour, baking powder, and salt. It’s essential to measure these ingredients accurately because they form the base of your cake. Use a whisk to blend them well. This air incorporation not only helps distribute the baking powder evenly but also lightens your flour, ensuring a fluffy texture.
Next, if you’re using sugar in your cake, now’s the time to pop that in, too. Mixing sugar with the dry ingredients helps it dissolve more easily when you combine it later. So, whisk it all together until it’s evenly combined, which usually takes just a minute or so.
Don’t fret if a little flour dust clouds up—in fact, that’s part of the fun! This step is where the magic starts, laying the foundation for your delicious cake to rise beautifully as it bakes.
Your kitchen will soon be filled with delightful aromas. So, roll up your sleeves, have a blast, and enjoy the process! You’re one step closer to baking that perfect classic vanilla cake!
Step 3. Combine Wet Ingredients Thoroughly
It’s time to combine your wet ingredients thoroughly, which usually includes eggs, milk, and vanilla extract. Start by cracking the eggs into a mixing bowl. Make sure they’re at room temperature; this helps them blend better!
Then, add your milk—whole milk gives a nice richness, but you can use any variety you prefer. Don’t forget to pour in that delicious vanilla extract; it’s what makes your cake taste like a dream.
Now, whisk these ingredients together until they’re fully blended. You want a smooth, homogenous mix, so take your time here. The color should brighten up as air incorporates into the mixture, and that’s a good thing!
This step is vital because evenly combined wet ingredients will guarantee your cake rises beautifully. If you’ve got a hand mixer, it can make this process even easier, but a good whisk works just as well.
Keep mixing until you see no clumps or streaks of egg or milk. Just imagine the rich aroma filling your kitchen once your cake bakes!
Get ready to move on to the next step; your prep work is almost done, and your delicious cake is on the way!
Step 4. Fold in the Dry Mix
As you get ready to fold in the dry mix, make certain you’ve sifted together your flour, baking powder, and a pinch of salt. This step is essential, as sifting helps eliminate any lumps and guarantees a light, fluffy cake.
Now, take your prepared wet ingredients and create a small well in the center of your bowl, inviting the dry mix to join the party!
Gently add the dry ingredients to the wet mixture. Using a spatula, carefully fold the flour in. Stick to a figure-eight motion, lifting and turning the batter without stirring too vigorously. You want to keep that airy texture, so be gentle!
It’s completely normal if you see a few streaks of flour; you’ll blend it fully in the next step. Make certain to scrape down the sides of your bowl as you fold. This guarantees everything is well incorporated and no delightful bits escape.
Don’t overmix, though! You’ll know you’re done when you just barely see any dry ingredients left. The batter should look smooth, inviting, and ready to rise beautifully in the oven. Enjoy the satisfying process as your cake comes together!
Step 5. Pour Batter Into Pan
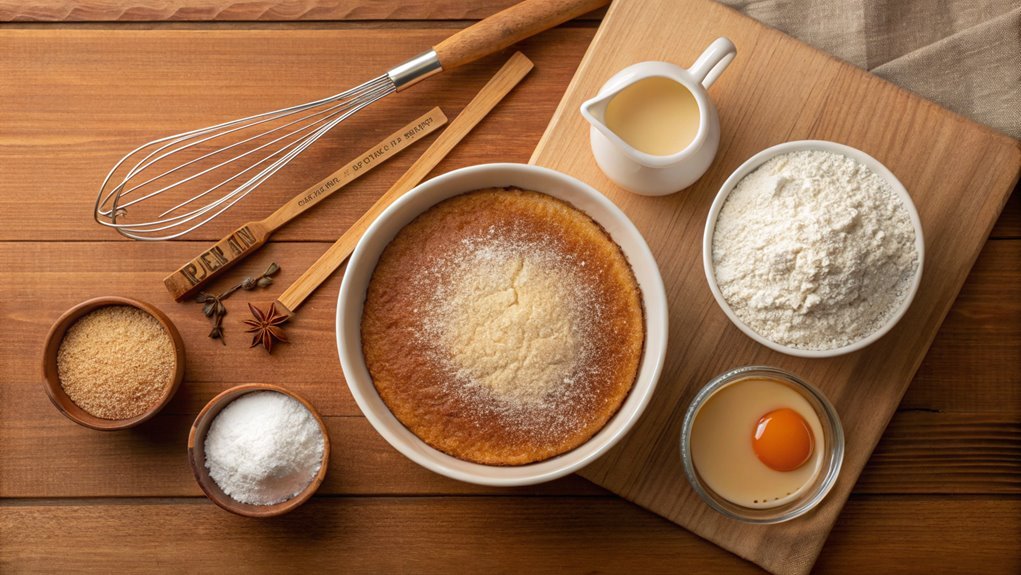
Carefully pour the batter into your prepared cake pan, guaranteeing an even distribution. This step is essential because an evenly poured batter helps your cake rise uniformly, giving it that beautiful, fluffy texture.
Hold the bowl at a slight angle as you pour, letting the batter flow gently into the center of the pan. You’ll want to avoid any splashes or spills, so take your time here.
Once the batter is in the pan, use a spatula to spread it out evenly if needed. This will help make certain every slice of cake is perfectly moist and delicious.
Don’t worry if there are a few air bubbles; they’ll escape during baking. The excitement is building as you prepare to bake—just imagine the aroma filling your kitchen!
Now, it’s time to pop your cake pan into the preheated oven. Set your timer for the recommended baking time, but keep an eye on it.
While it bakes, you can already start to dream about that delightful, golden cake you’ll soon be enjoying. Baking isn’t just about following recipes; it’s about creating joy and delicious memories in your home. Enjoy the process!
Final Thoughts
When you whip up a classic vanilla cake, you’re not just creating a dessert; you’re crafting a memorable experience. This delightful cake is perfect for any occasion, whether it’s a birthday, anniversary, or just a cozy afternoon at home.
The warmth of the oven and the sweet aroma will definitely bring everyone together.
Here are some final thoughts to keep in mind as you bake your delicious creation:
- Quality Ingredients Matter: Use fresh, high-quality ingredients to guarantee the best flavors in your cake.
- Don’t Rush the Process: Take your time mixing and baking. Each step adds to the cake’s texture and taste.
- Experiment with Flavors: While vanilla is classic, consider adding hints of almond or citrus for a fun twist.
- Share the Joy: Baking is more than just cooking; it’s about sharing love. Serve your cake to family and friends for an unforgettable treat!
Frequently Asked Questions
Can I Substitute Butter With Oil in This Recipe?
You can substitute butter with oil in most recipes. Just remember, oil can make your cake moister, but it may alter the flavor slightly. Adjust measurements, using about three-quarters the amount of oil for best results.
How Long Does Vanilla Cake Last at Room Temperature?
A day in the sun, warmth embracing your cake, it lasts about two to three days at room temperature. Just keep it in an airtight container, and it’ll stay moist, ready to savor whenever you desire!
What Can I Use Instead of Eggs for a Vegan Version?
If you’re looking for egg substitutes, try mashed bananas, applesauce, or flaxseed meal mixed with water. Each option binds ingredients well and provides moisture, ensuring your vegan dish turns out delicious without compromising flavor.
Can I Freeze the Cake After Baking?
Ever wonder if you can freeze your baked treats? Absolutely! Once cooled, wrap your cake tightly in plastic wrap, then store it in an airtight container or freezer bag. It’ll stay fresh for up to three months!
What Is the Best Way to Store Leftover Cake?
To store leftover cake, wrap it tightly in plastic wrap or place it in an airtight container. Keep it in the fridge for up to a week, or freeze it for longer-lasting freshness. Enjoy later!
