Gluten-Free Chocolate Chip Cookie Recipe
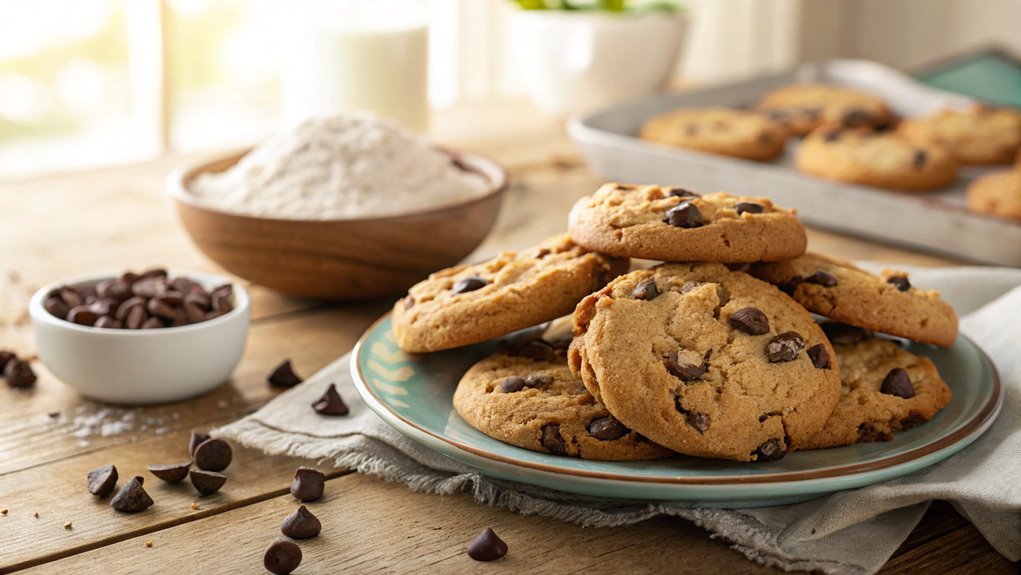
For delicious gluten-free chocolate chip cookies with the perfect soft and chewy texture, use gluten-free all-purpose flour and the right mix of sugars. In just 12 minutes, your kitchen will be filled with the warm aroma of freshly baked cookies.
Understanding each ingredient’s role is key to perfecting these treats. This recipe stands out by emphasizing the nuances of ingredient selection.
Recipe
Gluten-free chocolate chip cookies are a delightful treat that everyone can enjoy, regardless of dietary restrictions. These cookies are soft, chewy, and packed with rich chocolate flavor, making them the perfect dessert for any occasion.
Using gluten-free flour and a few simple ingredients, you can whip up a batch that rivals traditional chocolate chip cookies. Whether you’re baking for yourself or for guests, these cookies will surely satisfy any sweet tooth.
Making gluten-free cookies doesn’t have to be complicated. With this recipe, you’ll find that the process is just as straightforward as making regular cookies.
The key is to use a gluten-free flour blend that includes xanthan gum, which helps give the cookies a nice texture. In just a few simple steps, you can bake a delicious batch of gluten-free chocolate chip cookies that everyone will love.
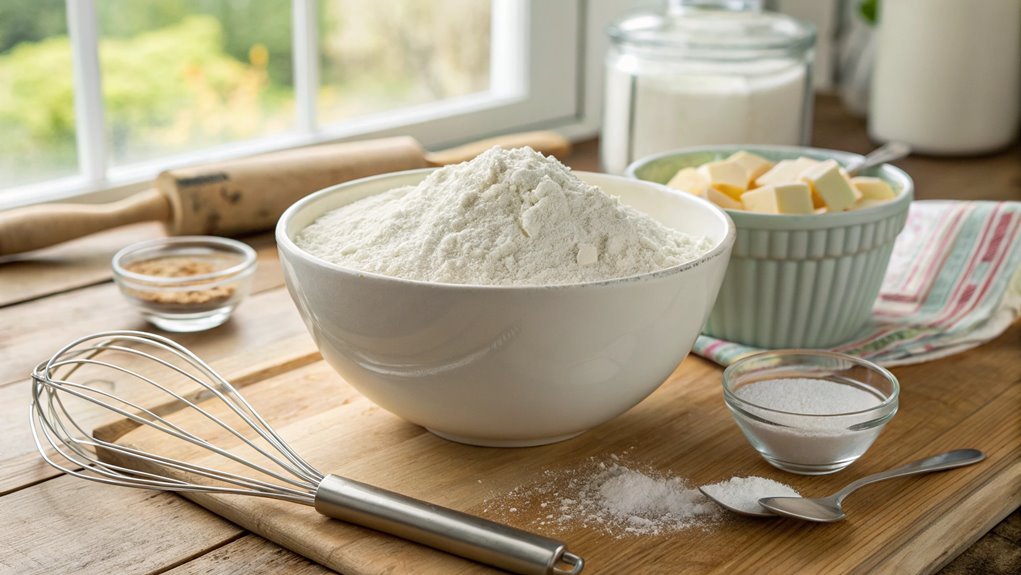
Ingredients:
- 1 ½ cups gluten-free all-purpose flour
- ½ teaspoon baking soda
- ½ teaspoon salt
- ½ cup unsalted butter, softened
- ½ cup brown sugar, packed
- ¼ cup granulated sugar
- 1 large egg
- 1 teaspoon vanilla extract
- 1 cup gluten-free chocolate chips
Now let’s move on to the cooking steps.
Cooking Steps
Now that you’ve gathered your ingredients, it’s time to get cooking!
Start by preheating your oven to 350°F to create that perfect baking environment.
As you mix your dry ingredients thoroughly and gradually add the wet ones, you’ll feel the excitement building for those delicious cookies to come!
Step 1. Preheat Oven to 350°F
To get started on your gluten-free chocolate chip cookies, you’ll want to preheat your oven to 350°F. This step is essential because it guarantees that your cookies bake evenly and achieve that perfect golden-brown color we all love.
As you set your oven, take a moment to appreciate the wonderful aroma that will soon fill your kitchen.
While the oven warms up, you can gather all your ingredients and tools, creating an inviting space for your baking adventure. A preheated oven means you can pop those delicious cookie dough balls right in as soon as they’re ready, saving you time and keeping that excitement flowing.
Once your oven reaches the desired temperature, you’ll be ready to bake! Remember, patience is key here. Don’t rush it; give your oven a moment to get nice and hot.
This simple act of preheating sets the stage for cookie perfection.
Step 2. Mix Dry Ingredients Thoroughly
Before combining your wet ingredients, make certain to mix the dry ingredients thoroughly. This step is vital for achieving that perfect texture in your gluten-free chocolate chip cookies. Start by measuring out your gluten-free flour, baking soda, and salt. It’s important to use the right proportions, so double-check your measurements for accuracy.
Once you have everything ready, grab a medium-sized bowl and sift the dry ingredients together. Sifting helps to break up any clumps and guarantees an even distribution throughout the mixture.
As you mix, visualize those delicious cookies baking in the oven, and let your excitement guide your hands. You can use a whisk or a fork to combine everything—just make certain there aren’t any pockets of flour left unblended. This step really sets the foundation for your cookies, making sure they’ll rise beautifully and hold their shape.
When you’re satisfied with the consistency, take a moment to appreciate your work. You’re on the right path to creating something tasty! Trust in this process, and get ready for the next delicious step, where you’ll bring these dry ingredients to life with the wet ones. Happy baking!
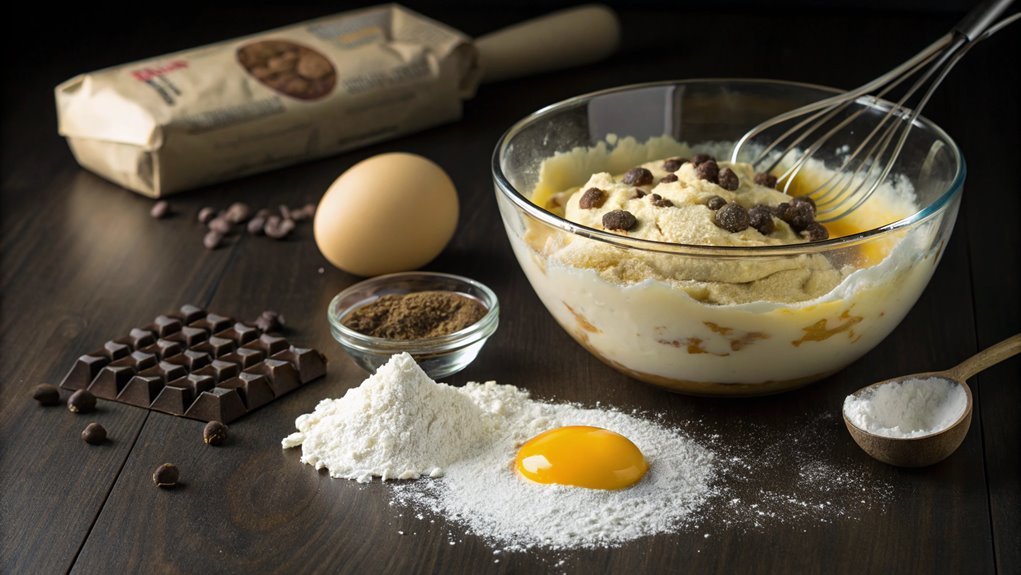
Step 3. Add Wet Ingredients Gradually
With your dry ingredients perfectly mixed, it’s time to bring in the wet ingredients. This is where the magic happens! Start by adding your melted butter, which adds richness and flavor.
Next, pour in the eggs and vanilla extract. These ingredients will help bind everything together and create that delightful chewy texture we all love in cookies.
It’s important to add the wet ingredients gradually, so you’re not overwhelming the dry mix. Begin by whisking together the eggs and vanilla in a separate bowl.
Then, slowly incorporate this mixture into your dry ingredients. Stir gently but thoroughly, allowing everything to combine beautifully. You want to avoid overmixing, as this can affect the final texture of your cookies.
Keep an eye on the consistency; it should be thick yet manageable. If it feels too dry, don’t hesitate to add a splash of milk or a sprinkle of water. This little adjustment can make all the difference!
Once everything is well combined, you’ll be ready to move on to the next step. Get excited—your cookie dough is taking shape, and those gluten-free chocolate chip cookies are almost within reach!
Step 4. Scoop Dough Onto Baking Sheet
Once your dough is ready, it’s time to scoop it onto the baking sheet. Grab a cookie scoop or a tablespoon, and let’s get started!
Line your baking sheet with parchment paper to prevent sticking and make cleanup a breeze. Take a generous scoop of the dough and gently drop it onto the sheet, leaving enough space between each mound. This spacing is essential, as your cookies will spread while baking, creating that perfect golden edge.
If you love uniformity, you can use a kitchen scale to weigh each portion, ensuring they all bake evenly.
As you scoop, feel free to sprinkle a few extra chocolate chips on top of each dough mound for added indulgence. The anticipation builds as you see those little cookie mountains forming!
Step 5. Bake for 12 Minutes
Now it’s time to bake those delicious cookie mounds for 12 minutes. Preheat your oven to 350°F (175°C) if you haven’t done so already. This step is essential, as it guarantees your cookies bake evenly and come out perfectly golden.
Once your oven is ready, slide the baking sheet in, and let the magic happen!
As the cookies bake, you’ll start to notice the sweet aroma filling your kitchen. It’s an irresistible scent that will have everyone asking, “What’s cooking?”
Keep an eye on them during the last few minutes, as ovens can vary. You want those edges to turn golden brown while the centers remain soft and chewy.
When the timer goes off, resist the urge to jump in immediately. Let the cookies cool on the baking sheet for a couple of minutes. This allows them to set up just right before transferring them to a wire rack.
Trust me, waiting will be worth it! Once cooled, you can enjoy these gluten-free delights with a glass of milk or a cup of coffee.
You’ve just created something special that everyone will love! Happy baking!
Final Thoughts
As you wrap up your baking adventure, it’s clear that creating gluten-free chocolate chip cookies can be both satisfying and delicious.
You’ve taken the time to gather ingredients, measure with care, and follow the recipe, and now you’re rewarded with warm, gooey cookies that everyone can enjoy.
The best part? These treats don’t compromise on taste, proving that gluten-free doesn’t mean flavor-free!
Remember, baking is all about experimentation.
Don’t hesitate to swap in different mix-ins like nuts, dried fruit, or even a sprinkle of sea salt on top for that extra touch. Each batch can be a new adventure!
Sharing these cookies with friends and family can be a delightful experience, especially when you see their smiles as they take that first bite.
You might just inspire someone else to try their hand at gluten-free baking too.
Frequently Asked Questions
Can I Substitute Almond Flour for Coconut Flour?
You can substitute almond flour for coconut flour, but keep in mind they absorb liquid differently. You might need to adjust the moisture in your recipe to achieve the desired texture and consistency.
How Do I Store Leftover Cookies?
When you’ve got leftover cookies, pop ’em in an airtight container. Keep ’em at room temperature for a few days or freeze ’em for longer freshness. Just make sure they’re cool before storing!
Are Gluten-Free Chocolate Chips Available?
Yes, gluten-free chocolate chips are available at many grocery stores and online. Look for brands specifically labeled as gluten-free, and you’ll find plenty of delicious options to enhance your baking or snacking experience.
Can I Use a Dairy-Free Butter Alternative?
Yes, you can definitely use a dairy-free butter alternative! Just make sure it’s suitable for baking. Your cookies will still turn out delicious and you won’t have to worry about dairy ingredients in them.
How Can I Make These Cookies Vegan?
To make these cookies vegan, swap dairy butter for a plant-based alternative, use flaxseed meal or applesauce as an egg substitute, and guarantee your chocolate chips are dairy-free. Enjoy your delicious, cruelty-free treat!
Conclusion
These gluten-free chocolate chip cookies are perfect for everyone, not just those avoiding gluten. Their soft, chewy texture and rich flavor rival any regular cookie. Gather your ingredients and start baking; you’ll be surprised at how fast they vanish. Your friends won’t even realize they’re gluten-free! Enjoy the culinary journey!