Strawberry Cream Cheese Danish Recipe
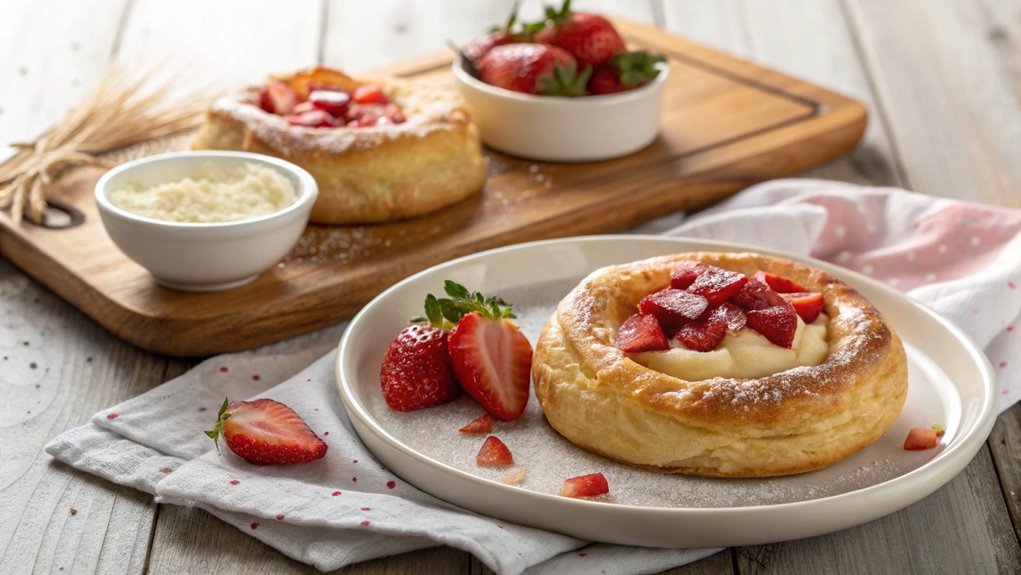
The Strawberry Cream Cheese Danish is a simple yet elegant pastry featuring flaky puff pastry, rich cream cheese filling, and fresh strawberries. Its delightful balance of textures and flavors makes it perfect for breakfast or dessert. Here are essential tips and techniques to enhance your danish-making experience.
Recipe
Indulge in the delightful combination of flaky pastry, sweet strawberries, and creamy filling with this Strawberry Cream Cheese Danish recipe. Perfect for breakfast or as a sweet treat for any occasion, these danishes are easy to make and are sure to impress family and friends.
Whether you’re an experienced baker or a novice in the kitchen, this recipe will guide you through each step to achieve that deliciously crispy and creamy treat.
The key to a perfect Danish lies in the balance of flavors and textures. The buttery pastry contrasts beautifully with the tangy cream cheese filling and the vibrant sweetness of fresh strawberries.
This recipe utilizes store-bought puff pastry for convenience, making the process quicker without sacrificing taste. Get ready to enjoy the mouthwatering aroma wafting through your kitchen as you bake these delectable morsels.
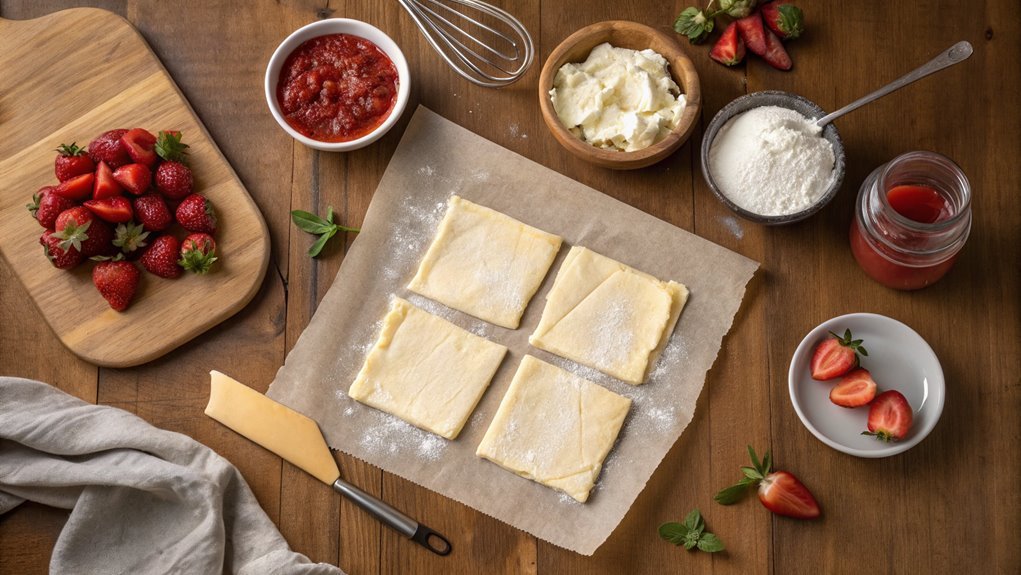
Ingredients:
- 1 package of puff pastry (2 sheets, thawed)
- 8 oz cream cheese, softened
- 1/4 cup powdered sugar
- 1 tsp vanilla extract
- 1 cup fresh strawberries, diced
- 1 egg (for egg wash)
- 1 tbsp water
- 1/4 cup granulated sugar (for topping)
- 1/2 tsp cinnamon (for topping)
Now let’s move on to the cooking steps.
Cooking Steps
Get ready to create your delicious Strawberry Cream Cheese Danish!
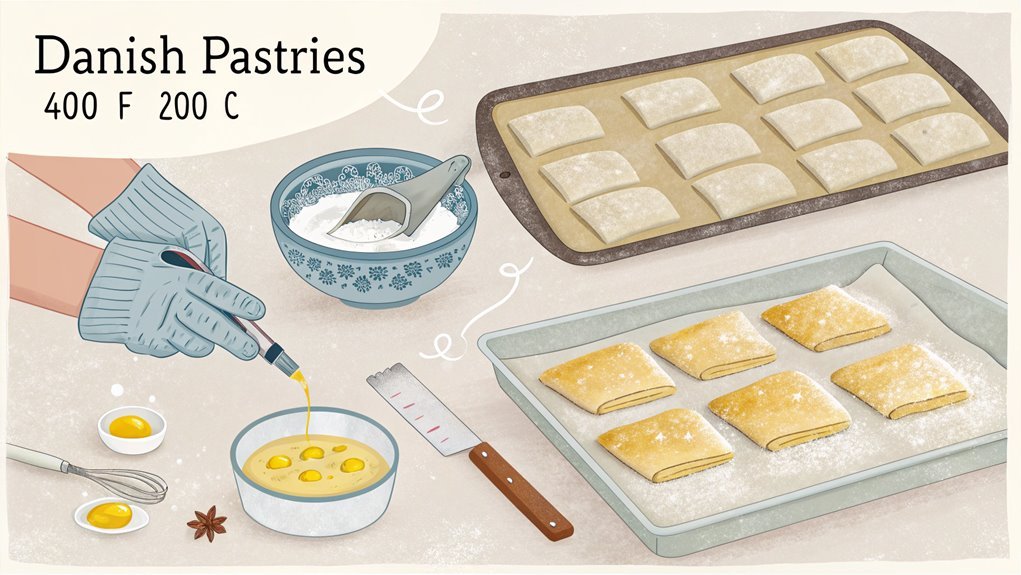
First, you’ll preheat your oven to 375°F, setting the stage for that golden-brown perfection.
Then, you’ll mix in the creamy filling with fresh strawberries, and before you know it, you’ll be baking a heavenly treat that’ll have everyone asking for seconds!
Step 1. Preheat Oven to 375°F
Before you plunge into preparing your delicious Strawberry Cream Cheese Danish, preheating the oven to 375°F is an important step. This process guarantees that the oven is ready to create that perfect golden-brown crust you desire.
Begin by turning your oven dial or pressing the button until the temperature display shows 375°F. It’s crucial to let your oven heat up fully before you place your danish inside, as this allows for even baking and helps develop that flaky texture.
While you’re waiting for the oven to reach the desired temperature, take a moment to gather all your ingredients and tools. This little preparation will streamline the cooking process, guaranteeing that you can whip up your danish with ease and excitement.
You’ll want to have everything within arm’s reach, from fresh strawberries to your pastry dough.
Once your oven beeps, indicating it’s ready, you’ll feel a rush of anticipation. This step sets the stage for the delightful aroma and taste that will soon fill your home.
Step 2. Add Cream Cheese Mixture
As you prepare to add the cream cheese mixture, make certain you’ve softened the cream cheese to room temperature for the best texture. Cream cheese that’s warmed up will blend smoothly, creating a luscious filling that’s simply irresistible.
Start by placing your softened cream cheese in a mixing bowl. Using a hand mixer or a whisk, beat it until it’s creamy and fluffy. This step is key to guaranteeing there are no lumps, so take your time to get it just right.
Next, add in the sugar and vanilla extract. These ingredients not only sweeten the mixture but also add a beautiful depth of flavor that pairs perfectly with the strawberries.
Mix everything together until combined, and don’t forget to scrape down the sides of the bowl as you go. This guarantees every bit of your cream cheese mixture is evenly flavored.
Once you’ve achieved that smooth, dreamy consistency, it’s time to get ready for the next steps. You’re so close to creating a delightful strawberry cream cheese Danish that everyone will love!
Excitement is in the air, and you’re about to take your treats to a whole new level!
Step 3. Fold in Fresh Strawberries
Gently fold in the fresh strawberries to your cream cheese mixture, allowing their vibrant color and juicy texture to shine through. This step is where your creation transforms into a delightful showcase of flavors!
Start by slicing the strawberries into quarters, letting their sweetness inspire your creativity. When you’re ready, add them to the cream cheese blend, but be careful not to overmix. You want those beautiful berry pieces to remain intact, providing lovely bursts of flavor in every bite.
Using a spatula, lift and turn the mixture gently, ensuring the strawberries are evenly distributed without breaking them up too much. This delicate folding process enhances the overall experience of your Danish, bringing forward the fresh fruit’s natural goodness.
Imagine the excitement of tasting that first bite—creamy cheese intermingling with sun-ripened strawberries!
If you’d like, you can even save a few slices to sprinkle on top before serving, adding a touch of elegance to your Danish.
Step 4. Bake for 20-25 Minutes
Place your assembled Danish in a preheated oven set to 375°F (190°C). As it bakes, the heavenly aroma of strawberries and cream cheese will fill your kitchen, making it hard to resist checking on it!
Bake for 20-25 minutes, but keep an eye on those golden edges. Your Danish is ready when it’s puffed and beautifully browned.
Here’s what you can do while you wait:
- Set a timer for 20 minutes, and use that time to clean up your workspace.
- Prepare a cup of coffee or tea to enjoy with your warm Danish when it’s ready.
- Gather your favorite toppings—perhaps some fresh strawberries or a sprinkle of powdered sugar to elevate your treat!
- Daydream about the first bite—crispy pastry, creamy filling, and all that fruity goodness.
Once the baking time is done, let the Danish cool slightly before diving in. The anticipation will make that first bite taste even better!
You’ve just created a delightful pastry that’s perfect for breakfast or a sweet afternoon treat. Enjoy all the compliments you’re bound to receive!
Step 5. Glaze With Egg Wash
To achieve that delectable golden finish on your Danish, you’ll want to glaze it with egg wash before baking. This simple step elevates your pastries, giving them a shiny exterior that’s irresistibly inviting.
Start by cracking one large egg into a small bowl. Add a tablespoon of water or milk to the egg; this helps create a smoother consistency. Now, whisk the mixture until it’s well combined.
Using a pastry brush, gently apply the egg wash to the tops of each Danish. Make certain to coat them evenly without letting excess drip off. This isn’t just for looks – the egg wash helps seal in moisture, resulting in a tender, flaky treat.
Just imagine biting into that warm pastry, knowing you’ve added this final touch of perfection!
Once you’ve brushed the egg wash on all your Danishes, it’s time to pop them in the oven. Baking them at the right temperature will guarantee your hard work pays off with a beautifully golden finish.
Final Thoughts
As you savor your homemade Strawberry Cream Cheese Danish, you’ll appreciate the delightful combination of sweet and tangy flavors wrapped in flaky pastry.
This recipe brings comfort and joy, making it perfect for any time of day. Each bite transports you to a blissful state, and you might find it hard to stop at just one!
Here are a few reasons why you’ll love this Danish:
- Versatility: You can substitute strawberries with other fruits like blueberries or raspberries.
- Easy to Make: The steps are simple, allowing even beginner bakers to create a masterpiece.
- Impressive Presentation: Your friends and family will be amazed by your gorgeous, homemade pastries.
- Perfect for Any Occasion: Whether it’s breakfast, brunch, or dessert, this Danish fits right in.
Don’t hesitate to whip up this delightful treat; you’ll not only satisfy your sweet tooth but also have fun in the kitchen.
Gather your ingredients, crank up the oven, and get ready to indulge in these delicious Strawberry Cream Cheese Danishes.
Happy baking! Enjoy the process, and relish the delicious results that await you!
Frequently Asked Questions
Can I Use Frozen Strawberries Instead of Fresh Ones?
Absolutely, you can use frozen strawberries instead of fresh ones! Just remember to thaw and drain them to avoid excess moisture. They’ll still add delicious flavor and sweetness to whatever you’re making. Enjoy!
How Do I Store Leftover Danish Pastries?
Once you’ve gobbled up those danishes, store leftovers in an airtight container at room temperature for up to two days. If keeping longer, refrigerate them. Just remember to reheat slightly before devouring!
Can I Prepare the Dough in Advance?
Yes, you can prepare the dough in advance. Just make it, cover it tightly, and refrigerate. When you’re ready to bake, take it out, let it warm slightly, and shape it as desired.
Is There a Gluten-Free Option for This Recipe?
Yes, you can use a gluten-free flour blend in place of all-purpose flour. Just make certain it contains xanthan gum for proper texture. You’ll still achieve a delicious pastry without gluten, so give it a try!
How Can I Prevent My Danish From Becoming Soggy?
To prevent your Danish from becoming soggy, guarantee you bake it until golden brown, use cold ingredients, and avoid over-filling. Par-bake the pastry for a few minutes before adding your filling, too.