Gluten-Free Shortbread Cookies Recipe
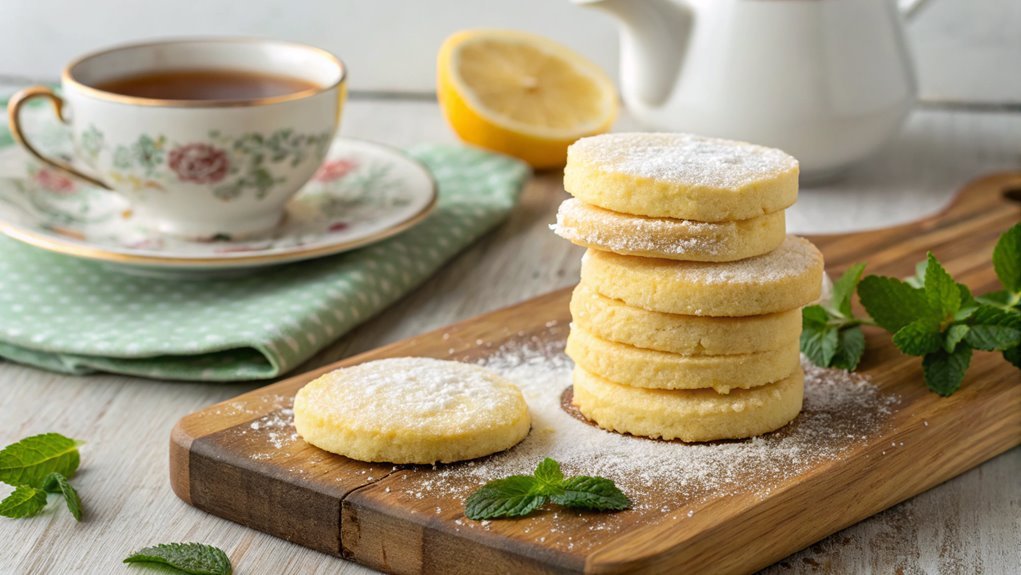
About 30% of the U.S. population is exploring gluten-free products, and if you’re one of them, gluten-free shortbread cookies may be a perfect choice. These cookies are easy to prepare, offering simplicity and rich flavor that can elevate any occasion. Curious about achieving the perfect texture? Stick around for a detailed guide.
Recipe
Gluten-free shortbread cookies are a delightful treat that everyone can enjoy, regardless of their dietary restrictions. Made with simple ingredients and minimal effort, these cookies offer a satisfying buttery flavor and crumbly texture that perfectly complement a cup of tea or coffee.
Whether you’re following a gluten-free lifestyle or just looking to try something new, this recipe will quickly become a favorite in your dessert repertoire.
The beauty of gluten-free shortbread cookies lies in their versatility. They can be flavored with a variety of extracts, such as vanilla or almond, or even enhanced with citrus zest for a burst of freshness.
You can also customize them by adding chocolate chips, nuts, or dried fruits if desired. The recipe is forgiving, so feel free to experiment and make it your own while still sharing the delight of shortbread with friends and family.
Ingredients:
- 1 cup gluten-free all-purpose flour
- 1/2 cup unsalted butter, softened
- 1/4 cup powdered sugar
- 1/4 teaspoon salt
- 1 teaspoon vanilla extract
Now let’s move on to the cooking steps.
Cooking Steps
Ready to create some delicious gluten-free shortbread cookies? First, you’ll mix butter and sugar to form a creamy base, then add your gluten-free flour mixture, making it perfect for a delightful treat.
After chilling the dough for 30 minutes, you’ll roll it into balls and bake them at 350°F for 15 minutes, filling your kitchen with a mouthwatering aroma!
Step 1. Mix Butter and Sugar
Begin by creaming the butter and sugar together in a mixing bowl. This step is essential, as it sets the stage for those delicious shortbread cookies you’re about to make!
Using an electric mixer, beat the softened butter and sugar on medium speed until the mixture becomes light and fluffy. This usually takes about 3-5 minutes. You want to incorporate air into the butter, giving your cookies that melt-in-your-mouth texture!
As you mix, don’t forget to scrape down the sides of the bowl occasionally. This guarantees that all the butter and sugar are thoroughly combined, making your dough consistent. The aroma of the butter mingling with the sugar will already get your taste buds tingling!
Once it’s well combined, you can admire the creamy, pale mixture in front of you. It should have a smooth texture and a slightly glossy appearance.
You’re laying the foundation for sweetness and rich flavor in your gluten-free shortbread. Trust this process; your cookies will thank you later! Keep this excitement alive, and let’s move on to the next tasty step of adding your gluten-free flour mixture to create that delightful cookie dough.
Step 2. Add Gluten-Free Flour Mixture
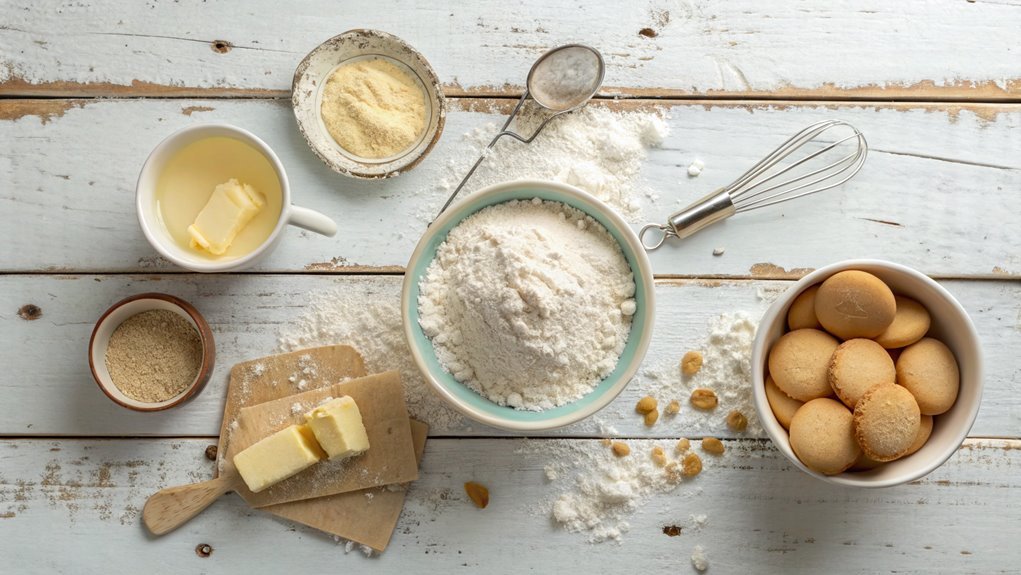
Now that your butter and sugar mixture is light and fluffy, it’s time to introduce the gluten-free flour mixture! This step is essential for creating those melt-in-your-mouth shortbread cookies you’re dreaming of.
Start by measuring out your gluten-free flour blend, making sure to use a spoon to scoop it into your measuring cup—this helps avoid packing the flour down.
Once you’ve got your flour ready, gently fold it into the butter and sugar mixture. Use a spatula to lift and fold—this technique keeps the airiness you’ve just created. As you mix, you’ll notice the dough start to come together, forming a soft and cohesive texture.
Don’t overmix, though! You want your dough to stay tender.
If you’re feeling adventurous, this is the perfect time to add any flavorings or extras. You can sprinkle in some vanilla extract or even a pinch of salt to enhance the sweetness.
The key is to combine everything until just mixed; your shortbread will be perfect if you approach this step with care.
Get excited because you’re already on your way to delicious gluten-free treats that everyone will love!
Step 3. Chill Dough for 30 Minutes
Chilling the dough for about 30 minutes is essential for achieving the perfect texture in your shortbread cookies. When you place the dough in the fridge, it helps to firm up the butter and flour mixture, ensuring your cookies bake evenly. This step prevents the dough from spreading too much in the oven, which can lead to flat, crumbly cookies instead of the delightful, tender ones you’re aiming for.
While the dough chills, it’s a great time to prepare your baking sheets or even clean up your kitchen. You’ll love how the coolness enhances the flavors as they mingle together, making your cookies even more delicious.
Plus, taking a short break is a fantastic way to build anticipation for your tasty treat!
Once your dough has chilled, you’ll be ready to move on to the next exciting step in the process. Just remember to keep an eye on the clock—30 minutes isn’t long, but it makes a big difference.
You’re on the right path to creating irresistibly scrumptious gluten-free shortbread cookies that everyone will rave about. Get ready; deliciousness is just around the corner!
Step 4. Roll Dough Into Balls
It’s time to roll your chilled dough into balls, an essential step that shapes your cookies while making certain they bake uniformly. This part is super fun and gives you a chance to connect with your ingredients. You’ll love the feel of the dough between your hands as you create these delightful little spheres!
Here’s how to do it:
- Scoop out the dough: Use a tablespoon or cookie scoop to grab a portion of the chilled dough. Aim for consistent sizes to make certain all your cookies bake evenly.
- Roll into balls: Take the dough and quickly roll it between your palms. This will create a smooth, round ball that will look great once baked.
- Place on a baking sheet: Arrange your rolled balls about two inches apart on the baking sheet. This spacing makes sure they’ve room to spread while baking.
- Flatten slightly (optional): If you prefer a shorter cookie, gently flatten the balls with your palm or a fork. Just don’t press too hard!
Now you’re just one step away from enjoying your delicious gluten-free shortbread cookies! It’s all coming together beautifully!
Step 5. Bake at 350°F for 15 Minutes
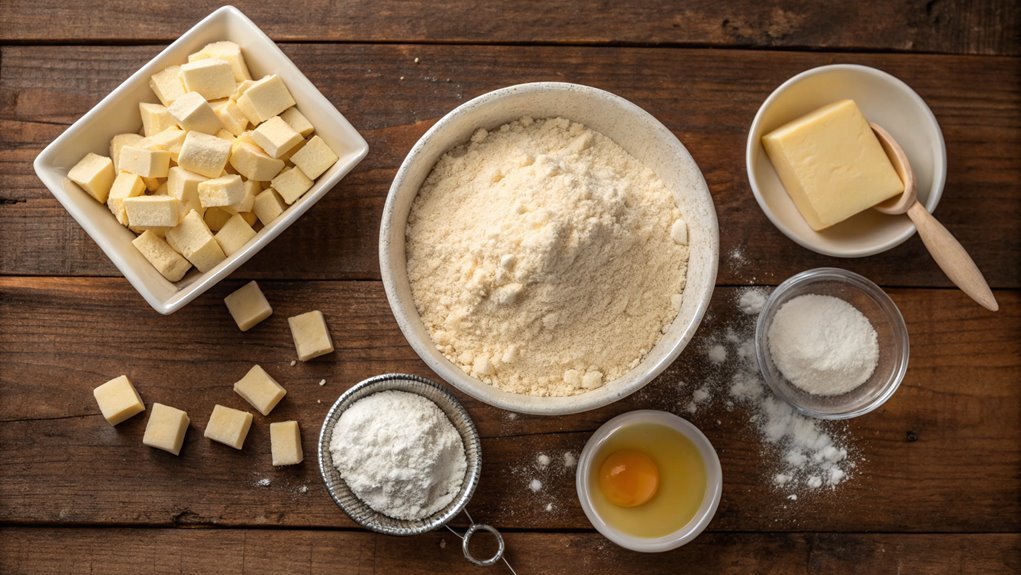
Having rolled your dough into delightful little balls, the next step is to bake them to perfection. Preheat your oven to 350°F, an essential temperature that helps achieve that signature shortbread texture. Line a baking sheet with parchment paper to guarantee your cookies don’t stick.
Place your dough balls evenly apart, allowing room for those delicious treats to spread slightly as they bake. Once your oven’s ready, pop the baking sheet inside and set a timer for 15 minutes. You’ll soon be enveloped by the lovely aroma of buttery goodness wafting through your kitchen.
When the timer goes off, gently check the cookies; they should be lightly golden on the edges but still soft in the center. Keep in mind that every oven is a bit different, so your perfect cookie might need a minute more or less.
Let your cookies cool on the baking sheet for a few minutes before transferring them to a wire rack. This cooling time allows them to firm up a bit, so you end up with the perfect texture. Enjoy each bite knowing they’re homemade and gluten-free! What could be better?
Final Thoughts
Although baking gluten-free shortbread cookies can seem intimidating at first, you’ll soon discover how simple and rewarding it is. With just a handful of ingredients and a bit of creativity, you can whip up these delicious treats to enjoy with family or friends.
Plus, knowing that you made them from scratch is incredibly satisfying!
To enhance your experience and make the most of your baking journey, here are a few tips:
- Experiment with Flavors: Try adding vanilla extract, lemon zest, or even chocolate chips for a delightful twist.
- Perfect Your Texture: The key to great shortbread is finding the right balance of butter and flour for a melt-in-your-mouth texture.
- Store Correctly: Keep your cookies in an airtight container to maintain their freshness and crunch.
- Share the Love: Bake a batch for friends or family who might appreciate gluten-free treats—sharing is part of the fun!
Frequently Asked Questions
Can I Substitute Different Gluten-Free Flours?
Think of flours as paint on a canvas; each brings unique colors and textures. Yes, you can substitute different gluten-free flours, but experiment carefully to balance flavor, texture, and consistency for your desired result.
How Can I Store Leftover Shortbread Cookies?
You can store leftover shortbread cookies in an airtight container at room temperature for up to a week. If you want them to last longer, freeze them in a freezer bag for up to three months.
Are These Cookies Vegan-Friendly?
Did you know that about 3% of the population identifies as vegan? If your shortbread cookies contain dairy or eggs, they’re not vegan-friendly. You can easily swap ingredients to make a delicious vegan version!
What Can I Add for Extra Flavor?
You can add a variety of ingredients for extra flavor. Consider using vanilla extract, almond extract, citrus zest, or even spices like cinnamon. Experimenting will enhance the taste and make your cookies uniquely delicious!
How Long Do These Cookies Last?
You’ll find these cookies typically last about a week when stored in an airtight container at room temperature. If you refrigerate them, they may last up to two weeks, but the texture could change.


