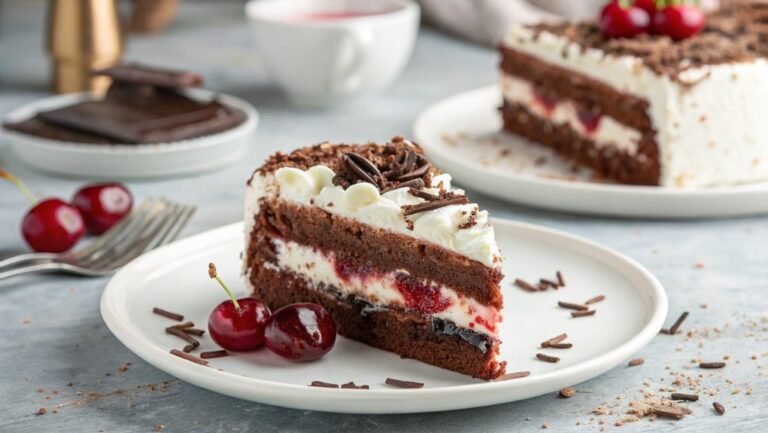
Gluten-Free Chocolate Cake Recipe
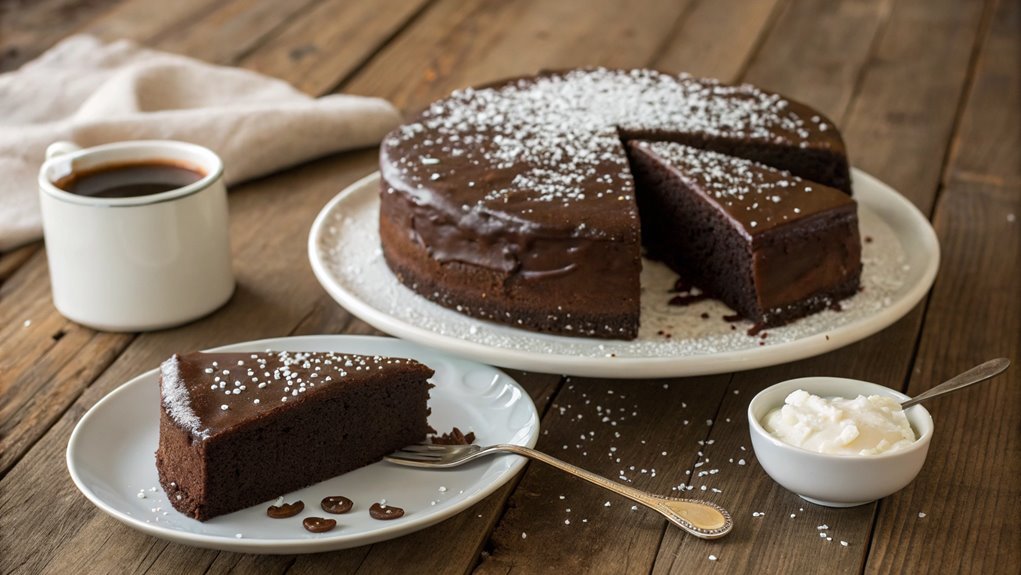
Crafting a gluten-free chocolate cake requires careful selection of ingredients to achieve richness and moisture without traditional flour. With minor adjustments, you can create a dessert that impresses even gluten enthusiasts.
Choosing the right flour blend and uncovering the secret to a fluffy texture are key elements. There’s much to explore before enjoying your first bite of this delicious creation.
Recipe
Gluten-free chocolate cake is a delightful dessert that everyone can enjoy, whether they’ve dietary restrictions or not. Made with rich cocoa powder and a blend of gluten-free flours, this cake is moist, decadent, and incredibly satisfying.
The secret to its fudgy texture lies in the combination of ingredients, which work together to create a cake that rivals any traditional chocolate cake. Whether you’re celebrating a special occasion or simply indulging your sweet tooth, this cake is sure to impress.
This recipe is simple and straightforward, making it perfect for bakers of all skill levels. With just a few basic steps, you can whip up a delicious chocolate cake that’s free from gluten.
Serve it with a dusting of powdered sugar, a scoop of vanilla ice cream, or a dollop of whipped cream for an extra special treat. Get ready to enjoy a slice of this rich, chocolatey goodness!
Ingredients:
- 1 ¾ cups gluten-free all-purpose flour
- ¾ cup unsweetened cocoa powder
- 1 ½ cups granulated sugar
- 1 teaspoon baking powder
- 1 teaspoon baking soda
- ½ teaspoon salt
- 2 large eggs
- 1 cup milk (or dairy-free alternative)
- ½ cup vegetable oil
- 2 teaspoons vanilla extract
- 1 cup boiling water
Now let’s move on to the cooking steps.
Cooking Steps
Let’s get started on making that delicious gluten-free chocolate cake!
First up, you’ll want to preheat your oven to 350°F, so it’s nice and warm when you’re ready to bake.
Then, mix your dry ingredients thoroughly before adding the wet ones gradually; this step is essential for a perfectly fluffy cake!
Step 1. Preheat Oven to 350°F
To kick off your gluten-free chocolate cake, preheat your oven to 350°F. This step is vital because a properly heated oven guarantees that your cake bakes evenly and rises perfectly. If you skip this part, you might end up with a dense or uneven cake, which is definitely not what we want!
While your oven warms up, take a moment to gather your ingredients and tools. Make certain to use an oven thermometer if you have one, as sometimes ovens can be a bit off with their temperatures.
Once the oven reaches 350°F, you’ll create a cozy baking environment that helps your cake achieve that delicious, fluffy texture we all love.
Don’t rush this step! It’s worth waiting for the right temperature. The anticipation of a beautifully baked chocolate cake will make the whole experience even more satisfying.
As the heat builds, you can already start imagining the rich chocolate aroma filling your kitchen. It’s a delightful journey that begins with this simple yet vital task.
Step 2. Mix Dry Ingredients Thoroughly
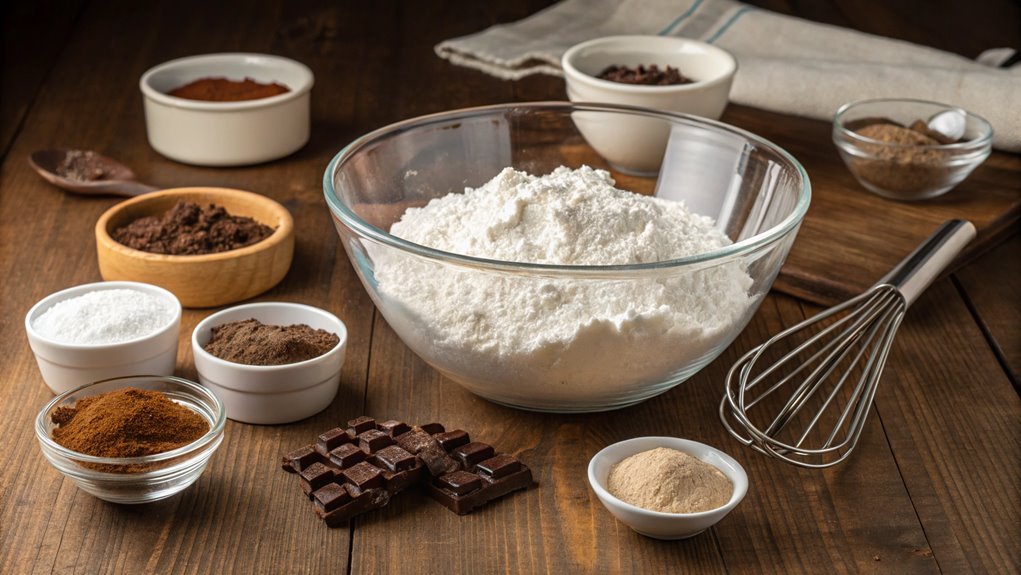
Once your oven is preheated and ready to go, it’s time to focus on mixing the dry ingredients. This step is vital because it sets the foundation for your delicious gluten-free chocolate cake. Grab a large mixing bowl and combine your gluten-free flour blend, cocoa powder, baking powder, baking soda, and a pinch of salt. These ingredients work together to create the perfect texture and flavor.
Using a whisk, stir the dry ingredients together thoroughly. This helps to evenly distribute the leavening agents and guarantees that you won’t end up with any clumps of cocoa or flour in your cake. Don’t skip this step! Mixing well not only improves the cake’s consistency but also enhances the overall taste.
Once everything’s combined, you should see a beautiful, rich brown mixture. Take a moment to appreciate how this blend will transform into a luscious cake. It’s exciting to think about how each ingredient plays a role in creating something special.
Step 3. Add Wet Ingredients Gradually
As you move on to the next step, gradually adding the wet ingredients will guarantee that your mixture comes together smoothly.
Start by taking your wet ingredients—this usually includes eggs, milk, and any oils or vanilla extract you’re using. It’s best to have everything at room temperature, as this helps in blending seamlessly.
Begin to pour the wet ingredients into your dry mix, but do it slowly. This gentle introduction allows the dry ingredients to absorb the moisture without clumping up.
Stir continuously as you pour, using a whisk or a spatula, until you see a luscious batter forming. You want it to be well combined, but try not to overmix. A little bit of texture is perfectly fine!
Step 4. Fold in Chocolate Chips
Now that your batter is smooth and well-combined, it’s time to fold in the chocolate chips. This step is essential because those little morsels will add bursts of rich chocolate flavor throughout your cake.
Grab a spatula and gently scoop underneath the batter, lifting it over the chocolate chips. Be careful not to stir vigorously; you want to keep the airiness in your batter for a light and fluffy cake.
Continue this gentle folding motion until the chocolate chips are evenly distributed. You’ll see those delightful bits of chocolate slowly nestled into the batter, creating a beautiful marbled effect.
As you fold, feel free to use your instincts—if you want more chocolate, go ahead and add a few extra chips!
Once you’ve incorporated the chocolate chips, take a moment to admire your work. The anticipation of that first warm slice is building, and you’re so close to the finish line.
You’re doing great! Remember, the joy of baking comes not just from the end result, but from the process itself. So savor this moment and get ready for the next exciting step in your gluten-free chocolate cake adventure!
Step 5. Pour Batter Into Pan
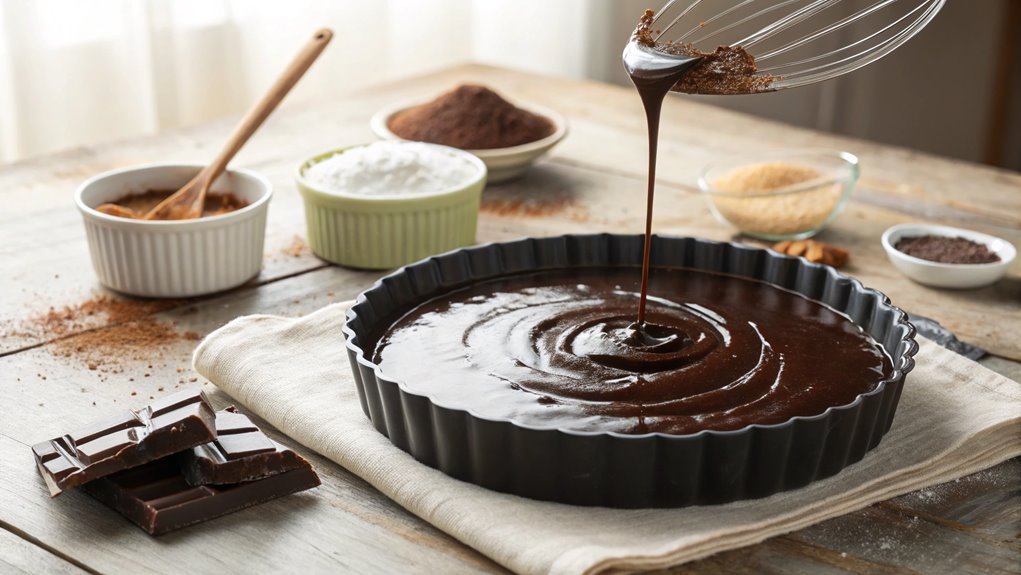
Carefully pour the batter into your prepared cake pan, making certain it fills the pan evenly.
Take a moment to admire the rich, glossy texture of the chocolate batter; it’s a sign of the delicious cake to come! As you pour, use a spatula to scrape down the sides of the bowl, guaranteeing you don’t leave any scrumptious batter behind.
Once the batter is in the pan, gently tap it on the counter. This helps to release any air bubbles that may have formed, making sure for a beautifully smooth cake.
If you’re feeling adventurous, you can even swirl in some extra chocolate chips or nuts for added flavor and texture!
Now, it’s time to spread the batter into the corners of the pan. Use your spatula to make sure it’s even, as this will help your cake rise uniformly.
A well-distributed batter leads to a perfectly baked treat.
Finally, when you’re satisfied with the batter’s consistency in the pan, it’s time to pop it in the oven.
Get ready for the delightful aroma of chocolate to fill your kitchen. Your gluten-free chocolate cake is just moments away from being a reality! Enjoy the process!
Final Thoughts
While baking a gluten-free chocolate cake may seem challenging at first, you’ll find that the process is straightforward and rewarding.
Once you gather your ingredients and start mixing, you’ll realize how fun it can be to create a delicious dessert that everyone can enjoy.
Don’t worry if you’re new to gluten-free baking; with a bit of practice, you’ll master the techniques in no time.
As you savor the rich flavors and moist texture of your cake, you’ll understand why this recipe is a favorite among both gluten-free and regular eaters.
It’s perfect for special occasions or just a cozy night in.
Plus, sharing your creation with friends and family is a great way to showcase your baking skills while accommodating dietary restrictions.
Frequently Asked Questions
Can I Substitute Almond Flour for Gluten-Free Flour?
Yes, you can substitute almond flour for gluten-free flour, but keep in mind that it’ll change the texture and flavor. Adjust the liquid ingredients, as almond flour absorbs moisture differently than regular gluten-free flour.
How Can I Make This Cake Dairy-Free?
To make your cake dairy-free, you can substitute regular milk with almond milk or coconut milk. For butter, try using coconut oil or a dairy-free margarine. These alternatives will keep your cake delicious and moist!
What Is the Best Gluten-Free Flour Blend?
Finding the perfect gluten-free flour blend is like discovering a hidden treasure. You’ll want to try a mix of almond flour and coconut flour for great texture, or a store-bought blend for convenience. Experiment and enjoy!
How Do I Store Leftover Chocolate Cake?
To store leftover chocolate cake, wrap it tightly in plastic wrap or foil. You can also place it in an airtight container. Keep it in the fridge for up to a week or freeze for longer storage.
Can I Add Nuts or Fruits to the Recipe?
Yes, you can definitely add nuts or fruits to your recipe. Just make sure to adjust the measurements accordingly. It’ll enhance the flavor and texture, giving your cake a delightful twist you’ll love!
Conclusion
You’ve crafted a delightful gluten-free chocolate cake that’s bound to impress! Simple ingredients come together to create a rich, satisfying treat.
Perfect for special occasions or a self-indulgence, this cake is a must-try. Enhance it with powdered sugar or a scoop of ice cream for an extra special touch.
Savor every bite—your taste buds will be grateful!
