Decadent Black Forest Cake Recipe
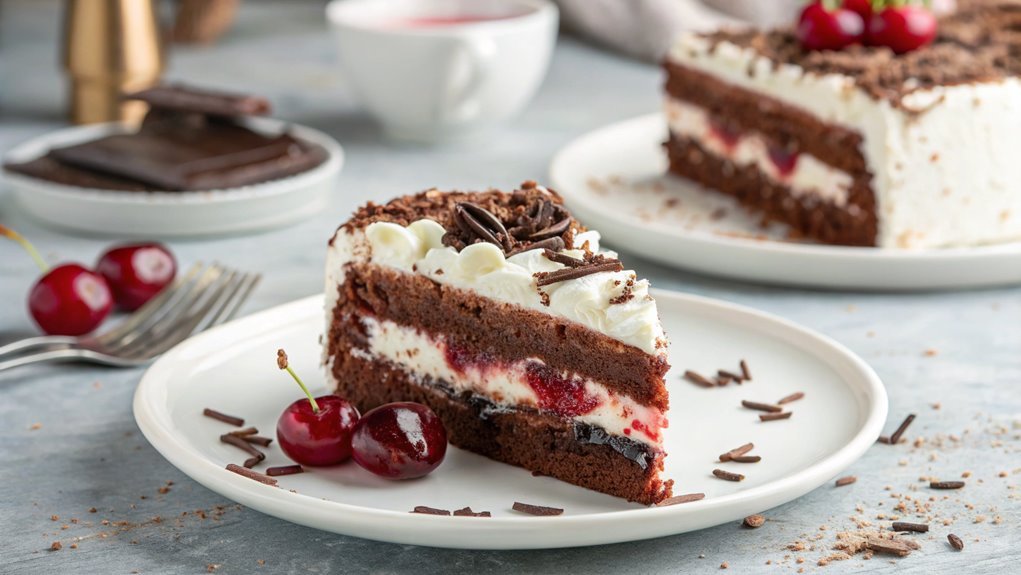
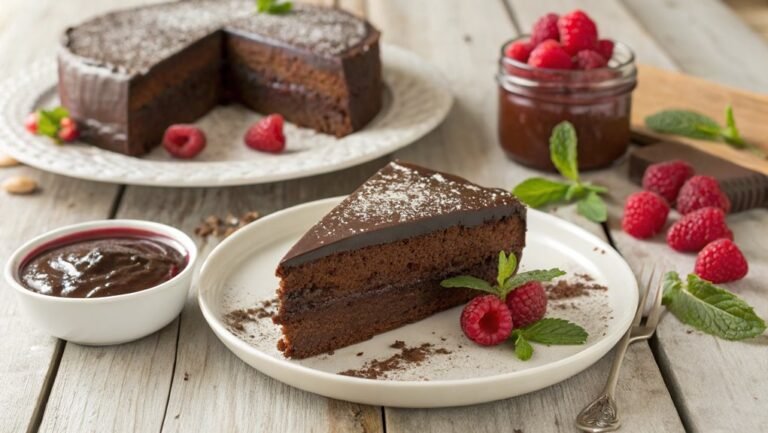
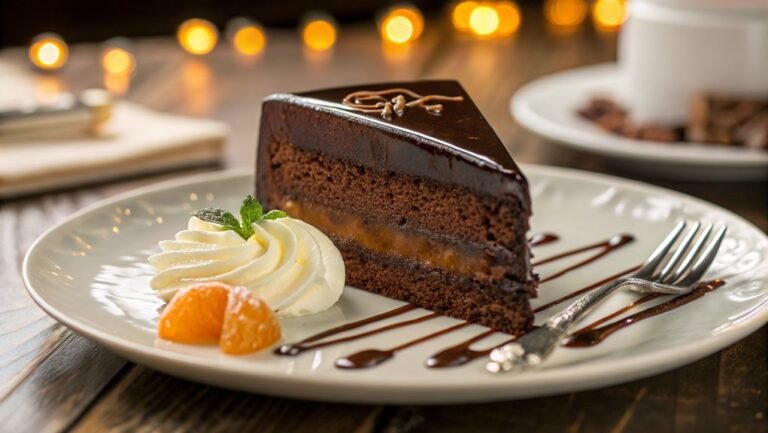
A decadent Black Forest Cake blends rich chocolate and tart cherries into a delightful creation. This cake not only shines at gatherings but often brings nostalgic memories of childhood treats. Curious about crafting your own version? Each step has nuances to achieve the perfect balance.
Recipe
Black Forest Cake is a classic German dessert renowned for its rich flavors and beautiful layers. This decadent cake typically consists of moist chocolate sponge layers, silky-smooth whipped cream, and tangy cherries, creating a delightful combination that captivates the taste buds.
Traditionally named Schwarzwälder Kirschtorte, this cake’s origins trace back to the Black Forest region of Germany, where the use of sour cherries and Kirschwasser (a cherry schnapps) gives it a distinct character.
Baking a Black Forest Cake isn’t only an enjoyable culinary project but also a show-stopping centerpiece for any celebration. The process may seem intricate, but with some patience and attention to detail, you can create a masterpiece.
To get started on your own version of this beloved dessert, gather the necessary ingredients and follow the steps to assemble and decorate your cake to perfection.
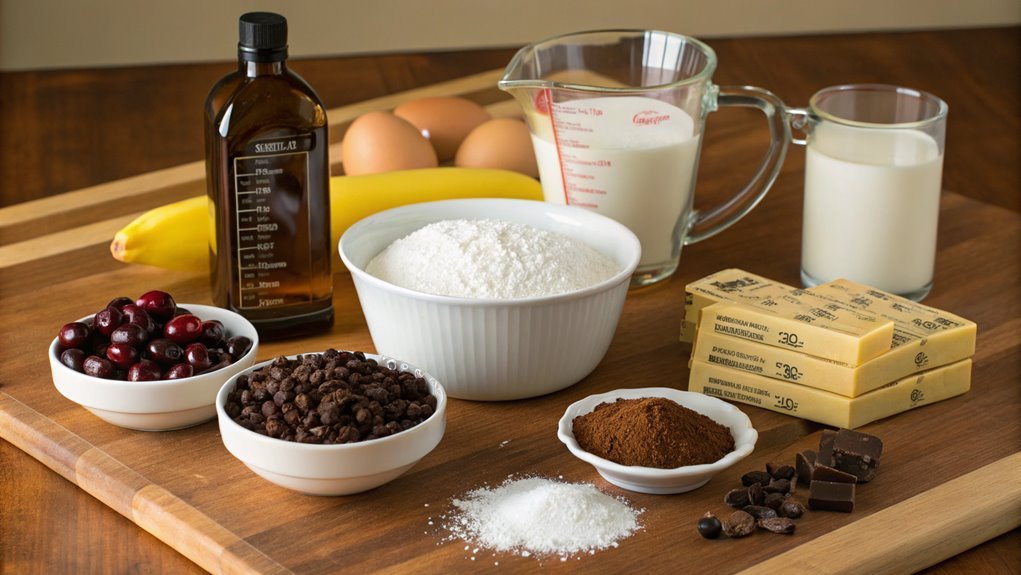
Ingredients:
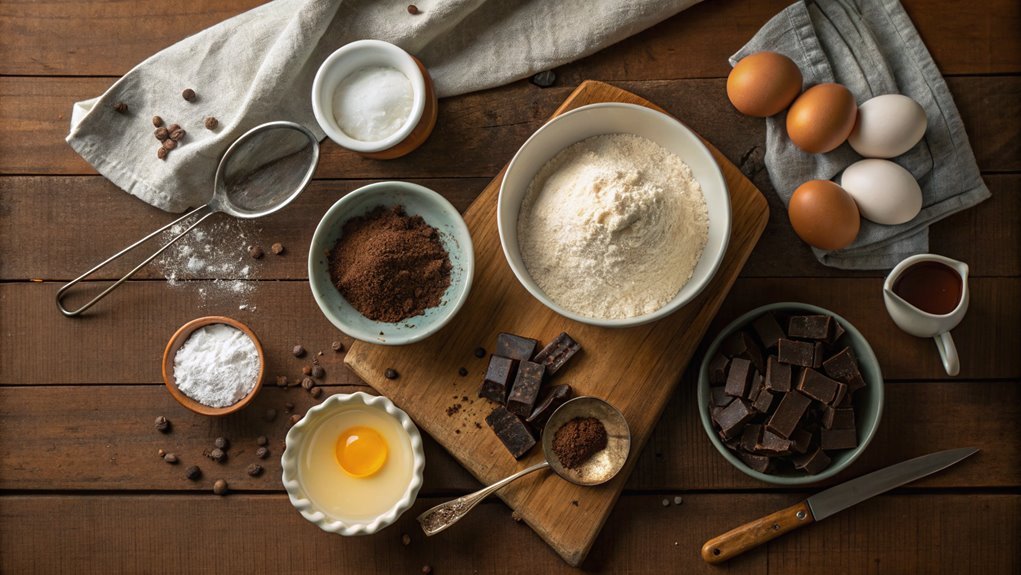
- 2 cups all-purpose flour
- 1 ¾ cups granulated sugar
- ¾ cup unsweetened cocoa powder
- 1 ½ teaspoons baking powder
- 1 ½ teaspoons baking soda
- 1 teaspoon salt
- 2 large eggs
- 1 cup whole milk
- ½ cup vegetable oil
- 2 teaspoons vanilla extract
- 1 cup boiling water
- 2 cups heavy whipping cream
- 1/4 cup powdered sugar
- 1 jar (about 24 ounces) morello cherries (drained and juice reserved)
- 1/2 cup Kirsch (cherry schnapps)
- Chocolate shavings (for garnish)
Cooking Steps
Now that you’ve got the recipe in hand, let’s jump into the cooking steps that’ll bring your Black Forest Cake to life!
Start by preparing the delicious chocolate sponge that serves as the base, then layer it with decadent cherry filling, and don’t forget to whip up that fluffy cream for frosting.
Step 1. Prepare the Chocolate Sponge
Before you can assemble your Black Forest cake, you’ll need to prepare a moist and rich chocolate sponge that serves as its foundation. This step is essential, as it sets the stage for that decadent dessert you’ll be proud to serve. Don’t worry; it’s simpler than you think!
Here’s what you’ll need to do:
- Combine dry ingredients: In a bowl, mix together flour, cocoa powder, baking powder, and salt. This guarantees even distribution of flavors.
- Mix wet ingredients: In another bowl, whisk together eggs, sugar, buttermilk, and melted butter until smooth. This mixture brings moisture and richness to your sponge.
- Combine and bake: Gently fold the dry ingredients into the wet mixture. Pour it into a greased baking pan and bake at 350°F (175°C) for about 25-30 minutes, or until a toothpick comes out clean.
Let your sponge cool completely before moving on to the next steps.
Your kitchen will soon be filled with the heavenly aroma of chocolate! Enjoy this moment, and get excited about the delicious layers yet to come!
Step 2. Layer With Cherry Filling
Once your chocolate sponge has cooled, it’s time to bring in the delightful cherry filling that gives a Black Forest cake its signature flavor.
First, slice your sponge layers horizontally with a serrated knife. Make sure to keep the layers even, so they stack nicely. You’ll want to be gentle here; we’re building something beautiful!
Now, take the cherry filling, which can either be homemade or store-bought, and spread it generously on the first layer. Don’t be shy—this is where those luscious cherry flavors come alive! You can leave a little space around the edges to avoid overflow.
Next, carefully place the second sponge layer on top of the first, pressing it down gently.
Repeat this process with another layer of cherry filling and the last layer of sponge. If you’re feeling adventurous, you can even drizzle some cherry syrup from the filling for an extra cherry kick.
As you see the layers pile up, you’ll feel the excitement building! This step is essential for that classic Black Forest experience, so enjoy every moment as you create this masterpiece. You’re on your way to a decadent and delicious dessert!
Step 3. Frost With Whipped Cream
As you prepare to frost your Black Forest cake, make sure the sponge layers are chilled to set the cherry filling firmly. This step is essential for achieving a clean finish when adding your whipped cream.
You’re going to love how easy and satisfying it’s to frost this cake!
1. Whip the cream: Start by whipping heavy cream in a chilled bowl until it forms soft peaks. Add a bit of powdered sugar and vanilla extract for sweetness and flavor.
2. Frost the layers: Take your chilled sponge layers, and with a spatula, gently spread a layer of whipped cream over the cherry filling. Don’t be shy—add a good amount!
Then, place the next layer on top, and repeat the process.
3. Cover the cake: Once you’ve frosted the layers, use the remaining whipped cream to cover the top and sides of the cake. Aim for smooth and even coverage to showcase that beautiful cake underneath.
With each luscious layer, your Black Forest cake will come together beautifully, promising a delightful treat that’s just begging to be enjoyed.
Happy frosting!
Step 4. Garnish With Chocolate Shavings
Garnishing your Black Forest cake with chocolate shavings is a simple yet impressive touch that elevates its appearance and flavor. To start, you’ll want to grab some good-quality dark chocolate. You can use a chocolate bar or even chocolate curls if you have them on hand.
If using a bar, carefully use a vegetable peeler to create thin shavings. Just hold the chocolate steady and glide the peeler along the edge. This will give you those delightful, beautiful curls to sprinkle on top!
Once the cake is frosted with whipped cream, it’s time to add those shavings. Gently scatter the chocolate shavings over the top of the cake, allowing some to fall onto the sides for a rustic look.
Make sure to cover it evenly, so every slice has that chocolaty goodness.
For an extra flourish, you can also garnish the cake with whole or halved cherries, tying together the classic flavors of Black Forest. This appeal doesn’t just look good; it also enhances the taste experience.
You’ve now added a touch of elegance to your cake, making it a showstopper at any gathering! Enjoy the deliciousness!
Step 5. Chill Before Serving
After adding those chocolate shavings, it’s a good idea to chill the Black Forest cake before serving. This step not only helps the flavors meld together beautifully, but it also keeps the cake firm for slicing. Trust me—your guests will appreciate the extra effort!
Here’s how to chill your cake like a pro:
- Cover It Up: Use plastic wrap or foil to cover the cake. This prevents any unwanted fridge odors from affecting its delightful flavor.
- Chill for At Least Two Hours: Place the cake in the refrigerator for a minimum of two hours. If you have the time, letting it chill overnight will enhance the taste, making each bite even more scrumptious.
- Serve Cold or Slightly Chilled: Remove the cake from the fridge just before serving. A slightly chilled cake offers a revitalizing contrast to the rich chocolate and whipped cream layers.
Final Thoughts
When you take a moment to savor your homemade Black Forest cake, you’ll realize it’s not just about the delicious combination of chocolate, cherries, and cream; it’s about the joy of creating something special.
Each step you took in the kitchen brought you closer to enjoying this decadent treat, and that experience is simply priceless.
Baking this cake allows you to share love and creativity with friends and family.
Imagine their smiles as they take that first bite, and you know you’ve made something memorable.
This recipe is an experience waiting to unfold, where your passion for baking shines.
The layers of rich chocolate cake, the tangy cherries, and the fluffy whipped cream come together in perfect harmony, tantalizing the taste buds of everyone lucky enough to indulge.
Frequently Asked Questions
Can I Substitute Ingredients for a Healthier Version?
You can substitute ingredients for a healthier version. Try using whole grain flour instead of white, Greek yogurt instead of heavy cream, and honey or maple syrup instead of refined sugar. You’ll be pleasantly surprised!
How Long Can I Store Leftover Black Forest Cake?
You take a moment to ponder the fate of your leftover cake. Stored in an airtight container in the fridge, it can last about 3 to 5 days, keeping its luscious flavor keen for indulgence.
What’s the Best Way to Slice the Cake?
To slice the cake perfectly, use a sharp, clean knife and warm it under hot water. Wipe it dry between cuts. This keeps your slices neat, letting everyone enjoy the layers without a messy presentation.
Can I Make This Cake Gluten-Free?
Yes, you can definitely make this cake gluten-free! Just substitute regular flour with a gluten-free blend. Make sure to check all other ingredients for gluten, and you’ll still create a delicious treat everyone can enjoy!
What Wine Pairs Well With Black Forest Cake?
When it comes to wine pairings, you’ve hit the nail on the head with a fruity red, like a Pinot Noir or a sweet cherry dessert wine. They’ll complement the cake’s chocolate and cherries beautifully.
