Sugar-Free Chocolate Cake Recipe
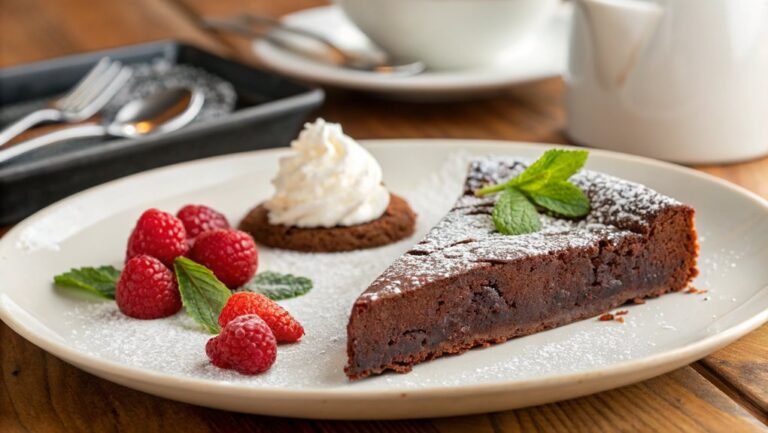
A rich, decadent chocolate cake without sugar is indeed possible and can satisfy cravings while aligning with health goals. With the right ingredients and a few simple steps, you can make a dessert that feels indulgent yet guilt-free.
Curious about achieving the perfect balance of flavor and texture? Let’s explore the recipe that enables this delicious transformation.
Recipe
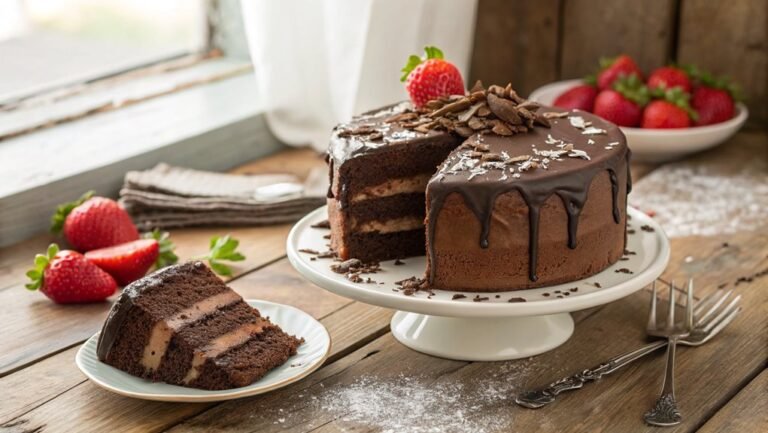
If you’re looking to satisfy your chocolate cravings without the added sugar, this sugar-free chocolate cake is the perfect solution. This delectable cake is rich, moist, and incredibly easy to make. By using natural sweeteners like erythritol or stevia, you can enjoy a guilt-free treat that’s perfect for any occasion, whether it’s a birthday party or a simple family dessert night.
The best part? It still delivers that deep, chocolatey flavor we all love, making it a delightful choice for everyone, even those who aren’t counting their sugar intake.
To make this cake, you’ll need just a few simple ingredients, and you can have it ready in no time. It’s a great recipe for bakers of all levels, as it requires minimal prep and baking skills. Pair it with a sugar-free frosting or enjoy it plain for a delicious dessert that won’t derail your healthy eating habits.
Let’s explore the ingredients you’ll need to whip up this amazing sugar-free chocolate cake!
Ingredients:
- 1 ¾ cups almond flour
- ½ cup unsweetened cocoa powder
- 1 teaspoon baking soda
- ½ teaspoon salt
- 1 cup erythritol or stevia (to taste)
- 4 large eggs
- ½ cup unsweetened applesauce
- ½ cup coconut oil, melted
- 1 teaspoon vanilla extract
- 1 cup unsweetened almond milk
Now let’s move on to the cooking steps.
Cooking Steps
Let’s get cooking! Start by preheating your oven to 350°F, so it’s nice and warm when you’re ready to bake.
Next, mix your dry ingredients thoroughly, then gradually add the wet ones, creating a delicious batter that you’ll love pouring into the pan.
Step 1. Preheat Oven to 350°F
Preheating your oven to 350°F is an essential step in making the perfect sugar-free chocolate cake. This temperature is ideal for baking, ensuring that your cake rises beautifully and bakes evenly. Before you begin mixing your ingredients, take a moment to turn on your oven. This way, it’ll be hot and ready when you’re done preparing the batter.
While the oven is heating, it’s a great time to gather your ingredients and tools. Make sure you have everything you need within reach. This includes your mixing bowls, measuring cups, and any other baking essentials.
You’ll find that getting organized not only speeds up the process but also makes the experience much more enjoyable.
Once your oven reaches the desired temperature, you’ll be ready to pour in your cake batter. The aroma of a freshly baked cake will fill your kitchen, creating an inviting atmosphere.
Plus, knowing you’re making a healthier version of this classic dessert adds to the excitement! So, let’s get that oven preheated, and prepare to whip up a delightful sugar-free chocolate cake that everyone will love!
Step 2. Mix Dry Ingredients Thoroughly
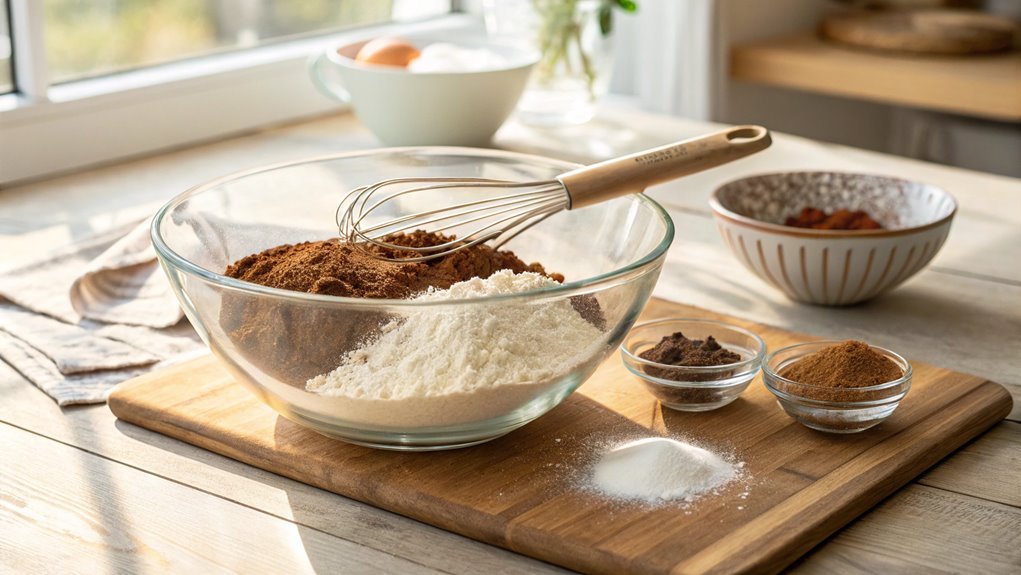
Mixing your dry ingredients thoroughly is essential for achieving a perfectly textured sugar-free chocolate cake. When you blend these components well, you guarantee that every bite is rich and delicious, without any unexpected lumps or uneven flavors. This step might seem simple, but it plays a significant role in the final outcome of your cake.
Here’s how to do it effectively:
- Sift Together: Start by sifting your flour, cocoa powder, and any leavening agents to break up clumps. This also aerates the mixture, which contributes to a lighter cake.
- Combine Dry Ingredients: In a large bowl, combine your sweetener (like erythritol), baking powder, baking soda, and a pinch of salt. Using a whisk, mix them together until they’re well blended. This guarantees even distribution, which is essential for an even rise.
- Check for Clumps: After mixing, take a moment to check for any remaining clumps. If you spot any, break them up gently with the back of your spoon or whisk.
Once you’ve nailed this step, you’re on your way to baking a scrumptious cake that everyone will enjoy!
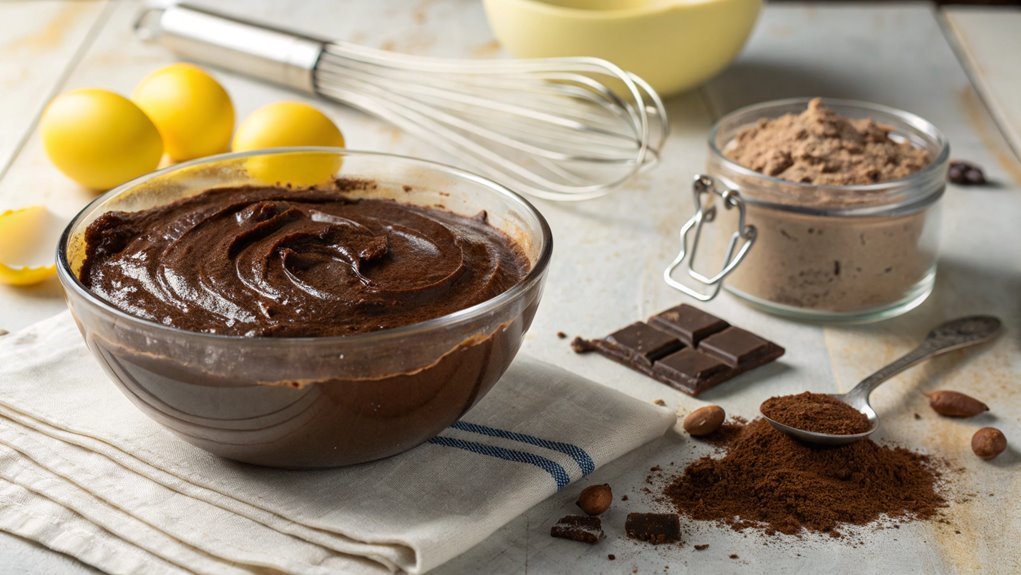
Step 3. Add Wet Ingredients Gradually
Once your dry ingredients are perfectly blended, it’s important to add the wet ingredients gradually to guarantee a smooth batter. Start by pouring in a small amount of the wet mixture, which may include eggs, vanilla extract, or any other liquids you’re using. As you mix, be sure to incorporate it fully before adding more. This step is vital because it helps prevent lumps and guarantees that everything combines evenly.
As you continue to add the wet ingredients, keep a steady pace. You want to maintain that lovely, creamy texture that makes your cake so irresistible. If you rush this process, you could end up with a clumpy batter. So, take your time! Use a whisk or an electric mixer, whichever you prefer, to blend the ingredients thoroughly.
You’ll notice the batter transforming into something rich and velvety. The aroma will start to fill your kitchen, building excitement for the delicious cake ahead.
Step 4. Fold in Chocolate Chips
Gently fold in the chocolate chips to your batter, ensuring they’re evenly distributed without overmixing. This step is vital because you want those little bursts of chocolate goodness to shine through in every bite. Overmixing can cause the batter to become tough, so be gentle!
Here’s how to make sure you get it just right:
- Use a spatula: A rubber spatula is perfect for this job. It helps you scoop from the bottom and fold over the top, keeping the batter airy.
- Add chips gradually: Instead of dumping all the chocolate chips in at once, add them in two or three batches. This way, you can better control how well they incorporate into the batter.
- Stop when mixed: Once you see the chocolate chips evenly spread throughout the batter, stop! You want to maintain that fluffy texture.
This step not only enhances the flavor but also adds delightful texture to your cake. Imagine indulging in a slice that’s moist and rich, with chocolate chips melting in your mouth. You’re going to love it!
Step 5. Pour Batter Into Pan
Now it’s time to pour your luscious batter into the prepared pan. Take a moment to admire that rich, chocolatey goodness before you plunge in.
Grab a spatula and gently scrape every last bit of the batter from the mixing bowl. You want every ounce of that deliciousness to make it into your cake.
Slowly tilt the bowl, allowing the batter to flow freely into the pan. Make certain to pour it evenly, spreading it out as you go. This will help your cake bake uniformly, creating that perfect texture we all crave.
Don’t rush; enjoy the process!
Once you’ve poured the batter, use your spatula to smooth the top. This little step guarantees a lovely, even surface for decorating later. If you notice any air bubbles, gently tap the pan on the counter to release them.
Now, you’re ready for the next step in your baking journey! Your cake is about to transform into a delightful treat that anyone can enjoy, sugar-free and all.
Final Thoughts
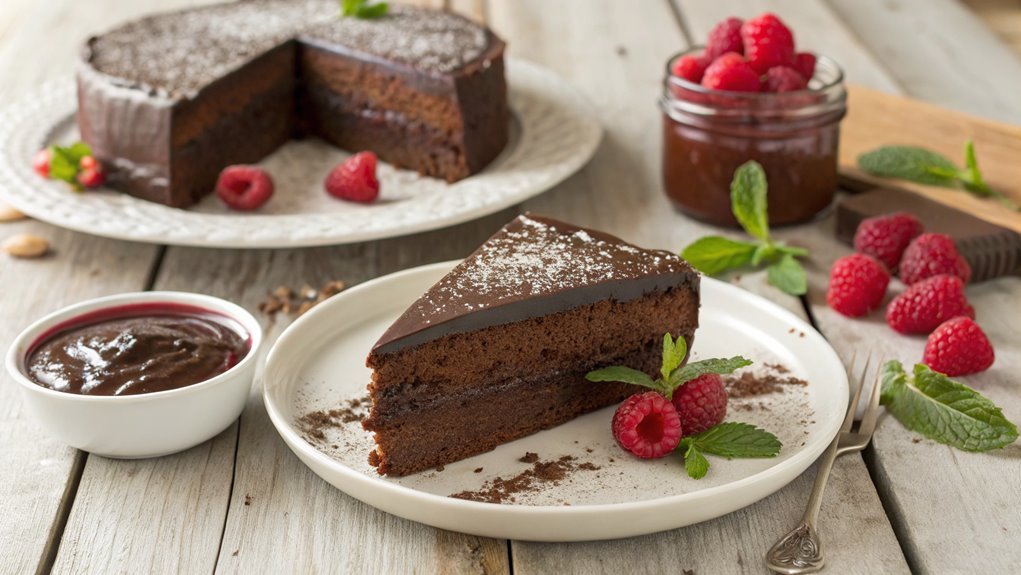
As you savor your delicious sugar-free chocolate cake, it’s clear that enjoying a sweet treat doesn’t have to come at the expense of your health.
This recipe not only satisfies your cravings but also allows you to indulge guilt-free. With the right ingredients and a little creativity, you can whip up a dessert that everyone will love, regardless of their dietary preferences.
Here are three reasons why you should try making this cake:
- Healthier Ingredients: You’re using natural sweeteners and wholesome components, making this cake a better option for your body.
- Simplicity: The steps are straightforward, so you don’t need to be a master baker to achieve delicious results. Just follow the recipe, and you’ll impress everyone!
- Versatility: Feel free to customize it with your favorite toppings or add-ins, like nuts or fruits, to make it your own.
Frequently Asked Questions
Can I Substitute Almond Flour for Regular Flour?
Yes, you can substitute almond flour for regular flour in many recipes. Just remember, almond flour absorbs moisture differently, so you might need to adjust the liquid ingredients or use a combination for best results.
How Long Can I Store the Cake?
You can keep that delightful creation fresh for about three to four days at room temperature. If you’re looking to extend its charm, the fridge can hold it for up to a week. Enjoy!
Is This Cake Suitable for Diabetics?
Yes, this cake’s suitable for diabetics since it uses sugar alternatives that won’t spike blood sugar levels. Just guarantee you check the specific ingredients and portion sizes to maintain a balanced diet. Enjoy it responsibly!
Can I Freeze the Sugar-Free Chocolate Cake?
Yes, you can freeze the cake. Just wrap it tightly in plastic wrap or aluminum foil, then place it in an airtight container. When you’re ready to enjoy it, let it thaw in the fridge.
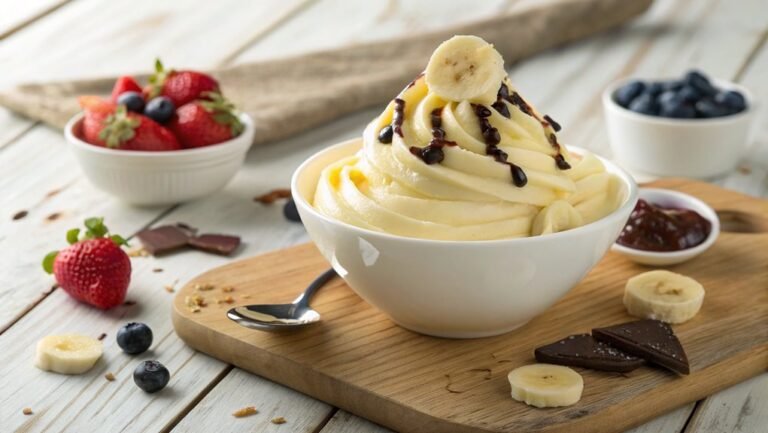
What Can I Use as a Frosting Alternative?
When you crave sweetness without the sugar, consider creamy avocado or whipped coconut cream. They offer a rich, indulgent contrast to traditional frostings, letting you enjoy dessert guilt-free while still satisfying your taste buds.
Conclusion
Enjoy a delicious sugar-free chocolate cake without the guilt! Each rich, chocolatey bite feels like a cozy hug.
Satisfy your sweet tooth without the sugar rush. Share this treat with friends or savor it all by yourself.
Preheat the oven and let your kitchen fill with its irresistible aroma. Happy baking!