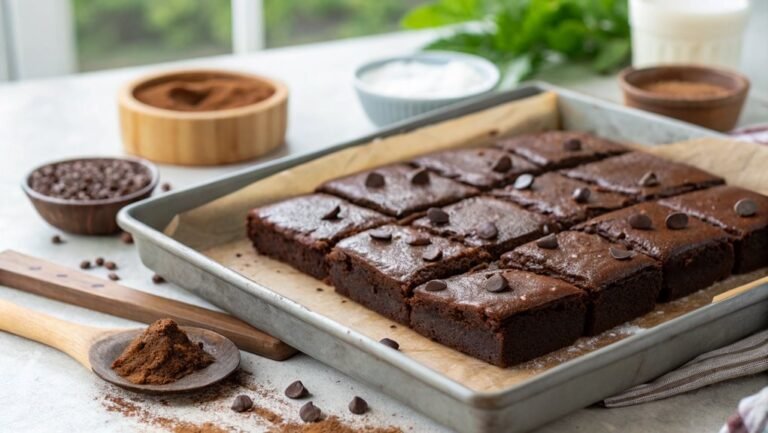
Yummy Chocolate Cake Recipe
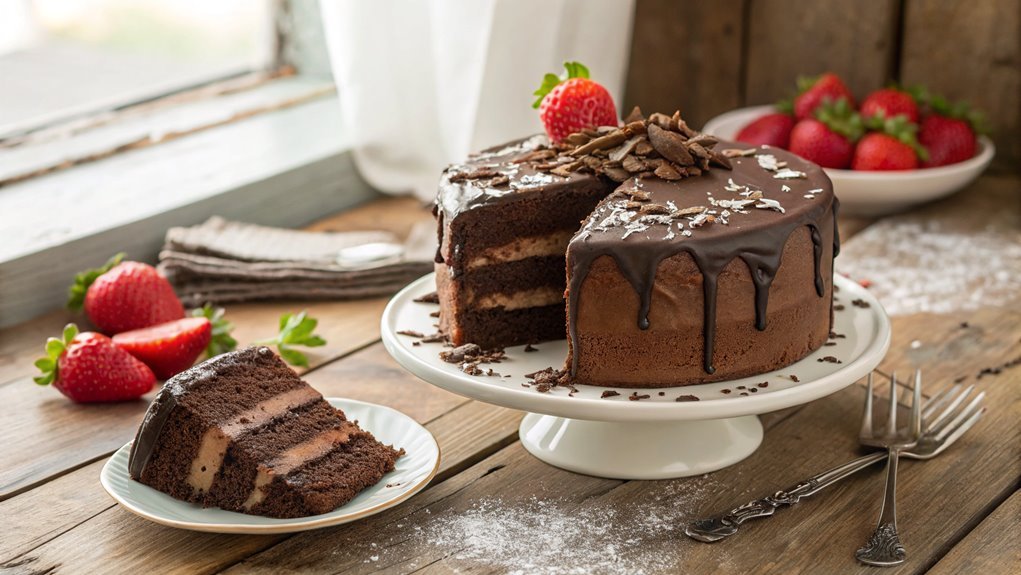
Craving a decadent dessert? A simple chocolate cake, made with just a few basic ingredients, offers a moist and rich delight.
Before you start, think about subtle twists to elevate this classic recipe and make it truly memorable. What creative enhancements will you choose?
Recipe
Chocolate Cake Recipe
Indulging in a rich and moist chocolate cake is an experience that can elevate any occasion. Whether it’s a birthday celebration, a family gathering, or simply a treat for yourself, this classic dessert never fails to impress.
Making a chocolate cake from scratch isn’t only rewarding but also allows you to customize the sweetness and richness to your preference. With just a few simple ingredients, you can create a decadent cake that’s sure to satisfy any chocolate lover.
This recipe will guide you through the process of creating a luscious chocolate cake that’s easy to prepare and even easier to enjoy. You’ll find that each step builds upon the last, resulting in a fluffy and flavorful cake that will make your taste buds dance.
So gather your ingredients and get ready to bake a delightful chocolate cake that will become a staple in your baking repertoire!
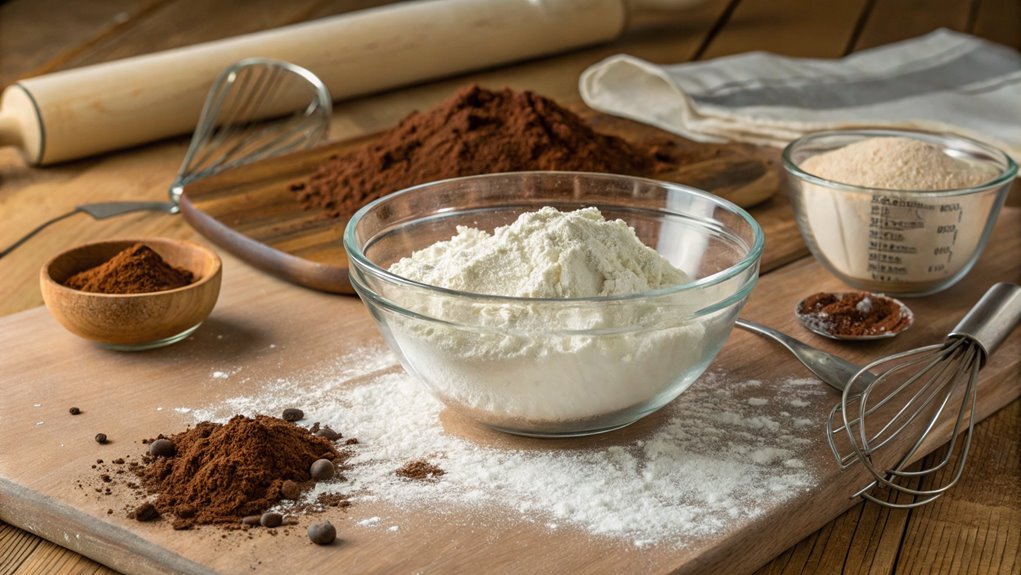
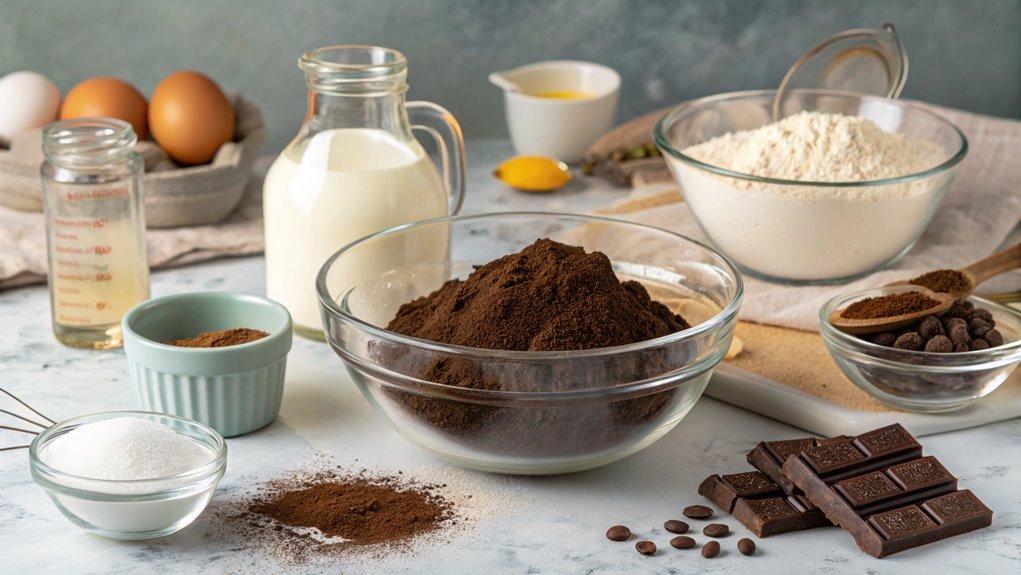
Ingredients:
- 1 ¾ cups all-purpose flour
- 1 ¾ cups granulated sugar
- ¾ cup unsweetened cocoa powder
- 1 ½ teaspoons baking powder
- 1 ½ teaspoons baking soda
- 1 teaspoon salt
- 2 large eggs
- 1 cup whole milk
- ½ cup vegetable oil
- 2 teaspoons vanilla extract
- 1 cup boiling water
Now let’s move on to the cooking steps.
Cooking Steps
Now that you’ve gathered your ingredients, it’s time to bring your chocolate cake to life!
Start by preheating your oven to 350°F, so it’s ready to work its magic.
Then, let’s mix those dry ingredients together before gradually adding the wet ones, creating a rich batter that’ll make your kitchen smell amazing!
Step 1. Preheat Oven to 350°F
To kick off your chocolate cake adventure, preheat your oven to 350°F (175°C). This step is essential because it guarantees your cake bakes evenly and rises perfectly.
While your oven heats up, you’re already on your way to creating something delicious! Set your oven timer, and use this time to gather your ingredients and tools. It’s always a good idea to double-check that you have everything you need, like flour, cocoa powder, sugar, and eggs. Preparing ahead will keep the cooking process smooth and enjoyable.
Once your oven reaches the right temperature, you’ll feel the excitement build. The warm air will create a cozy atmosphere in your kitchen, setting the stage for your baking masterpiece.
Step 2. Mix Dry Ingredients Together
Start by combining the dry ingredients in a large bowl. You’ll need to measure out your all-purpose flour, unsweetened cocoa powder, baking powder, baking soda, and salt.
Sift these ingredients together to avoid clumps and guarantee everything mixes evenly. This step is essential because it helps your cake rise beautifully and gives it that rich chocolate flavor you’re craving.
As you mix, take a moment to appreciate the wonderful aroma of chocolate wafting through the air! It’s such a delightful prelude to the delicious cake that’s about to come together.
Use a whisk or a fork to blend the ingredients thoroughly, making sure there are no dry pockets left behind. This will create a uniform batter when you add the wet ingredients later.
Don’t rush this step; enjoy the process! Once everything is well combined, you’ll notice the lovely dark color of the mixture, which hints at the indulgent treat you’re about to create.
It’s a simple yet satisfying task that sets the stage for your scrumptious chocolate cake. Trust me, you’re going to love the outcome!
Step 3. Add Wet Ingredients Gradually
With the dry ingredients perfectly combined, it’s time to bring the batter to life by adding the wet ingredients. Start by pouring in the eggs, one at a time, making sure to beat them in thoroughly. This step adds richness and moisture, which are essential for that luscious chocolate cake texture.
Next, add your milk and vanilla extract, mixing gently until everything’s well incorporated. You’ll notice the batter becoming smoother and more inviting with each stir!
Now, if you’ve melted some butter or oil, add that in too. This will enhance the flavor and keep your cake wonderfully moist. Remember to incorporate the wet ingredients gradually, allowing the mixture to blend seamlessly. If you rush this process, you might end up with lumps, and nobody wants that!
As you mix, feel free to switch to a whisk for a bit of extra airiness. This is where the magic happens! The batter should become glossy and silky, enticing you to dive right in.
Once everything’s mixed together beautifully, you’ll be just a step away from pouring it into your pan. Isn’t that exciting? Enjoy this moment of creation!
Step 4. Pour Batter Into Pan
Gently pour the smooth, glossy batter into your prepared cake pan, ensuring it’s evenly distributed. This step is essential because it sets the foundation for your delicious chocolate cake. You want every slice to be just as delectable as the last!
Here’s how to make the pouring process a breeze:
- Use a Spatula: After pouring, use a spatula to scrape the sides of the bowl, ensuring you get every last drop of that rich batter.
- Tap the Pan: Once the batter is in the pan, gently tap it on the counter. This helps eliminate any air bubbles that may have formed, resulting in a denser texture.
- Smooth the Top: If you notice any unevenness, take the spatula and smooth the top of the batter. A flat surface helps your cake rise evenly.
Now that you’ve poured your batter, you’re one step closer to a mouthwatering chocolate cake! The anticipation is building, and your kitchen is filled with that irresistible chocolate aroma.
Get ready to enjoy the fruits of your labor, and soon, you’ll be indulging in a slice of this heavenly treat!
Step 5. Bake for 30 Minutes
Now it’s time to bake your chocolate cake! Preheat your oven to 350°F (175°C) if you haven’t already. This step is essential, as a properly heated oven guarantees even baking.
Place your filled cake pan in the center of the oven and set a timer for 30 minutes.
While the cake bakes, you can already start imagining the delightful aroma wafting through your kitchen. You’ll know your cake is ready when a toothpick inserted in the center comes out clean or with just a few moist crumbs. This means it’s perfectly baked and not overdone!
Keep an eye on your cake during the last few minutes of baking, as oven temperatures can vary. If you notice the edges pulling away from the pan, that’s another sign it’s almost done.
Once the timer goes off, carefully remove the cake from the oven, and let it cool in the pan for about 10 minutes before transferring it onto a wire rack.
This cooling period is important for achieving the perfect texture. You’re just moments away from enjoying a delicious homemade chocolate cake! Get ready for the sweetest reward!
Final Thoughts
As you savor the rich flavors of your homemade chocolate cake, it’s clear that the effort you’ve put into baking it was worth every moment.
The warm, gooey center, paired with the luscious frosting, creates a delightful experience that makes all your hard work pay off.
Now that you’ve perfected this recipe, here are three reasons to keep baking:
- Endless Variations: You can easily customize your cake with different flavors, fillings, or toppings. Try adding nuts, berries, or even a sprinkle of sea salt for an exciting twist!
- Impress Family and Friends: Nothing says “I care” like a homemade dessert. Your loved ones will be amazed by your baking skills, making every gathering a special occasion.
- Perfect for Any Occasion: Birthdays, anniversaries, or just a cozy night in, this chocolate cake fits every celebration. It’s a crowd-pleaser that everyone will enjoy!
Frequently Asked Questions
Can I Substitute Cocoa Powder for Chocolate in the Recipe?
Yes, you can substitute cocoa powder for chocolate in your recipe. Just remember that cocoa powder is more concentrated, so you might need to adjust the sugar and fat content to maintain the desired texture and flavor.
How Long Does the Chocolate Cake Stay Fresh?
A chocolate cake stays fresh for about 3 to 5 days at room temperature when stored in an airtight container. If you refrigerate it, it can last up to a week, but it might dry out.
What Type of Flour Works Best for This Cake?
You might be surprised to learn that the best flour for this cake isn’t all-purpose. Instead, reach for cake flour—it’ll give you that light, tender texture you crave. Trust me, it makes a difference!
Can I Make This Cake Gluten-Free?
Yes, you can definitely make this cake gluten-free! Just substitute regular flour with a gluten-free blend, and guarantee you check other ingredients for gluten. It’ll still be delicious and satisfying without the gluten! Enjoy!
How Can I Store Leftover Chocolate Cake?
“Don’t let good things go to waste!” To store leftover chocolate cake, wrap it tightly in plastic wrap or place it in an airtight container. Keep it in the fridge for up to a week. Enjoy!
Conclusion
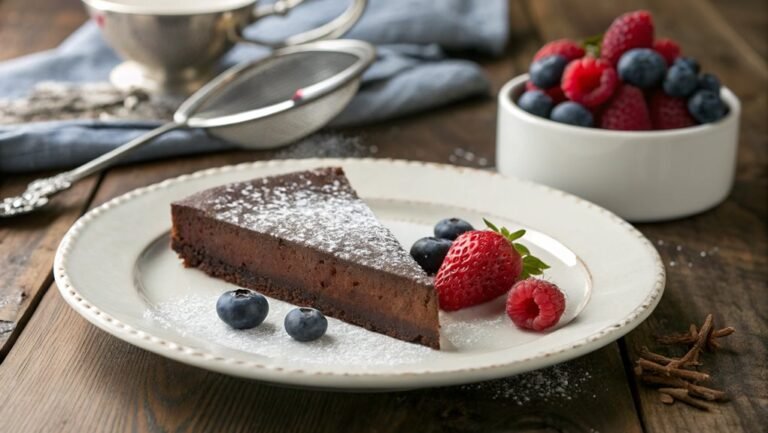
Having mastered this delicious chocolate cake recipe, it’s time to share your creation! Imagine surprising friends with a warm slice, topped with creamy frosting and fresh berries.
They’ll rave about your baking skills in no time. Feel free to experiment with flavors or add your favorite mix-ins, like nuts or chocolate chips.
So, roll up your sleeves, gather the ingredients, and bring joy to your kitchen with this delightful treat!