Funfetti Birthday Cake Recipe
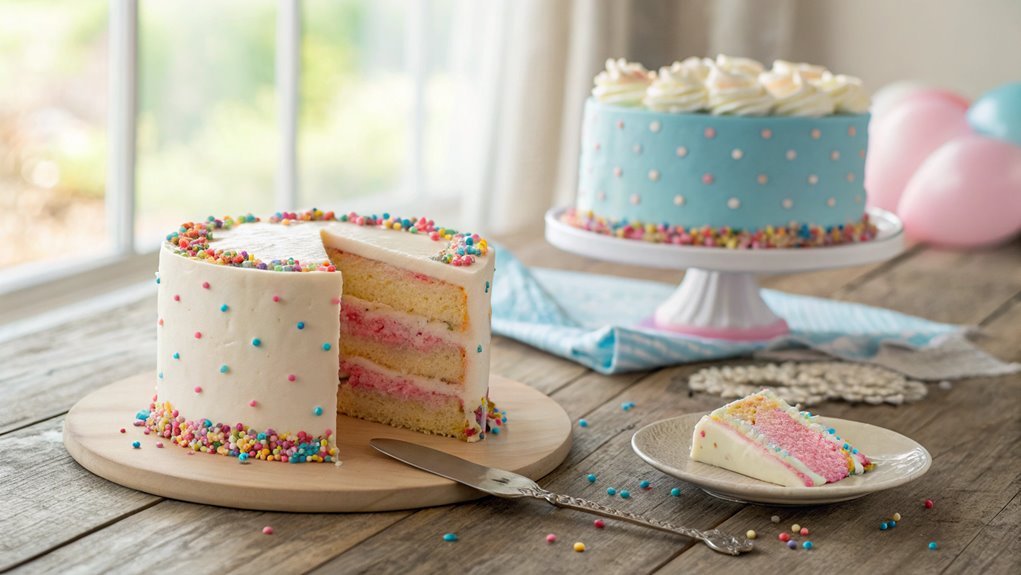
The Funfetti Birthday Cake is a delightful choice for celebrations with its light texture, vibrant sprinkles, and simple preparation. It’s an ideal treat for any festive occasion.
Consider adding a unique twist or personal touch to make it even more memorable. Exploring these options might lead to a new favorite birthday tradition.
Recipe
Funfetti Birthday Cake Recipe
Celebrate special occasions with a vibrant and delicious Funfetti Birthday Cake that’s sure to bring joy to any party! This light and fluffy cake is filled with colorful sprinkles, making it not only a delightful treat but also a feast for the eyes.
The combination of vanilla flavor and the burst of colors from the sprinkles creates a whimsical dessert that everyone will love. Whether you’re baking for a birthday, anniversary, or just because, this cake is perfect for all celebrations.
Making this Funfetti cake is a breeze, and it requires simple ingredients that you probably already have in your pantry. The cake is baked in two layers and can be frosted with your favorite buttercream frosting.
You can also add more sprinkles on top for an extra festive touch. So gather your ingredients and get ready to whip up a cake that will make any occasion even more special!
Ingredients:
- 2 ½ cups all-purpose flour
- 2 ½ teaspoons baking powder
- ½ teaspoon salt
- 1 cup unsalted butter, softened
- 2 cups granulated sugar
- 4 large eggs
- 1 tablespoon vanilla extract
- 1 cup whole milk
- ¾ cup rainbow sprinkles (plus extra for decoration)
- Buttercream frosting (for frosting the cake)
Now let’s move on to the cooking steps.
Cooking Steps
Now that you have your ingredients ready, it’s time to bring your Funfetti birthday cake to life!
Start by preheating your oven to 350°F, creating the perfect environment for baking.
As you mix your dry ingredients thoroughly, you’ll feel the excitement build—each step brings you closer to a delicious celebration!
Step 1. Preheat Oven to 350°F
Before diving into mixing your ingredients, you’ll want to preheat your oven to 350°F. This step is essential because it guarantees that your cake bakes evenly and rises beautifully.
While you gather your ingredients, let the oven do its job of heating up. This way, when you’re ready to pour your batter in, the oven will be at the perfect temperature for that delicious Funfetti cake!
To preheat, simply turn the dial or press the buttons on your oven until it reaches 350°F. If your oven has a preheat indicator, keep an eye on it.
You’ll know it’s ready when the light goes off or you hear a beep. This little waiting period is a great time to get excited! Imagine the delightful aroma of vanilla and sprinkles wafting through your kitchen as your cake bakes.
Step 2. Mix Dry Ingredients Thoroughly
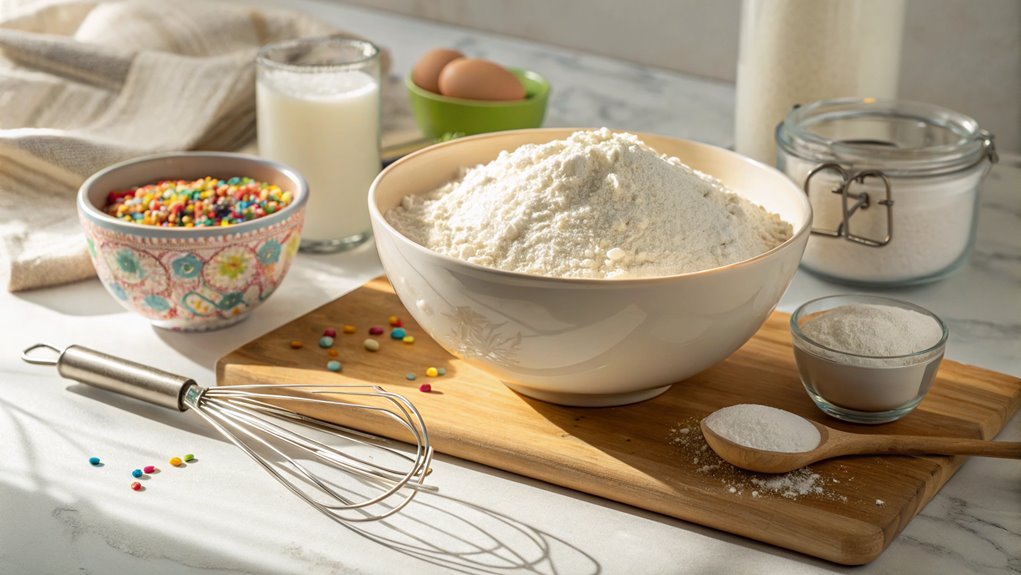
To create a perfectly textured Funfetti cake, start by mixing your dry ingredients thoroughly. Grab a large mixing bowl and combine your all-purpose flour, baking powder, baking soda, and salt. These ingredients are the backbone of your cake, so it’s essential to measure them accurately. Use a whisk to blend them together, breaking up any clumps. This step guarantees that the baking powder and baking soda are evenly distributed, which helps your cake rise beautifully.
Next, don’t forget to add your sugar! Mixing it with the dry ingredients at this stage allows it to incorporate better, leading to a sweeter and more flavorful cake. Keep whisking until you see a uniform mixture; this should take just a couple of minutes.
If you’re feeling adventurous, toss in some rainbow sprinkles at this point! This will add a delightful burst of color and a fun surprise in every bite.
The excitement is building as you prepare for the next steps. Remember, taking the time to mix your dry ingredients thoroughly sets a solid foundation for your Funfetti cake. It’s all about creating a cake that’s not just good, but extraordinary! Enjoy the process; you’re on your way to a fantastic celebration!
Step 3. Add Wet Ingredients Gradually
With your dry ingredients perfectly mixed, it’s time to bring in the wet ingredients. Start by measuring out your milk and adding it to the bowl, followed by the eggs and vanilla extract. These ingredients will add moisture and flavor, creating that delightful cake texture we all love!
Now, here’s the trick: you want to add the wet ingredients gradually. Pour the milk mixture into the dry ingredients in a slow, steady stream while mixing gently. This method guarantees that everything blends together smoothly without any lumps.
Keep stirring until you see a homogeneous batter forming. Don’t rush this step; take your time to enjoy the process!
If you find the batter’s a bit thick, feel free to add a splash more milk. This little adjustment can make a huge difference! The key is to achieve a smooth, creamy consistency that promises a moist cake.
Once your batter is just right, you’ll feel that excitement building—you’re one step closer to baking a scrumptious Funfetti cake! So grab that whisk, and let’s make some magic happen in the kitchen!
Step 4. Fold in Sprinkles Gently
Gently fold in the colorful sprinkles to your batter, and watch as it transforms into a festive masterpiece! This step is where the magic happens, turning a simple cake into something truly special.
Grab a spatula, and be careful not to overmix. You want those vibrant sprinkles to spread throughout the batter without breaking apart.
Start by adding a handful of sprinkles, then use a gentle motion to lift the batter from the bottom and fold it over the sprinkles. Repeat this process until you see those joyful colors popping out in every scoop.
Remember, the goal is to incorporate them evenly, so everyone gets a taste of that funfetti goodness in every slice!
As you fold, imagine the smiles on your guests’ faces when they see the beautiful, colorful cake. The excitement builds as you realize that each sprinkle carries a bit of joy, perfect for birthdays or any celebration.
This is your moment to shine, so embrace the process! Once you’ve got the sprinkles mixed in just right, you’ll be ready to move on to the next step, which will bring your cake to life. Happy baking!
Step 5. Bake for 25 Minutes
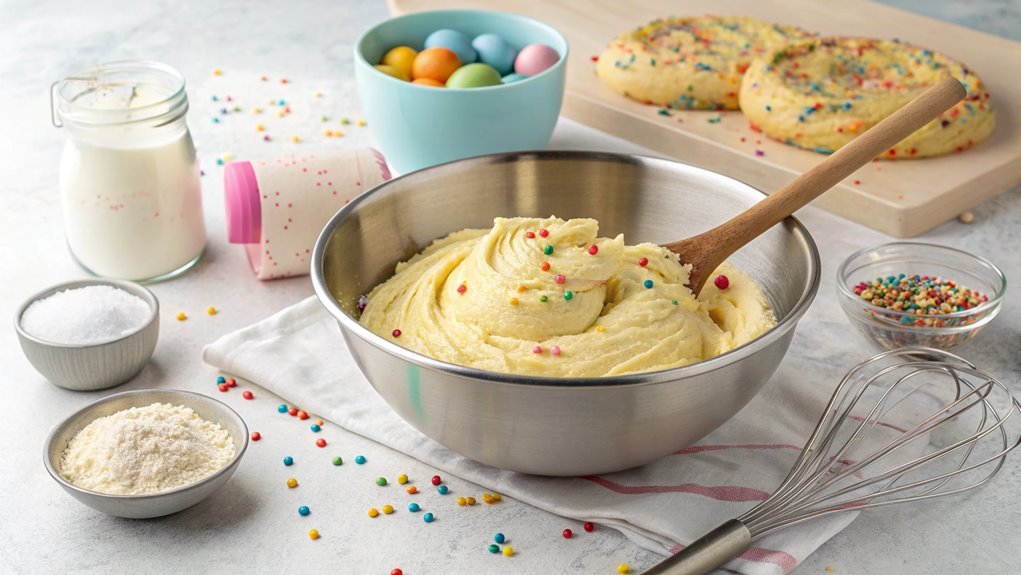
Now that your batter is beautifully mixed with sprinkles, it’s time to bake! Preheat your oven to 350°F (175°C) if you haven’t already.
Grab your prepared cake pans and gently pour the colorful batter evenly into each one. Make sure to scrape the sides of the bowl to catch every last bit of that delicious mixture.
Once you’ve poured the batter, smooth the tops with a spatula for an even bake. Carefully place the pans in the preheated oven. Set a timer for 25 minutes, and get ready for the amazing aroma to fill your kitchen!
While the cake bakes, you might want to tidy up your workspace or prepare your favorite frosting. Trust me; this will only heighten your anticipation!
When the timer goes off, check if your cakes are done by inserting a toothpick into the center. If it comes out clean, you’re all set!
If not, give them a few extra minutes. Once baked, let the cakes cool in their pans for about 10 minutes before transferring them to a wire rack.
You’re one step closer to an irresistible Funfetti Birthday cake! Enjoy this joyful baking experience!
Final Thoughts
As you wrap up your baking adventure, it’s clear that making a Funfetti birthday cake isn’t just about the delicious flavors but also about creating joyful memories. This cake brings a burst of color and happiness to any celebration, making it the perfect centerpiece for birthdays or special gatherings.
With its soft, fluffy texture and delightful sprinkles, each slice is sure to evoke smiles and laughter.
Remember, the joy of baking isn’t just in the end result; it’s in the process! Involving friends or family can turn this recipe into a fun group activity, where everyone can join in on the mixing and decorating.
Don’t be afraid to get creative with your frosting and toppings, adding your personal touch.
If you’ve followed the steps, you’ve not only baked a cake but also created a beautiful experience. So, whether it’s for a birthday, an anniversary, or just because, this Funfetti cake will surely impress.
Go ahead, slice into that cake, and relish the delightful flavors and cherished moments. You’ve earned it, and you might just find yourself making it again and again!
Happy baking!
Frequently Asked Questions
Can I Use Gluten-Free Flour for This Recipe?
Yes, you can use gluten-free flour in this recipe, but make sure it’s a 1:1 substitute. Adjust baking times if needed, and consider adding xanthan gum for better texture. Enjoy your delicious gluten-free creation!
How Do I Store Leftover Funfetti Cake?
You might think leftover cake won’t stay fresh, but you can easily store it! Wrap slices in plastic wrap or place them in an airtight container, then refrigerate to keep it moist and delicious for days.
Can I Make This Cake Ahead of Time?
Yes, you can definitely make this cake ahead of time. Just bake it, let it cool completely, and wrap it well in plastic wrap. Store it in the fridge or freezer until you’re ready to serve.
What Can I Substitute for Eggs?
Imagine a fluffy cloud of sweetness rising in your oven. If you’re out of eggs, try mashed bananas, applesauce, or flaxseed mixed with water. They’ll keep your cake moist and delicious without missing a beat.
Is It Possible to Make a Vegan Version?
Yes, you can definitely make a vegan version! Substitute eggs with flaxseed meal, applesauce, or mashed bananas. These ingredients work well to bind your mixture, ensuring your final product remains delicious and moist. Enjoy experimenting!
Conclusion
Creating a Funfetti Birthday Cake is a breeze and adds joy to every celebration! Delight loved ones with a fluffy, colorful slice that turns any occasion into a memorable event. Grab your ingredients and start baking—let the sprinkles fly and make delicious memories today!
