Rainbow Layer Cake Recipe
Making a Rainbow Layer Cake transforms a simple dessert into a stunning centerpiece. The vibrant colors in each layer bring an element of surprise and delight, enhancing the baking experience. Using the right ingredients and techniques ensures the cake is both beautiful and delicious. Before you start, consider the importance of each step—particularly the baking and frosting—to ensure the cake’s success.
Recipe
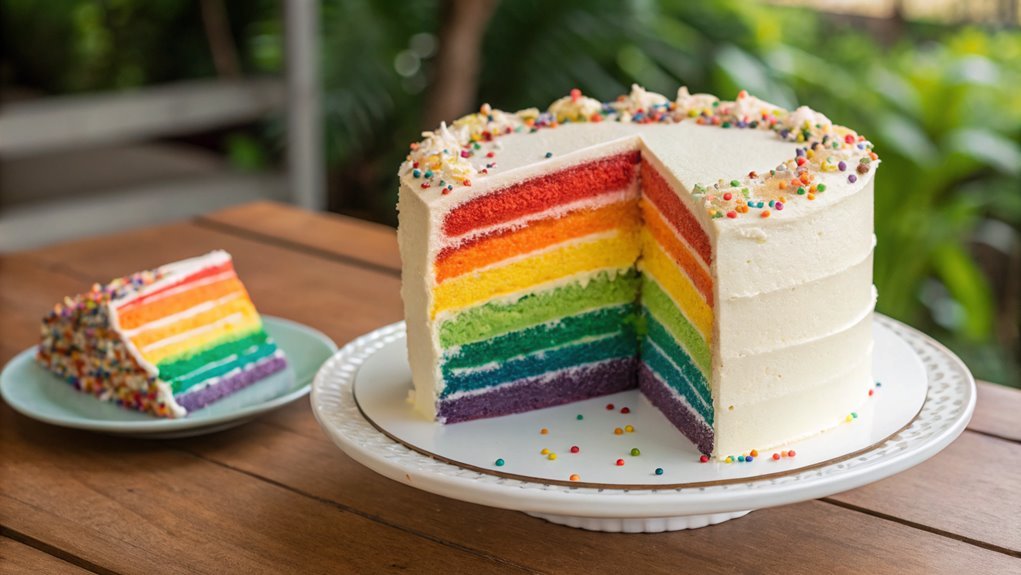
Creating a rainbow layer cake is an exciting and visually striking way to celebrate any occasion or simply brighten up your day. This delightful dessert features multiple layers of vibrant colors, each with its own unique flavor.
As you slice into the cake, the beautiful layers reveal themselves, creating a stunning rainbow effect that’s sure to impress friends and family. The combination of fluffy vanilla cake and rich buttercream frosting makes it as delicious as it’s beautiful.
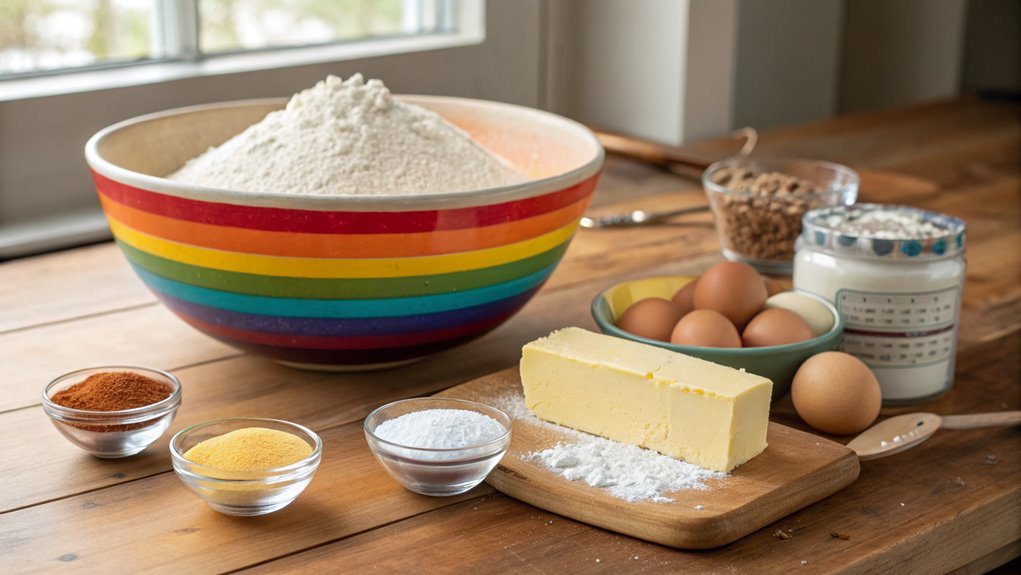
To create this spectacular cake, you’ll want to gather any necessary baking tools and ingredients beforehand. This recipe will guide you through the cake-making process, allowing you to create a masterpiece that looks as good as it tastes.
Feel free to customize the colors and flavors of your layers based on your preferences. Once you’ve mastered this cake, there will be endless possibilities for celebrations, parties, or just indulging in a sweet treat.
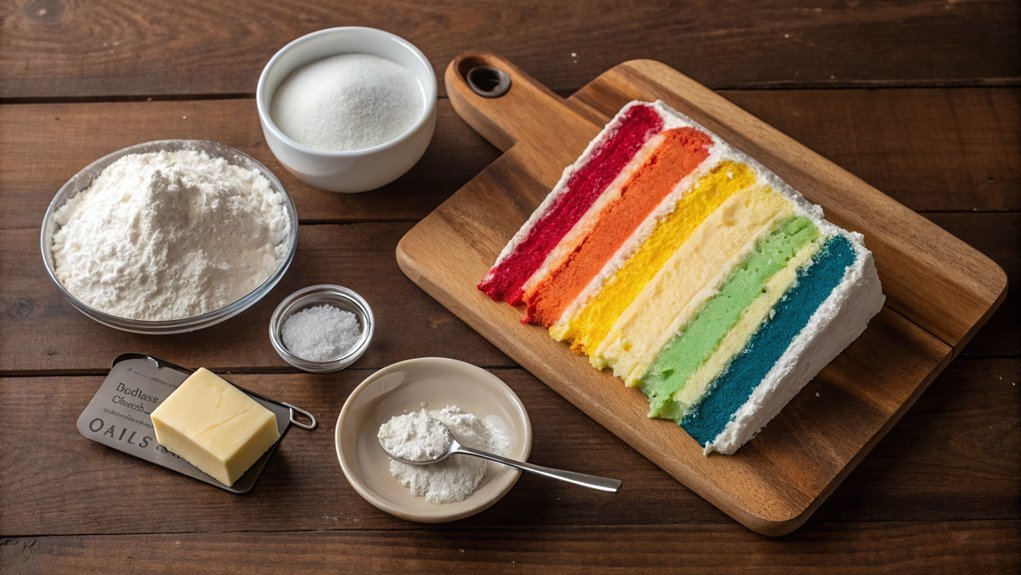
Ingredients:
- 2 ¾ cups all-purpose flour
- 2 ½ tsp baking powder
- 1 tsp salt
- 1 cup unsalted butter, softened
- 2 ¼ cups granulated sugar
- 4 large eggs
- 1 tbsp vanilla extract
- 1 cup whole milk
- Food coloring (red, orange, yellow, green, blue, purple)
- 4 cups powdered sugar
- 1 cup unsalted butter, softened (for frosting)
- 2 tbsp milk (for frosting)
- Sprinkles (optional, for decoration)
Now let’s move on to the cooking steps.
Cooking Steps
Getting started on your rainbow layer cake is an exciting journey!
First, you’ll want to preheat your oven to a lively 350°F so it’s ready for those vibrant layers.
Then, mix your dyed cake batter, divide it into pans, and soon you’ll have beautiful layers baking up in no time!
Step 1. Preheat Oven to 350°F
Before you start mixing your cake batter, you’ll want to preheat your oven to 350°F. This step is essential because a properly preheated oven guarantees your rainbow layers bake evenly and rise beautifully. So, go ahead and turn that oven on!
While it’s warming up, take a moment to gather all your ingredients and tools. You’ll want to have everything on hand, like flour, sugar, and colorful gel food dyes. It’ll save you time and keep your kitchen organized.
Plus, the excitement of watching the layers come together really adds to the fun of baking!
Once your oven reaches 350°F, it’s ready for action. Make certain you’ve prepared your cake pans by greasing them well or lining them with parchment paper. This will help prevent sticking, making sure those vibrant layers come out perfect.
Step 2. Mix Dyed Cake Batter
Start by combining your dry ingredients in a large mixing bowl. Whisk together flour, baking powder, and salt until they’re evenly mixed.
Next, in a separate bowl, cream together your softened butter and sugar until it’s light and fluffy. This step is essential for achieving that perfect cake texture. Once that’s done, beat in your eggs one at a time, ensuring each is fully incorporated before adding the next.
Now, it’s time to add the dry ingredients to the butter mixture gradually, alternating with milk. Make sure to mix gently until everything’s combined—overmixing can lead to a dense cake.
After your batter is ready, divide it into several bowls, one for each color of your rainbow.
Here’s where the fun begins! Add a few drops of food coloring to each bowl and use a spoon or spatula to mix until you reach your desired brightness. You’ll see the vibrant colors coming to life!
Don’t worry about being perfect; this is all part of the creative process. Your batter should now be ready to shine in the pans, and soon you’ll have a stunning rainbow layer cake that’s not just beautiful, but absolutely delicious!
Step 3. Divide Batter Into Pans
Once your vibrant cake batter is ready, it’s time to divide it into pans for baking. This step is what brings your rainbow layer cake to life! Using your prepared pans, scoop equal portions of the colored batter into each one. The goal is to create four beautiful, distinct layers that will radiate color and joy.
Here’s how to do it smoothly:
- Prepare your pans: Make certain they’re well-greased and lined with parchment paper to prevent sticking.
- Measure carefully: Use a kitchen scale or measuring cups to guarantee each layer is an even thickness.
- Layer with love: Pour the batter gently into the center of each pan, allowing it to spread out evenly.
- Check for balance: After dividing the batter, visually assess each pan to confirm they all look similar in height.
The excitement builds as you see those bold colors sitting beautifully in front of you!
This process sets the stage for a stunning cake that’s not only a feast for the eyes but also a delightful treat to enjoy. Get ready to create some magic in the oven!
Step 4. Bake Layers for 25 Minutes
The moment has come to bake those vibrant layers and watch them transform into fluffy, colorful cakes. Preheat your oven to 350°F (175°C) and gently place your pans onto the middle rack.
You’ve worked hard to divide the batter, and now it’s time for that magic to happen! Set a timer for 25 minutes, but don’t forget to peek through the oven window occasionally. You’ll be thrilled to see the layers rise and their edges begin to turn a lovely golden color.
To test for doneness, insert a toothpick into the center of each layer. If it comes out clean or with just a few crumbs, your cakes are ready to shine.
While the layers bake, you might find it hard to contain your excitement. The aroma that fills your kitchen will be absolutely irresistible! Trust the process and remember that each layer contributes to the stunning rainbow you’ll reveal when you stack them up.
Step 5. Cool Layers on Rack
As soon as your layers are out of the oven, it’s important to let them cool on a wire rack. This step is vital for creating that perfect Rainbow Layer Cake you dream of! Allowing the layers to cool helps set the structure and guarantees they’re not too crumbly when you stack them.
Here’s what you should do:
- Transfer each layer carefully to the wire rack to cool. You want to avoid any messy breakage!
- Let them sit for at least 15-20 minutes. This will keep the layers moist and easy to handle.
- Check for doneness by gently pressing the center. If it springs back, you’re good to go!
- Once cooled, use a serrated knife to level off any domed tops, assuring a beautiful, even cake stack.
Watching those vibrant layers cool is so rewarding! You’re just a few steps away from creating a stunning centerpiece for your celebration.
Final Thoughts
While baking a rainbow layer cake might seem challenging at first, it’s a rewarding experience that brings joy to any celebration.
You’ll find that each layer bursting with color not only looks stunning but also tastes delicious! This cake isn’t just about creating a treat; it’s about the fun of mixing the batter, pouring the colorful layers, and carefully stacking them up high.
As you frost your cake, don’t forget to let your creativity shine. Whether you go for a simple buttercream finish or an extravagant design, each bite will be a reflection of your efforts.
When you slice into that cake, the sight of vibrant layers will impress your friends and family, making them as excited about your creation as you are!
Embrace the messiness of the baking process because that’s where the magic happens.
Don’t worry if everything doesn’t turn out perfect; the love you put into it matters most.
So, gather your ingredients, invite a friend to help, and plunge into this colorful baking adventure.
You’ll create not just a cake, but lasting memories. Happy baking!
Frequently Asked Questions
Can I Use Different Colors for the Cake Layers?
Absolutely, you can use different colors for the cake layers! It’ll create a vibrant and fun appearance. Just mix food coloring into your batter in separate bowls, ensuring each layer shines with its unique hue!
How Do I Store Leftover Rainbow Layer Cake?
Imagine the vibrant colors of your cake dazzling in the fridge. To store leftovers, cover each piece tightly in plastic wrap, or place in an airtight container to keep them fresh and delicious for later enjoyment.
Can I Make This Cake Gluten-Free?
Yes, you can definitely make this cake gluten-free. Use gluten-free flour blends instead of regular flour. Just verify other ingredients, like sprinkles or baking powder, are also gluten-free to maintain the cake’s deliciousness.
What Type of Food Coloring Should I Use?
Did you know that about 30% of food coloring used in baking comes from natural sources? For vibrant results, you can use gel food coloring, as it provides rich colors without altering the cake’s consistency.
How Far in Advance Can I Bake the Cake Layers?
You can bake the cake layers up to two days in advance. Just make sure you wrap them tightly in plastic wrap to keep them fresh. Refrigerating them helps maintain their moisture and flavor. Enjoy baking!