Decadent Chocolate Tart Recipe
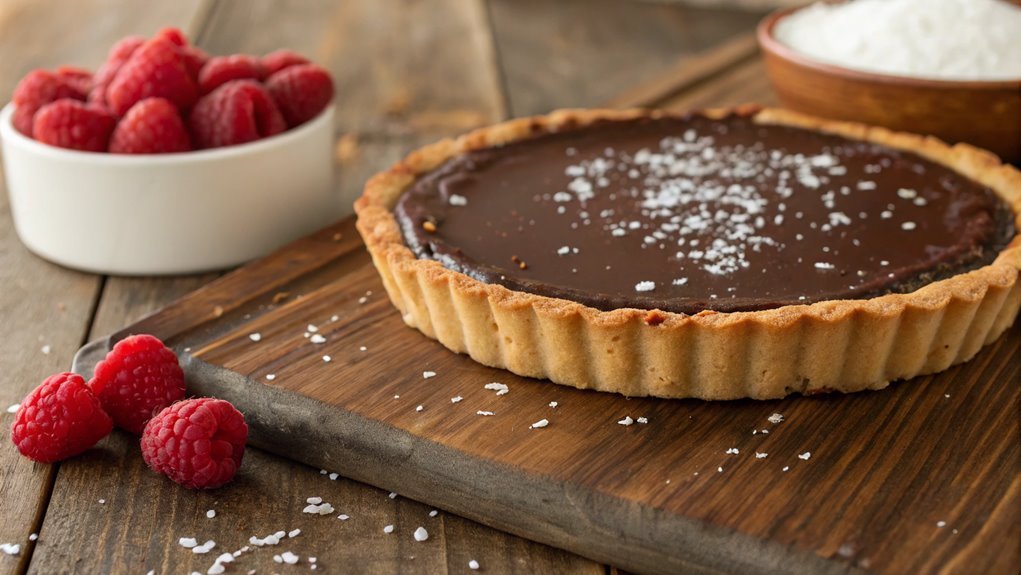
When envisioning the perfect dessert, a decadent chocolate tart often comes to mind, seamlessly blending rich flavors and textures. Its buttery crust and silky ganache effortlessly impress and elevate any occasion. Achieving that flawless finish requires a specific technique that balances simplicity with sophistication. Curious to master this indulgent treat? Let’s explore the essential steps.
Recipe
Indulging in a decadent chocolate tart is a delightful experience that marries the rich, intense flavors of chocolate with the buttery, crisp texture of tart crust. This dessert is perfect for special occasions or simply when you’re in the mood for a treat that feels luxurious and satisfying.
The combination of dark chocolate and a hint of sea salt enhances this dessert, making it a favorite among chocolate lovers. Its elegant presentation also makes it a great centerpiece for a dinner table.
Making a chocolate tart may seem intimidating, but it’s quite simple once you break it down into steps. You’ll start by preparing the tart shell, which can be made in advance for convenience.
Once baked and cooled, the shell is filled with a smooth and glossy chocolate ganache. This chocolate tart can be served on its own, or you can add fresh berries, whipped cream, or a dusting of powdered sugar to elevate its appearance and taste further.
Ingredients:
- 1 1/2 cups all-purpose flour
- 1/2 cup unsweetened cocoa powder
- 1/2 cup powdered sugar
- 1/4 teaspoon salt
- 1/2 cup unsalted butter, softened
- 1 large egg yolk
- 1/4 cup cold water
- 1 cup heavy cream
- 8 ounces bittersweet or dark chocolate, chopped
- 2 tablespoons granulated sugar
- 1 teaspoon vanilla extract
- Sea salt for garnish (optional)
Now let’s move on to the cooking steps.
Cooking Steps
Let’s get started on making your decadent chocolate tart!
First, you’ll preheat your oven to 350°F, which gives the crust that perfect golden color.
Then, you can prepare your tart crust and bake it for 25 minutes before adding the delicious chocolate filling—trust me, you’re going to love the results!
Step 1. Preheat Oven to 350°F
Before diving into the rich layers of your decadent chocolate tart, preheating the oven to 350°F guarantees that your dessert bakes evenly and achieves the perfect texture.
This vital step helps create that delightfully crisp crust paired with a silky smooth filling that everyone loves.
To start, make sure you’ve got the right oven settings. If your oven has a convection setting, stick with the regular bake mode for this recipe.
It’s important to allow the oven to reach the desired temperature before placing your tart inside. You can use this preheating time to gather and prepare your ingredients or maybe even sneak in a quick clean-up of your workspace!
Now let’s move on to the cooking steps.
Step 2. Prepare Your Tart Crust

With your oven preheated, you’re ready to focus on preparing the tart crust. Start by gathering your ingredients: all-purpose flour, unsweetened cocoa powder, granulated sugar, unsalted butter, and a pinch of salt.
In a large mixing bowl, combine one cup of flour, a quarter cup of cocoa powder, and a third of a cup of sugar. Whisk them together until they’re well blended.
Next, cut in the cold butter using a pastry cutter or your fingers until the mixture resembles coarse crumbs. This step is important, as it creates that deliciously flaky texture!
Once you’ve got that crumbly mix, add a tablespoon of cold water. Mix gently until your dough starts to come together.
Now, shape the dough into a disk, wrap it in plastic wrap, and refrigerate for about 30 minutes. This chilling time allows the butter to firm up, which helps maintain the crust’s shape while baking.
Feel the excitement building as you take these steps! You’re on your way to creating a rich and decadent chocolate tart that will impress everyone.
Let’s make this incredible dessert a reality!
Step 3. Bake Tart for 25 Minutes
Once the dough has chilled, it’s time to roll it out and fit it into your tart pan. Gently dust your work surface with flour to prevent sticking, then roll the dough to about 1/8 inch thick. Carefully lift it into the tart pan, pressing it into the corners and trimming any excess that hangs over the edges. Prick the bottom with a fork to prevent bubbles while baking.
Next, you’ll want to line the crust with parchment paper and fill it with pie weights or dried beans. This step is essential, as it keeps the crust from puffing up during baking.
Now, slide that beautiful tart into the preheated oven. You’ll bake it for 25 minutes, or until the edges turn a lovely golden brown.
As it bakes, the wonderful aroma will fill your kitchen, making it hard to resist sneaking a taste!
Once the time is up, carefully remove the tart from the oven and let it cool before removing the weights. This is an exciting moment in your decadent chocolate tart journey—you’re one step closer to a delicious dessert! Enjoy the process and celebrate your progress!
Step 4. Add Chocolate Filling Mixture
After your tart crust has cooled, you can whip up the chocolate filling that will make this dessert truly decadent. Start by gathering your ingredients: rich dark chocolate, heavy cream, butter, and a touch of vanilla.
Using a microwave-safe bowl, melt the chocolate and butter together in short bursts, stirring in between. This step transforms them into a luxurious mixture, so don’t rush it!
Next, heat the heavy cream in a saucepan until it starts to steam, but don’t let it boil. Once the cream is hot, pour it over your melted chocolate mixture and let it sit for a minute. This allows the heat to merge both elements beautifully.
Now, stir! Incorporate everything until you achieve a glossy, smooth filling that’s simply irresistible. Add your splash of vanilla for an extra layer of flavor, and mix again.
Gently pour this luscious filling into your pre-baked tart crust, smoothing it out to guarantee every slice will be perfectly composed. The aroma will fill your kitchen, and you’ll be amazed at how simple it’s to create such a delightful dessert.
Get ready to impress your family and friends with every indulgent bite!
Step 5. Chill Tart Before Serving
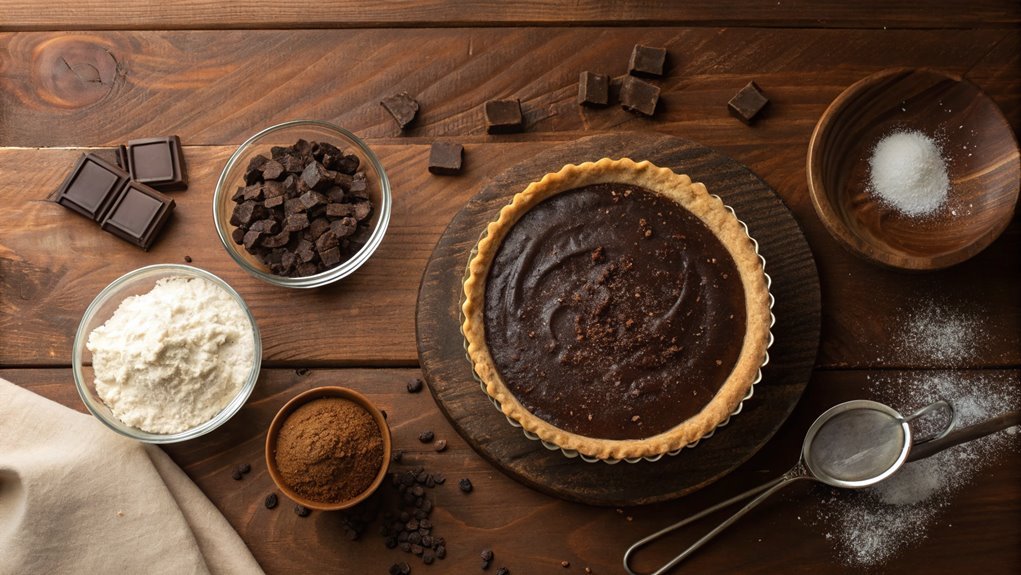
To guarantee your chocolate tart reaches its full potential, chilling it’s vital. After you’ve poured that rich, velvety chocolate filling into your tart shell, it’s time to let it rest in the refrigerator. This step might seem simple, but it’s essential for achieving that perfect texture. The cooling process allows the filling to set properly, creating a smooth, decadent experience with each bite.
Cover your tart loosely with plastic wrap to prevent any unwanted odors from seeping in. You’ll want to chill it for at least two hours, but if you can, letting it sit overnight will really enhance the flavors. Just imagine how rewarding it’ll be to slice into a beautifully set tart!
When the time’s up, take a moment to marvel at your creation. The chocolate should be firm but still creamy, and the aromas will be tantalizing!
Before serving, you can add garnishes like whipped cream, fresh berries, or a sprinkle of sea salt for extra flair. Now, go ahead and enjoy this delightful dessert with friends and family. Trust me, the wait is worth it! Your decadent chocolate tart will be a showstopper at any gathering.
Final Thoughts
As you savor the last bite of your decadent chocolate tart, you might reflect on how this simple yet indulgent recipe has the power to elevate any occasion.
Whether it’s a birthday celebration, a family gathering, or just a cozy night in, this tart can effortlessly impress your guests and delight your taste buds.
Making this chocolate tart can be a truly rewarding experience.
From the buttery crust to the rich, velvety filling, each step invites you to create something special.
You’ll find that the ingredients come together beautifully, resulting in a dessert that looks as good as it tastes.
Don’t hesitate to put your own spin on this recipe!
Experiment with different toppings like fresh berries, whipped cream, or a sprinkle of sea salt for added flavor.
Each variation can create a unique experience, making it your own masterpiece.
Frequently Asked Questions
Can I Substitute Dark Chocolate With Milk Chocolate?
Yes, you can substitute dark chocolate with milk chocolate, but keep in mind that milk chocolate is sweeter and creamier. Adjust the sugar in your recipe to balance the flavors for the best results.
How Do I Store Leftover Chocolate Tart?
Storing leftover chocolate tart is like safeguarding treasure. Just cover it tightly with plastic wrap or place it in an airtight container, then refrigerate. Enjoy your delectable find within a few days for the best flavor!
What Is the Best Type of Chocolate to Use?
When choosing chocolate, opt for high-quality dark chocolate with at least 70% cocoa. It’ll deliver rich flavor and smooth texture. You won’t regret investing in good chocolate; it elevates your dessert experience considerably.
Can I Make This Tart Gluten-Free?
Absolutely, you can make this tart gluten-free! For example, using almond flour instead of regular flour creates a delicious crust. Just swap it in your recipe—your dessert will still be rich and satisfying. Enjoy!
How Long Does the Tart Need to Cool Before Serving?
You should let the tart cool for at least 30 minutes at room temperature. If you want it to set perfectly, refrigerating it for a couple of hours will enhance its texture and flavor.
