Victoria Sponge Cake Recipe
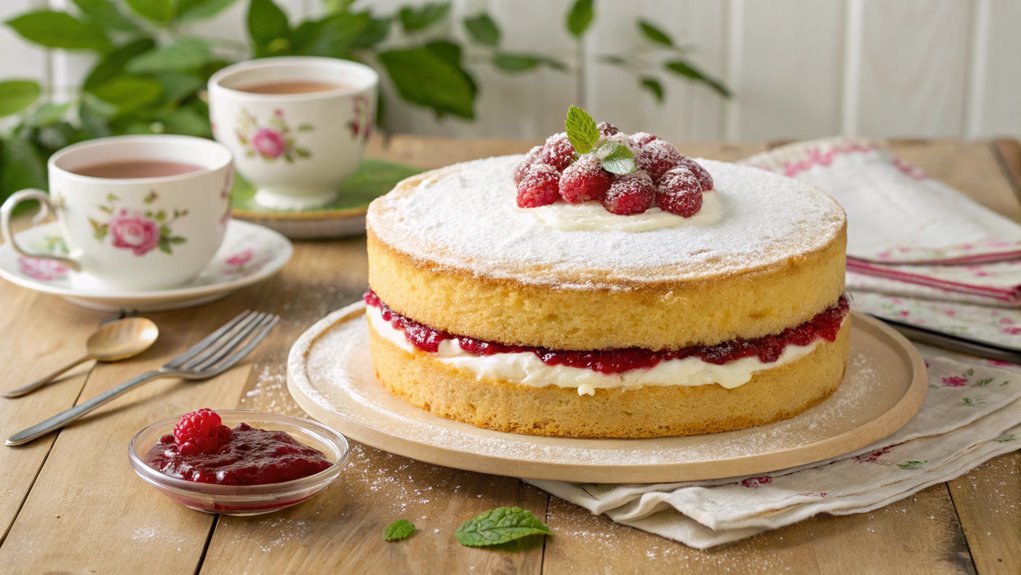
The Victoria Sponge Cake is a classic dessert known for its tradition and simplicity. Made with basic ingredients, it offers contrasting textures and flavors. Each step in the baking process, from creaming butter and sugar to layering jam and cream, is crucial. Mastering these techniques ensures the light, airy sponge that is perfect for afternoon tea.
Recipe
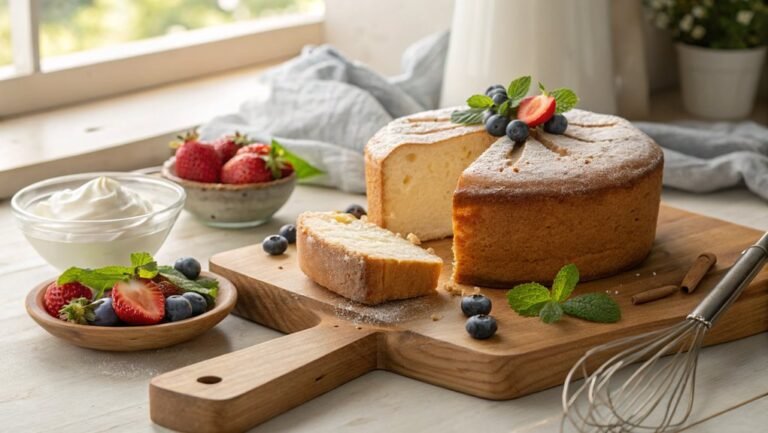
Victoria Sponge Cake is a classic British dessert that’s perfect for any occasion, from afternoon tea to birthdays. Named after Queen Victoria, who was known to enjoy a slice with her tea, this delightful cake consists of two layers of light sponge filled with jam and cream.
The key to a perfect Victoria Sponge is in the preparation; using equal weights of butter, sugar, eggs, and flour guarantees a light and airy texture that’s simply irresistible.
To begin, make certain all your ingredients are at room temperature, as this will help them combine better and create a smooth batter. The joy of making a Victoria Sponge is in the simplicity of the method; with just a few ingredients, you can create a delightful cake that showcases the flavors of butter and vanilla.
As you bake, your kitchen will fill with a wonderful aroma, and soon enough, you’ll have a beautiful, golden sponge cake ready to be filled and enjoyed.
- 200g unsalted butter, softened
- 200g caster sugar
- 4 large eggs
- 200g self-raising flour
- 1 tsp baking powder
- 1 tsp vanilla extract
- A pinch of salt
- 100g raspberry or strawberry jam
- 150ml double cream
- Icing sugar for dusting (optional)
Now let’s move on to the cooking steps.
Cooking Steps
Let’s get ready to bake a scrumptious Victoria Sponge Cake!
First, you’ll want to preheat your oven to a perfect 180°C, ensuring it’s hot and ready for your cake.
From creaming together the butter and sugar to folding in the flour, each step brings you closer to that light, fluffy treat you’ll love sharing with friends and family!
Step 1. Preheat Oven to 180°C
To achieve the perfect Victoria sponge cake, start by preheating your oven to 180°C (350°F). This step is essential, as it sets the stage for a beautifully baked cake that rises to fluffy perfection.
Before you even mix your ingredients, take a moment to verify your oven is warm and ready. An adequately preheated oven guarantees even cooking, which means you’ll avoid a soggy or uneven cake.
While you wait for the oven to reach the desired temperature, consider preparing your baking pans. Greasing and lining them will keep your cake from sticking, making it easy to remove once it’s baked. This little preparation will pay off when you’re ready to enjoy your delicious creation.
Keep an eye on the thermometer and don’t rush this step. Patience is key to good baking!
Once the oven reaches 180°C, you’ll hear that satisfying click letting you know it’s time to bake. Knowing you’re taking these important steps fills your kitchen with excitement, as the aroma of a freshly baked cake will soon fill the air.
Step 2. Cream Butter and Sugar
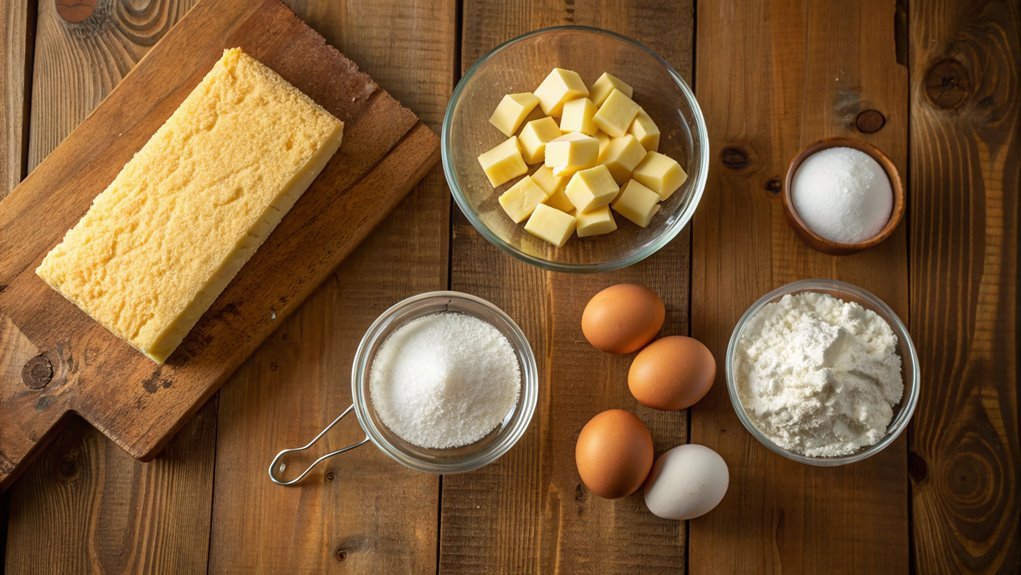
Start by beating the butter and sugar together until the mixture is light and fluffy. This step is important as it creates a base for your Victoria sponge cake that will add a lovely texture. You can use an electric mixer or simply your trusty wooden spoon—let’s make it fun! Aim for a pale color and a silky-smooth consistency that feels airy.
Here are a few tips to elevate your creaming process:
- Use room temperature butter: It blends more easily, helping to achieve that fluffy texture you want.
- Don’t rush it: Take your time—creaming for about 5 minutes will make a big difference.
- Scrape the sides: Occasionally stop to scrape down the sides of the bowl to guarantee everything’s evenly mixed.
Once the butter and sugar have reached that delightful fluffy stage, you’ll feel the excitement building.
This is where the magic begins! The air you’ve whipped in will help your cake rise beautifully, assuring every bite is light and scrumptious.
Step 3. Add Eggs Gradually
With the butter and sugar perfectly creamed, it’s time to add the eggs. This part is essential, so don’t rush it! Crack your eggs into a small bowl first. That way, if you accidentally get any shell pieces, you can easily fish them out. Ready? Now, add the first egg to your mixture and beat it in until it’s fully combined. You’ll notice it might look a bit curdled at first, but don’t worry! Just keep mixing.
Once the first egg is fully incorporated, it’s time for the second. Repeat the same process—beat it in until smooth. This gradual addition of eggs helps to maintain the mixture’s texture, giving you that lovely light sponge you crave.
If you’re using more than two eggs, continue the same pattern. You’ll find each addition of egg creates a smoother batter, increasing in volume and airiness with every mix.
It’s a rewarding process, transforming your ingredients into something fluffy and delicious! So take your time with this step, enjoy the act of mixing, and get ready for the next delicious phase of your Victoria Sponge adventure!
Step 4. Fold in Flour Carefully
Gently sift the flour over your egg mixture, ensuring an even distribution. This key step helps to keep your batter light and airy, so don’t rush it!
Now, it’s time to fold in the flour carefully. Use a spatula and gently lift the mixture from the bottom, turning it over towards the top. You want to maintain as much air as possible, promoting a lovely rise during baking.
Here are a few tips to make your folding technique even better:
- Use a large bowl: This gives you more room to maneuver and prevents any flour spillage.
- Be gentle but firm: You want to mix, but not deflate the fluffy goodness you’ve already created.
- Check for lumps: Make sure all the flour is incorporated without over-mixing, as this can lead to a dense cake.
As you fold, feel the anticipation build! You’re creating something marvelous.
This sponge cake will be the highlight of any gathering, so take your time and enjoy the process. Once your batter’s smooth and well-combined, you’re ready for the next delicious step!
Step 5. Add Jam and Cream Filling
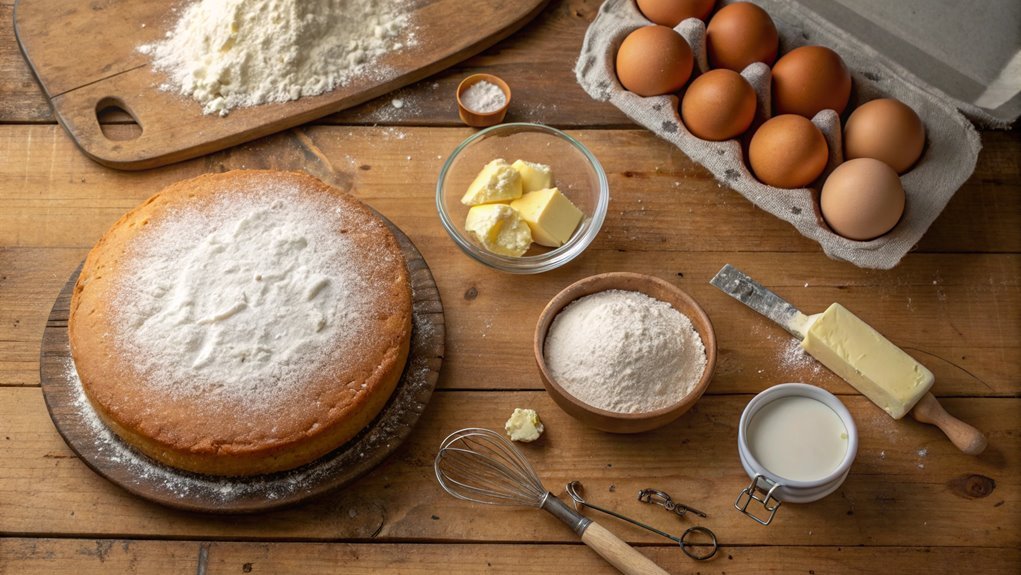
Once your sponge layers have cooled completely, it’s time to bring them to life with a luscious jam and cream filling.
Start by placing your first layer on a serving plate—this will be the base of your delightful creation. Spread a generous amount of fruity jam over the top, allowing it to reach the edges for that beautiful pop of color. Strawberry or raspberry jam works wonderfully, but feel free to use your favorite variety!
Next, whip up some heavy cream until it forms soft peaks. For an extra touch, you can add a little powdered sugar and vanilla extract. Once it’s perfectly whipped, dollop it onto the jam and spread it evenly over the layer.
Now, carefully place the second sponge layer on top, pressing down gently to create a beautiful sandwich.
To finish, dust the entire cake with some icing sugar for that classic touch. You’ll love how the jam and cream meld together, creating a heavenly contrast with the light sponge.
Cut yourself a slice, and enjoy the fruits of your labor. Trust me, this Victoria sponge cake is a crowd-pleaser that will leave everyone coming back for more!
Final Thoughts
As you wrap up your baking adventure, remember that mastering the Victoria sponge cake isn’t just about following a recipe; it’s about enjoying the process and sharing your creation with loved ones.
You’ve crafted something delicious and classic, and now it’s time to relish the fruits of your labor. Whether it’s a family gathering, a special occasion, or a simple afternoon tea, your cake is sure to bring smiles all around.
The joy of baking comes from experimenting and personalizing your cake, so don’t hesitate to try different fillings or toppings next time! Here are a few ideas to inspire you:
- Experiment with flavors: Add lemon zest or almond extract to the cake for a twist.
- Try different fillings: Swap your jam for fresh fruit or a rich chocolate ganache.
- Decorate your way: Dust powdered sugar on top or add fresh berries for a beautiful finish.
Finally, don’t forget to celebrate your creation! Sharing it makes the experience even sweeter.
Frequently Asked Questions
Can I Substitute Butter With Margarine in the Recipe?
Yes, you can substitute butter with margarine in the recipe. Just keep in mind that the flavor and texture might differ slightly. Experiment and see what works best for your taste preferences!
How Do I Store Leftover Victoria Sponge Cake?
If you don’t store leftover cake properly, it could turn into a dry, sad brick! Keep your sponge in an airtight container at room temperature for up to three days, or refrigerate it for longer freshness.
What Type of Flour Is Best for This Cake?
For a light, fluffy texture, use all-purpose flour or self-rising flour. Both options work well, but self-rising flour adds a little extra lift. Just be sure to adjust baking powder in your recipe if needed!
Can I Add Flavors Like Lemon or Almond to the Cake?
You can definitely add flavors like lemon or almond to your cake! In fact, studies show that adding citrus enhances sweetness perception, making it a popular choice among bakers. Experiment and create your own unique flavor profile!
How Can I Make a Gluten-Free Version of Victoria Sponge Cake?
You can make a gluten-free version by replacing regular flour with a gluten-free blend. Add xanthan gum for texture. Adjust baking time slightly, and you’ll still enjoy a delicious, fluffy cake without the gluten!


