Sprinkle Sugar Cookies Recipe
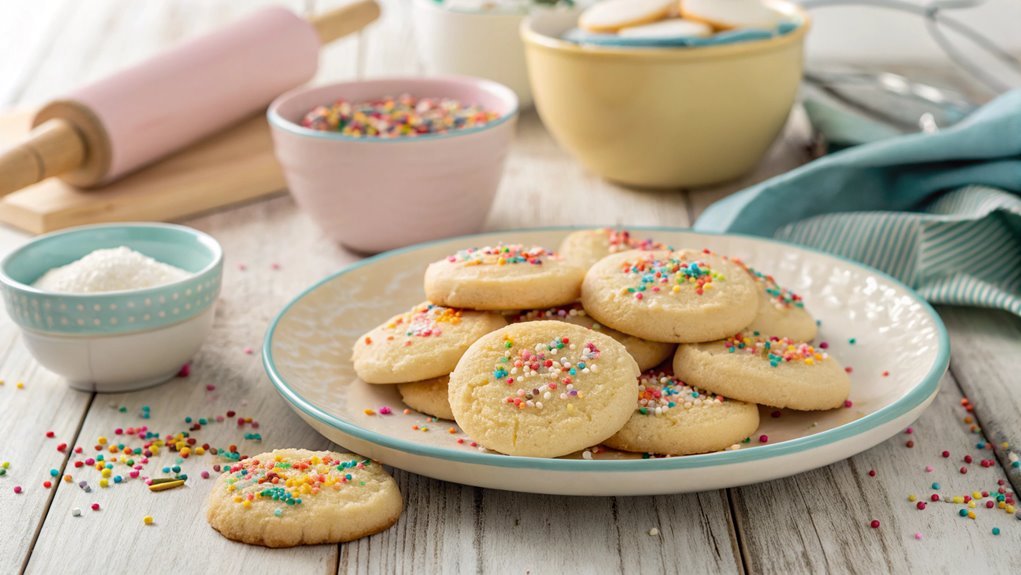
Sprinkle sugar cookies can elevate your baking repertoire with their soft, buttery texture and colorful crunch. Start by creaming together butter and sugar, then add key ingredients before chilling the dough. This step enhances flavor and texture, leading to cookies that truly stand out.
Recipe
Sprinkle sugar cookies are a delightful treat that brings the joy of baking to your kitchen, making it a perfect activity for both novice and experienced bakers.
The combination of a soft, buttery texture and the sweet crunch of sprinkles makes these cookies irresistible for any occasion. Whether you’re celebrating a birthday, holiday, or simply looking for a comforting snack, these cookies are sure to bring a smile to your face.
To create the perfect sprinkle sugar cookies, you’ll want to make certain you have all your ingredients prepared and measured out beforehand.
This recipe is straightforward and allows for some creativity regarding the type of sprinkles used. Feel free to experiment with different colors and shapes for a fun twist on the classic cookie!
Ingredients:
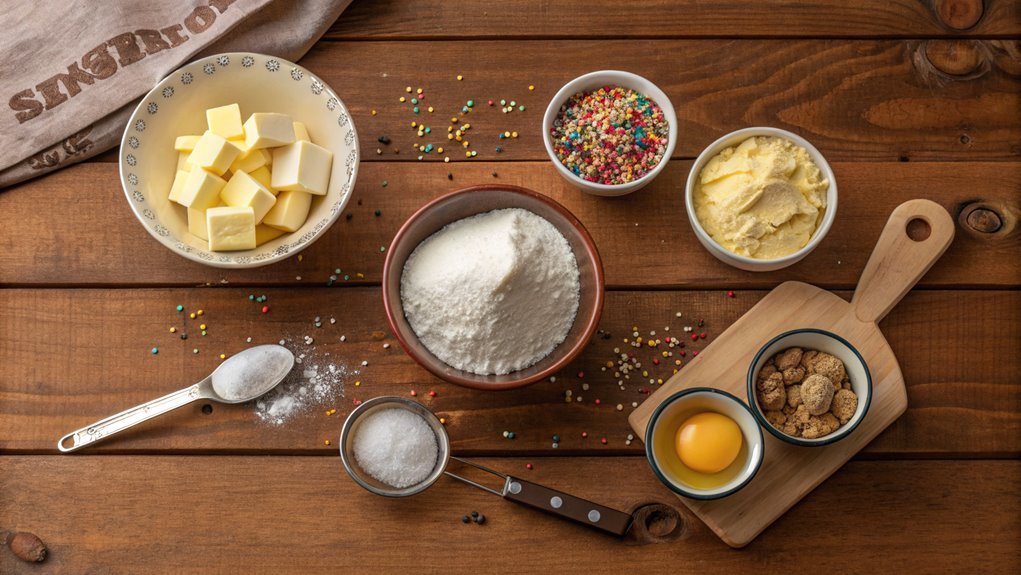
- 2 ¾ cups all-purpose flour
- 1 teaspoon baking soda
- ½ teaspoon baking powder
- 1 cup unsalted butter, softened
- 1 ½ cups white sugar
- 1 egg
- 1 teaspoon vanilla extract
- ½ teaspoon almond extract (optional)
- ¾ cup rainbow sprinkles
- ¼ teaspoon salt
Now let’s move on to the cooking steps.
Cooking Steps
Let’s get started on making those delicious sprinkle sugar cookies!
First, you’ll want to preheat your oven to 350°F to guarantee it’s hot enough for baking.
Then, you can mix the butter and sugar thoroughly, which is essential for a sweet and creamy dough.
Step 1. Preheat Oven to 350°F
Before you mix your ingredients, preheating your oven to 350°F is essential for achieving perfectly baked sprinkle sugar cookies. This step sets the stage for your cookies to rise and bake evenly, creating that delightful texture you crave. When the oven’s set to the right temperature, you guarantee that your cookies won’t spread too much or turn out undercooked in the center.
As you preheat, it gives you time to gather your ingredients and prepare your workspace. Take a moment to clear your countertop, spread out your baking sheets, and have all your tools ready. It’s the perfect opportunity to get excited about the deliciousness that’s about to unfold!
Keep in mind that an oven takes some time to reach its ideal temperature, usually about 10-15 minutes. So, don’t rush! This patience is key to baking success.
Once your oven beeps to signal it’s ready, you’re not just hitting a button; you’re opening the door to a world of sweet possibilities. Trust me, when those sprinkle sugar cookies come out golden and scrumptious, you’ll be glad you took a moment to preheat! Get ready to create something wonderful!
Step 2. Mix Butter and Sugar Thoroughly
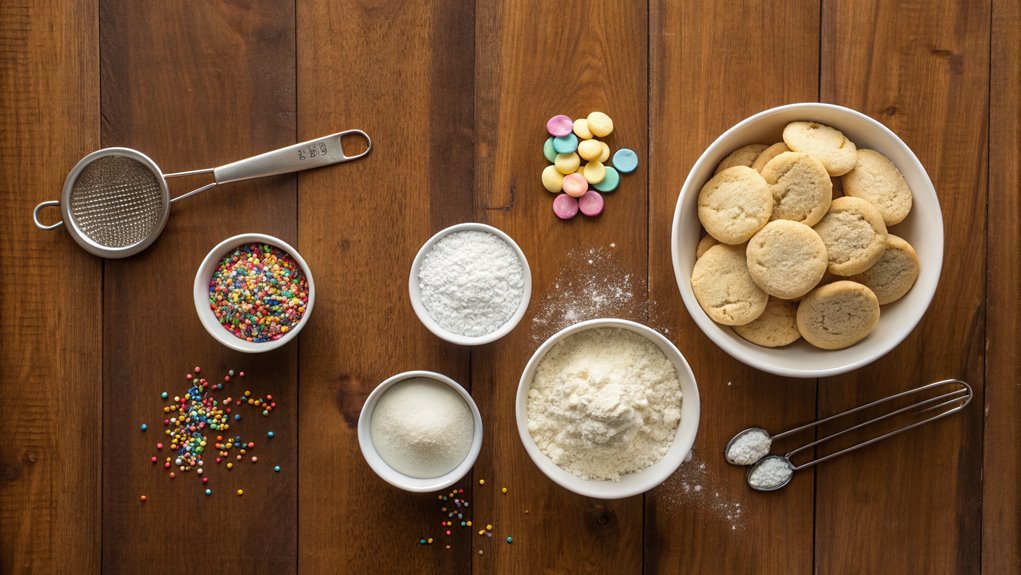
Cream together the butter and sugar until the mixture becomes light and fluffy. This step is essential for achieving the perfect texture in your sprinkle sugar cookies.
You’ll wanna use room-temperature butter, which makes it easier to blend smoothly. Grab a mixing bowl and a hand or stand mixer, and start blending on medium speed.
As you beat the butter and sugar, the mixture will start to look creamy and pale. Don’t rush this process—mixing thoroughly will guarantee that air gets incorporated, giving your cookies a delightful softness.
Expect to mix for about 2 to 3 minutes. Keep an eye on the consistency; it should feel smooth and inviting. If you notice any chunky bits, keep beating until everything is evenly combined.
This step is where the magic begins, a moment that builds anticipation for the sugary treats to come. Once it’s light and airy, you’ll be ready to elevate the flavor.
You’ve laid the foundation for a delicious batch of cookies that’s sure to impress. Get excited, because you’re just getting started on this delightful baking journey!
Now, let’s move on to enhancing those flavors even further.
Step 3. Add Vanilla Extract Next
As you prepare to enhance the flavor of your sprinkle sugar cookies, adding vanilla extract is an essential step that can’t be overlooked. The rich, sweet aroma of vanilla transforms your cookie dough into something truly special. It’s the secret ingredient that brings warmth and depth, making each bite more delightful.
You’ll want to add about one to two teaspoons, depending on your taste preference. If you’re keen on a stronger vanilla flavor, don’t hesitate to go for that extra teaspoon!
Start by measuring out the extract and pour it gently into your butter and sugar mixture. Whisk it in thoroughly until it’s well combined. You’ll notice the dough becoming more fragrant, and your excitement will be building.
Make sure to take your time; this isn’t a step to rush through. Enjoy the moment, letting the vanilla infuse into your mixture, knowing it’s setting the stage for deliciousness.
With this flavorful foundation set, you’re now on your way to creating cookies that will impress friends and family alike. Keep the energy up—you’re just getting started!
Step 4. Fold in the Flour
Once you’ve added the vanilla extract, it’s time to fold in the flour, which is an essential step in achieving that perfect cookie texture.
Grab a sturdy spatula and gently incorporate the flour into the wet ingredients. You’ll want to start by adding the flour gradually, mixing it in a little at a time. This method prevents any lumps and guarantees a smooth batter.
As you fold, make sure to scrape the sides of the bowl to capture every bit of the flour. The folding technique involves lifting and turning the mixture, letting it combine without overmixing. Overmixing can lead to tough cookies—definitely not what you want!
Keep an eye on the texture; it should be thick and slightly sticky, but still easy to handle. If you notice any dry flour peeking through, give it a few more gentle turns.
You can feel the excitement of the dough coming together, ready to become your delightful sprinkle sugar cookies. Once that flour is seamlessly mixed in, you’re well on your way to baking delicious treats that will warm hearts and fill homes with sweet memories.
Step 5. Chill Dough for 30 Minutes
With the flour fully incorporated and the dough starting to take shape, the next step is to chill it for 30 minutes. Chilling the dough is essential because it allows the fats in the mixture to firm up, resulting in cookies that hold their shape while baking.
Plus, it enhances the flavors, giving your sprinkle sugar cookies that delicious, rich taste.
To chill the dough, simply cover it with plastic wrap or place it in an airtight container. Make sure it’s evenly spread out for the quickest chilling result.
While you wait, think about all the fun toppings or sprinkles you can use to decorate your cookies later. This waiting period builds anticipation, making the experience even more rewarding!
After the 30 minutes are up, you’ll notice the dough is firmer and easier to work with.
Now you’re ready for the next step—shaping and baking those delightful cookies! Trust me, taking this extra step really pays off in the final product.
You’re not just baking; you’re creating homemade treats that will bring smiles to everyone. So grab your chilled dough and let’s get to the next exciting phase of your sprinkle sugar cookies!
Final Thoughts
Whether you’re baking for a special occasion or simply satisfying a sweet craving, these sprinkle sugar cookies are sure to delight. The vibrant colors of the sprinkles make your treats visually appealing, while the taste is a perfect balance of sweetness and buttery goodness.
You’ll find that this recipe isn’t just easy to follow but also allows for plenty of creativity. Feel free to experiment with different types of sprinkles, or even add a hint of lemon or almond extract for a unique twist!
These cookies are perfect for sharing with friends and family, making them a great choice for parties, holidays, or cozy nights in. Once you take that first bite, you’ll understand why these sprinkle sugar cookies become a go-to recipe in so many kitchens.
The joy of baking can be incredibly rewarding and therapeutic, so don’t hesitate to roll up your sleeves and get started.
Now let’s move on to the cooking steps.
Frequently Asked Questions
Can I Use Alternative Flours for This Recipe?
“You can’t always get what you want.” Yet, you can use alternative flours for your recipe! Just remember, different flours will alter texture and flavor, so experiment and enjoy the results of your culinary adventure.
How Should I Store Leftover Cookies?
To store leftover cookies, let them cool completely, then place them in an airtight container. You can keep them at room temperature for a few days or in the fridge for even longer freshness.
Are There Vegan Substitutes for Butter and Eggs?
Did you know around 3% of Americans identify as vegan? You can easily substitute butter with coconut oil or vegan margarine, and use flaxseed or applesauce in place of eggs for delicious results.
Can I Freeze the Cookie Dough?
Yes, you can freeze cookie dough! Just portion it out, wrap it tightly in plastic wrap or a freezer bag, and store it. When you’re ready to bake, thaw it overnight in the fridge.
What’s the Best Way to Decorate Sprinkle Cookies?
You won’t believe how easy it is to elevate your cookies! Start by glazing with icing, then add vibrant sprinkles or edible glitter, creating an eye-catching treat that’s sure to impress everyone at the table.
