Fast Lemon Curd Recipe

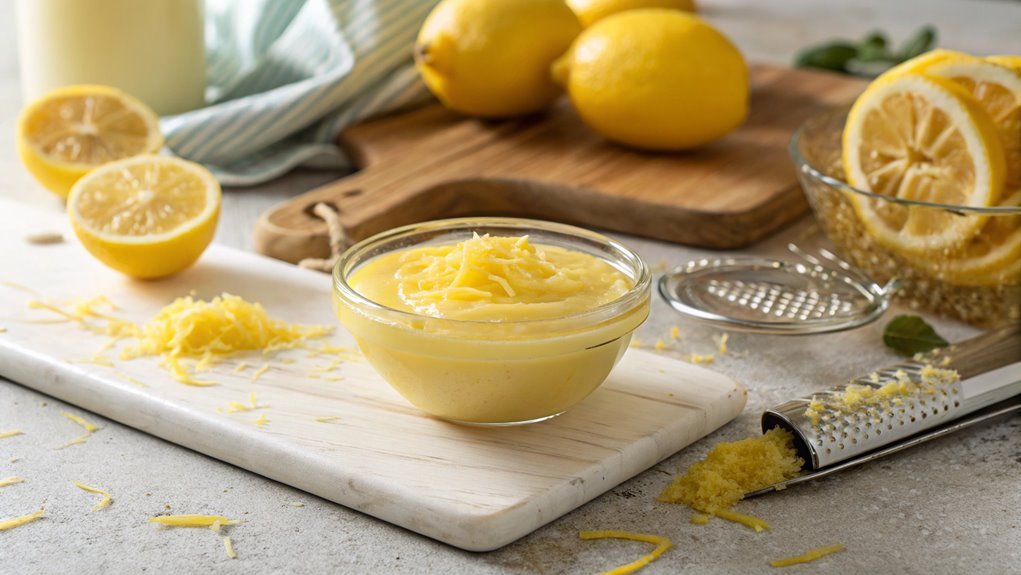
Making lemon curd doesn’t have to be a lengthy process; you can quickly create it using fresh lemon juice, zest, sugar, eggs, and butter. This combination results in a creamy, tangy treat with minimal effort.
Once your lemon curd is ready, you have a multitude of exciting options for its use. Its versatility allows it to enhance a variety of dishes, from desserts to breakfast items.
Recipe
Lemon curd is a delightful and versatile treat that can elevate a variety of desserts, from cakes to pastries to simply spreading on toast.
This fast lemon curd recipe allows you to whip up a tangy, creamy lemon curd in no time at all. With just a few simple ingredients and minimal equipment, you can indulge in a homemade treat that’s bursting with citrus flavor. Perfect for when you’re short on time but want to impress your family or guests with a fresh and zesty addition to your dessert repertoire.
Making lemon curd at home is incredibly satisfying, and the process is straightforward. It involves combining fresh lemon juice with sugar, eggs, and butter, then cooking the mixture gently until it thickens to a luscious consistency.
Once cooled, this lemon curd can be stored in the refrigerator for up to two weeks, making it a convenient option for those who love the bright taste of lemons.
Let’s get started with this fast lemon curd recipe!
Ingredients:
- 1/2 cup fresh lemon juice (about 2-3 lemons)
- Zest of 2 lemons
- 1 cup granulated sugar
- 4 large eggs
- 1/2 cup unsalted butter, cut into pieces
Now let’s move on to the cooking steps.
Cooking Steps
Get ready to create a delightful lemon curd that’ll brighten up your day!
First, you’ll zest and juice those fresh lemons to capture all that zesty goodness.
Then, as you heat the mixture until it thickens, you’ll see the magic happen right before your eyes!
Step 1. Zest Two Fresh Lemons
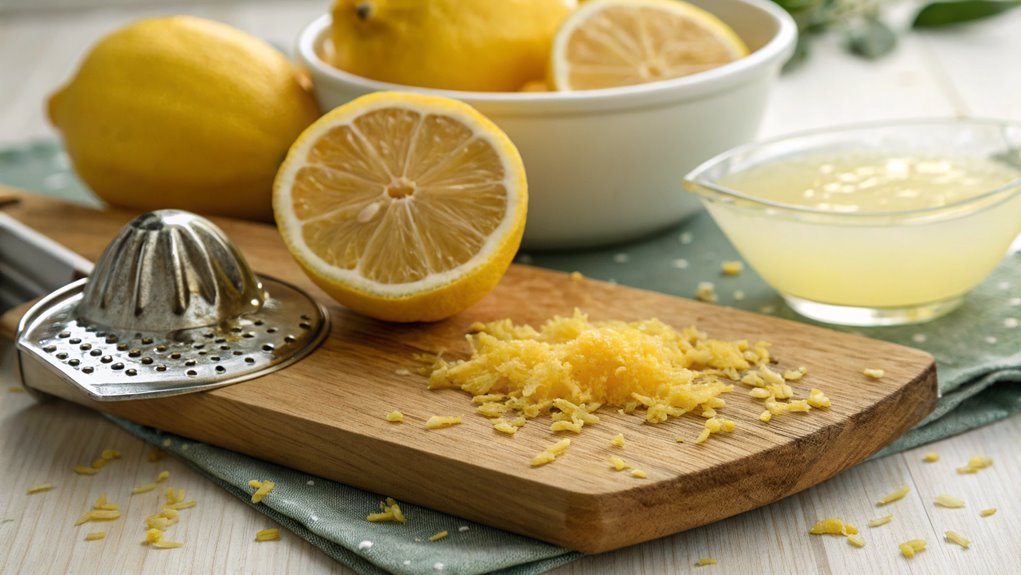
Zesting two fresh lemons is a simple yet essential step that adds vibrant flavor to your curd. To start, grab a microplane or a fine grater. It’s time to bring out those zesty oils!
Hold the lemon firmly in one hand and the grater in the other. As you glide the lemon against the grater, be sure to only take off the bright yellow skin, avoiding the bitter white pith underneath. Just a few strokes will do; you’ll want about a tablespoon of zest.
Feel free to zest both lemons at once, making the most of your time in the kitchen. The aroma of fresh lemon zest is truly invigorating and will have you dreaming of sunny desserts.
Once you’ve gathered your zest, set it aside and admire your handiwork. You’re already one step closer to a delightful lemon curd that’s bursting with fresh flavor!
Step 2. Juice the Zested Lemons

Now that you have your lemon zest ready, it’s time to extract the juice from those zested lemons. Grab your cutting board and a sharp knife. Slice each lemon in half, revealing their juicy interiors.
Take one half and squeeze it directly into a bowl, using your hand or a citrus juicer to catch every drop. If you’re using your hand, be careful to keep the seeds out—nobody wants a surprise crunch in their lemon curd!
As you juice, feel free to give each half a little twist to maximize the juice extraction. You’ll be amazed at how much flavor is packed into those bright yellow fruits.
If you have a fine mesh strainer, consider pouring the juice through it to eliminate any stray seeds or pulp. This will give your lemon curd a smooth, silky texture that’s absolutely divine.
Repeat this process for all your zested lemons until you’ve gathered the desired amount of juice. Trust me, the fresh, tangy flavor will elevate your lemon curd to a whole new level.
With your zest and juice ready, you’re one step closer to creating a delicious treat that everyone will love!
Step 3. Heat Mixture Until Thickened
As you combine your lemon juice, zest, sugar, and eggs in a saucepan, keep an eye on the heat—medium-low is ideal. This gentle heat allows the flavors to meld beautifully without scrambling the eggs.
Stir the mixture continuously with a whisk or a wooden spoon, making sure to reach the edges of the saucepan. You want every bit of that tangy goodness to blend together seamlessly.
As the mixture warms up, you’ll notice it gradually thickening. This process usually takes about 10 to 15 minutes, but don’t rush it! Patience is key to achieving that perfect, velvety texture.
You’ll know it’s ready when it coats the back of a spoon and holds a line when you run your finger through it.
Keep an eye on the color as well; it will transform into a bright, sunny yellow. If you see any bubbles forming, reduce the heat immediately to prevent curdling.
This is your moment! You’re nearly there, and the wonderful aroma of fresh lemons is filling your kitchen.
You’ll feel such joy knowing you’re just a few steps away from a delightful homemade lemon curd that’s perfect for spreading, filling, or simply enjoying by the spoonful!
Step 4. Add Butter and Stir
With a flourish, add the chilled butter to your thickened lemon mixture. You’ll immediately notice how the butter melts into the vibrant, zesty blend, creating a silky texture that elevates your curd. Stir gently but thoroughly, letting the rich butter integrate completely.
It’s crucial to keep stirring until you don’t see any clumps of butter lingering in the mix. This step is where your lemon curd transforms into something truly special!
As you mix, the buttery aroma will fill your kitchen, mingling beautifully with the bright scent of lemons. Don’t rush it; take your time to guarantee everything combines perfectly. You want that smooth, luscious consistency that’s so satisfying. If you feel like the mixture is too thick, don’t hesitate to adjust the heat slightly.
Once everything’s well-mixed and glowing, you’ll feel a surge of pride knowing you’re just moments away from delicious lemon curd. This is the kind of treat that brightens any dessert, from cakes to tarts.
Step 5. Strain Mixture for Smoothness

After achieving that smooth, buttery consistency, it’s time to strain the mixture for an even silkier texture. This step might seem small, but it makes a big difference in the final product.
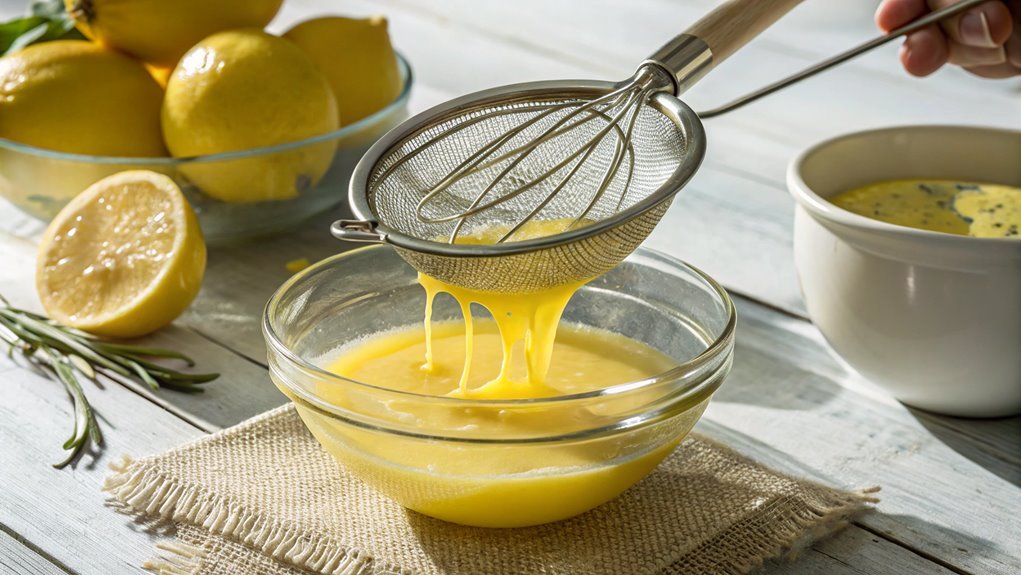
Grab a fine-mesh sieve and place it over a bowl or a measuring cup. You want to make certain it’s secure, so hold it in place if needed.
Next, pour the lemon curd mixture through the sieve. As you do this, you’ll notice any bits of cooked egg or zest getting caught in the mesh. Don’t worry; this is exactly what you want!
Use a spatula or the back of a spoon to gently press the mixture through. This extra effort guarantees that every spoonful of your lemon curd is lusciously smooth and devoid of any unwanted texture.
Once you’ve strained it all, you’ll be left with a beautifully velvety curd that’s perfect for spreading on toast, filling pastries, or even eating straight from the bowl.
Final Thoughts
While making lemon curd may seem intimidating at first, you’ll find that this quick recipe delivers delightful results with minimal effort. Once you try your hand at it, you’ll see how simple and rewarding it can be. The fresh, zesty flavor of homemade lemon curd is unmatched, and it’s perfect for so many uses—spreading on toast, filling pastries, or even topping yogurt!
As you whip up this delicious treat, you’ll appreciate how few ingredients you need. Just eggs, sugar, butter, and, of course, lemons! You can customize the sweetness and tartness to suit your taste.
Remember, the key to a smooth texture lies in straining the mixture, so don’t skip that step.
When you take that first spoonful of your lemon curd, you’ll feel a rush of satisfaction. The bright flavor is sure to impress family and friends alike. It’s a fantastic way to elevate desserts and snacks without a lot of fuss.
Frequently Asked Questions
Can I Substitute Lime for Lemon in This Recipe?
Yes, you can substitute lime for lemon in your recipe. Just keep in mind that the flavor will be different, so adjust the sugar if needed. Enjoy experimenting with that zesty twist!
How Long Does Lemon Curd Last in the Fridge?
Lemon curd typically lasts about one to two weeks in the fridge when stored in an airtight container. Just make sure to check for any off smells or changes in texture before using it.
Can I Freeze Lemon Curd for Later Use?
Absolutely, you can freeze lemon curd for later use! Like capturing sunshine in a jar, it preserves that bright flavor. Just make sure to store it in an airtight container to keep it fresh. Enjoy!
What Are the Best Uses for Lemon Curd?
You can use lemon curd in various delicious ways. Spread it on toast, swirl it into yogurt, fill pastries, layer it in cakes, or drizzle it over desserts. Its tangy flavor elevates any dish!
Is There a Dairy-Free Version of Lemon Curd?
Absolutely, you can whip up a dairy-free lemon curd that’s as bright as sunshine! Just substitute traditional butter with coconut oil or a dairy-free alternative, and you’ll still enjoy that creamy, tangy delight without the dairy.
Conclusion
Spread your luscious lemon curd on warm toast or dollop it atop a slice of cake. Its bright, tangy flavor will bring a burst of sunshine to any dish.
Don’t stop here—experiment with this delightful treat in pastries or as a filling for tarts. You’ve crafted something special, so savor every spoonful.
Happy cooking, and enjoy the zesty magic of your homemade lemon curd!


