Quick No-Bake Cheesecake Recipe
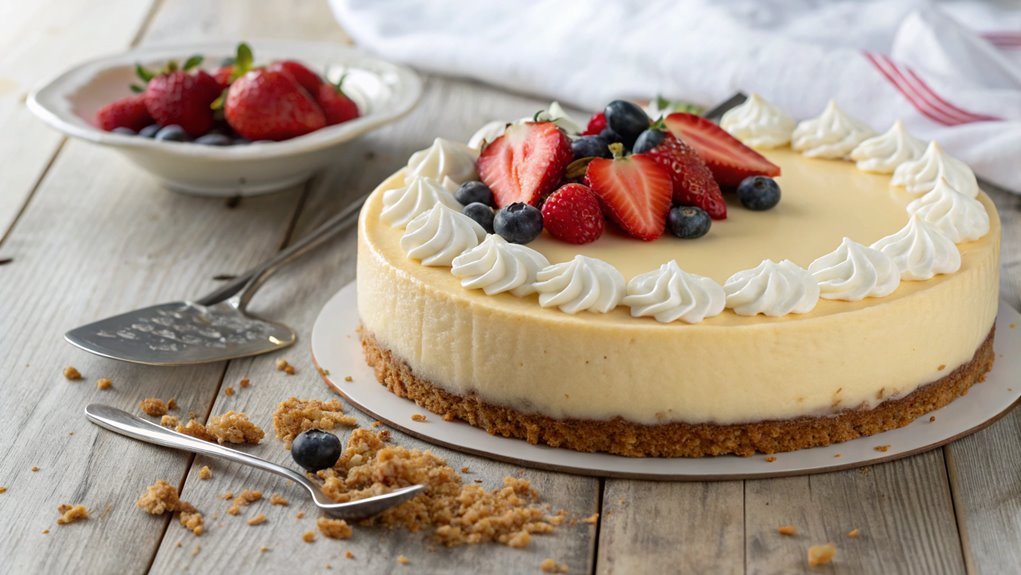
Making a cheesecake might seem complex, but it’s surprisingly easy, especially when you skip the oven. A quick no-bake cheesecake is perfect for those short on time but eager to impress guests with minimal effort.
With just a few ingredients, you can create an indulgent dessert without the fuss. Curious about achieving that creamy texture effortlessly? Here’s a simple breakdown to guide you to this delicious creation.
Recipe
No-bake cheesecake is a delightful and creamy dessert that’s perfect for any occasion. Its luscious texture and rich flavor make it a favorite among cheesecake lovers. The best part is that this cheesecake requires no baking, which means you can whip it up quickly and easily without turning on the oven.
With just a few simple steps, you can achieve a rich and satisfying dessert that’s sure to impress your family and friends.
This recipe relies on cream cheese for its rich and smooth consistency, while whipped cream adds lightness and airiness. The crust, often made with crushed graham crackers, offers a delightful crunch that perfectly complements the silky filling.
You can customize this cheesecake by adding your favorite toppings, such as fresh fruit, chocolate sauce, or caramel, to make it even more delicious and visually appealing.
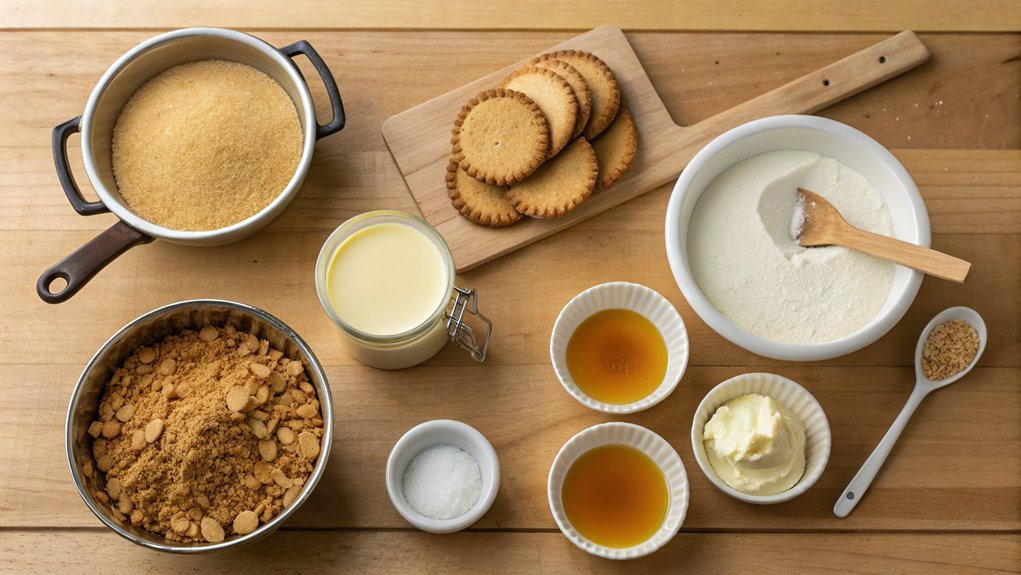
Ingredients:
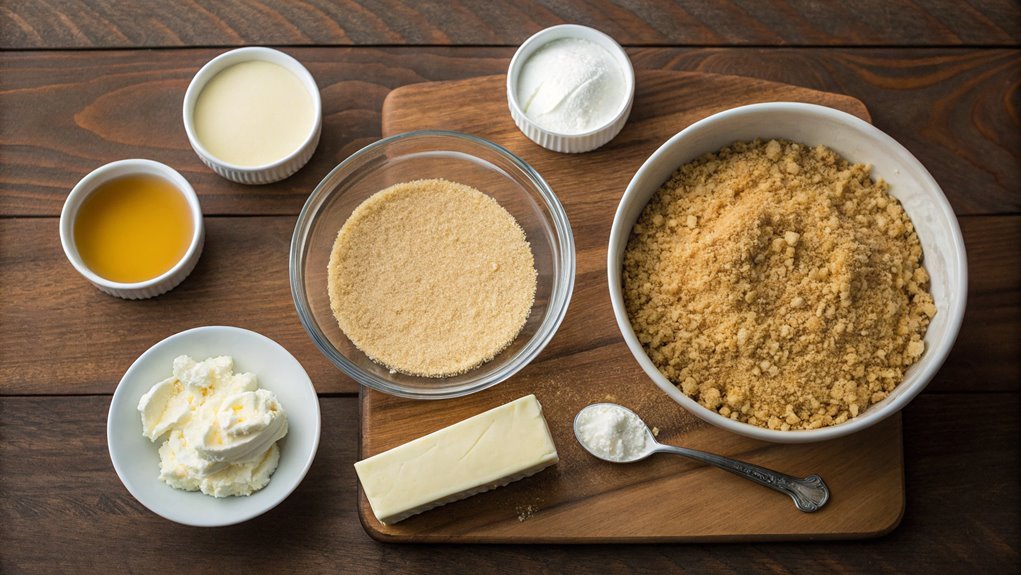
- 1 1/2 cups graham cracker crumbs
- 1/2 cup unsalted butter, melted
- 2 cups cream cheese, softened
- 1 cup powdered sugar
- 1 tablespoon vanilla extract
- 1 cup heavy whipping cream
- Optional toppings (e.g., fruit, chocolate sauce)
Now let’s move on to the cooking steps.
Cooking Steps
Let’s get excited about making this delicious no-bake cheesecake!
You’ll start by preparing the crust mixture, then it’s time to beat the cream cheese until smooth and creamy.
After adding the sweetened whipped topping, you’re just a few steps away from chilling that delectable cheesecake mixture and pouring it into your serving pan!
Step 1. Prepare the Crust Mixture
To prepare the crust mixture for your cheesecake, gather 1 and ½ cups of crushed graham crackers and ¼ cup of melted butter. This combination will create a delicious, buttery crust that forms the perfect foundation for your cheesecake.
Start by placing the crushed graham crackers in a mixing bowl. You can easily crush them using a food processor or by placing them in a zip-top bag and rolling over them with a rolling pin.
Once they’re finely crushed, add the melted butter to the bowl. This butter not only adds flavor but also helps bind the crackers together.
Next, stir the mixture until it’s well combined and crumbly. The texture should remind you of wet sand; you want the crumbs to hold together when pressed.
Now, take a 9-inch springform pan and evenly press the crust mixture into the bottom and slightly up the sides. Use the back of a measuring cup or your fingers to pack it down firmly. This helps guarantee it won’t crumble later.
Once it’s nice and even, pop it in the fridge to chill for at least 15 minutes. This will help set your crust and prepare for the delicious filling to come!
Enjoy the process—it’s about to get even better!
Step 2. Beat the Cream Cheese
Start by beating the cream cheese until it’s smooth and creamy. You’ll want to use an electric mixer for this step, as it makes the process so much easier.
Place the softened cream cheese in a large mixing bowl, and let it sit at room temperature for about 30 minutes if you haven’t done so already. This way, it’ll mix more easily.
As you beat the cream cheese, keep an eye on the texture; it should transform from a chunky consistency to a luscious, velvety mixture.
Don’t rush this process! Take your time to scrape down the sides of the bowl a few times to guarantee every bit of cream cheese gets thoroughly mixed.
You’re aiming for a light and airy texture, which will make your cheesecake so delightful. If you find any lumps, keep beating until you achieve that uniform creaminess—you want it to be irresistible!
Step 3. Add Sweetened Whipped Topping
Once the cream cheese is perfectly smooth, gently fold in the sweetened whipped topping. This step is crucial for achieving that light and fluffy texture that makes no-bake cheesecake a star dessert. Whipped topping adds sweetness and a creamy consistency, balancing out the dense cream cheese beautifully.
Use a spatula, and be careful not to over-mix; you want to maintain that airy feel.
To guarantee you’re doing it right, keep these points in mind:
- Use chilled whipped topping for the best volume.
- Fold gently to incorporate air, keeping your mixture light.
- Taste as you go to adjust sweetness—add a little powdered sugar if you desire.
- Mix just until combined, avoiding over-beating, which can deflate the whipped topping.
As you fold in the whipped topping, you’ll notice the mixture becomes wonderfully creamy. Your patience will pay off when you scoop this dreamy concoction into your crust.
It’s all about that perfect balance of flavors and textures. Trust me, this cheesecake is sure to impress anyone lucky enough to get a taste! Get ready for a delightful treat that’s bound to be a crowd-pleaser!
Step 4. Chill the Cheesecake Mixture
After you’ve folded in the whipped topping and achieved that creamy consistency, it’s time to let the cheesecake mixture chill. This step is essential for creating that perfect texture and flavor.
Start by covering your mixing bowl tightly with plastic wrap or transferring the mixture into a container with a lid. Refrigerating your cheesecake mixture for at least one to two hours will allow it to set properly.
While it chills, take a moment to clean up your space and admire your work so far. This is the time when flavors meld together, and you can really build anticipation for the delicious cheesecake to come.
If you’re feeling adventurous, you might also use this time to prep any toppings or garnishes you’d like to add later, such as fruit or chocolate sauce.
Step 5. Pour Into Serving Pan
Carefully pour the chilled cheesecake mixture into your prepared serving pan, ensuring an even distribution across the bottom. This step is essential for achieving that perfect texture once it sets!
With a spatula or a spoon, gently spread the mixture to the edges, smoothing it out as you go. Don’t rush—take your time to create a beautiful, level surface.
When you’ve spread the mixture, you might want to tap the pan lightly on your countertop. This helps release any air bubbles trapped within the cheesecake, making it even smoother.
Once you’re satisfied with the surface, it’s time to chill.
Make sure to keep these key tips in mind:
- Use a springform pan for easy removal.
- Line the bottom with parchment paper for easier serving.
- Keep the mixture cold to aid easier pouring and spreading.
- Optional: Swirl in fruit puree for an added flavor twist.
Now, cover the pan with plastic wrap and pop it into the refrigerator. Let it chill for at least four hours, or until firm.
You’re so close to that creamy, dreamy slice of cheesecake! Enjoy every moment of it!
Final Thoughts
While you might be tempted to opt for a traditional baked cheesecake, this no-bake version offers a simple and delightful alternative that doesn’t compromise on flavor.
It’s quick, easy, and requires minimal ingredients, making it perfect for busy days or spontaneous gatherings. The best part? You can whip it up in a flash, and it sets beautifully in the fridge, allowing you to focus on what truly matters—enjoying quality time with friends and family.
As you prepare this dessert, let your creativity shine.
Top your cheesecake with fresh fruits, chocolate drizzles, or even a sprinkle of nuts. Each bite promises a creamy texture paired with just the right amount of sweetness, satisfying any dessert lover’s cravings.
Frequently Asked Questions
Can I Use Low-Fat Cream Cheese for This Recipe?
Yes, you can use low-fat cream cheese in your recipe. It’ll still give you that creamy texture, although the flavor might be slightly milder. Just make sure to adjust sweetness if needed. Enjoy your creation!
How Long Can I Store Leftover Cheesecake in the Fridge?
You can store leftover cheesecake in the fridge for about five to seven days. Make sure you cover it tightly to keep it fresh. If it looks or smells off, it’s best to toss it.
Can I Substitute Different Flavors for the Cheesecake?
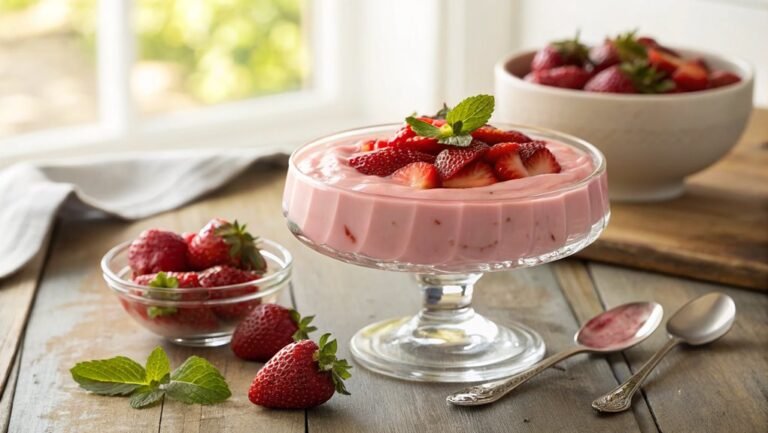
You can transform your cheesecake into a flavor explosion! Whether you choose chocolate, strawberry, or caramel, those flavors’ll dance together like a celebration. Just swap out the extracts and toppings, and enjoy your creamy masterpiece!
Is It Necessary to Use a Springform Pan?
It isn’t necessary to use a springform pan, but it can make serving easier. You can use any pan you have on hand, just make certain it’s lined properly to prevent sticking. Enjoy your cheesecake!
How Many Servings Does This Cheesecake Recipe Yield?
The number of servings depends on your portion size. Typically, a standard cheesecake yields about 8 to 12 servings. If you cut smaller pieces, you might get a few more servings out of it.
