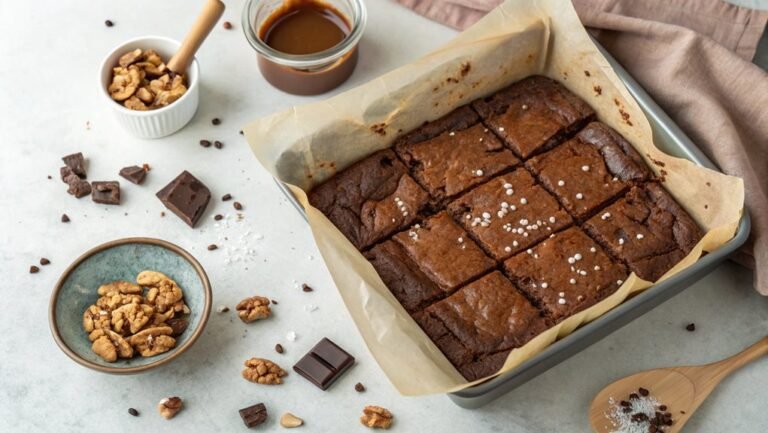
Microwave Fudge Recipe
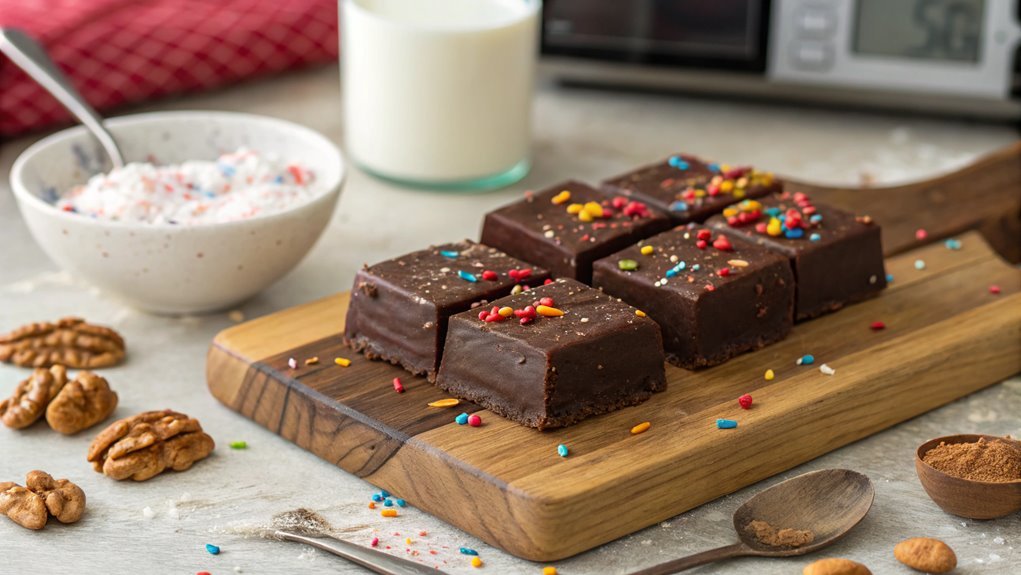
Microwave fudge is a standout dessert due to its simplicity and rich flavor. With just a few ingredients, it creates a creamy and satisfying treat ideal for any occasion.
Customization is key to elevating your fudge game. Mastering this dessert involves focusing on a few essential steps that can significantly impact your results.
Recipe
Microwave fudge is a quick and easy treat that satisfies any chocolate lover’s cravings while also being perfect for both novice and experienced bakers. The charm of this recipe lies in its simplicity; you can whip up a luscious batch of fudge in just a matter of minutes without any fuss.
Whether you’re looking for a sweet addition to a party, a homemade gift, or just a late-night snack, this microwave fudge is sure to hit the spot.
This microwave fudge recipe utilizes condensed milk for a creamy texture and a rich, chocolatey flavor that melts in your mouth. The best part? There are endless variations you can try by adding different mix-ins like nuts, marshmallows, or even swirls of peanut butter.
So roll up your sleeves, grab your favorite microwave-safe bowl, and get ready to indulge in a delightful homemade treat!
Ingredients
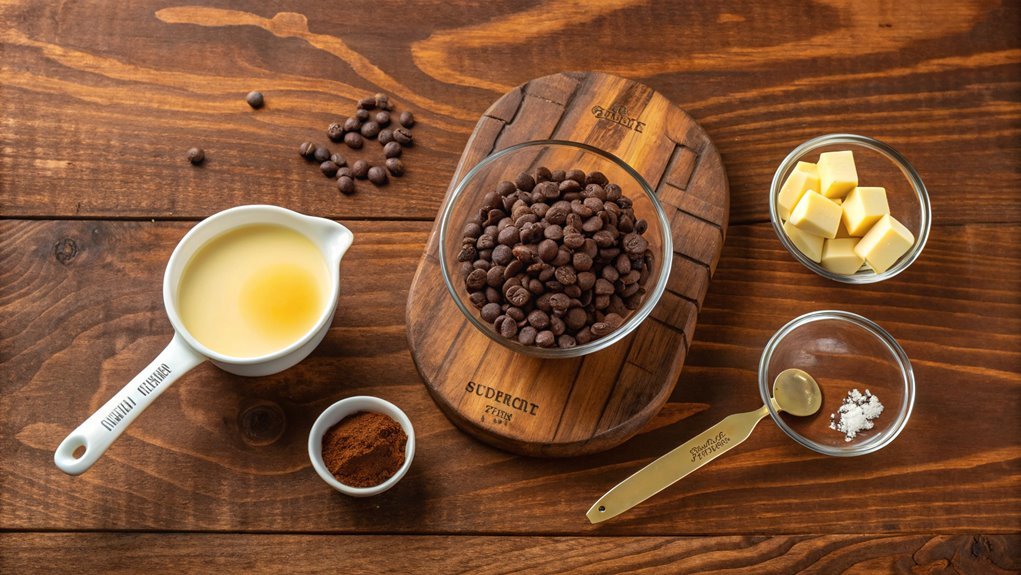
- 2 cups chocolate chips (semi-sweet or milk chocolate)
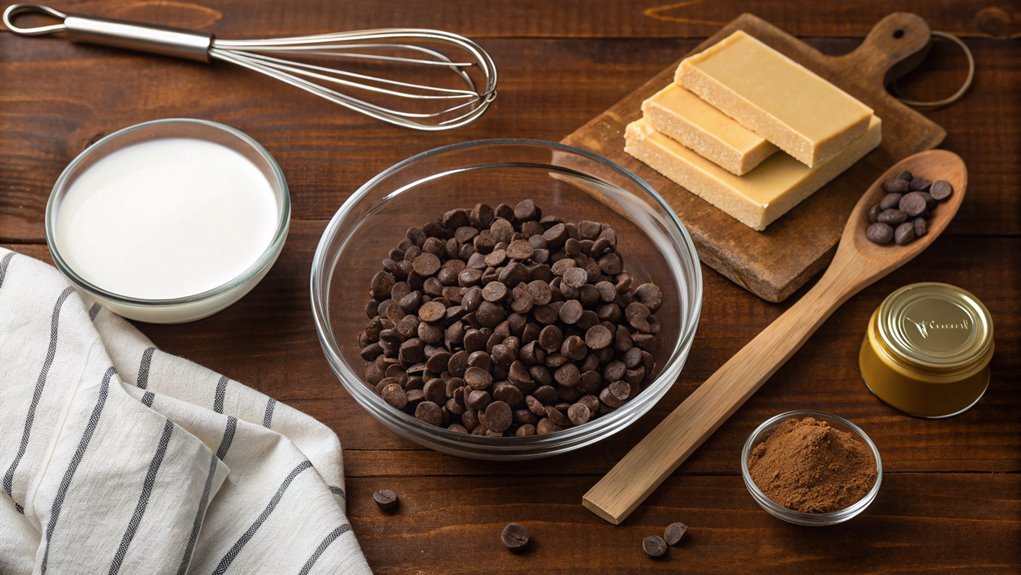
- 1 can (14 oz) sweetened condensed milk
- 1/4 cup unsalted butter
- 1 teaspoon vanilla extract
- Pinch of salt
- Optional toppings: chopped nuts, sprinkles, or sea salt
Now let’s move on to the cooking steps.
Cooking Steps
Get ready to create some delicious microwave fudge!
Start by melting chocolate in the microwave, then mix in sweetened condensed milk to achieve that rich, creamy texture you’ll love.
Once everything’s smoothly combined, pour the mix into a greased pan and let it chill until it’s firm; you’ll be indulging in your homemade treat in no time!
Step 1. Melt Chocolate in Microwave
To melt chocolate in the microwave, start by breaking it into small, uniform pieces. This helps the chocolate melt evenly and prevents any burning.
Place the chocolate in a microwave-safe bowl. Make sure to avoid using plastic, as it can warp or release harmful chemicals.
Next, microwave the chocolate on medium power for about 30 seconds. This gentle heat will keep your chocolate from overheating.
After 30 seconds, take the bowl out and stir the chocolate with a spatula or spoon. You might think it’s not melted yet, but stirring helps distribute the heat.
If you still see some unmelted chunks, return the bowl to the microwave for another 15 seconds. Continue this process until the chocolate is smooth and completely melted.
Keep an eye on it, because chocolate can go from perfect to burnt in just a few seconds!
Once it’s melted, you can let your creativity shine. Use it in your fudge recipe, drizzled over treats, or in other delicious desserts.
Melting chocolate is a fantastic skill to master, so let’s get started! You’re going to love the rich, creamy flavor of your homemade fudge!
Step 2. Add Sweetened Condensed Milk
With the chocolate smoothly melted, it’s crucial to add sweetened condensed milk, which will give your fudge a creamy texture and rich flavor. This step is where the magic happens, transforming your melted chocolate into the decadent fudge you’ve been dreaming of. Trust me, you won’t want to skip this part!
Here’s how to add it effectively:
- Grab the Can: Open a can of sweetened condensed milk. This thick, sweet liquid is key to achieving the perfect fudge consistency.
- Pour it In: Carefully pour the milk into your melted chocolate. The combination is heavenly, and you’ll see it meld together beautifully.
- Mix Well: Give it a good stir! It’s crucial to thoroughly combine the chocolate and sweetened condensed milk for an even texture.
- Check the Consistency: Before moving forward, make sure it’s smooth and velvety. You want that luscious quality that makes fudge irresistible!
Enjoy this process—you’re closer to creating a delightful treat. The blend of chocolate and milk at this stage is just the beginning of something truly delicious!
Step 3. Stir Until Smooth Mixture
Stir the mixture vigorously to confirm everything blends into a silky-smooth consistency. You’re on an exciting journey to create delicious microwave fudge! As you begin stirring, use a spatula or wooden spoon to ascertain every bit of sweetened condensed milk and chocolate melts thoroughly.
Take your time here; a few minutes of passionate stirring can make a big difference. Keep an eye on the texture. You want it to be completely smooth, without any lumps or graininess. If you notice some stubborn bits, don’t hesitate to pop the bowl back in the microwave for 15 to 20 seconds. This will help soften the mixture enough for easier blending.
Remember, this process is all about patience and care; the smoother the mixture, the creamier your final fudge will be! Once everything is perfectly combined, you might want to sneak a taste. The rich aroma and taste of chocolate will surely excite your senses!
Plus, knowing you’re just a few steps away from indulging in this sweet treat adds to the thrill of cooking. So stay committed, keep stirring, and enjoy your time in the kitchen creating this delightful fudge!
Step 4. Pour Into Greased Pan
Now’s the moment to pour your silky mixture into a greased pan. You’ve put in the effort to create this delicious fudge, and it’s time to give it a home. Grab your prepared pan—make sure it’s adequately greased to prevent sticking. This will help you achieve that perfect fudge texture later on.
Follow these steps for a smooth pour:
- Take a spatula: Use it to scrape the mixture from the mixing bowl, ensuring you get every last bit of that gooey goodness.
- Tilt the pan: Slightly angle it to help guide the mixture as it flows in, allowing for an even layer.
- Spread evenly: Use the spatula to gently spread the mixture, making sure it fills the corners and edges.
- Tap the pan: Give it a couple of gentle taps on the counter to settle the fudge and eliminate air pockets.
As you work, feel the excitement building! You’re just one step closer to enjoying this mouthwatering treat.
Step 5. Chill Until Firm
After you’ve poured the fudge mixture into your greased pan, it’s time to let it set properly. This step is essential for achieving that perfect, melt-in-your-mouth texture we all crave.
Place the pan in the refrigerator, ensuring it’s on a flat surface to allow even cooling. You’ll want to chill the fudge for at least two hours, but if you can resist, leaving it overnight is even better.
During this time, the fudge will firm up beautifully, and the flavors will meld together. Each minute spent in the refrigerator builds anticipation, transforming your simple mixture into a delicious treat.
You’ll find yourself drawn back to check on it, imagining the luscious bites you’re about to enjoy.
When you finally take the fudge out, it should be solid but slightly soft to the touch. If it’s not quite there, pop it back in for a little longer.
Once it’s set, you can cut it into squares! Enjoy every moment of this process, and get excited! You’ve created something special with your own hands.
Now it’s time to share the love—everyone will want a taste of your homemade microwave fudge!
Final Thoughts
As you wrap up your fudge-making adventure, it’s clear that this microwave fudge recipe offers both simplicity and indulgence.
You’ve crafted a rich, creamy treat that’s perfect for sharing, gifting, or simply enjoying yourself. There’s something special about a homemade fudge that store-bought just can’t replicate.
Plus, the microwave method makes it quick and hassle-free, allowing you to whip up a batch any time you crave a sweet treat!
Before you plunge into your fudge, here are four key takeaways to enhance your fudge-making experience:
- Experiment with Flavors: Don’t hesitate to explore various flavorings like vanilla, almond, or even peppermint to give your fudge a unique twist.
- Add Your Favorite Mix-ins: Chopped nuts, dried fruits, or chocolate chips can take your fudge to another level of deliciousness.
- Storing Tips: Store your fudge in an airtight container to keep it fresh for weeks, if it lasts that long!
- Share the Love: Fudge makes a fantastic gift! Wrap it in festive packaging for a lovely treat that friends and family will adore.
Enjoy your delicious creation!
Frequently Asked Questions
Can I Substitute Chocolate Chips for Cocoa Powder?
You might find yourself pondering substitutions as you cook. While you can’t directly swap chocolate chips for cocoa powder, melting chocolate chips can create a rich flavor, similar to using cocoa powder in your recipe.
How Long Does Microwave Fudge Need to Cool?
Your fudge needs about two hours to cool completely at room temperature. If you’re in a hurry, placing it in the fridge for 30-45 minutes can speed up the process without compromising its texture.
Is Microwave Fudge Suitable for Gluten-Free Diets?
If you’re baking for a gluten-intolerant friend, microwave fudge is a great choice! As long as you use gluten-free ingredients, it’s suitable for gluten-free diets, offering a delicious treat everyone can enjoy without worry.
Can I Add Nuts or Toppings to the Fudge?
You can definitely add nuts or toppings to your fudge! Chopped pecans, walnuts, or even sprinkles can enhance the flavor and texture. Just mix them in before the fudge sets for a delicious upgrade.
What’s the Best Way to Store Leftover Fudge?
To store leftover fudge, wrap it tightly in plastic wrap or place it in an airtight container. Refrigerate it if you want it to last longer, and let it sit at room temperature before enjoying.

