Strawberry Pudding Recipe
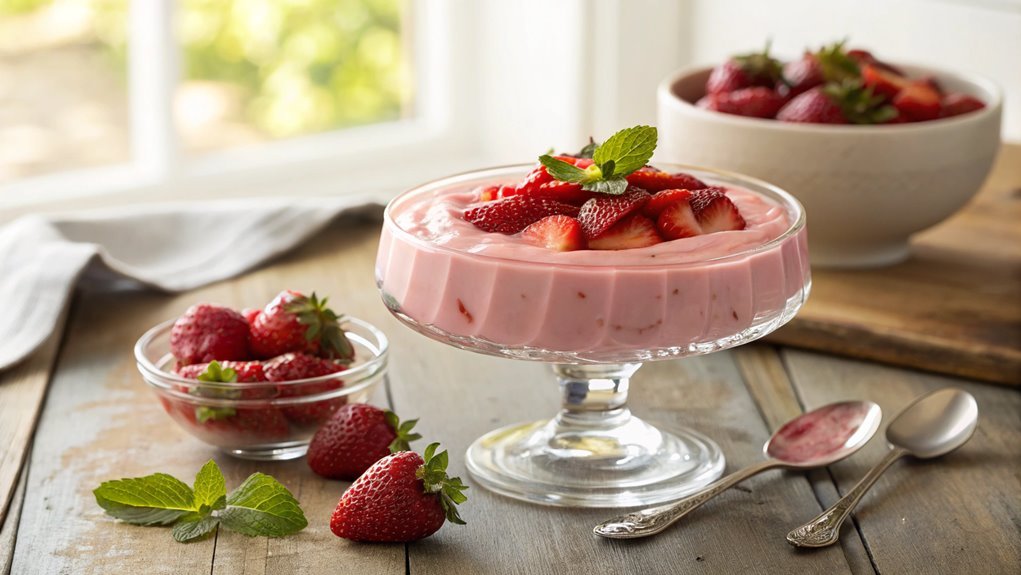
Strawberry pudding is a simple yet impressive dessert. It balances flavors, with fresh strawberries adding sweetness and vibrant color. The recipe’s nuances in preparation and presentation can elevate the dish. Let’s explore the steps to make your strawberry pudding memorable.
Recipe
Strawberry pudding is a delightful dessert that brings the sweet, tangy flavors of fresh strawberries to the forefront. It’s a perfect treat for warm days or special occasions when you want to impress your guests with a wholesome, homemade dish.
This creamy pudding isn’t only easy to make but also a charming way to enjoy seasonal strawberries. With its vibrant color and luscious texture, strawberry pudding can be served on its own or as a delectable topping for cakes, pancakes, or baked goods.
To make the finest strawberry pudding, you’ll need fresh strawberries along with a few other simple ingredients that come together to create a smooth, velvety custard base. The recipe involves cooking the fruit down to release its natural juices, which are then blended with the other components.
Follow these steps to whip up a batch of this luscious dessert that will surely leave everyone asking for seconds!
Ingredients:
- 2 cups fresh strawberries, hulled and sliced
- 1/2 cup granulated sugar
- 2 cups whole milk
- 1/3 cup cornstarch
- 1/4 teaspoon salt
- 2 large egg yolks
- 1 teaspoon vanilla extract
- 1 tablespoon unsalted butter
Now let’s move on to the cooking steps.
Cooking Steps
Let’s get ready to create a delicious strawberry pudding that’ll impress your friends and family!
Start by preparing your ingredients for mixing, so everything’s in reach and easy to work with.
Once you blend the strawberries and sugar, you’ll experience the vibrant flavors that make this dessert a real treat.
Now let’s move on to the cooking steps.
Step 1. Prepare Ingredients for Mixing
To whip up a delicious strawberry pudding, you’ll need to gather a few key ingredients. Start with fresh strawberries; about two cups should do the trick. Look for ripe, juicy ones—these will enhance your pudding’s flavor immensely.
Next, grab some granulated sugar, as it’ll help bring out the sweetness in your strawberries. You’ll also need cornstarch, which acts as a thickening agent to give your pudding that perfect creamy texture.
Don’t forget the milk! Whole milk creates a richer pudding, but you can use skim or any plant-based alternative if you prefer. Finally, a pinch of salt will balance the sweetness perfectly.
Once you have everything laid out, wash your strawberries under cool water and gently pat them dry. Confirm you have all your measuring cups ready; precision is key when baking! Having everything organized makes the process smoother and more enjoyable.
With your ingredients prepped and ready, you’ll be set to create a delightful strawberry pudding that’s sure to impress. So, roll up your sleeves and get ready for some delicious fun in the kitchen! You won’t regret it.
Step 2. Blend Strawberries and Sugar
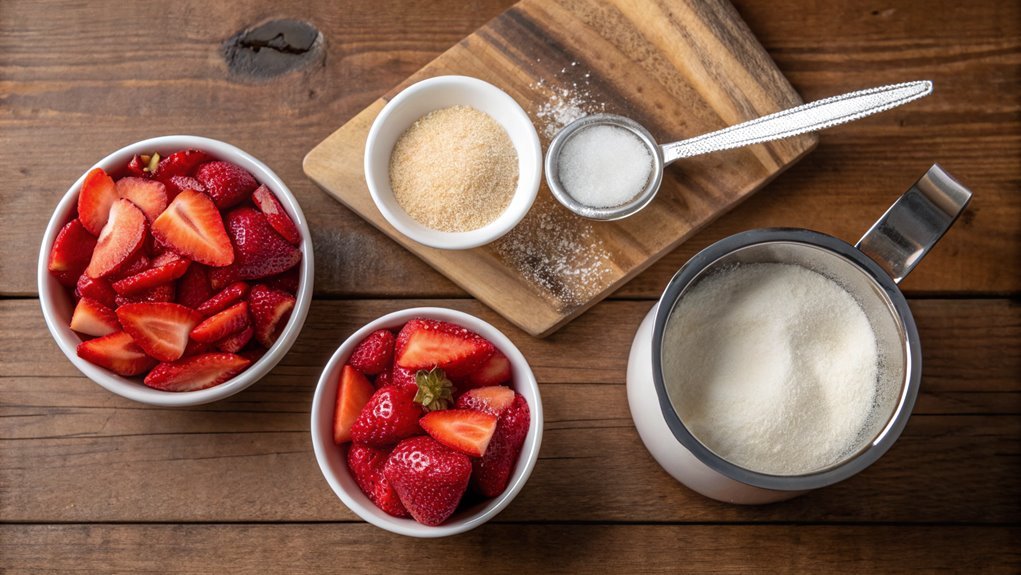
Now that you have your strawberries and sugar ready, it’s time to blend them together for that vibrant flavor.
Begin by rinsing your strawberries thoroughly under cool water to remove any dirt or impurities. Once they’re clean, hull them by removing the green tops. This step guarantees a smooth blend, so you get every bit of that juicy goodness!
Next, place the hulled strawberries in your blender. Sprinkle the sugar over them—it’ll help create a delightful sweetness that balances the tartness of the strawberries.
Secure the lid tightly, and get ready to blend! Start on low speed, gradually increasing to high for about 30 seconds, or until you achieve a smooth consistency. If you prefer a bit of texture, feel free to pulse it a few times instead.
As you blend, take a moment to enjoy the fruity aroma wafting through your kitchen. Once you’re satisfied with the mixture, stop the blender and check its consistency.
This step is truly an expression of your culinary creativity, so don’t rush it! Relish the anticipation because you’re one step closer to making that delicious strawberry pudding!
Step 3. Strain Mixture Through Sieve
Next, grab a fine mesh sieve and set it over a mixing bowl. This step is essential as it helps remove any seeds or chunky bits, guaranteeing your strawberry pudding has a smooth, delightful texture. You don’t want any gritty surprises, right?
- A silky-smooth consistency makes for the best dessert experience.
- Straining enhances the rich strawberry flavor in every bite.
- It’s an easy way to achieve a more professional-looking pudding.
Now, carefully pour your blended strawberry and sugar mixture into the sieve. Use a spatula or the back of a spoon to gently press down, coaxing the mixture through the mesh. The sweet, fragrant pulp will slip through, leaving behind the seeds which you can discard.
Don’t rush this part; taking your time guarantees you get every last drop of that delicious strawberry flavor.
Once done, step back and admire your beautifully strained pudding base. You’re one step closer to creating a dessert that will impress everyone at your next gathering.
Step 4. Chill Mixture Before Serving
After you’ve strained the mixture, it’s important to chill it before serving. Chilling helps the flavors meld together beautifully while giving the pudding a creamy, delightful texture.
To do this, pour the strained mixture into a bowl or individual serving cups. Cover them with plastic wrap to avoid any unwanted contaminants or odors from your fridge. It’s always best to let the pudding cool for at least one to two hours, but if you can wait longer, you’ll be rewarded with an even tastier treat!
While you wait, you can plan how you’d like to serve it. The anticipation only builds as you think about what toppings or garnishes will complement the dessert perfectly.
Once the pudding is chilled, give it a quick stir before serving. This simple step guarantees a smooth consistency throughout.
The vibrant strawberry flavor is going to shine through, tantalizing your taste buds and impressing your friends and family. Trust me, the wait will be worth it when you finally dig in!
Step 5. Add Whipped Cream Topping
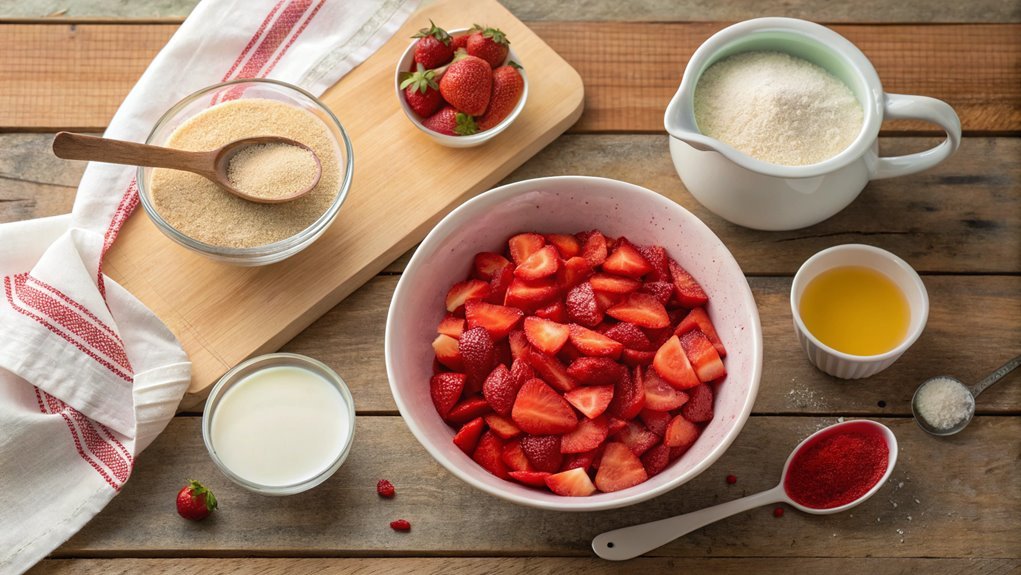
To elevate your strawberry pudding, adding a whipped cream topping is a must. It not only enhances the flavor but also brings a delightful texture that complements the creamy pudding. Trust me, your taste buds will thank you!
Here’s what you’ll need to make that luscious whipped cream topping:
- Heavy whipping cream
- Sugar (powdered or granulated)
- Vanilla extract
Begin by pouring the heavy whipping cream into a chilled mixing bowl. This helps the cream whip up fluffier.
Next, add a tablespoon of sugar and a splash of vanilla extract for that sweet, aromatic burst. Using a hand mixer or stand mixer, beat the cream on medium-high speed until it forms soft peaks. Be careful not to overwhip; you want it to be light and airy, not grainy.
Now, gently dollop or pipe your whipped cream over the chilled strawberry pudding. The contrast of flavors and textures will be incredible!
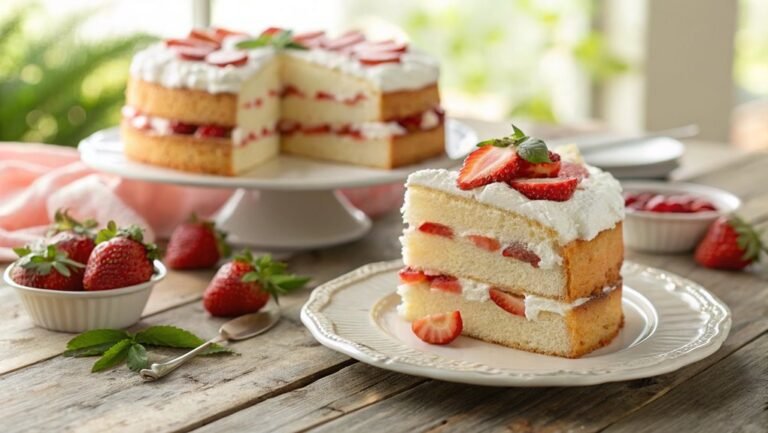
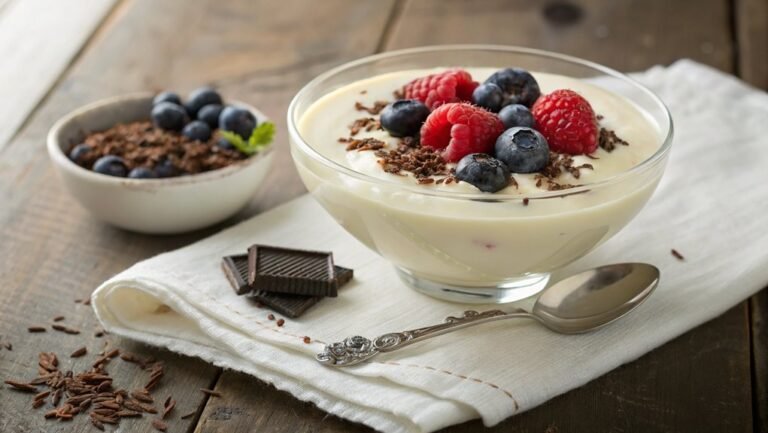
You can even sprinkle some fresh strawberries or chocolate shavings on top for an extra treat. So, get ready to wow your family and friends with this simple yet delightful addition!
Final Thoughts
As you savor your delicious homemade strawberry pudding, it’s easy to reflect on the joy this simple dessert brings to any occasion. Just imagine sharing this delightful treat with family and friends, creating memories that will last a lifetime.
The vibrant color and fresh flavors of strawberries brighten up any table, making it a showstopper at gatherings, picnics, or even a cozy night in.
Making strawberry pudding isn’t just about the final product; it’s a rewarding process filled with love and creativity. You can personalize it with your favorite toppings, whether you opt for whipped cream, crushed nuts, or even a drizzle of chocolate.
Each variation offers a unique taste experience, and experimenting in the kitchen can spark culinary inspiration.
Don’t hesitate to try your hand at this delectable dessert. It’s simple enough for novice cooks, yet satisfying enough for seasoned chefs.
You’ll find that the clean, fresh taste of strawberries paired with creamy pudding is a combination that everyone will adore. So, gather those ingredients, roll up your sleeves, and get ready to treat yourself and your loved ones to something truly special.
Happy cooking!
Frequently Asked Questions
Can I Use Frozen Strawberries Instead of Fresh Ones?
Yes, you can use frozen strawberries instead of fresh ones. Just thaw and drain them before use. They may slightly alter the texture or flavor, but your dish will still taste delicious and revitalizing.
How Long Does Strawberry Pudding Last in the Refrigerator?
You can store your pudding in the refrigerator for about three to five days. Just make sure it’s covered properly to keep it fresh. If it looks or smells off, it’s best to discard it.
Is It Possible to Make This Recipe Dairy-Free?
If you’re craving a dairy-free dessert, you’ll be pleased to know you can easily substitute almond milk for regular milk. Just make sure to adjust other ingredients, and you’ll still enjoy a delicious treat!
Can I Substitute Sugar With a Sugar Alternative?
Yes, you can substitute sugar with a sugar alternative. Just guarantee it’s suitable for baking and adjust the quantity based on the alternative’s sweetness level. Experimenting might be necessary to achieve the desired flavor.
What Are Some Serving Suggestions for Strawberry Pudding?
Did you know 70% of people prefer dessert as their last meal? When serving pudding, consider topping it with whipped cream, fresh fruit, or crushed cookies. You’ll impress everyone with your creativity and presentation!
