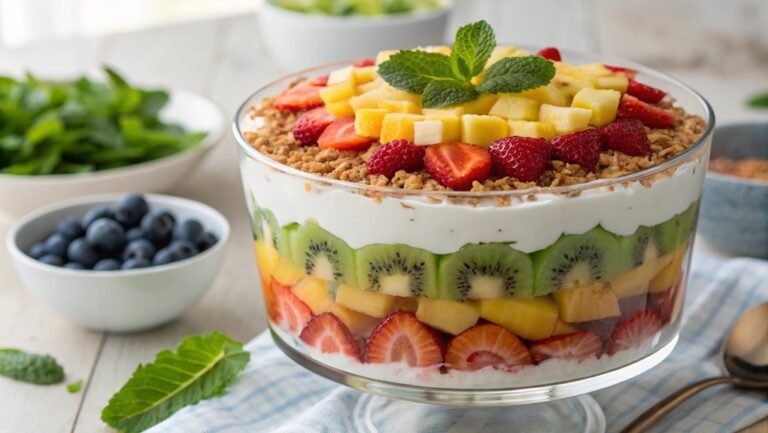
Layered Strawberry Angel Food Cake Recipe
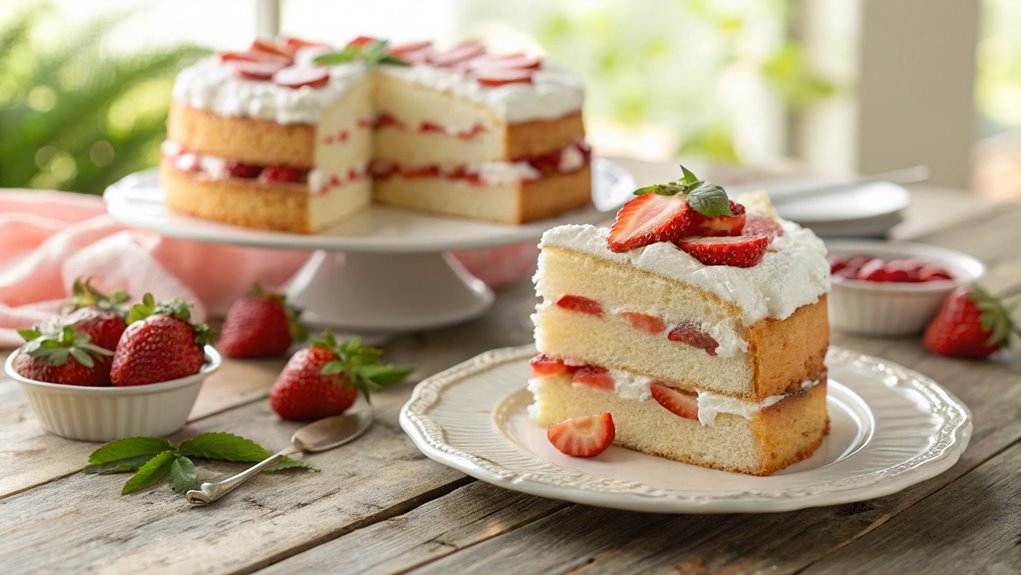
Angel food cake is a low-calorie dessert, averaging around 100 calories per slice. This makes it a versatile choice for gatherings, balancing indulgence with health. Try making a Layered Strawberry Angel Food Cake using simple ingredients for an impressive centerpiece. It’s easily customizable to suit your taste and occasion. Let’s explore how to make this delightful treat.
Recipe
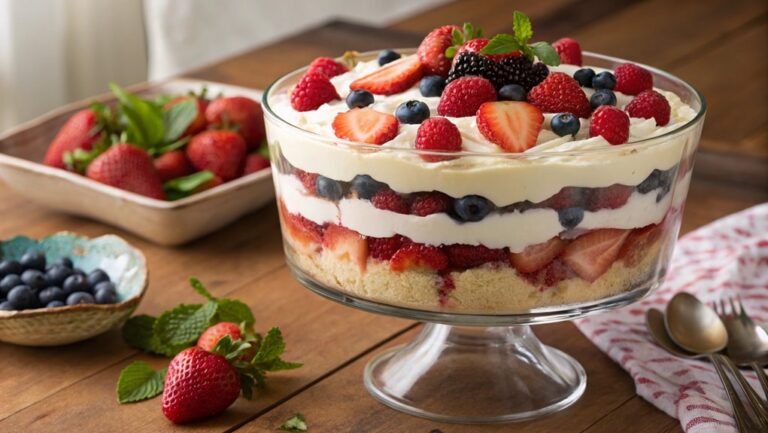
Creating a Layered Strawberry Angel Food Cake is a delightful way to celebrate any occasion. This light and airy cake pairs beautifully with fresh strawberries and whipped cream, making it a perfect summer dessert. Not only is it visually stunning, but the flavors are a wonderful balance of sweetness and freshness that will impress your guests.
The preparation of the cake involves baking an angel food cake from scratch, which results in a fluffy texture that’s hard to resist. Once the cake is baked and cooled, it can be layered with luscious strawberries and decadent whipped cream for a beautiful presentation.
This dessert is ideal for potlucks, family gatherings, or any festive celebration where you want to offer something special.
Ingredients:
- 1 cup cake flour
- 1 ½ cups granulated sugar
- 12 large egg whites
- 1 teaspoon vanilla extract
- 1 teaspoon cream of tartar
- ½ teaspoon salt
- 2 cups fresh strawberries, hulled and sliced
- 1 cup heavy whipping cream
- 2 tablespoons powdered sugar
- Extra strawberries for garnish (optional)
Now let’s move on to the cooking steps.
Cooking Steps
Get ready to create a delicious layered strawberry angel food cake!
First, you’ll preheat your oven to a perfect 350°F, setting the stage for a light and fluffy treat.
Once you’ve prepared the cake batter, you’ll bake it for 25 to 30 minutes, filling your kitchen with a wonderful aroma that’ll have everyone excited to taste your masterpiece.
Step 1. Preheat the Oven to 350°F
Before you begin assembling your delicious layered strawberry angel food cake, preheating your oven to 350°F is essential. This step guarantees that the heat is evenly distributed when you bake your cake, allowing it to rise perfectly and develop that light, airy texture we all love. It only takes a few minutes, so don’t rush!
Start by turning your oven dial to 350°F or setting the digital display, depending on your oven model. While you wait for it to heat up, you can gather your ingredients, which not only builds anticipation but also makes the process smoother. An oven thermometer can be helpful here, as it guarantees your oven’s temperature is just right—it’s a little trick that home bakers swear by!
Once the oven reaches the desired temperature, you’ll be ready to create a mouthwatering cake that’ll impress everyone at your gathering. The smell of a freshly baked angel food cake is simply heavenly!
Step 2. Prepare the Cake Batter
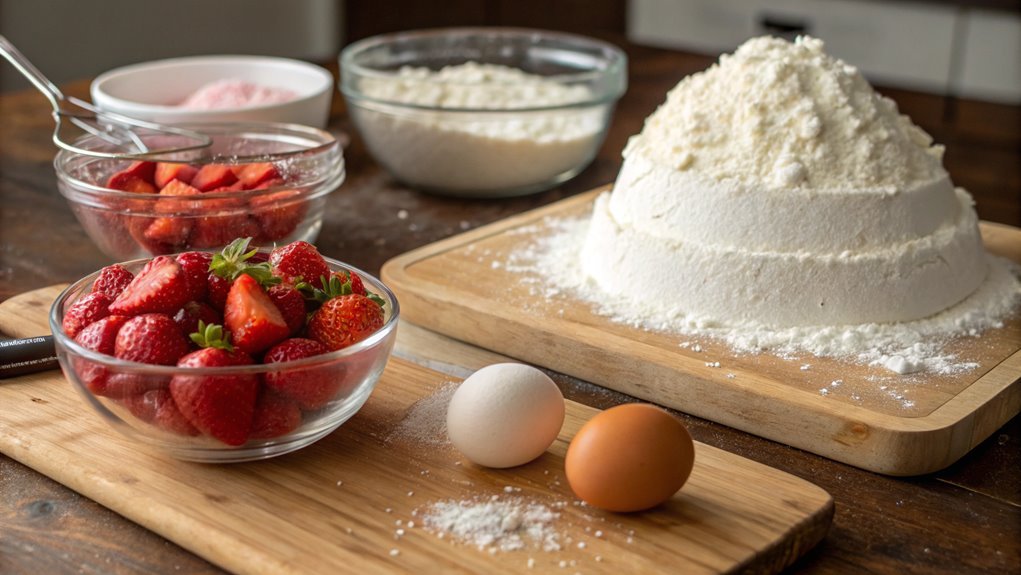
With your oven preheated, it’s time to prepare the cake batter that will form the base of your layered strawberry angel food cake.
Start by grabbing a large mixing bowl and sifting together the cake flour and half of the sugar. This helps to aerate the flour, giving your cake that light, fluffy texture we all adore.
In another bowl, beat your egg whites until they’re frothy. Add the cream of tartar and continue whisking until stiff peaks form. It’s essential to whip them well to create that airy quality!
Once your egg whites are perfectly whipped, gradually add the remaining sugar, mixing gently—it’ll create that sweet, glossy finish.
Now, gently fold in the flour mixture. Be careful not to deflate your whites; you want to keep that volume! Use a spatula to guarantee everything is well combined without over-mixing.
This step is key in achieving a delightful texture. Once you’re done, your batter should look light and fluffy, brimming with potential.
Now you’re ready to move on to baking, where all of your hard work will truly pay off. Enjoy this exciting process!
Step 3. Bake for 25-30 Minutes
Now that your cake batter is ready, it’s time to bake it in the preheated oven. As you pour the batter into your prepared pan, take a moment to admire its smooth texture and delightful aroma. This will transform into a fluffy, mouth-watering treat that everyone will love!
Place the pan in the oven and set a timer for 25 to 30 minutes. While you wait, the enticing smell of the angel food cake will start to fill your kitchen, creating an atmosphere of sweet anticipation.
Keep an eye on it during the baking process. You’ll know it’s done when the cake springs back lightly when you touch it, and the edges look golden.
Don’t worry if it’s your first time; this process is both fun and rewarding! Baking is an art, and each time you create a cake, you’ll learn something new.
Once the timer goes off, let that feeling of accomplishment wash over you. Just envision the delicious layers of strawberry that will soon adorn your masterpiece! Your patience will pay off, and shortly, you’ll be ready to elevate your cake to the next level. Happy baking!
Step 4. Cool Cake in Pan
As the timer goes off, you’ll want to let your cake cool in the pan for about 15 minutes. This step is essential because it allows the cake to firm up just a bit, making it easier to remove without any tears or crumbles. Your kitchen should be filled with the lovely aroma of sweet vanilla and strawberries, adding to the excitement of the process!
While you’re waiting, take a moment to appreciate what you’ve accomplished so far. Cooling the cake properly will guarantee a perfect finish, and here’s why it’s important:
- Texture: A well-cooled cake maintains its airy structure, key to that delightful angel food cake feel.
- Flavor: As it cools, flavors meld, enhancing the overall taste experience you crave.
- Presentation: Cooling helps the cake release easily from the pan, resulting in a beautiful shape for slicing later.
After the 15 minutes are up, gently run a knife around the edges of the pan before inverting it onto a cooling rack. This careful process is your gateway to a stunning layered strawberry angel food cake, so let’s keep the excitement rolling!
Step 5. Slice the Cake Layers
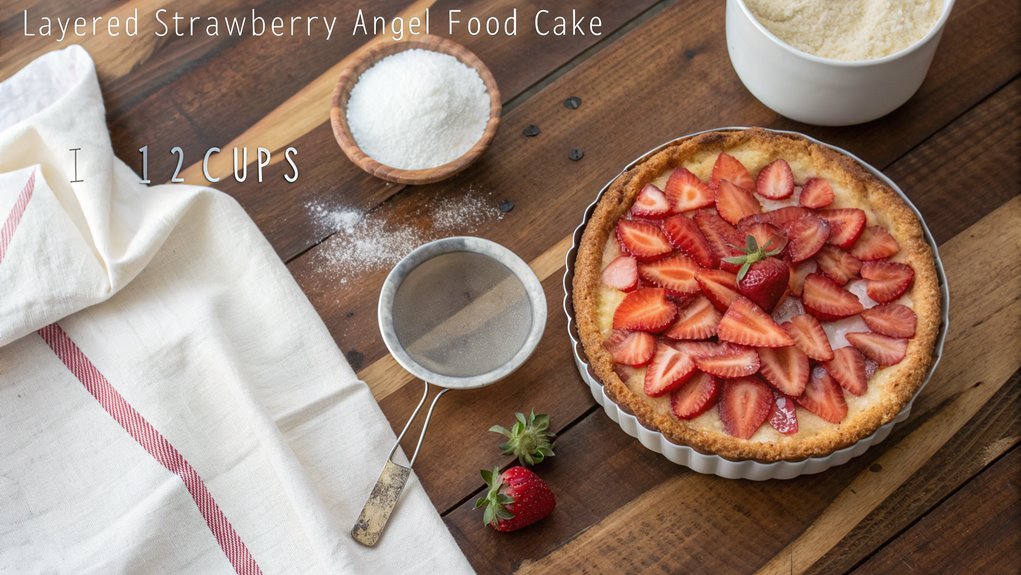
Once your cake has cooled and been carefully released from the pan, it’s time to slice the layers for assembly. Grab a sharp serrated knife, which will help you create clean, even slices.
Start by placing the cake on a stable cutting board. With a gentle sawing motion, slice the cake horizontally into two or three layers, depending on your preference. Make sure to take your time—too much pressure can crush your fluffy cake!
As you cut, keep an eye on the thickness of each layer. Aim for about an inch; this will give you a beautiful structure and the perfect ratio of cake to strawberries and cream.
Once you’ve sliced all the layers, consider using toothpicks to hold them together temporarily, which can make assembling easier later on.
Don’t worry if the slices aren’t perfect; remember, they’re going to be delicious, no matter what! The anticipation of layering these fluffy, sweet, strawberry-filled creations is exhilarating.
Enjoy every moment, embrace your creativity, and get ready for a delightful assembly that’ll impress everyone at the table! Happy baking!
Final Thoughts
Whether you’re celebrating a special occasion or simply satisfying a sweet craving, this layered strawberry angel food cake is sure to impress. The light, airy texture combined with the vibrant flavors of fresh strawberries creates a delightful dessert that everyone will love.
Plus, it’s a fantastic way to show off your baking skills!
Here are a few reasons why you should whip up this cake soon:
- Beautiful Presentation: Layering the strawberries and whipped cream adds a stunning visual appeal, making it perfect for parties or family gatherings.
- Versatile Recipe: Feel free to switch up the fruits or add flavors like lemon or vanilla to give it your unique twist.
- Guilt-Free Indulgence: Angel food cake is low in fat, allowing you to treat yourself without the heavy feeling.
Frequently Asked Questions
Can I Use Frozen Strawberries Instead of Fresh Ones?
Yes, you can definitely use frozen strawberries instead of fresh ones. Just thaw them first and drain any excess liquid. They’ll still add great flavor and texture to your dish, so don’t hesitate!
How Do I Store Leftover Layered Strawberry Angel Food Cake?
To store leftover cake, wrap it tightly in plastic wrap or place it in an airtight container. Refrigerate it for up to three days, or freeze it for longer storage, ensuring you cover it well.
Is There a Gluten-Free Version of This Recipe?
Yes, you can make a gluten-free version of this recipe by substituting traditional flour with gluten-free flour or almond flour. Just be sure to check other ingredients for gluten and adjust accordingly for best results.
Can I Make This Cake Ahead of Time?
You can definitely make this cake ahead of time; you can store it in the fridge, you can freeze layers, and you can prepare the frosting early. Just assemble it before serving for best results!
What Toppings Pair Well With Layered Strawberry Angel Food Cake?
When considering toppings for a dessert, fresh whipped cream, chocolate drizzle, or sliced almonds create delightful contrasts. You could also add a drizzle of honey or a sprinkle of powdered sugar to enhance the flavors.
