Berry Trifle Recipe
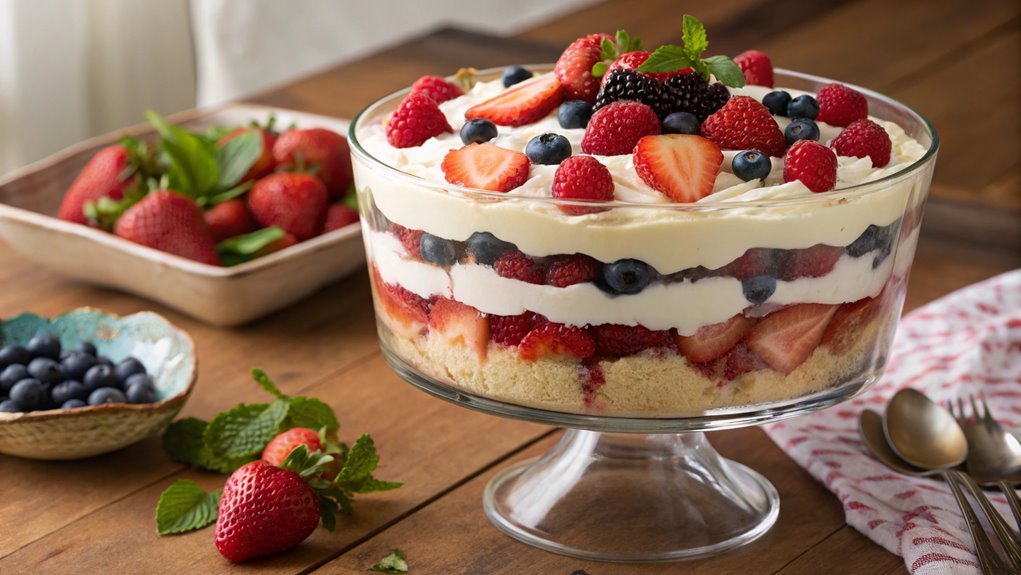
A berry trifle is a delightful dessert option, known for its simplicity and elegance. It features layers of flavors and textures that make it a favorite at gatherings.
Assembly is easy, but a few key steps can elevate your trifle from ordinary to exceptional. The secret lies in the careful selection of ingredients and a couple of clever techniques.
Recipe
Berry Trifle Recipe
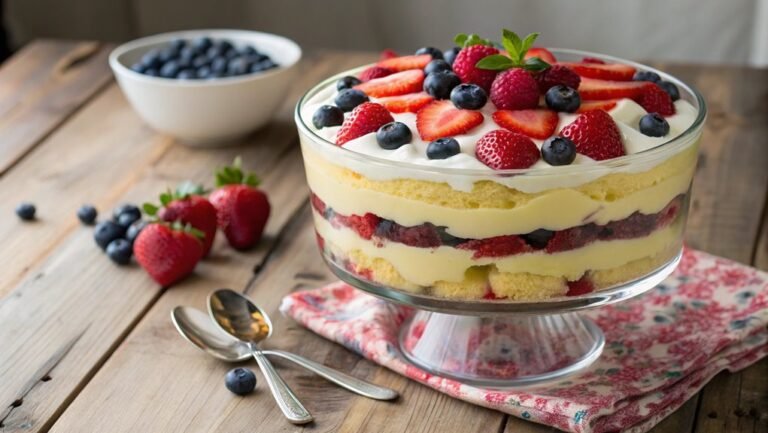
A berry trifle is a delightful and visually appealing dessert that layers fresh berries, creamy custard, and sponge cake or ladyfingers. It’s perfect for celebrating special occasions or simply indulging in a sweet treat on a sunny afternoon.
The beauty of a trifle lies not only in its taste but also in its presentation; you can prepare it in a large glass dish to showcase the beautiful layers, or in individual cups for a more personal touch.
To prepare a berry trifle, you’ll start by gathering your ingredients and assembling your layers. Begin by choosing a variety of berries such as strawberries, blueberries, and raspberries for a colorful and flavorful addition.
Whip up a rich custard or use store-bought pudding for convenience, and pair it with fresh whipped cream for that luxurious finish. The sponge cake or ladyfingers act as the perfect base that soaks up the berry juices and custard flavors, making every bite an explosion of taste and texture.
Ingredients:
- 2 cups mixed berries (strawberries, blueberries, raspberries)
- 1 pound sponge cake or ladyfingers
- 2 cups vanilla pudding or custard
- 1 cup heavy whipping cream
- 1 tablespoon sugar
- 1 teaspoon vanilla extract
- Fresh mint leaves for garnish (optional)
Now let’s move on to the cooking steps.
Cooking Steps
Now that you’ve gathered your ingredients, it’s time to bring this delightful berry trifle to life!
You’ll start by preparing a fresh berry mixture, then layer in the soft sponge cake, followed by the creamy custard.
Each step builds on the last, creating a beautiful dessert that’s sure to impress your family and friends!
Step 1. Prepare the Berry Mixture
Start by washing your selected berries thoroughly under cold water to remove any dirt or pesticides. This step is essential, as it guarantees your trifle will be fresh and flavorful.
Next, take a moment to prepare your berries. If you’re using strawberries, remove the green tops and slice them into bite-sized pieces. For blueberries and raspberries, just give them a gentle pat dry after washing.
Once your berries are prepped, combine them in a large mixing bowl. This is where the magic truly begins! Feel free to add a sprinkle of sugar to enhance their natural sweetness. If you’re feeling adventurous, a splash of lemon juice will brighten up the flavors beautifully.
Gently toss everything together, being careful not to crush the delicate raspberries or blueberries.
Let this delightful berry mixture sit for about 15 minutes. This is where the flavors mingle and develop their deliciousness! You’ll notice the juices start to form, creating a beautiful syrup that will elevate your trifle.
You can’t rush this—it’s worth the wait! Now your berry mixture is ready, and you’re one step closer to creating a stunning and scrumptious berry trifle.
Step 2. Layer the Sponge Cake
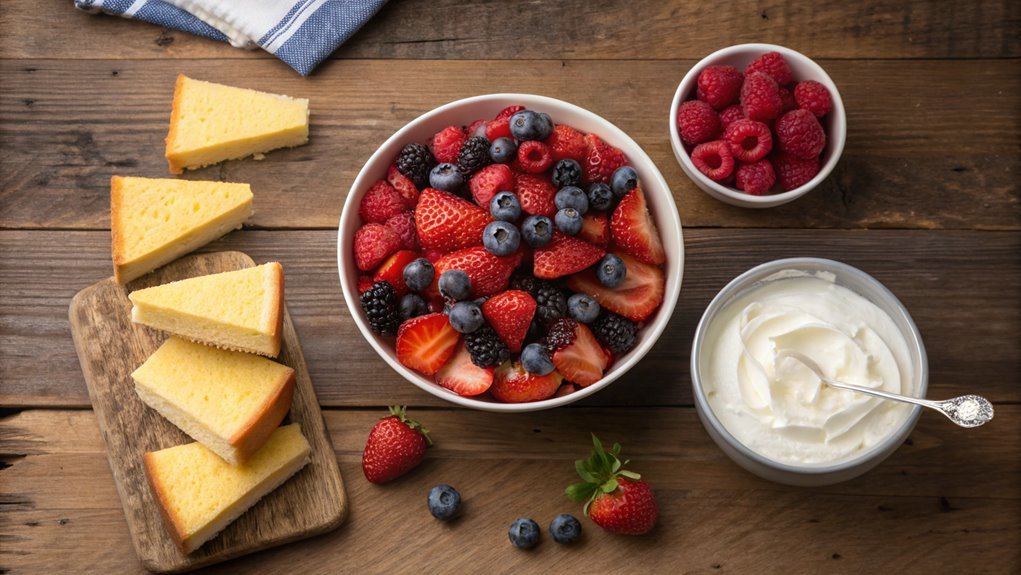
With your berry mixture prepped and ready to go, it’s time to layer the sponge cake. Start by choosing a beautiful glass trifle dish, as it’ll showcase your delightful creation. Slice your sponge cake into uniform pieces, about a half-inch thick. Gently place a layer of the cake at the bottom of your dish, ensuring it fits snugly and covers the base completely. This foundation’s what makes your trifle stand out, so take your time!
Next, spoon a generous amount of your berry mixture over the sponge cake. Let those vibrant colors peek through! You can slightly mash the berries to release their juices, which will soak into the cake, enhancing the flavor and moisture.
After you’ve added the berries, repeat the process by layering more sponge cake over the berries, followed by another spoonful of the berry mixture. Keep going until you reach the top of your dish, usually three to four layers works best.
Feel free to mix and match the berry mixture for variety! The result is a stunning trifle that promises to impress. So get layering, and soon you’ll have a show-stopping dessert that everyone will love!
Step 3. Add Creamy Custard Layer
As you move on to the creamy custard layer, you’ll want to guarantee it’s smooth and luscious to complement your berry and sponge cake layers.
Start by whisking together egg yolks and sugar in a bowl until the mixture becomes pale and thick. This step is essential, as it creates the base for your custard.
Next, heat milk and vanilla in a saucepan until it’s just about to boil. Slowly pour this warm mixture into your egg yolk blend, whisking continuously to avoid scrambling the eggs.
Return this mixture to the saucepan and cook it over low heat, stirring constantly. You’ll know it’s done when it coats the back of a spoon. This step can take some patience, but the reward is worth it!
Once you’ve achieved that perfect consistency, pour your custard into a bowl and let it cool, covering it with plastic wrap to prevent a skin from forming.
Once it’s cool, it’s time to layer! Spoon generous amounts of that silky custard over your sponge cake, creating a beautiful, decadent layer.
Get ready to enjoy the delightful combination of flavors and textures that will make your berry trifle truly unforgettable!
Step 4. Add Fresh Berries Topping
Adding the fresh berries topping elevates your trifle and brings a burst of vibrant flavor. This is your chance to showcase the beautiful colors and natural sweetness of berries, making your trifle not just delicious, but also visually stunning!
Start by selecting a mix of your favorite fresh berries, like strawberries, blueberries, raspberries, or blackberries. Rinse them gently under cold water and pat them dry carefully to avoid bruising.
Now, layer these delightful fruits on top of your creamy custard. You want to create a colorful display, so arrange them artfully for maximum impact. Don’t be afraid to vary the sizes and shapes; it adds character to your dessert.
Once you’ve created a lovely topping, consider a few finishing touches to enhance the flavors:
- Sprinkle a light dusting of powdered sugar for added sweetness.
- Drizzle a touch of honey or maple syrup.
- Add a hint of fresh mint for a revitalizing contrast.
- Garnish with a dollop of whipped cream for extra indulgence.
Trust me, this step makes your trifle irresistible! Enjoy the satisfaction of creating a masterpiece that’s sure to impress your friends and family!
Step 5. Chill Before Serving
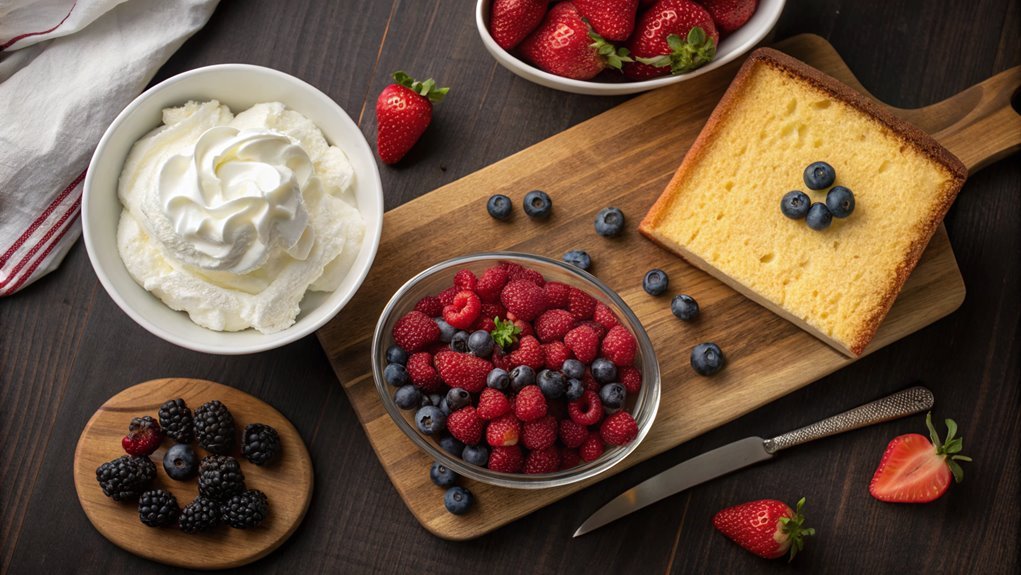
Before you serve your berry trifle, make sure to give it some time to chill in the refrigerator. This step is essential! Allowing your trifle to set for at least two hours, or preferably overnight, enhances the flavors and melds the ingredients beautifully.
The creamy layers soak up the berry juices, creating a delightful harmony that will leave everyone craving more.
Once your trifle’s had its chill time, you’ll notice how the texture becomes luscious and satisfying. The berries remain fresh and vibrant, contrasting perfectly with the whipped cream and sponge layers. You want your guests to indulge in a dessert that not only looks spectacular but also tastes incredible.
After waiting patiently, it’s finally time to reveal your masterpiece. When you pull it out from the refrigerator, take a moment to admire the colorful layers. Serve it in beautiful glasses for an impressive presentation.
Everyone will be in awe as you scoop generous portions, revealing all those gorgeous layers.
Chilling your berry trifle isn’t just a step; it’s the secret to revealing a truly delicious experience. So, don’t skip this step, and get ready to delight your friends and family!
Final Thoughts
While creating a berry trifle is a simple endeavor, the delight it brings to gatherings is truly remarkable.
Imagine the joy on your friends’ faces as you present this layered masterpiece, vibrant with colors and bursting with flavor. Everyone will be enthusiastic to dig into this delicious treat, making it a perfect centerpiece for any celebration.
You’ll not only impress your guests but also craft lasting memories around the table.
Here are some key points to remember as you initiate this delightful journey:
- Use Fresh Ingredients: Opt for seasonal berries for the best flavor and texture.
- Layer Creatively: Experiment with different flavors, combining cakes, custards, and creams.
- Presentation Matters: Choose a clear glass dish to showcase the beautiful layers.
- Chill for Best Results: Allow the trifle to set in the fridge, enhancing the flavors and creating a revitalizing dessert.
Frequently Asked Questions
Can I Make Trifle a Day in Advance?
Yes, you can absolutely make trifle a day in advance. Just assemble it, cover tightly, and refrigerate. This way, the flavors develop nicely, and you’ll have a delicious dessert ready to serve. Enjoy!
What Can I Substitute for Ladyfingers?
If ladyfingers are just too fancy for your kitchen antics, how about sponge cake or even cookies? They might not scream elegance like ladyfingers, but who needs a royal ball when you’ve got dessert?
Is Trifle Gluten-Free?
Trifle isn’t inherently gluten-free, but you can make it so. Just choose gluten-free ladyfingers or cake, and guarantee other ingredients—like custard and whipped cream—are also gluten-free. Enjoy your delicious, safe dessert!
How Long Does Trifle Last in the Fridge?
Trifle typically lasts about 3 to 4 days in the fridge, as long as it’s covered properly. Make sure to check for any signs of spoilage before enjoying your delicious dessert again!
Can I Use Frozen Berries Instead of Fresh?
They say a stitch in time saves nine. You can definitely use frozen berries instead of fresh ones. Just remember, they might release more juice, so adjust your recipe for the right consistency. Enjoy!
