Almond Flour Cookie Recipe
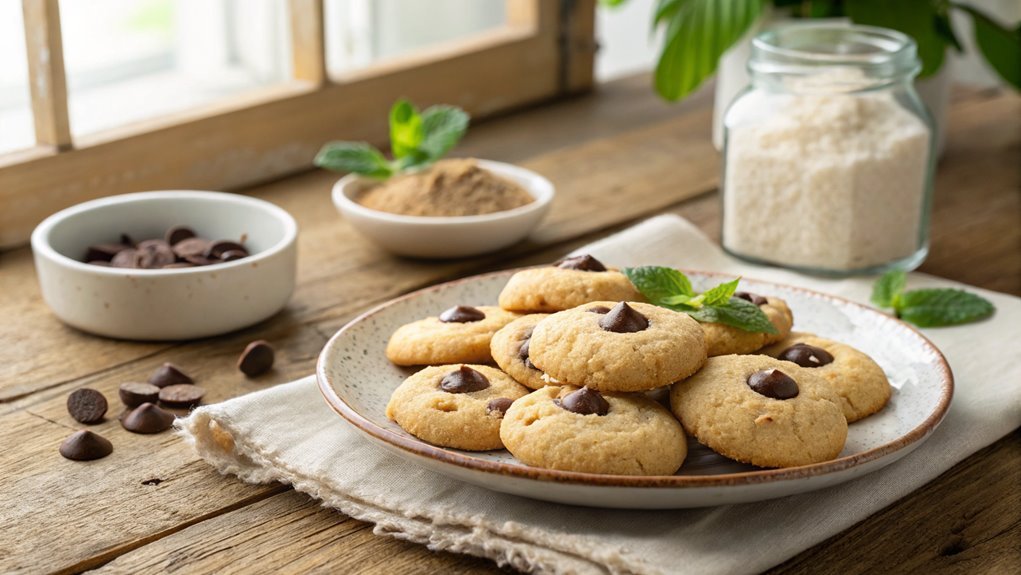
Discovering an almond flour cookie recipe offers a healthier, gluten-free option with a unique, nutty flavor that traditional cookies often lack. These cookies, with simple ingredients and customization options, can easily become a kitchen staple.
Before diving in, consider a few key steps to enhance your baking experience and ensure perfect cookies every time. Grab your mixing bowls and prepare to enjoy a delicious treat.
Recipe
Almond flour cookies are a delightful treat that caters to those looking for a gluten-free option without compromising on taste. Made primarily with almond flour, these cookies aren’t only soft and chewy but also packed with a rich nutty flavor that’s sure to satisfy your sweet tooth.
Whether you’re baking for a special occasion or just want a sweet snack to enjoy with your coffee, this cookie recipe is simple and quick to whip up.
The beauty of almond flour cookies lies in their versatility. You can add a variety of mix-ins such as chocolate chips, nuts, or dried fruits to customize them to your liking. Plus, they require minimal ingredients, making them an accessible option for both novice and experienced bakers.
Let’s get started on creating these delicious almond flour cookies that everyone will love!
Ingredients
- 2 cups almond flour
- 1/2 teaspoon baking soda
- 1/4 teaspoon salt
- 1/3 cup coconut sugar (or brown sugar)
- 1/4 cup honey (or maple syrup)
- 1/4 cup melted coconut oil (or butter)
- 1 teaspoon vanilla extract
- 1/2 cup chocolate chips (optional)
Now let’s move on to the cooking steps.
Cooking Steps
Now that you have all your ingredients ready, it’s time to bring these almond flour cookies to life!
Start by preheating your oven to 350°F, which sets the stage for that perfect bake.
As you mix the dry ingredients thoroughly and gradually add the wet ones, you’ll feel the excitement building—just wait until you fold in those delicious chocolate chips!
Step 1. Preheat Oven to 350°F
To kick off your almond flour cookie baking adventure, preheat your oven to 350°F. This vital step sets the stage for perfectly baked cookies that are golden, chewy, and absolutely delicious!
While the oven warms up, you can gather your ingredients and get ready for the fun part—baking!
Here’s why preheating is so important:
- It guarantees even baking throughout the cookies.
- It helps achieve that delightful golden color.
- It creates the right texture, making them chewy and soft.
- It prevents the cookies from spreading too much.
- It saves you time, allowing for a quicker baking process!
Once your oven reaches the desired temperature, you’ll be all set to pop in your cookie dough.
Remember, the excitement of baking isn’t just about the final product; it’s about the experience! You’re not just making cookies; you’re creating a treat that’s perfect for sharing with friends and family.
Step 2. Mix Dry Ingredients Thoroughly
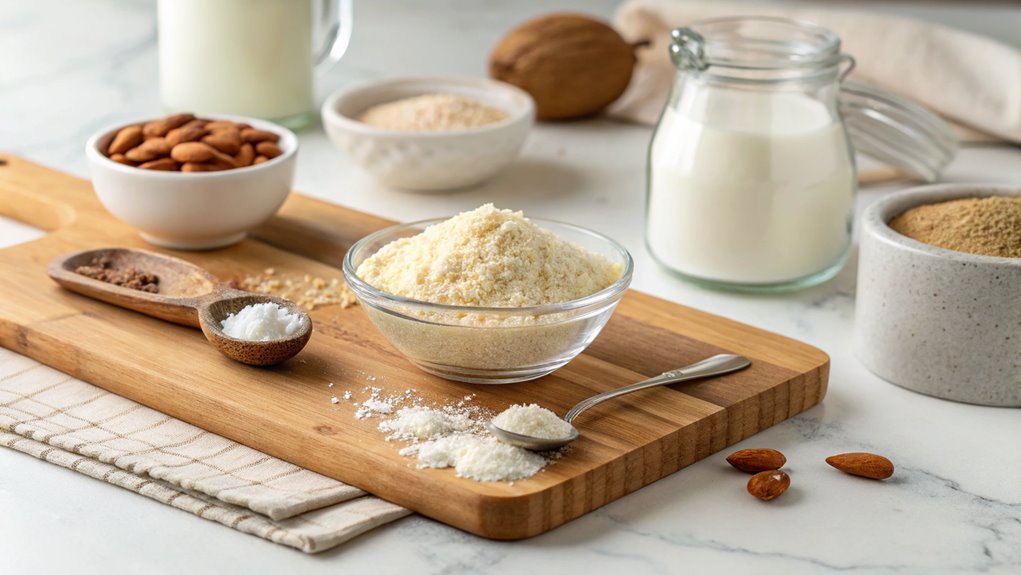
Before you plunge into mixing your cookie dough, it’s essential to combine the dry ingredients thoroughly. This step is key to achieving cookies that aren’t only delicious but also have the perfect texture. Start by measuring out your almond flour, baking soda, and any other dry ingredients you’ll be using. It’s important to use a kitchen scale or measuring cups accurately, so you get the right proportions.
Once you’ve got everything measured, grab a whisk or fork and mix them together in a large bowl. Whisking helps to break up any clumps and guarantees that the baking soda is evenly distributed throughout the flour. This is critical because it promotes even rising and prevents any bitter spots in your cookies.
If you’re adding spices or sweeteners, like cinnamon or coconut sugar, mix those in as well. This way, each bite of your cookie will be bursting with flavor!
Take your time with this step; it sets the foundation for your almond flour cookies. Trust me, you’ll be rewarded with a delightful batch that’s sure to impress your family and friends. Now, let’s move on to the next exciting step!
Step 3. Add Wet Ingredients Gradually
As you move on to adding the wet ingredients, remember that doing this gradually guarantees better incorporation into the dry mixture. This step is vital for achieving that perfect cookie texture!
Start by mixing your wet ingredients in a separate bowl, and then slowly pour them into your dry mixture. This method helps to avoid lumps and guarantees everything blends beautifully.
Here are a few tips to keep in mind:
- Use room temperature ingredients: This helps them mix easily.
- Add one ingredient at a time: This allows for better control over the consistency.
- Mix gently: You want to combine everything without overworking the dough.
- Scrape down the sides: Make sure all the dry ingredients are getting incorporated.
- Check the texture: You want a slightly sticky dough; it should hold together but not be overly wet.
Step 4. Fold in Chocolate Chips
Gently fold in the chocolate chips until they’re evenly distributed throughout the dough. This step is essential for ensuring that every bite of your cookie is packed with that rich, chocolatey goodness!
Using a spatula, start at the edge of the bowl and scoop underneath the dough, bringing it back over the chips. Be careful not to overmix; you want to keep the dough light and fluffy while incorporating those delightful morsels.
As you fold, you’ll start to see those beautiful chocolate chips peeking through the almond flour dough. The contrast of flavors is going to be amazing!
If you’re using mini chocolate chips, they distribute even more easily, but regular-sized chips work just as well.
This is where the excitement builds—imagine the aroma of freshly baked cookies wafting through your kitchen!
Don’t rush this part; take your time to make sure every chocolate chip is included. Once you’ve folded them in and achieved a harmonious blend, you’ll be one step closer to cookie bliss.
Get ready to scoop the dough and watch your creations transform into golden treats that everyone will love!
Step 5. Scoop Dough Onto Baking Sheet

Now it’s time to scoop the dough onto your baking sheet! This step is where the magic happens, transforming your delicious mixture into irresistible cookies.
Grab a cookie scoop or a spoon, and let’s make those dough balls uniform in size for even baking. Place them about two inches apart on your lined baking sheet to give them space to spread out.
Here’s what you need to keep in mind:
- Use a cookie scoop for consistent sizes.
- Don’t overcrowd the sheet; give each cookie room to breathe.
- Chill the dough for about 10 minutes if it feels too soft.
- Preheat your oven while you scoop to save time.
- Experiment with spacing for different cookie textures—closer for chewy, further apart for crispier edges.
Once you’ve got all your dough scooped, it’s time to pop them in the oven! The anticipation builds as you watch them bake into golden-brown delights.
You’re just a few minutes away from enjoying warm, almond flour cookies that’ll impress everyone. So get ready to indulge in the delightful aroma filling your kitchen!
Final Thoughts
While baking with almond flour can initially seem intimidating, it ultimately opens up a world of delicious possibilities for healthier treats.
You’ll find that almond flour not only lends a unique flavor to your cookies but also provides a lovely texture. Once you get the hang of it, you’ll be amazed at how easy it’s to whip up scrumptious cookies that fit your dietary needs.
Don’t be afraid to experiment! Try adding different mix-ins, like dark chocolate chips, nuts, or dried fruits to elevate your cookies even more. The beauty of almond flour is its versatility, making it a fantastic base for both sweet and savory recipes.
As you bake, remember to savor the process. There’s something truly special about creating something from scratch.
You’ll get to enjoy warm, freshly baked cookies right from your oven, filling your home with an irresistible aroma. So, grab your ingredients, roll up your sleeves, and start baking!
Your taste buds will thank you, and you’ll impress friends and family with these delightful almond flour treats.
Happy baking, and enjoy every bite!
Frequently Asked Questions
Can I Substitute Almond Flour With Another Type of Flour?
Yes, you can substitute almond flour with other flours like coconut flour or whole wheat flour. Just remember that each type has different absorbency and may alter the texture and flavor of your final dish.
How Should I Store Almond Flour Cookies?
When you’ve baked your cookies, you’ll wanna let ’em cool completely. Then, store ’em in an airtight container at room temperature for up to a week, or freeze ’em for longer freshness. Enjoy every bite!
Are Almond Flour Cookies Gluten-Free?
Yes, almond flour cookies are gluten-free since almond flour is made from ground almonds, which naturally lack gluten. You can enjoy them safely if you’re avoiding gluten for dietary or health reasons.
Can I Freeze Almond Flour Cookie Dough?
Ever thought about having fresh cookies ready whenever you want? You can absolutely freeze almond flour cookie dough! Just shape it into balls, freeze them on a tray, then store in a bag for later enjoyment.
What Are Some Variations for Almond Flour Cookies?
You can try adding chocolate chips, nuts, or dried fruit for variations. Experiment with spices like cinnamon or vanilla, or even incorporate protein powder for a nutritional boost. Don’t hesitate to get creative with flavors!
Conclusion
Once you’ve made these almond flour cookies, enjoy the delightful aroma filling your kitchen. Simple and versatile, they’re delicious whether with chocolate chips or nuts. Share them with friends or savor them alone; either way, they’re a treat. Enjoy this baking adventure and add a touch of joy to your day!

