Marble Cupcake Recipe
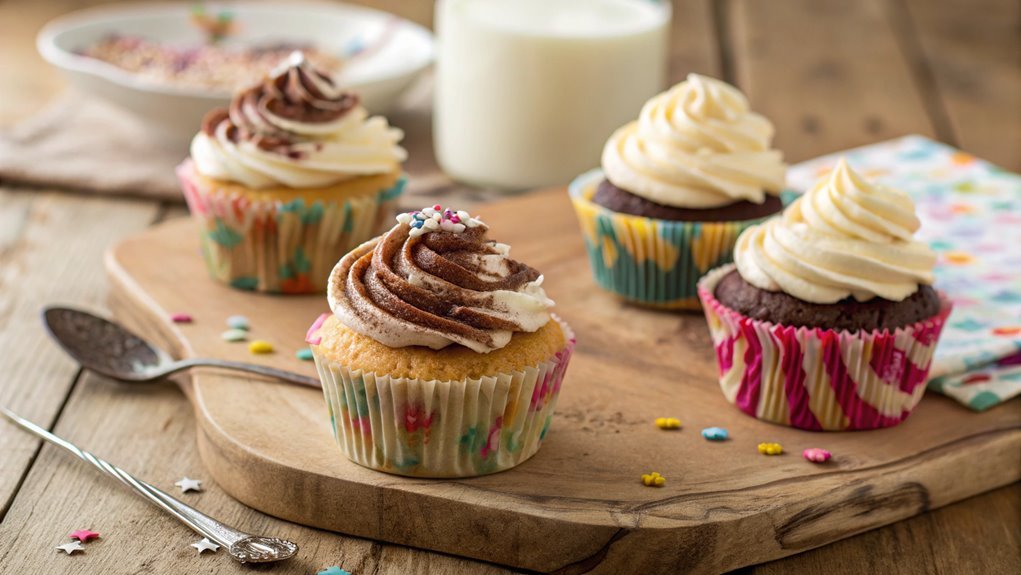
Creating a Marble Cupcake is an artful process that combines chocolate and vanilla flavors. The key is swirling the two batters together in the cupcake liners for a visually striking and delicious result. Mastering a few essential steps can make all the difference before you add your favorite frosting.
Recipe
Marble cupcakes are a delightful twist on traditional cupcakes, combining rich chocolate and vanilla flavors in a visually stunning treat. These cupcakes are perfect for any occasion, whether it’s a birthday party, a picnic, or just a sweet indulgence at home.
The beautiful marbled effect not only catches the eye but also pleases the palate with the contrasting flavors. With just a few simple ingredients and steps, you can whip up a batch of these delicious cupcakes that will leave everyone asking for seconds.
Baking these marble cupcakes is a fun and rewarding experience, especially for those who love to experiment with flavors. The recipe is straightforward, making it easy for beginners or a great activity to enjoy with friends or family.
Once baked, you can enhance the presentation with a simple buttercream frosting or enjoy them plain. Get your mixing bowls ready for a cupcake experience that balances both chocolatey goodness and classic vanilla sweetness!
Ingredients:
- 1 ¾ cups all-purpose flour
- 2 teaspoons baking powder
- ½ teaspoon salt
- ½ cup unsalted butter, softened
- 1 cup granulated sugar
- 2 large eggs
- 2 teaspoons vanilla extract
- 1 cup milk
- ¼ cup cocoa powder
- 2 tablespoons boiling water
Now let’s move on to the cooking steps.
Cooking Steps
Let’s get started with the cooking steps for your delicious marble cupcakes!
First, you’ll preheat your oven to 350°F, creating the perfect setting for baking.
Once that’s done, you’ll mix the chocolate and vanilla batters, and get ready to swirl them together for that beautiful marbled effect!
Step 1. Preheat Oven to 350°F
Before you mix your ingredients, you need to preheat your oven to 350°F. This step is essential because it guarantees your cupcakes bake evenly and rise to perfection. It’s like giving your oven a warm-up, preparing it for the deliciousness that’s about to come!
To preheat, simply turn your oven dial or press the button to set the temperature. While you wait, you can gather your ingredients, making sure everything’s ready for that delightful mixture you’ll create. This is a great time to check your baking cups or liners, ensuring they’re on hand for the batter that’s about to be whipped up.
The preheating process typically takes around 10-15 minutes, but it’s well worth it. You might breathe in that warm air and get a little more excited about the sweet treats you’re about to bake!
Once you see the oven reach that perfect temperature, you’ll know it’s time to plunge into mixing those chocolate and vanilla batters, creating your beautiful marble cupcakes. Trust me, your effort will be rewarded with a delightful treat that everyone will love!
Step 2. Mix Chocolate and Vanilla Batters
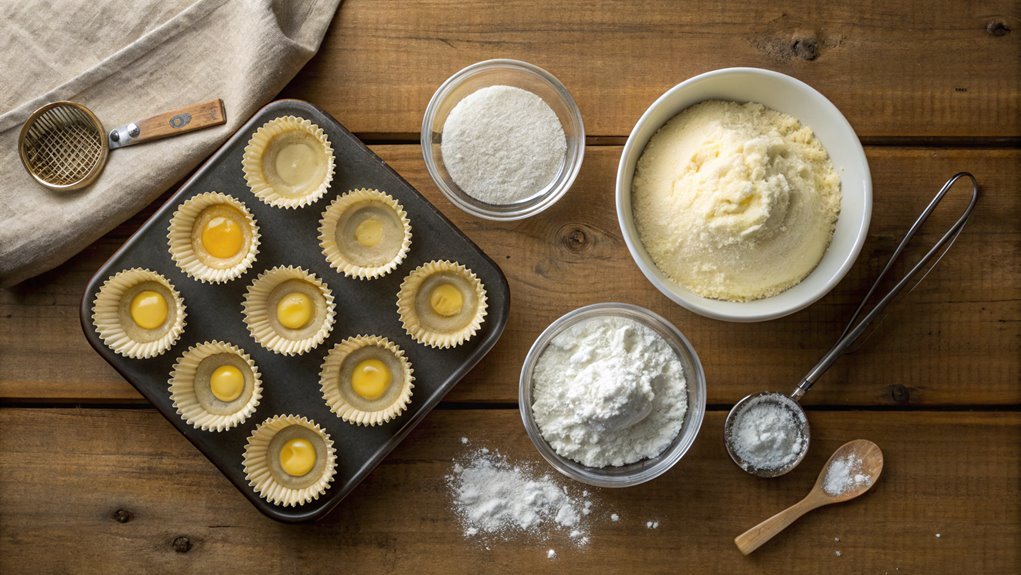
As you plunge into mixing your chocolate and vanilla batters, you’ll create that stunning marbled effect that makes these cupcakes so special. Start by gathering your prepared chocolate batter and vanilla batter. You’ll want both batters to be smooth and ready to combine.
Grab a large spoon or a spatula and take a scoop of your chocolate batter, letting it sit in the center of your mixing bowl. Next, do the same with a scoop of vanilla batter.
Continue alternating between the two batters, layering them in a way that creates a delicious contrast. Don’t worry about making perfect patterns; the beauty of marble cupcakes lies in the unique and swirling designs you create.
As the two batters meld, the colors will intertwine, resulting in that eye-catching marbled look that’s so inviting.
Once you’ve layered both batters to your satisfaction, it’s time to move on. You’ll be amazed at how simple yet effective this technique is.
With its rich, engaging flavors, your friends and family will be enthusiastic for a taste of these delightful treats. Enjoy knowing the magic of marbling awaits you!
Step 3. Swirl Batters in Cupcake Liners
Once you’ve mixed your batters, grab your cupcake liners and a spoon. This is where the magic happens! Start by placing the cupcake liners in your muffin tin.
You’ll want to fill each liner about a third full with the vanilla batter. This creates a lovely, creamy base. Now, using your spoon, carefully add the chocolate batter on top of the vanilla. Aim for just enough to fill the liner two-thirds full while leaving some room for the batter to rise.
Now, let’s add some flair! Take a toothpick or a skewer, and give each cupcake a gentle swirl. Insert it into the batter, and then twirl it a few times to mix the two batters together delightfully.
You’ll see a beautiful marble effect form, creating a visual treat that’s just as enticing as the taste.
Repeat this process with each liner, making sure it’s even and fun. With each swirl, you’re crafting something special.
Before you know it, your cupcake tin will be filled with swirled delights, ready to bake up and satisfy your sweet tooth. Enjoy this playful step—your cupcakes are going to look fabulous!
Step 4. Bake for 20 Minutes
Now that your cupcake liners are filled with that beautifully swirled batter, it’s time to bake! Preheat your oven to 350°F (175°C) if you haven’t already.
Once that’s done, carefully place your filled cupcake liners in the oven, making sure they’re not crowded, so they’ve room to rise. Set a timer for 20 minutes as the magic begins!
As they bake, the sweet aroma of chocolate and vanilla will fill your kitchen, making it almost impossible to resist peeking in. But try to hold off until the time is up!
After 20 minutes, insert a toothpick into the center of a cupcake. If it comes out clean or with a few moist crumbs, they’re done! If it’s still sticky, give them another minute or two and check again. Remember, every oven is different, and you want perfectly fluffy cupcakes, so stay attentive!
Once they’re ready, you’ll want to remove them from the oven and let them cool in the pan for a moment before transferring them to a wire rack. This step is critical to guarantee your marble cupcakes hold their shape and flavor beautifully!
Step 5. Cool and Frost Cupcakes
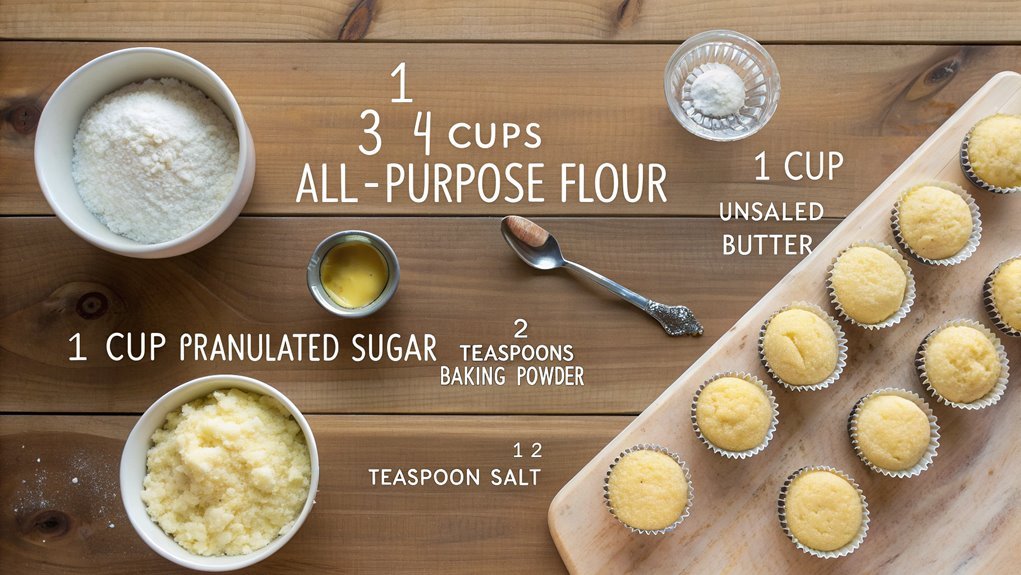
While your marble cupcakes are cooling in the pan, prepare to frost them for the perfect finishing touch. First, gather your favorite frosting ingredients—cream cheese, butter, and powdered sugar make a fantastic base. You can even add cocoa powder for a chocolate twist! Whip everything together until you get a smooth, creamy texture that’s easy to spread.
Once the cupcakes have cooled for about 10 minutes, carefully remove them from the pan. Place them on a wire rack to cool completely; this helps prevent the frosting from melting. As you wait, you’ll feel the anticipation building!
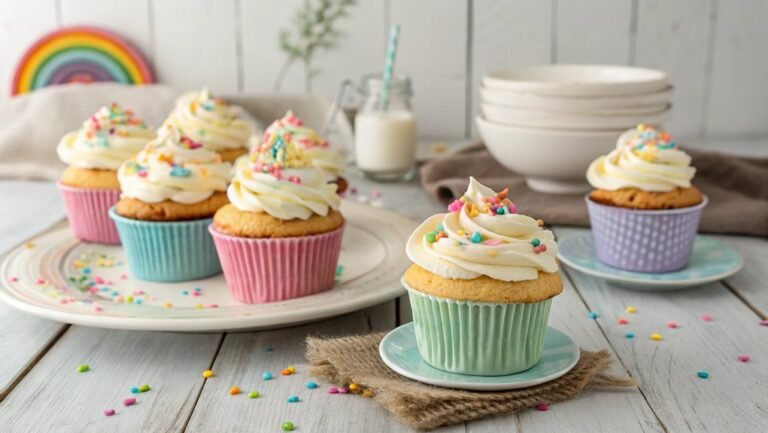
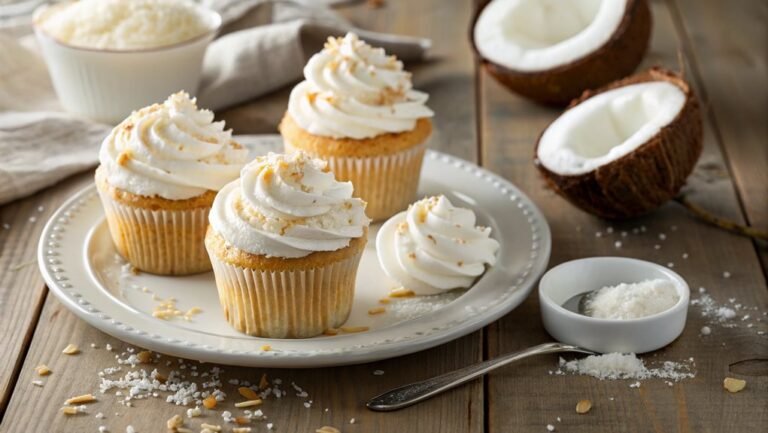
When they’re cool to the touch, it’s frosting time! Use a spatula or a piping bag for a fun, professional look. Generously spread the frosting on each cupcake, allowing it to swirl and highlight the marble effect beneath. Don’t be shy—layer it on!
If you want to get creative, sprinkle some rainbow sprinkles or drizzle chocolate sauce on top for added flair. Your marble cupcakes are now transformed into delightful treats. Enjoy the satisfaction of sharing them with friends and family; they’ll be impressed with your baking skills! Happy frosting!
Final Thoughts
As you reflect on your marble cupcake journey, remember that the combination of rich chocolate and light vanilla creates a delightful balance that’s sure to please everyone.
Baking these cupcakes isn’t just about following a recipe; it’s about enjoying the process and sharing delicious moments with family and friends.
When you take that first bite of your freshly baked marble cupcakes, you’ll taste the delightful swirl of flavors mingling together.
These cupcakes are perfect for any occasion, whether it’s a birthday, a bake sale, or simply a treat after a long day. You can customize them by adding your favorite frosting or toppings, making each batch uniquely yours.
Don’t be afraid to experiment, either! Adding a hint of orange zest or a sprinkle of sea salt can elevate the flavor to new heights.
Remember that baking is an art, and each time you make these cupcakes, you’re honing your skills and creativity.
So grab your apron, invite a friend, and plunge into the world of marble cupcakes. You’ll create something truly special that everyone will adore.
Happy baking!
Frequently Asked Questions
Can I Substitute Ingredients for a Vegan Version?
Did you know that nearly 9.7 million people in the U.S. follow a vegan diet? You can definitely substitute ingredients for a vegan version by using plant-based alternatives like flaxseed, almond milk, or coconut oil.
How Should I Store Leftover Marble Cupcakes?
To store leftover cupcakes, you should place them in an airtight container. Keep them at room temperature for a couple of days, or refrigerate for up to a week to maintain their freshness and flavor.
What Is the Best Frosting for Marble Cupcakes?
You might think any frosting will work, but for marble cupcakes, a light vanilla buttercream or cream cheese frosting enhances the flavor. Their sweetness complements your cupcakes’ rich, chocolatey notes beautifully, creating a delightful treat.
How Long Do These Cupcakes Typically Take to Bake?
Typically, cupcakes bake for about 18 to 22 minutes at 350°F. You’ll know they’re done when a toothpick inserted in the center comes out clean. Keep an eye on them for perfect results!
Can I Make Mini Marble Cupcakes Instead?
Yes, you can definitely make mini marble cupcakes instead! Just adjust the baking time to about 12-15 minutes. Check with a toothpick to verify they’re baked through, and enjoy your cute, tasty treats!
