Funfetti Cupcake Recipe
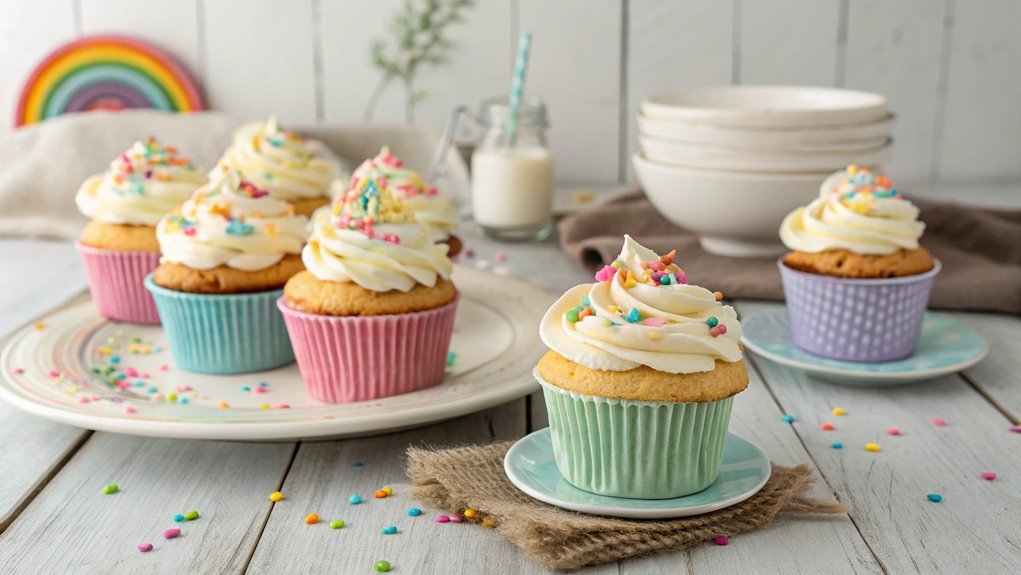
Funfetti cupcakes stand out with their unique charm, perfect for any occasion. Starting with a classic vanilla base, it’s the colorful sprinkles that make them special. Whether for a birthday or a cheerful treat, these cupcakes satisfy every craving. The key is incorporating the sprinkles effectively without losing their vibrancy.
Recipe
Funfetti cupcakes are a delightful treat that brings joy and celebration to any occasion. These colorful, sprinkle-filled cupcakes aren’t only visually appealing but also incredibly delicious, thanks to a moist vanilla batter that pairs perfectly with cream cheese icing.
Whether it’s a birthday party, a festive holiday gathering, or just a fun baking day at home, these funfetti cupcakes will surely brighten anyone’s day.
Making funfetti cupcakes is a simple and enjoyable process that involves mixing together a handful of basic ingredients. You can easily customize this recipe by adding your favorite sprinkle mix.
To enhance the flavor and texture, this recipe incorporates both vanilla extract and sour cream, which give the cupcakes their scrumptious taste and moist crumb. Let’s get started on creating these delightful little treats!
Ingredients:
- 1 ½ cups all-purpose flour
- 1 cup granulated sugar
- ½ cup unsalted butter, softened
- 2 large eggs
- 1 cup sour cream
- 1 teaspoon vanilla extract
- 1 ½ teaspoons baking powder
- ½ teaspoon baking soda
- ¼ teaspoon salt
- ½ cup rainbow sprinkles
- Cream cheese frosting (for topping)
- Additional sprinkles (for decoration, optional)
Now let’s move on to the cooking steps.
Cooking Steps
Now that you’ve got your ingredients ready, it’s time to jump into the cooking steps that’ll bring those funfetti cupcakes to life!
Start by preheating your oven to 350°F, then mix your wet ingredients thoroughly for that perfect base.
Once everything’s blended, fold in the sprinkles gently—trust me, this is where the magic happens!
Step 1. Preheat Oven to 350°F
Before diving into the fun aspect of baking, make certain to preheat your oven to 350°F. This step is essential, as it allows your cupcakes to rise beautifully and bake evenly. Taking the extra moment to set the right temperature will yield scrumptious results you’ll love.
Here are a few things to keep in mind while preheating:
- Use an oven thermometer: Sometimes, ovens can be off by a few degrees. A thermometer guarantees accurate temperature.
- Don’t rush it: Give your oven enough time to reach 350°F before you pop those cupcakes in. Patience pays off!
- Know your oven: Every oven behaves differently; some heat faster than others, so keep an eye on it.
- Keep the door closed: Try not to peek too often! Opening the door can let heat escape and affect your baking.
Once you’re confident the oven is at the perfect temperature, you’re one step closer to creating those delightful funfetti cupcakes!
Embrace the excitement, let the sweet aroma fill your kitchen, and get ready for the tasty adventure ahead. Happy baking!
Step 2. Mix Wet Ingredients Thoroughly
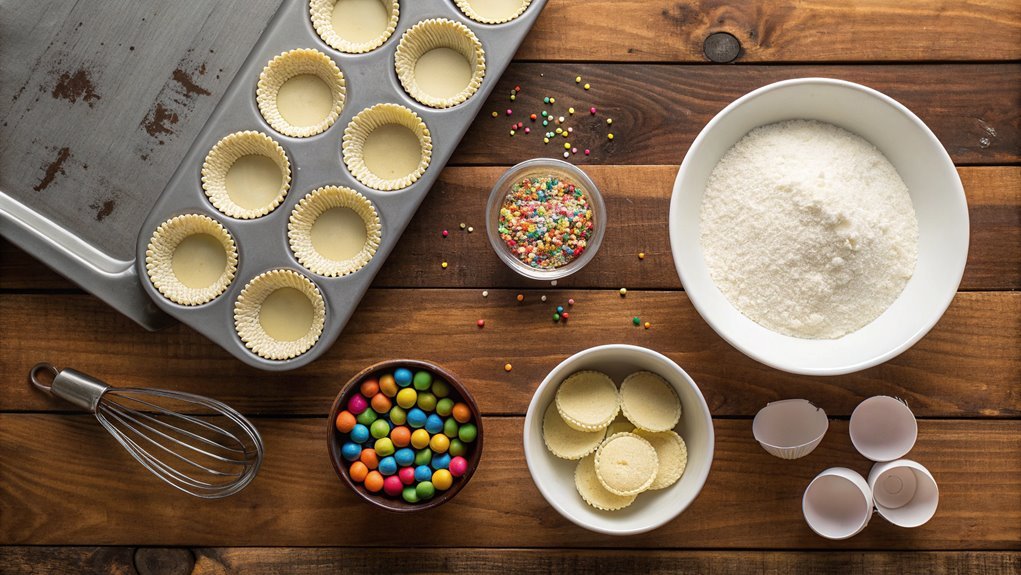
As you prepare to make your funfetti cupcakes, mixing the wet ingredients thoroughly is vital for achieving a light and fluffy texture. Start by gathering your eggs, milk, vanilla extract, and softened butter. You want to confirm that everything is at room temperature, as this helps the ingredients blend seamlessly.
In a large mixing bowl, combine the melted butter and sugar, whisking until they’re well combined and creamy. You’ll love the sweet aroma that fills the air!
Next, crack in your eggs one at a time, mixing after each addition. This step is essential, as it guarantees your batter has the perfect consistency. Pour in your milk and add the vanilla extract, giving it all a good mix until everything is smooth and uniform.
Don’t rush this process; it helps create a moist cupcake that melts in your mouth.
Take a moment to admire your hard work! The wet mixture should be silky and ready for the dry ingredients.
Step 3. Fold in Sprinkles Gently
Gently fold in the sprinkles to your wet mixture, adding a splash of color and fun to your cupcakes. You’ll love how those vibrant bits bring life to your batter!
It’s time to make these treats truly special. Be sure to use a spatula or wooden spoon for this step and work slowly—overmixing can deflate your batter and lead to less fluffy cupcakes.
Here’s how to do it effectively:
- Scoop some batter from the bottom of the bowl.
- Bring it up and over the sprinkles, folding them in gently.
- Repeat this motion a few times, ensuring the sprinkles are evenly distributed.
- Stop as soon as the sprinkles are mixed in; you want to see those colorful bits throughout!
Step 4. Distribute Batter Into Cups
Now that your batter is bursting with fun colors from the sprinkles, it’s time to distribute it evenly into your cupcake cups. Grab your prepared cupcake pan and line it with colorful paper liners—this is where the magic happens!
Using a large spoon or a cookie scoop, carefully add the batter to each cup. Aim for about two-thirds full; this lets the cupcakes rise beautifully without spilling over. The anticipation builds as you watch each cup fill up with that joyous, colorful mixture.
As you scoop, make sure to mix up the batter a little in the bowl if some sprinkles seem to be settling at the bottom; you want that fun confetti spread throughout! It’s okay if the batter looks a little different in each cup. That’s part of the charm!
When you’ve filled all the cups, take a moment to admire your work—it’s already looking delicious.
If you’ve got extra batter, consider making a mini cupcake batch; they’re always a hit!
With all your cupcakes filled, you’re just a step away from baking up these delightful treats. Get excited for the scrumptious results that await!
Step 5. Bake for 18-20 Minutes
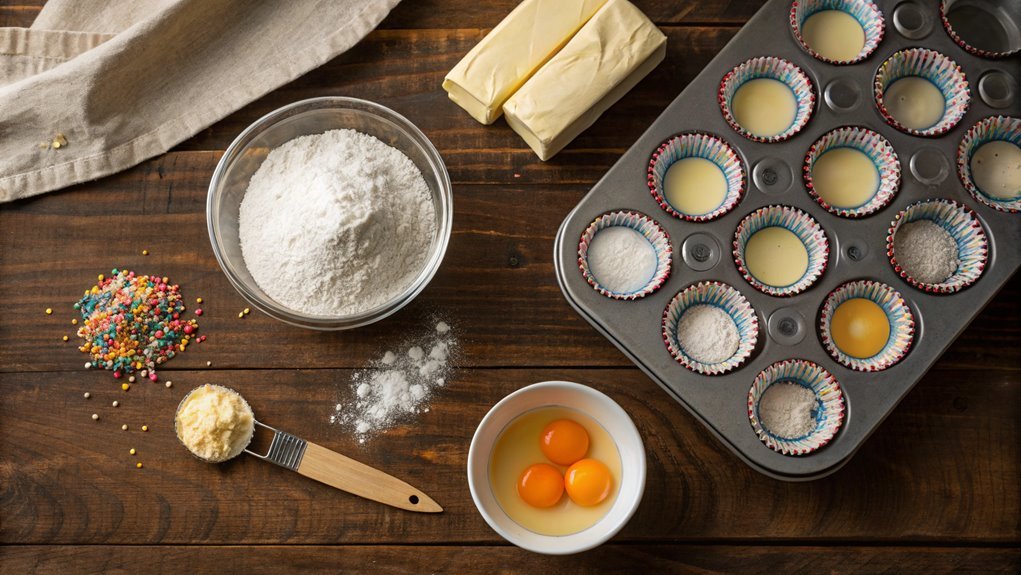
Once you’ve filled your cupcake cups, pop them into a preheated oven and set your timer for 18-20 minutes. This is the moment where your kitchen transforms with the delightful scent of baking cupcakes!
As they bake, you’ll witness the batter rise beautifully, turning golden and fluffy. Keep an eye on them, and remember, every oven is a little different.
Here’s what to look for:
- The tops should spring back when you lightly press them.
- A toothpick inserted in the center should come out clean or with just a few crumbs.
- They’ll develop a lovely light golden color.
- The edges will gently pull away from the sides.
While you anticipate that perfect baking beep, resist the urge to open the oven door too soon. Maintaining the heat is vital for those cupcakes to rise evenly.
Once the timer goes off, allow them to cool in the pan for a few minutes before transferring them to a wire rack. This is an important step, ensuring they don’t become soggy.
Get ready to transform your delightful funfetti cupcakes with frosting and sprinkles! Your sweet creations are almost ready, and trust me, they’ll be worth the wait!
Final Thoughts
Whether you’re celebrating a birthday, hosting a party, or just craving something sweet, these funfetti cupcakes are sure to delight. They’re the perfect combination of moist, fluffy texture and vibrant colors that will bring a smile to anyone’s face. With each bite, you’ll experience the joy of sprinkles often associated with happy celebrations.
Making these cupcakes is fun and easy. You can involve your friends or family in the process, turning it into a memorable activity. The delightful aroma that fills your kitchen while they bake adds to the excitement, making it an experience you won’t forget.
Don’t hesitate to customize! Whether you prefer buttercream or cream cheese frosting, both choices complement the funfetti base beautifully. Feel free to experiment with different colors of sprinkles to match any theme or occasion.
In the end, your effort will be worthwhile when you see everyone’s happy faces as they enjoy your delicious creations.
Frequently Asked Questions
Can I Use Gluten-Free Flour for This Recipe?
Yes, you can use gluten-free flour. It might alter the texture slightly, so choose a blend designed for baking. Adjust your liquids if necessary, and you’ll enjoy delicious gluten-free treats just as much!
How Long Do Funfetti Cupcakes Last at Room Temperature?
Imagine playful clouds floating in a sunny sky; your cupcakes will bask in their glow for about two to three days at room temperature. Just cover them up tight, and they’ll stay delightful!
Can I Freeze the Cupcakes After Baking?
Yes, you can freeze the cupcakes after baking. Just make sure they’re completely cooled, then wrap them tightly in plastic wrap or aluminum foil. They’ll stay fresh for up to three months in the freezer!
What Frosting Pairs Best With Funfetti Cupcakes?
Picture a whimsical cloud of sweetness enveloping your cupcakes. Creamy vanilla buttercream dances delightfully atop them, or try a zesty cream cheese frosting for a tangy twist. Either will make your treats sing with joy!
Are There Any Egg Substitutes for This Recipe?
Yes, there are several egg substitutes you can use. Applesauce, mashed bananas, or flaxseed meal mixed with water work well. These options can maintain moisture and provide the necessary binding for your baked goods.
