Triple Chocolate Brownie Recipe
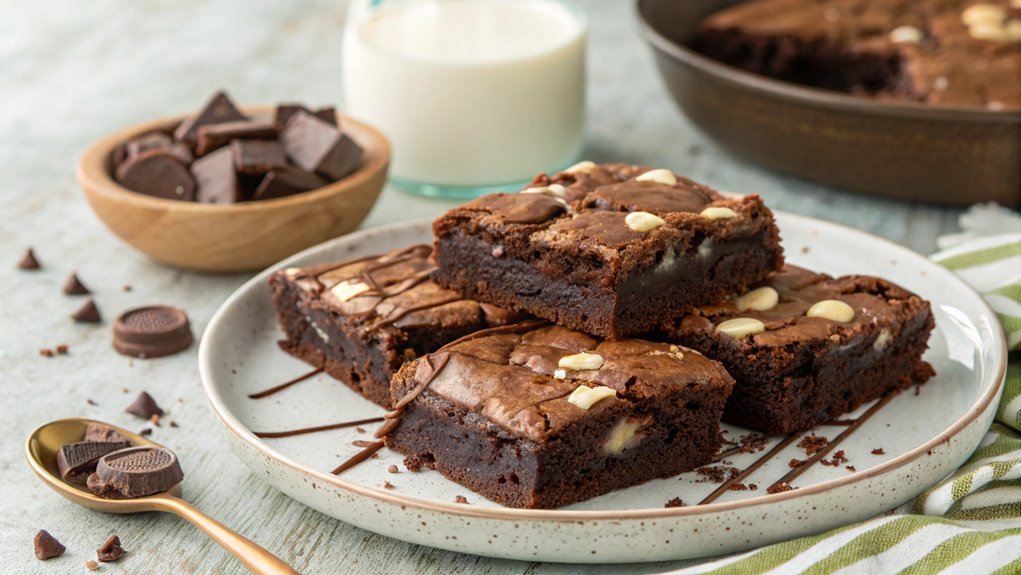
Envision your kitchen as a canvas, with each ingredient serving as a brushstroke to create a masterpiece of triple chocolate brownies. These rich, fudgy treats combine three types of chocolate for deep flavors and a perfect balance of gooeyness and structure.
Begin with basic steps, but the real magic is in their precise combination. Ready to discover the secrets behind this chocolate delight?
Recipe
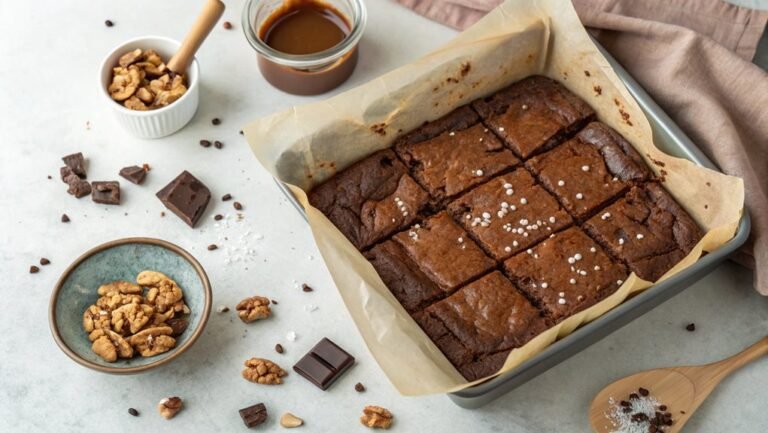
If you’re a chocolate lover, then these triple chocolate brownies are sure to satisfy your sweet tooth. This decadent dessert is rich and fudgy, featuring a combination of bittersweet chocolate, milk chocolate, and white chocolate to create a brownie that’s not only delicious but also visually stunning.
These brownies are perfect for any occasion, whether it’s a family gathering, a potluck, or a simple weekend treat.
Making these brownies is a straightforward process that requires minimal effort but yields a maximum amount of indulgent goodness. You’ll start by melting three types of chocolate together, which enhances the depth of flavor and gives the brownies their signature look.
With a little mixing and baking, you’ll be rewarded with a batch of mouthwatering brownies that are sure to impress friends and family.
Ingredients
- 1/2 cup (1 stick) unsalted butter
- 6 ounces bittersweet chocolate, chopped
- 6 ounces milk chocolate, chopped
- 2 ounces white chocolate, chopped
- 3/4 cup granulated sugar
- 3/4 cup packed brown sugar
- 4 large eggs
- 1 teaspoon vanilla extract
- 1 cup all-purpose flour
- 1/2 teaspoon salt
- 1 cup chocolate chips (mix of dark and white)
Now let’s move on to the cooking steps.
Cooking Steps
Let’s get started on these delicious triple chocolate brownies!
First, you’ll want to preheat your oven to 350°F so everything bakes perfectly.
Then, you’ll mix your dry ingredients together before gradually adding in the wet ingredients for an amazing, fudgy texture.
Step 1. Preheat Oven to 350°F
Preheating your oven to 350°F is an essential step in achieving the perfect texture for your triple chocolate brownies. This temperature is just right to create that delightful balance between a gooey center and a slightly crisp top.
When you preheat, you guarantee that your brownies cook evenly, resulting in a rich and decadent treat you’ll love!
Here’s how to preheat efficiently:
- Select Bake Mode: Make sure to set your oven to the “bake” setting. This mode distributes heat evenly and helps achieve an amazing brownie texture.
- Adjust the Temperature: Turn the dial or input 350°F on your digital screen. This temperature is ideal for brownies; any lower and they may turn soggy, any higher and they’ll dry out.
- Allow Time: Give your oven about 15-20 minutes to fully preheat. During this time, you can gather your ingredients and get excited!
- Check with an Oven Thermometer: If you have one, use it. This helps guarantee your oven’s temperature is accurate, leading to perfect brownies every time.
Now, you’re all set to create those mouth-watering triple chocolate brownies! Enjoy the baking adventure!
Step 2. Mix Dry Ingredients Together
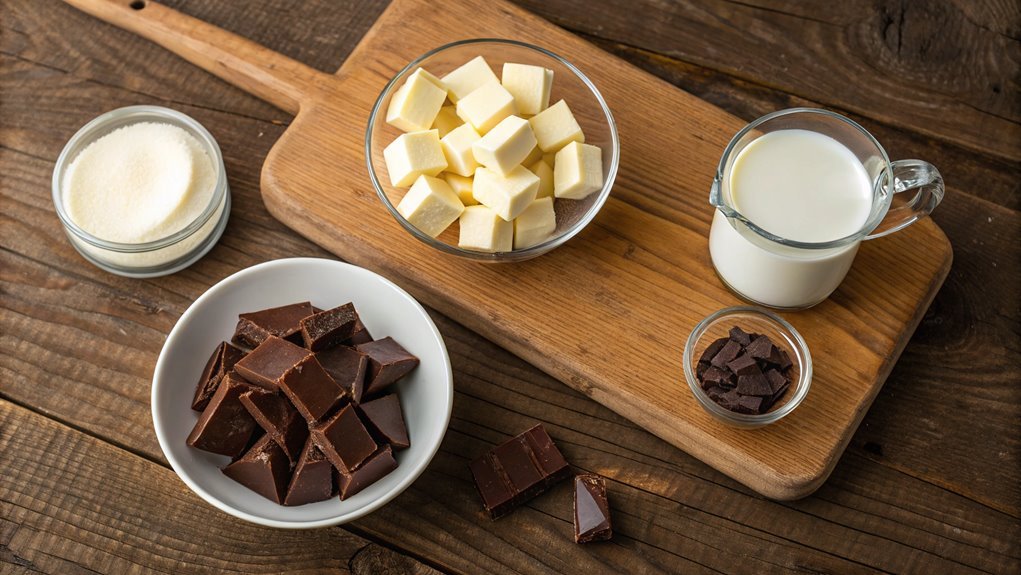
Now that your oven is preheating to the perfect temperature, it’s time to focus on mixing the dry ingredients. Grab a large mixing bowl and start with the all-purpose flour. Sift it in gently to prevent any lumps.
Next, you’ll want to add the unsweetened cocoa powder—this is where that rich chocolatey flavor begins to build! Don’t forget the baking powder and a pinch of salt; these will help your brownies rise and balance the sweetness.
Using a whisk, mix everything together until you see no streaks of flour or cocoa. This step is vital because it guarantees an even distribution of your ingredients.
After a good mix, consider adding your brown sugar, which brings an extra layer of moistness and flavor. Keep stirring until everything’s well combined; your kitchen should start smelling delightful already!
The beauty of this step is how simple it is, yet it creates the foundation for your wonderfully gooey brownies. Mixing the dry ingredients properly sets you up for success in the next steps.
Trust me, taking this time now assures a delicious payoff later. Let’s get ready for the next exciting part!
Step 3. Add Wet Ingredients Gradually
As you prepare to bring your brownie batter to life, it’s important to add the wet ingredients gradually for a perfectly blended mix. This method guarantees your brownies have that rich, fudgy texture you crave.
By mixing the wet ingredients little by little, you allow the flavors to meld beautifully without clumping. Just think about how good that’s going to taste!
Here’s how to do it effectively:
- Warm the butter: Start by melting your butter until it’s just warm, not hot. This helps it mix in smoothly.
- Combine eggs and sugar: In a separate bowl, whisk together the eggs and sugar until they’re light and fluffy. This aerates the mixture.
- Add vanilla extract: Once your egg mixture is ready, stir in vanilla for a delightful aroma and flavor boost.
- Incorporate melted butter: Finally, pour the warm melted butter in a slow, steady stream while stirring the egg and sugar mix. This helps everything incorporate perfectly.
Take your time with this step—your brownies will thank you for the care you put into each layer of flavor!
Enjoy the process and the delicious results!
Step 4. Fold in Chocolate Chunks
Once you’ve got your brownie batter mixed to perfection, it’s time to fold in the chocolate chunks. This step is vital for that irresistible chocolate explosion in every bite! Grab your favorite chocolate chunks—be it dark, milk, or even white chocolate—and get ready for the magic.
Start by taking a spatula or a wooden spoon. Gently scoop into the batter, lifting it from the bottom and folding it over the chocolate chunks. Be careful not to overmix; you want those heavenly chunks to remain intact.
As you fold, you’ll notice the lovely chocolate mingling with your rich batter, creating a gooey, decadent treat that’s hard to resist. Make sure you evenly distribute the chocolate throughout the batter. This way, each slice of brownie will be packed with luscious chocolate goodness.
It’s like a treasure hunt in every bite! When you’re done, take a moment to admire your creation before moving on to the next step. You’re one step closer to that perfect brownie! Enjoy the process, and get ready to indulge in the ultimate chocolate experience. Happy baking!
Step 5. Pour Into Prepared Pan
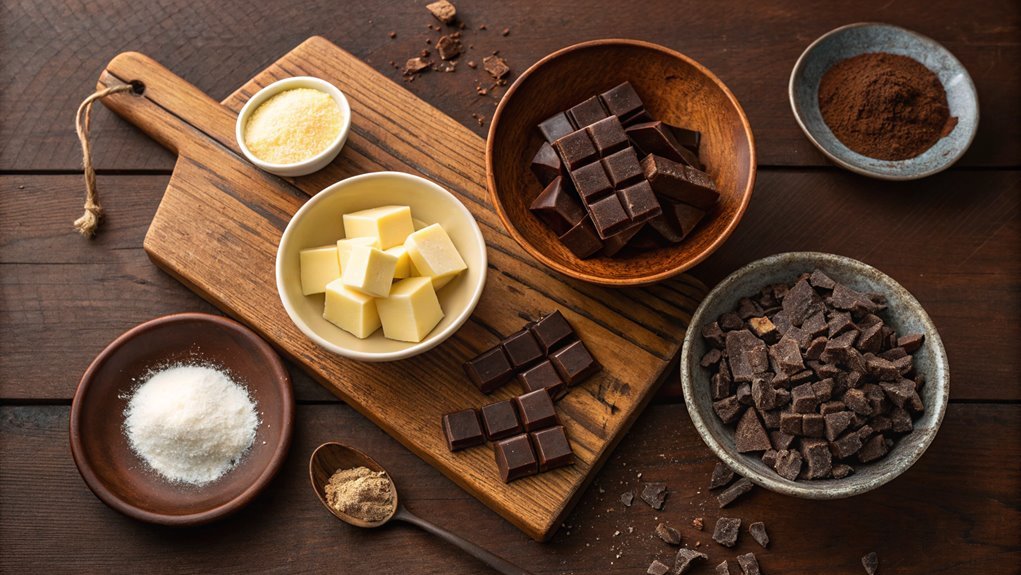
Gently pour the luscious brownie batter into your prepared pan, making certain to spread it evenly to create a perfect base. This step is essential because an even layer guarantees consistent baking and that glorious chewy texture we all crave.
Take your time here; rushing can lead to uneven brownies that mightn’t rise as beautifully. Once you’ve poured the batter, you might want to smooth the top with a spatula for aesthetics. Who doesn’t love a visually appealing treat?
Here are a few tips to keep your process smooth:
- Make certain your pan is greased or lined with parchment paper to prevent sticking.
- Use a spatula to spread out the batter from the center towards the edges, achieving an even level.
- Tap the pan gently on the counter to release any air bubbles that might be lurking.
- If you’re feeling adventurous, sprinkle some extra chocolate chips on top for an added treat!
Now that your batter is perfectly placed, it’s time to pop it in the oven. Get excited—your kitchen is about to smell amazing!
Enjoy the process, and soon you’ll relish your homemade chocolaty creation.
Final Thoughts
Whether you’re indulging in a sweet treat or impressing friends at a gathering, these triple chocolate brownies are sure to satisfy your cravings. You just can’t go wrong with rich, gooey chocolate in every bite.
They’re the perfect balance of flavors and textures, from the smooth melted chocolate to the delightful chunks of chocolate that add a little extra indulgence.
These brownies aren’t only easy to make, but they also allow you to showcase your baking skills. Imagine the joy on your friends’ faces as they taste these decadent treats! Each brownie is a slice of heaven, and the aroma wafting through your kitchen will have everyone excitedly awaiting the first bite.
Don’t hesitate to get creative, too! You can add in nuts, drizzles of caramel, or even a sprinkle of sea salt on top. The sky’s the limit when it comes to personalization.
Frequently Asked Questions
Can I Substitute White Sugar With Brown Sugar?
You might worry that brown sugar alters flavor too much, but it adds a subtle richness instead. Yes, you can substitute brown sugar for white sugar; just use it in equal amounts for delightful results.
How Can I Store Leftover Brownies Properly?
To store leftover brownies properly, wrap them tightly in plastic wrap or foil. You can also place them in an airtight container. They’ll stay fresh at room temperature for a few days or in the fridge longer.
Is It Possible to Freeze These Brownies?
Yes, you can definitely freeze brownies! Just wrap them tightly in plastic wrap or foil, then place them in an airtight container. When you’re ready to enjoy them, let them thaw at room temperature.
What Is the Best Way to Cut Brownies?
When you slice into a pan of heavenly decadence, use a sharp knife warmed under hot water. This way, you’ll glide through the chocolaty goodness without tearing. Clean your knife between cuts for neat edges!
Can I Add Nuts or Other Toppings?
Absolutely, you can add nuts or other toppings! Just make sure to mix them in or sprinkle them on top before baking. It’ll give your brownies that extra crunch and flavor they deserve! Enjoy!
