Salted Caramel Cheesecake Recipe
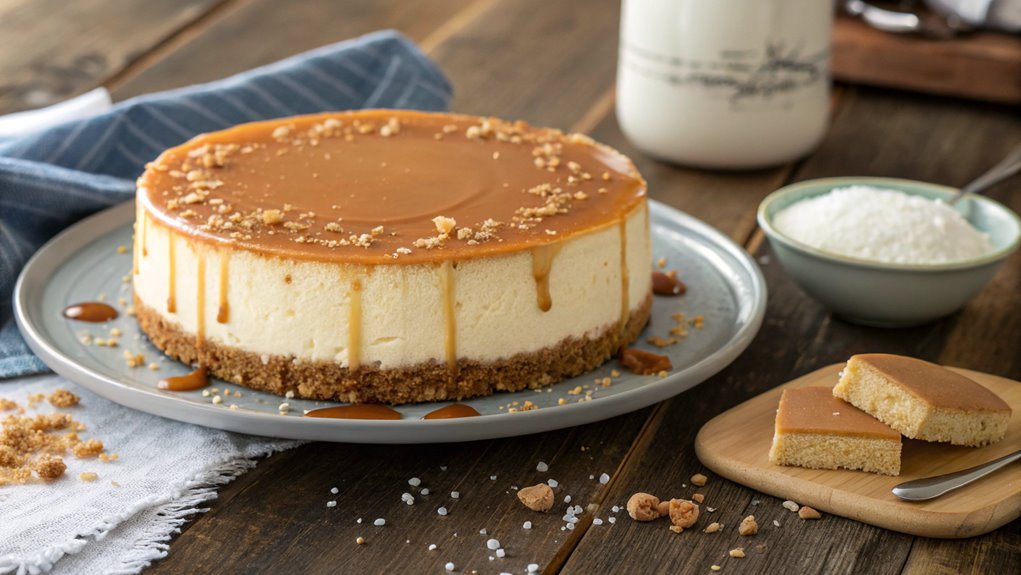
Imagine hosting a dinner party where your guests savor every bite of your salted caramel cheesecake. This dessert harmoniously blends creamy cheesecake with a hint of salty sweetness, starting with a buttery graham cracker crust.
As you layer in the flavors and techniques, you’ll find there’s more to this recipe than meets the eye. Mastering it could significantly elevate your dessert game, with the secret lying in achieving that perfect creamy texture.
Recipe
Salted caramel cheesecake is an indulgent dessert that combines the rich creaminess of cheesecake with the sweet and salty flavors of caramel. This delightful treat is perfect for any occasion, whether it’s a holiday gathering, a birthday celebration, or simply a weekend treat for yourself.
The contrast between the smooth cheesecake and the luscious salted caramel sauce creates a harmonious balance that will leave your taste buds begging for more.
Making salted caramel cheesecake at home may seem intimidating, but with the right ingredients and a little bit of patience, you can craft a spectacular dessert that will impress your friends and family. The process involves preparing a buttery graham cracker crust, whipping up a creamy cheesecake filling, and finishing off with a decadent salted caramel sauce.
Follow the steps below to create your own salted caramel cheesecake masterpiece.
Ingredients:
- 1 ½ cups graham cracker crumbs
- ½ cup unsalted butter, melted
- ¼ cup granulated sugar
- 4 (8 oz) packages cream cheese, softened
- 1 cup granulated sugar
- 1 teaspoon vanilla extract
- 4 large eggs
- 1 cup sour cream
- ½ cup heavy cream
- 1 cup brown sugar
- ½ cup unsalted butter
- 1 teaspoon sea salt
- 1 teaspoon vanilla extract (for caramel)
Now let’s move on to the cooking steps.
Cooking Steps
Now that you have your ingredients ready, it’s time to get cooking!
You’ll start by preparing the crust mixture, which sets the foundation for that delicious cheesecake.
As you mix the cream cheese and sugar, the excitement builds—just wait until you swirl in that salted caramel!
Step 1. Prepare the Crust Mixture
As you plunge into making your salted caramel cheesecake, preparing the crust mixture is an essential first step.
You’ll want to start by gathering your ingredients: crushed graham crackers, melted butter, and a touch of sugar. The combination of these elements creates a deliciously crumbly base that perfectly complements the creamy filling.
In a mixing bowl, combine about two cups of crushed graham crackers with a quarter cup of sugar. This little bit of sweetness enhances the flavor of the crust.
Next, pour in about half a cup of melted butter. This will bind everything together and give your crust that rich, buttery taste we all love.
Now, using a fork or your hands, mix everything until it resembles wet sand. It should hold together when pressed.
Once you’ve achieved that consistency, it’s time to press the mixture into the bottom of a springform pan. Make sure to spread it evenly and pack it down firmly. This guarantees a sturdy base for your cheesecake.
Once you’ve done that, pop it in the fridge for about 10 minutes to set. You’re one step closer to a decadent dessert!
Step 2. Mix Cream Cheese and Sugar
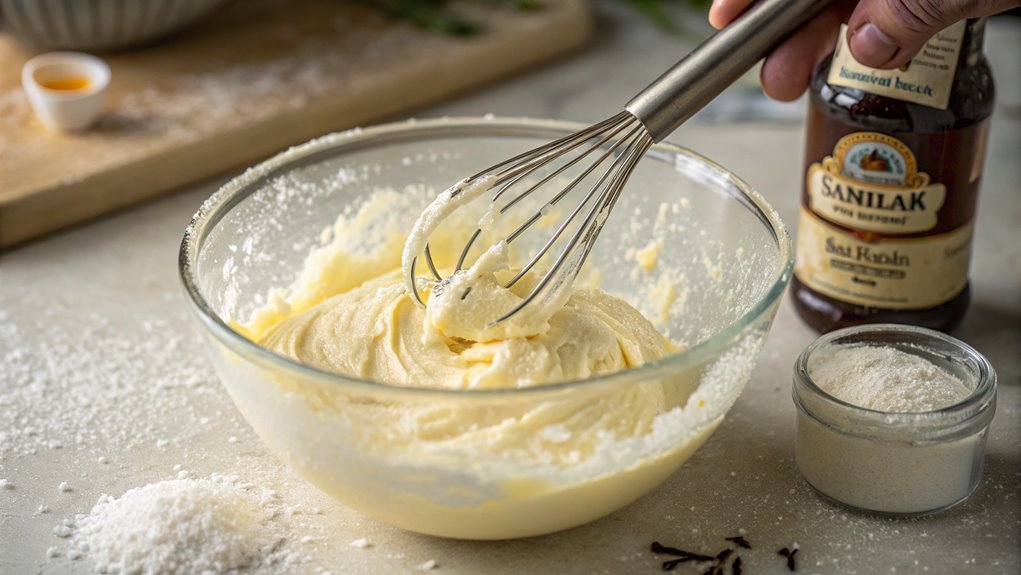
With the crust chilling in the fridge, it’s time to focus on the creamy filling. Start by taking your softened cream cheese and placing it in a large mixing bowl. This is where the magic begins! Using an electric mixer, beat the cream cheese on medium speed until it’s smooth and creamy, making certain there are no lumps. This could take about 2-3 minutes, so don’t rush—enjoy the process!
Next, gradually add in the granulated sugar. This sweet addition is vital for balancing the flavors in your cheesecake. Keep mixing on medium speed until the sugar is fully incorporated and the mixture is velvety. You’ll notice that the cream cheese gets lighter in color and texture as you mix. This is a good sign!
If you want to enhance the flavor, consider adding a splash of vanilla extract at this stage. It adds a lovely depth to your cheesecake.
Once everything is combined, stop and scrape down the sides of the bowl with a spatula. This guarantees every bit of cream cheese and sugar is well mixed.
Now, you’re ready to move on to the next step. Your filling is coming together beautifully!
Step 3. Add Salted Caramel Swirl
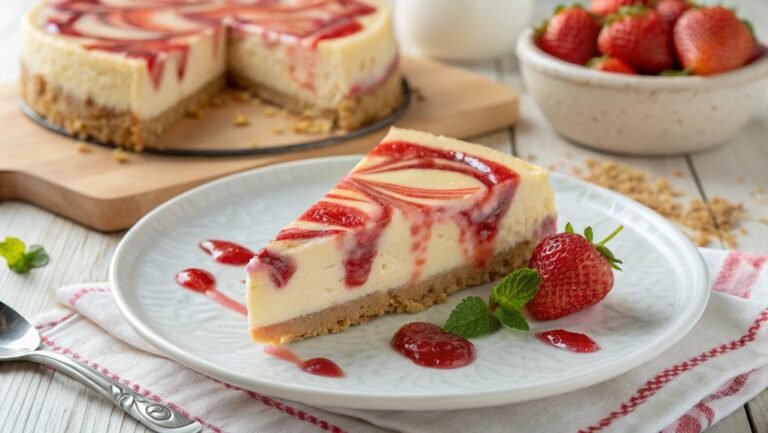
To create that irresistible salted caramel swirl, start by drizzling a generous amount of your pre-made salted caramel sauce directly into the creamy filling. As you pour, let the sauce cascade down into the mixture, creating beautiful ribbons of caramel.
Don’t worry about being perfect; a little mess adds to the charm!
Next, grab a spatula and gently fold the caramel into the cheesecake filling. Be careful not to overmix; you want those stunning swirls to be visible. As you incorporate the caramel, you’ll notice the filling turning a luscious golden hue, which is just what you want!
Once you’ve achieved the perfect swirl, it’s time to spread the filling into your prepared crust. Use that same spatula to smooth it out, ensuring an even layer.
You can even add a few extra drizzles of caramel on top for a finishing touch, making it look extra tempting.
This step not only enhances the flavor but also creates a show-stopping visual appeal. You’ll be excited to see how it all comes together! Trust me, this salted caramel swirl is going to take your cheesecake to the next level!
Step 4. Chill Before Serving
After you’ve spread the luscious filling into the crust, it’s vital to let the cheesecake chill in the refrigerator for at least four hours, or ideally overnight. This chilling time isn’t just a suggestion; it’s indispensable for achieving that perfect creamy texture.
As the cheesecake cools, the flavors meld beautifully, creating a harmonious balance of sweetness and saltiness that’ll make your taste buds sing.
When you allow the cheesecake to chill, it firms up, making it easier to slice and serve. You’ll be rewarded with clean, beautiful slices that showcase your hard work. Just imagine cutting into that silky cheesecake, with its rich filling and a hint of salted caramel peeking through.
While waiting, you can daydream about sharing this delightful dessert with family or friends. Just think of their smiles when they take that first bite!
Step 5. Drizzle With Extra Caramel
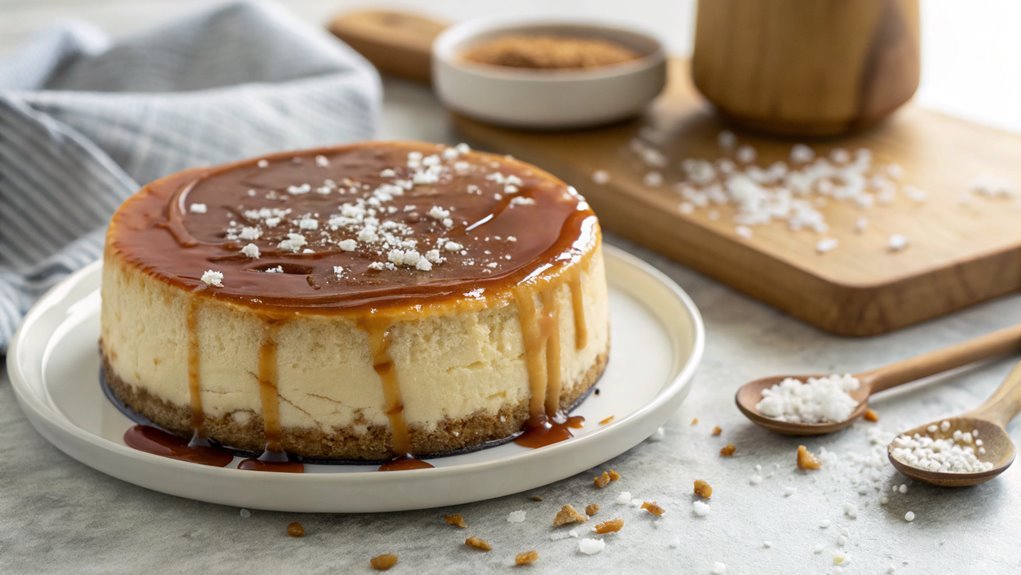
Once your cheesecake has chilled and set, it’s time to elevate it with a luscious drizzle of extra caramel. This step is where your dessert transforms into a true showstopper!
Start by warming your caramel sauce slightly; this makes it easier to drizzle. You can use store-bought caramel or homemade—either works beautifully.
Grab your cheesecake, and using a spoon or a squeeze bottle, drizzle the warm caramel over the top. Don’t be shy—let it cascade down the sides for that irresistible, gooey look.
As you drizzle, think about the beautiful contrast of the caramel against the creamy cheesecake. You want your guests to be wowed!
For an extra touch, sprinkle a pinch of sea salt over the caramel. This balances the sweetness and enhances the flavor, making each bite even more delightful.
Once you’re satisfied with your drizzle, let it set for just a few minutes. This will allow the caramel to firm up slightly, adding to that perfect texture.
Now, your salted caramel cheesecake is ready to impress! Cut into it and watch as everyone digs in, savoring every decadent bite. Enjoy your masterpiece!
Final Thoughts
As you savor the rich flavors of this salted caramel cheesecake, remember that the joy of baking lies not just in the final product, but in the process itself. Each step—from making the buttery crust to whipping the creamy filling—invites you to release your creativity in the kitchen.
As you measure, mix, and bake, you’re crafting something special, pouring your heart into each layer.
Don’t shy away from personal touches! Feel free to experiment with the caramel drizzle or add your favorite toppings. Maybe you want to fold in some crushed cookies or sprinkle sea salt for an extra kick. It’s all about making this cheesecake your own.
Whether you’re celebrating a special occasion or simply treating yourself, this dessert is sure to impress. The blend of sweet and salty flavors will have everyone coming back for seconds.
Frequently Asked Questions
Can I Use a Gluten-Free Crust for This Cheesecake?
Absolutely, you can use a gluten-free crust for your cheesecake. Just make sure it’s a suitable alternative, like almond flour or gluten-free graham crackers. It’ll still be delicious and perfect for everyone to enjoy!
How Long Does Salted Caramel Cheesecake Last in the Fridge?
Your cheesecake will last about five to seven days in the fridge. Just make sure it’s tightly covered to keep it fresh and prevent any unwanted odors from affecting its delicious flavor. Enjoy every bite!
Can I Freeze Leftover Salted Caramel Cheesecake?
Sure, you can freeze leftover cheesecake, but why would you? It’s so delicious, you’ll likely devour it first. If you must, wrap it tightly and enjoy later; it’ll still taste amazing after thawing!
What Can I Substitute for Cream Cheese?
If you’re looking for a cream cheese substitute, try using Greek yogurt, ricotta cheese, or mascarpone. Each of these options will give you a creamy texture, though the flavor might differ slightly in your recipe.
How Do I Prevent Cracks in My Cheesecake?
Did you know that 90% of bakers experience cracks in their cheesecakes? To prevent this, mix ingredients gently, avoid overbeating, use a water bath, and let your cheesecake cool gradually in the oven.
Conclusion
You’ve crafted a slice of heaven with this salted caramel cheesecake! Each creamy bite, rich with caramel goodness, is a flavor celebration.
Let it chill for the perfect texture, and don’t skimp on the warm caramel drizzle—it’s essential! Gather your loved ones, slice up this indulgent treat, and savor every delicious moment.
