Orange Marmalade Tart Recipe

The Orange Marmalade Tart is a dessert that perfectly balances sweetness and tartness. With a buttery, flaky crust and a vibrant orange filling, it’s a versatile treat for any occasion.
The tart’s magic lies in its simple ingredients that come together to create something extraordinary. Achieving the ideal golden hue and texture requires attention to detail.
Let’s explore the steps and techniques that elevate this classic tart to a new level of flavor.
Recipe
Orange marmalade tart is a delightful treat that brings a burst of citrus flavor to your dessert table. This tart combines a buttery, flaky pastry crust with a rich and zesty orange marmalade filling, creating a perfect balance of sweetness and tanginess.
Ideal for afternoon tea or as a light dessert after a sumptuous meal, this recipe is straightforward and allows the bright flavor of orange to shine through.
To prepare the orange marmalade tart, you’ll first create the tart shell, which will provide a satisfying crunch to complement the smooth filling. The richness of the crust paired with the vibrant taste of the marmalade creates a harmonious dessert that’s sure to impress your family and guests alike.
Serve it plain, or with a dollop of whipped cream or a scoop of vanilla ice cream for an extra indulgent touch.
Ingredients:
- 1 ½ cups all-purpose flour
- ½ cup unsalted butter, chilled and cubed
- ¼ cup granulated sugar
- 1 large egg yolk
- 2-3 tablespoons cold water
- 1 cup orange marmalade
- 1 tablespoon fresh orange juice
- 1 teaspoon grated orange zest
- Powdered sugar (for dusting, optional)
Now let’s move on to the cooking steps.
Cooking Steps
Let’s get cooking your delicious Orange Marmalade Tart!
Start by preheating your oven to 350°F and gathering all the ingredients for the tart crust.
Once you’re ready, it’ll be time to fill that crust with sweet marmalade and watch it transform into a mouthwatering treat!
Now let’s move on to the cooking steps.
Step 1. Preheat Oven to 350°F
Before diving into the deliciousness of your orange marmalade tart, preheat your oven to 350°F. This isn’t just a mere suggestion; it’s the first vital step that sets the stage for your beautiful tart.
The right temperature guarantees that your crust cooks evenly and develops that perfect golden hue, while the filling bubbles just right.
As you wait for your oven to heat, take a moment to appreciate the journey you’re about to undertake. Baking isn’t just about following a recipe; it’s about bringing joy into your kitchen and savoring the rewards of your labor.
Here are a few reasons to get excited about preheating:
- 📌 Consistency is Key: A properly preheated oven helps achieve uniform baking results.
- 📌 Flavor Development: Starting with the right temperature enhances flavors and aromas, making everything taste better.
- 📌 Timing Matters: Preheating cuts down your overall baking time, guaranteeing your tart is ready sooner.
- 📌 Baking Confidence: Knowing you’re starting with a well-heated oven boosts your baking skills and experience!
Step 2. Prepare Tart Crust Ingredients
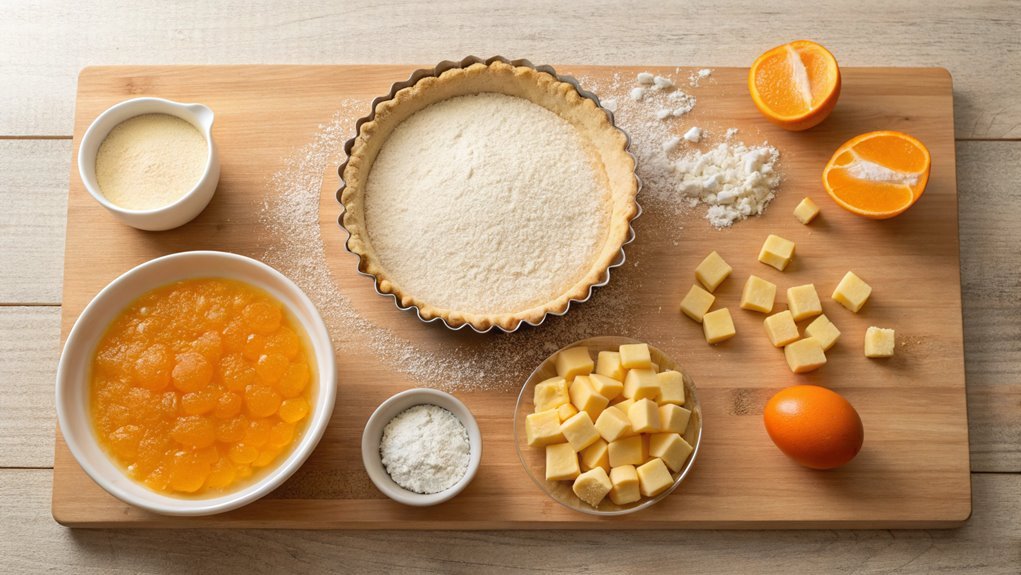
To get started on your tart crust, gather the essential ingredients: all-purpose flour, unsalted butter, sugar, salt, and ice water. These simple components come together to create a delightful, flaky crust that’ll be the perfect base for your delicious orange marmalade tart.
First, you’ll need 1 ½ cups of all-purpose flour. This gives your crust structure. Next, add ½ cup of cold, unsalted butter, cubed into small pieces. It’s important that the butter stays cold, as this helps achieve that lovely flaky texture.
Sprinkle in ¼ cup of sugar for sweetness and a pinch of salt to enhance the flavors.
Now, the fun part! Use your fingertips to rub the butter into the flour mixture until it looks like coarse crumbs. Don’t worry about being perfect; it’s all about the texture.
Finally, you’ll incorporate cold ice water, one tablespoon at a time, mixing until the dough just holds together. Avoid overworking it!
Once it’s ready, wrap your dough in plastic wrap and refrigerate for at least 30 minutes. This rest time is key for a tender crust. Let your baking adventure begin!
Step 3. Fill Tart With Marmalade
After allowing your tart crust to chill, it’s time to bring it to life with that delightful orange marmalade. Start by gently spooning the marmalade into the cooled crust, ensuring an even spread. Use a spatula to smooth it out, making sure every corner gets a taste of that zesty goodness.
This simple step is where you can truly express your creativity; feel free to add layers if you want an extra zing!
Once you’re satisfied with your marmalade’s luscious arrangement, it’s essential to make sure there are no bubbles trapped beneath. Use a fork to pierce the surface lightly—this will help air escape during baking and prevent any unexpected puffs.
How exciting is it to create?
- You’re creating a treat that’s not only beautiful but also bursting with flavor.
- Marmalade’s sweetness balances perfectly with the tartness of the orange.
- This step makes your tart uniquely yours.
- The aroma filling your kitchen will be irresistible!
Now that you’ve filled your tart, you’re one step closer to enjoying this delicious dessert! Your hard work will surely pay off—get ready for the next exciting stage!
Step 4. Bake for 25 Minutes
Now it’s time to pop your tart in the oven and let it bake for 25 minutes. This is where the magic happens! As the heat surrounds your tart, the crust will become golden and flaky, and the wonderful aroma of orange marmalade will fill your kitchen.
Make sure your oven is properly preheated to guarantee even baking.
While it bakes, you might find yourself daydreaming about that first delicious bite. It’s all about the anticipation!
Keep an eye on your tart during the last few minutes of baking. You want the crust to be perfectly golden brown, and the marmalade should be bubbly and slightly caramelized.
If you have a kitchen timer, set it for 25 minutes, so you won’t lose track of time. This way, you can focus on other tasks or simply enjoy the delightful smells wafting through your home.
Remember, every oven is a little different, so don’t hesitate to check your tart a couple of minutes before the timer goes off.
Once it’s done baking, let that tempting tart shine! You’ve created something truly special, and you’re ready for the next step in this culinary adventure!
Step 5. Cool Before Serving
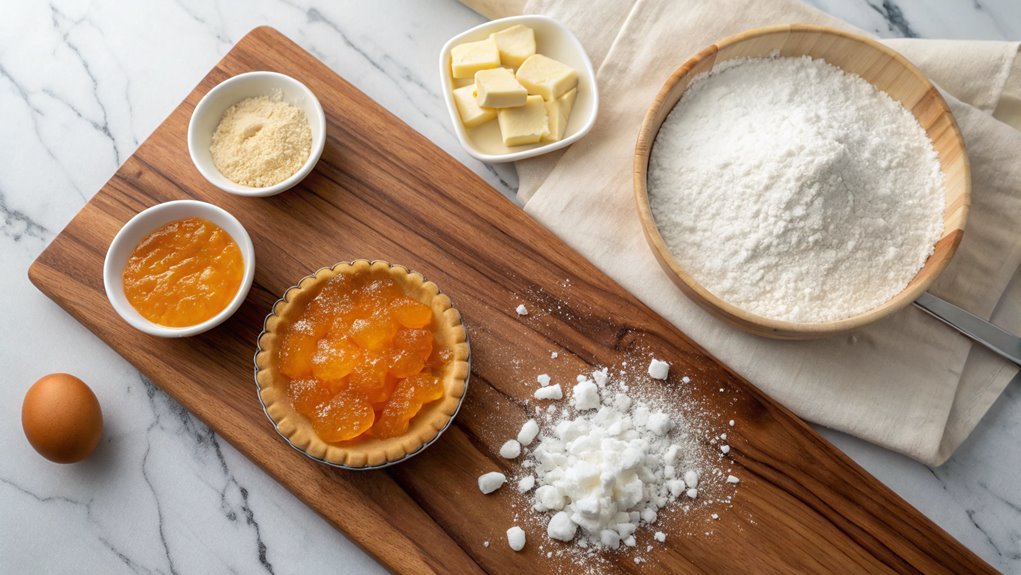
While your tart is still warm, it’s important to let it cool before serving. Cooling allows the flavors to meld beautifully and makes slicing much easier. If you jump in too soon, you may end up with a gooey mess instead of gorgeous, clean slices.
So, be patient and let that tart rest for about 30 minutes on a wire rack. This will help the crust firm up and enhance the taste.
As you wait, take this time to prepare your table or gather friends for a delightful dessert experience. Here are some reasons why cooling is key:
- Texture Matters: A cooled tart offers that perfect balance of crusty base and smooth marmalade filling.
- Flavor Harmony: Letting the tart cool allows the flavors to deepen, creating a more robust taste.
- Presentation is Key: Slicing a cooled tart yields cleaner edges, making it look more appetizing.
- Safety First: Serving warm tarts can lead to burns or a mess, so it’s best to wait.
Final Thoughts
As you savor your homemade orange marmalade tart, it’s clear that this dessert offers more than just delightful flavors; it’s a celebration of simple ingredients coming together beautifully. The vibrant orange contrasts with the buttery crust, creating a stunning visual and a burst of flavor in every bite.
This tart is perfect for any occasion, whether it’s a family gathering, a cozy dinner, or simply a treat for yourself.
Making this tart isn’t just about the end result; it’s about the joy of baking and sharing. You’ll not only impress your friends and family with your culinary skills, but you’ll also create lasting memories in your kitchen.
Plus, working with fresh ingredients is a rewarding experience that connects you to the food you eat.
Don’t hesitate to experiment. Try adding a twist, like a hint of spice or using different fruits for the marmalade. Each variation can lead you to a new favorite.
So, roll up your sleeves and plunge into this delightful recipe. You have everything you need to create something truly special. Your orange marmalade tart is just waiting to become a beloved staple in your dessert repertoire!
Enjoy every delicious moment.
Frequently Asked Questions
Can I Use Store-Bought Orange Marmalade Instead of Homemade?
Absolutely, you can use store-bought orange marmalade! It’s a convenient option that saves time. Just check the flavor and consistency to verify it complements your dish. Enjoy the ease without sacrificing taste!
What Is the Best Type of Crust for This Tart?
For a delicious tart, you should use a buttery, flaky pastry crust. It complements the tartness perfectly. You could also try a graham cracker crust for a hint of sweetness and crunch.
How Can I Make This Tart Gluten-Free?
To make this tart gluten-free, use almond flour or a gluten-free all-purpose blend for the crust. Verify any additional ingredients, like baking powder, are also gluten-free, and you’re good to go! Enjoy your tart!
What Drinks Pair Well With Orange Marmalade Tart?
When sun-kissed flavors dance, you’ll want to sip on a chilled Sauvignon Blanc or a citrus-infused sparkling water. These pairs illuminate your tart’s sweetness, creating a symphony that sings with every delightful bite.
How Long Does the Tart Keep in the Fridge?
The tart keeps well in the fridge for about three to four days. Just make sure to cover it properly to maintain its flavor and texture. Enjoy it while it’s fresh for the best taste!
