Cherry Cheesecake Brownie Recipe
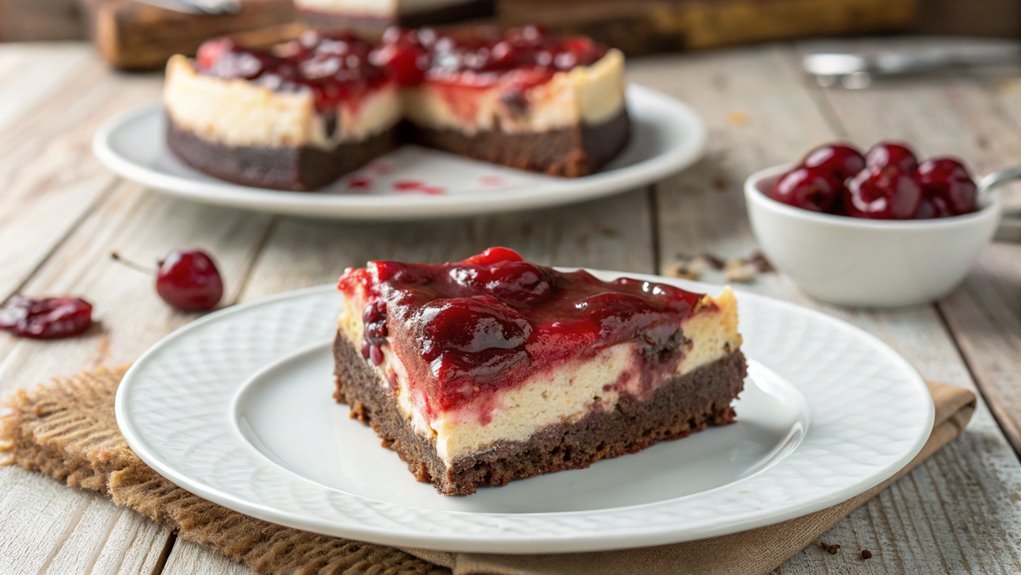
The Cherry Cheesecake Brownie is a standout dessert with its rich chocolate layers and creamy cheesecake filling, created from simple ingredients for a visually appealing and delicious treat. The straightforward layering process yields impressive results, perfect for any occasion.
What completes this dessert is the cherry topping, adding a burst of flavor that enhances the entire experience. Achieving the ideal balance of flavors makes it a crowd-pleaser at gatherings.
Recipe
Indulging in a Cherry Cheesecake Brownie is a delightful way to satisfy your sweet tooth, merging the rich flavors of chocolate brownies with the creamy tang of cheesecake and the sweetness of cherries.
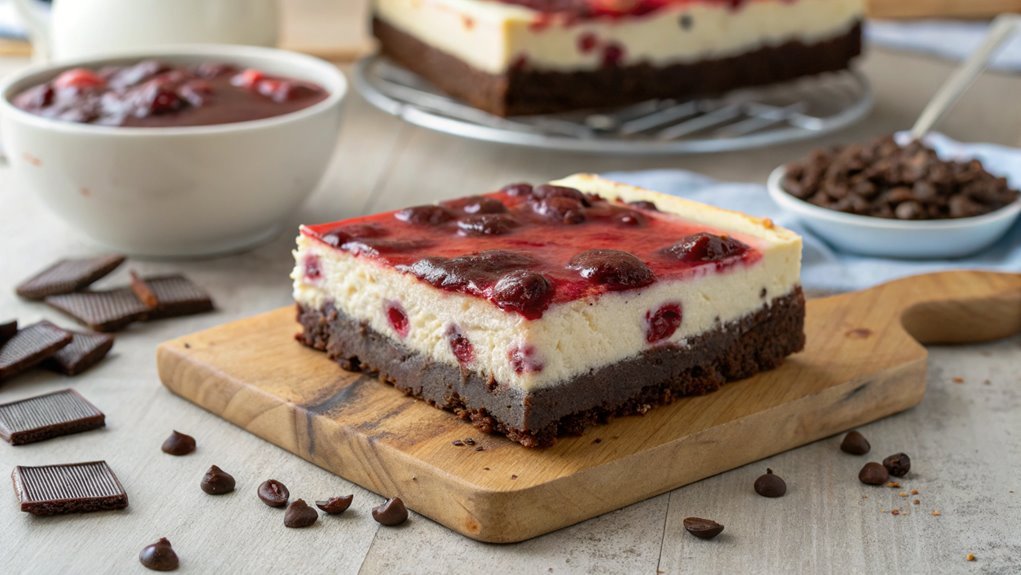
This dessert is perfect for any occasion, whether you’re hosting a gathering or simply want to treat yourself. The layers of fudgy brownie, smooth cheesecake, and vibrant cherry topping create a visually appealing and deliciously decadent dessert that will impress your family and friends.
Making Cherry Cheesecake Brownies is easier than you might think! With just a few simple steps, you can create this delightful treat in your own kitchen.
The combination of textures and flavors makes this dish a standout dessert that’s sure to become a favorite. So, grab your baking supplies, and let’s get started on this delicious journey!
Ingredients:
- 1 cup unsalted butter
- 2 cups granulated sugar
- 4 large eggs
- 1 teaspoon vanilla extract
- 1 cup all-purpose flour
- 1 cup unsweetened cocoa powder
- 1/2 teaspoon salt
- 8 ounces cream cheese, softened
- 1/2 cup powdered sugar
- 1 teaspoon vanilla extract (for cheesecake layer)
- 1 cup cherry pie filling
- Optional: chocolate chips for topping
Now let’s move on to the cooking steps.
Cooking Steps
Let’s get started on making your delicious Cherry Cheesecake Brownies!
First, you’ll preheat your oven to 350°F, which sets the stage for that perfect bake.
Then, you’ll whip up the cream cheese filling and layer on the cherry topping, creating a mouthwatering treat that’s sure to impress!
Step 1. Preheat Oven to 350°F
Before diving into the delicious layers of your cherry cheesecake brownies, preheating your oven to 350°F is vital. This step may seem simple, but it’s essential for achieving that perfect bake. A properly heated oven guarantees your brownies cook evenly, resulting in a fudgy texture that pairs beautifully with the creamy cheesecake layer on top.
Start by turning on your oven and setting the temperature. While it’s warming up, you can gather your ingredients and prepare your baking pan. This will save you time and keep your kitchen organized. Make sure to use an oven thermometer if you’re unsure about your oven’s accuracy, as an inconsistent temperature can lead to disappointing results.
Once your oven reaches 350°F, you’ll know it’s time to pour in your brownie batter. The anticipation of that warm, chocolaty aroma wafting through your kitchen is just the beginning of the joy these brownies will bring.
Step 2. Mix Cream Cheese Filling
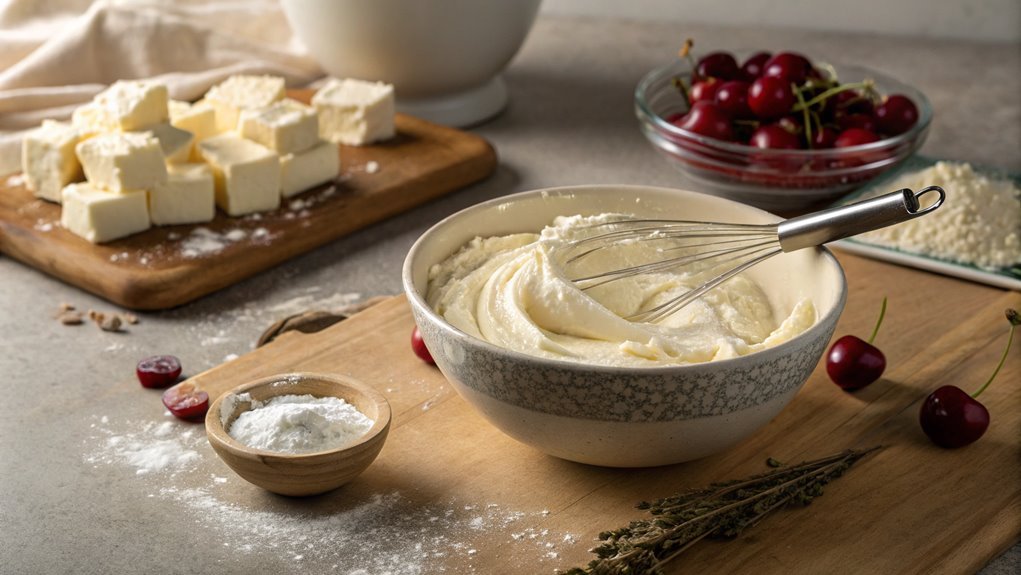
Whip together the cream cheese, sugar, and vanilla extract until smooth and creamy. This is the base of your delicious cheesecake filling, and you’re going to love how easy it is! Make sure there are no lumps, as a smooth texture will make your brownies even more delightful.
Next, add in the egg and mix everything together until combined. The cream cheese filling should be fluffy and light.
To really elevate the flavor, consider these tips:
- Use room-temperature cream cheese for a smoother blend.
- Don’t skip the vanilla; it adds a lovely depth to the filling.
- Taste the mixture before adding the egg; adjust the sugar if you like it sweeter.
- If you’re feeling adventurous, add a bit of lemon zest for a fresh twist!
Once your cream cheese filling is ready, you’ll want to layer it over your brownie batter. This creates that rich, creamy cheesecake layer that pairs perfectly with the fudgy brownie base.
Trust me, the combination is irresistible! Now, let’s get ready to add that cherry topping generously in the next step. You’re almost there!
Step 3. Add Cherry Topping Generously
Now it’s time to generously add the cherry topping to your brownies. This is the moment when your dessert transforms into something truly special. Grab your cherry pie filling or fresh cherries, whichever you prefer. If you’re using pie filling, stir it gently to make sure the cherries are evenly coated in that luscious sauce.
Next, spoon the cherry topping over the cream cheese filling in a beautiful, even layer. Don’t hold back—let those cherries shine! You want each bite to be bursting with flavor, so distribute them generously. If you’re using fresh cherries, slice them in half and scatter them over the filling for a fresh touch.
The vibrant red cherries not only add a pop of color but also a sweet-tart contrast that pairs perfectly with the creamy cheesecake and fudgy brownies. As you spread the topping, imagine how delightful each slice will be when you serve it. The anticipation will make your mouth water!
Once you’ve added the cherry topping, take a moment to admire your creation. The visual appeal is just as important as the taste, and you’re well on your way to a show-stopping dessert!
Step 4. Bake for 30 Minutes
Once you’ve added that generous layer of cherry topping, it’s important to pop the brownies into the oven. Baking is where the magic really happens! As those delicious layers meld together, you’ll start to see the beautiful transformation. Set your oven to 350°F (175°C) and place the brownies on the middle rack.
Here’s what you can expect during those 30 minutes:
- A delightful aroma filling your kitchen
- The cherry topping bubbling slightly, giving it that perfect texture
- The brownie edges firming up while the center remains soft
- A golden-brown hue developing on top
Keep an eye on the brownies as they bake. It’s vital to resist the urge to open the oven door too soon, as this can affect the baking process.
When the 30 minutes are up, use a toothpick to test for doneness. If it comes out with a few moist crumbs, you’re golden! If it’s still wet, give it a couple more minutes. This step is critical for achieving that perfect balance between fudgy brownies and creamy cheesecake.
Enjoy the anticipation as you wait for this scrumptious dessert to cool!
Step 5. Cool Before Serving
After you’ve baked those brownies to perfection, it’s time to let them cool before serving. Cooling is essential because it allows the flavors to meld and makes slicing easier.
First, remove the pan from the oven and place it on a wire rack. This will help the heat escape and prevent any sogginess.
Let the brownies cool in the pan for about 15 minutes. You’ll notice the edges pulling away from the sides, which is a great sign!
Afterward, carefully lift the brownies out of the pan using parchment paper. If you don’t have parchment, just run a knife around the edges to loosen them up.
Next, set the brownies on the wire rack for at least another 30 minutes. This cooling time is perfect for preparing your cherry cheesecake topping.
Once they’ve cooled completely, you can slice them into squares. Just imagine the creamy cheesecake layer topped with those vibrant cherries!
Now you’re ready to serve these delectable cherry cheesecake brownies to your friends and family. They’ll be in awe of your baking skills, and you’ll enjoy every delicious bite.
Happy baking!
Final Thoughts
As you savor your homemade cherry cheesecake brownies, it’s clear that this delightful dessert brings together rich flavors and a satisfying texture.
The combination of fudgy brownies with creamy cheesecake and tart cherries creates an irresistible treat that’s perfect for any occasion. You’ll find that sharing these brownies with friends and family will make you the star of the dessert table!
Here are a few reasons why you’ll love making these brownies:
- Easy to Follow: The step-by-step instructions guarantee success, even for novice bakers.
- Versatile: You can mix and match flavors; try different fruits or add nuts for a twist.
- Impressive Presentation: The beautiful layers make them a stunning addition to any gathering.
- Perfect for Any Occasion: Whether it’s a birthday, holiday, or just a family dinner, these brownies fit right in.
Frequently Asked Questions
Can I Use Frozen Cherries Instead of Fresh?
Absolutely, you can use frozen cherries instead of fresh ones. Just make sure to thaw them first and drain any excess moisture. This’ll help maintain the texture and flavor of your dish. Enjoy!
How Should I Store Leftover Brownies?
Leftover brownies are like treasures waiting to be discovered! You should store them in an airtight container at room temperature for up to three days, or refrigerate for a week. Just make sure they’re sealed tight!
Can I Make This Recipe Gluten-Free?
Yes, you can make this recipe gluten-free! Substitute regular flour with a gluten-free blend or almond flour. Just guarantee all other ingredients, like chocolate and cream cheese, are also gluten-free to maintain flavor and texture.
What Toppings Pair Well With Cherry Cheesecake Brownies?
When you think about toppings, consider whipped cream for a light touch, chocolate drizzle for richness, or crushed nuts for crunch. Fresh cherries can also elevate the flavor and presentation beautifully. Enjoy experimenting with these options!
How Long Do These Brownies Last?
These brownies last longer than a winter’s night! If stored properly in an airtight container, they’ll stay fresh for about 5-7 days at room temperature or up to two weeks in the fridge. Enjoy!
Conclusion
You’ve crafted a dessert that’s sure to impress with its irresistible combination of fudgy brownies, creamy cheesecake, and sweet cherries. Whether shared at a gathering or savored at home, these cherry cheesecake brownies are destined to be a hit.
Gather your ingredients, follow the steps, and let the delicious aroma fill your kitchen. Each bite is a celebration of flavor, so indulge and enjoy your delightful creation!
