Baked Apples With Cinnamon Recipe
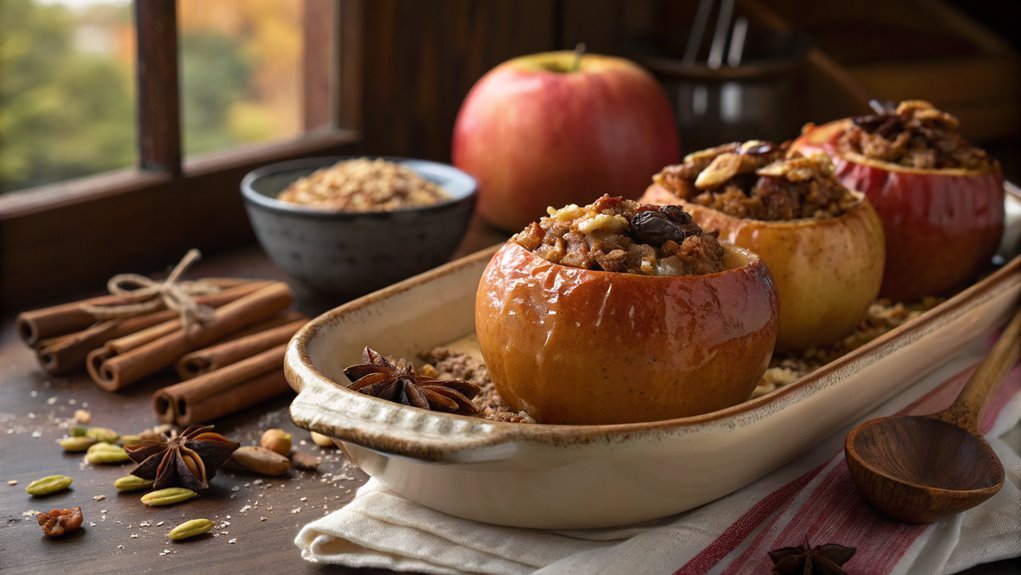
For a comforting dessert, try baked apples with cinnamon. These warm, tender apples are filled with a sweet mix of brown sugar and oats, topped with melted butter. The recipe’s simplicity allows for customization with different apple varieties and personalized toppings. The secret to perfection lies in achieving the right texture and flavor balance.
Recipe
Baked apples with cinnamon is a delightful dessert that captures the essence of fall with every bite. The warm, tender apples paired with the comforting aroma of cinnamon and sugar make for a perfect treat to enjoy on a chilly evening.
Whether served on their own or with a scoop of vanilla ice cream, this simple yet satisfying dish is sure to please both family and friends.
Preparing baked apples is a straightforward process, requiring minimal ingredients and effort. By hollowing out the apples and filling them with a sweet mixture, you allow the flavors to meld beautifully while they bake.
This recipe isn’t only delicious but also versatile, allowing you to customize the filling to suit your taste preferences.
Ingredients:
- 4 medium-sized apples
- 1/4 cup brown sugar
- 1 teaspoon cinnamon
- 1/4 cup rolled oats
- 1/4 cup chopped nuts (walnuts or pecans)
- 1/4 cup raisins or dried cranberries
- 2 tablespoons butter
- 1/2 cup water
- Vanilla ice cream (optional, for serving)
Now let’s move on to the cooking steps.
Cooking Steps
Let’s get started on making those delicious baked apples!
First, you’ll preheat your oven to 350°F, creating the perfect warm environment for baking.
Once that’s set, you’ll core the apples and stuff them with brown sugar, then drizzle on some melted butter, setting the stage for a sweet treat you won’t want to miss!
Step 1. Preheat Oven to 350°F
Preheating your oven to 350°F is an essential first step in making perfectly baked apples. This warmth creates an inviting atmosphere for the apples, allowing them to cook evenly and develop that delicious caramelized flavor you’ll love.
So, go ahead, turn that dial or press that button, and feel the anticipation building!
While your oven warms up, you can gather your ingredients. The aroma of cinnamon and sugar will soon fill your kitchen, creating the ultimate cozy environment.
It’s incredible how a simple act like preheating can transform a dish! As you wait, don’t rush this step. Taking the time to let your oven reach the right temperature guarantees your baked apples bake to perfection, softening and melding flavors beautifully.
Once your oven signals it’s ready, you’ll be set for the next exciting step in this delicious journey. That first delightful bite of the warm, sweet apple with a touch of cinnamon will make the wait well worth it.
Step 2. Core the Apples
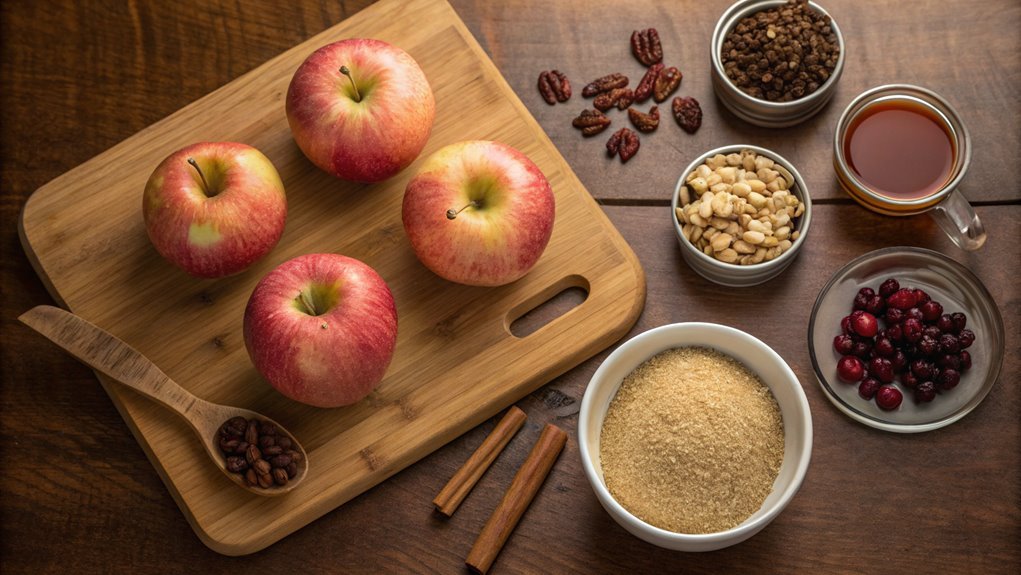
Coring the apples is a crucial step in preparing your delicious baked treat. You’ll want to start by choosing firm, fresh apples that are perfect for baking. Using a sharp knife or an apple corer, carefully remove the core from each apple, making sure to leave the bottom intact. This allows the flavors to soak in while baking. Be gentle as you cut, creating a nice hollow space without piercing through the bottom.
Once you’ve cored the apples, take a moment to admire their beautiful, glossy skin. The aroma of fresh apples already gets your taste buds excited!
After coring, you can rinse the apples briefly in water and pat them dry with a paper towel. This step guarantees your apples will be clean and ready to absorb all those fantastic flavors you’re about to add.
Coring may seem simple, but it’s crucial for achieving that perfect baked apple. You want a delicious filling to nestle inside, allowing the spices and sweetness to meld beautifully.
Now that your apples are cored and prepped, you’re one step closer to enjoying this warm, comforting dessert! Get ready to stuff and bake them into pure bliss!
Step 3. Stuff With Brown Sugar
With the apples now ready, it’s time to create that delicious filling. You’ll be amazed at how easy this step is! Start by gathering your brown sugar and a few flavorful ingredients that will elevate your baked apples to a whole new level.
In a mixing bowl, combine the brown sugar with some cinnamon and a touch of nutmeg. The aroma will be irresistible!
Here’s what you need to do:
- Mix: Blend about 1/2 cup of brown sugar with 1 teaspoon of cinnamon and a pinch of nutmeg until well combined.
- Stuff: Take generous spoonfuls of this sweet mixture and pack it tightly into the center of each apple. They should be overflowing with goodness!
- Press: Gently press the filling down to guarantee it fills every cavity. Don’t be afraid to make a little mess; it’s all part of the fun!
As you finish stuffing each apple, picture the sweet, warm goodness that’s about to emerge from your oven.
You’re one step closer to a cozy dessert that everyone will love. Happy cooking!
Step 4. Drizzle With Melted Butter
Now it’s time to take your stuffed apples to the next level by drizzling them with melted butter. This simple step adds a rich, creamy flavor that perfectly complements the sweetness of the apples and the warmth of cinnamon.
To get started, grab a small saucepan and over medium heat, melt a couple of tablespoons of unsalted butter. You’ll want it to be bubbly and fragrant, but be careful not to let it brown too much.
Once melted, remove the saucepan from the heat. With a spoon or a small ladle, gently drizzle the butter over the tops of each apple. Don’t be shy; make sure each apple gets its share! This buttery goodness seeps into the filling, enhancing all those cozy flavors.
If you have any leftover melted butter, feel free to save it for later as you can always brush a bit on right before they go into the oven.
Step 5. Bake Until Tender
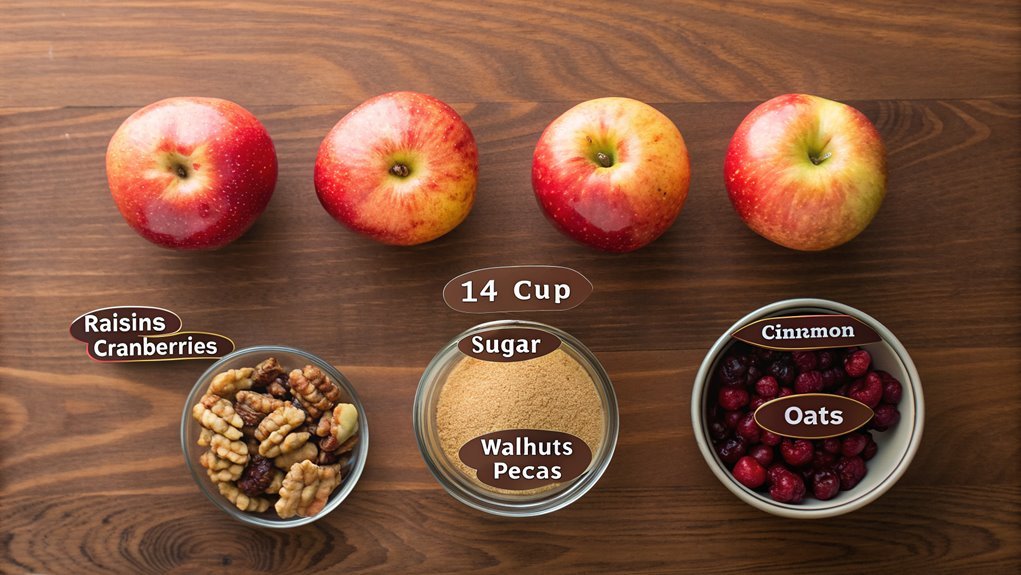
Preheat your oven to 350°F (175°C) to prepare for baking your stuffed apples.
Once your apples are drizzled with melted butter and sprinkled with cinnamon, it’s time to get them into the oven.
Place the baking dish in the center of the oven, where the heat circulates evenly, and let the magic happen.
Bake those tasty treasures for about 25 to 30 minutes.
You’ll know they’re ready when they’re golden, tender, and bursting with flavor.
As they bake, the aromas of cinnamon and apples will fill your kitchen, making it impossible not to feel excited!
Keep an eye out for these signs:
- The apples’ skins begin to wrinkle slightly.
- A fork easily pierces through the flesh.
- The apple turns a lovely golden hue.
When they’re done, remove the apples from the oven and let them cool for a few minutes before serving.
You can enjoy them warm, paired with a scoop of vanilla ice cream or just by themselves.
This dish is sure to impress everyone at the table, making your baked apples a delightful centerpiece for any occasion.
Get ready to savor every bite!
Final Thoughts
As you enjoy the warm, caramelized goodness of baked apples with cinnamon, it’s easy to see why this dish remains a beloved comfort food. The sweet aroma wafting through your kitchen creates an inviting atmosphere that beckons everyone to gather around the table.
This simple yet delightful dessert isn’t just a treat for your taste buds; it also brings back fond memories of family gatherings and cozy evenings.
Baked apples are incredibly versatile, allowing you to experiment with various toppings and spices. Whether you choose to add a scoop of vanilla ice cream, a dollop of whipped cream, or even a sprinkle of nuts, each serving becomes a personal touch. You can make it your own!
Don’t be afraid to try different types of apples, as each variety will yield a unique flavor and texture. Embrace the creative process; cooking should be fun!
So, the next time you’re in the mood for a comforting dessert or an easy way to impress guests, grab some apples and get baking. You’ll not only satisfy your sweet cravings but also create lasting memories around your dining table.
Enjoy every bite, and happy baking!
Frequently Asked Questions
Can I Use a Different Type of Apple?
Absolutely, you can use a different type of apple! Each variety offers a unique flavor and texture. Just remember, sweeter apples work better for desserts, while tart ones add a nice balance to dishes.
How Do I Store Leftover Baked Apples?
You can store leftover baked apples in an airtight container in the fridge. They’ll stay fresh for up to five days. Just reheat them in the microwave when you’re ready to enjoy them again!
What Are Some Good Serving Suggestions?
You can serve baked apples with vanilla ice cream for a warm treat, drizzle caramel sauce over them for extra sweetness, or pair them with yogurt and granola for a delicious breakfast option. Enjoy experimenting!
Can I Make This Recipe Gluten-Free?
Did you know that about 1 in 100 people have celiac disease? You can easily make this gluten-free by using certified gluten-free oats or substituting regular flour with almond flour or a gluten-free blend.
How Long Do Baked Apples Last in the Refrigerator?
Baked apples can last about 3 to 5 days in your refrigerator. Make sure they’re stored in an airtight container to keep them fresh. If you notice any spoilage, it’s best to discard them.
