Sugar-Free Brownies Recipe
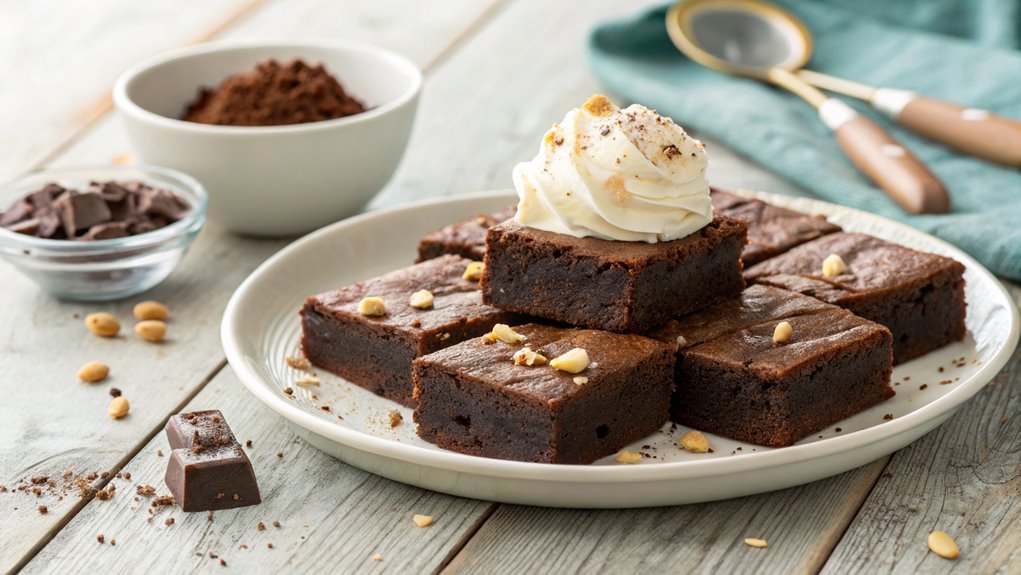
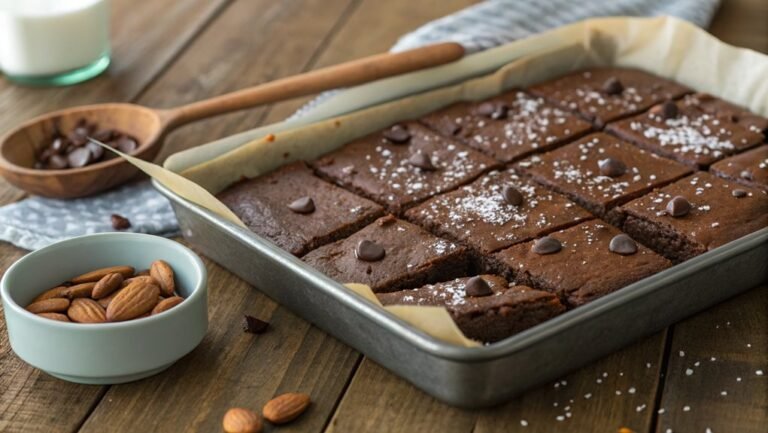
You can enjoy delicious brownies without sugar by using alternatives like erythritol or stevia. Almond flour and unsweetened cocoa powder provide a texture and taste comparable to traditional recipes.
Enhance the brownies with chocolate chunks and a hint of coconut for added flavor. These simple ingredients create a moist, guilt-free treat that satisfies your sweet tooth.
Recipe
If you’re craving a sweet treat but want to keep it sugar-free, these delectable sugar-free brownies are the perfect solution. Made with wholesome ingredients, they satisfy your chocolate cravings without the guilt.
These brownies are rich, fudgy, and packed with flavor, making them a great option for anyone looking to enjoy dessert without the added sugar. Plus, they’re simple to prepare, requiring just a few steps and minimal time in the kitchen.
To make these brownies, we’ll use unsweetened cocoa powder for that deep chocolate flavor and a sugar substitute to add sweetness without the calories. Almond flour gives the brownies a nice texture while keeping them gluten-free.
You can enjoy these brownies on their own or topped with a dollop of sugar-free whipped cream or a sprinkle of nuts for an extra crunch. Let’s get started on this delicious recipe!
Ingredients:
- 1 cup almond flour
- 1/2 cup unsweetened cocoa powder
- 1/2 cup sugar substitute (like erythritol or stevia)
- 1/4 cup coconut oil, melted
- 2 large eggs
- 1 teaspoon vanilla extract
- 1/2 teaspoon baking powder
- 1/4 teaspoon salt
- Optional: 1/2 cup sugar-free chocolate chips
Now let’s move on to the cooking steps.
Cooking Steps
Let’s get started on making those delicious sugar-free brownies!
First, you’ll preheat your oven to 350°F, setting the stage for a perfect bake.
Then, it’s all about mixing your dry ingredients thoroughly before adding the wet ones gradually—trust me, this step makes a big difference in texture!
Step 1. Preheat Oven to 350°F
Before you plunge into mixing your ingredients, preheating the oven to 350°F is vital for achieving perfectly baked sugar-free brownies. This step sets the stage for a delightful baking experience and guarantees your brownies rise beautifully while developing that rich, fudgy texture we all love.
Start by turning on your oven and adjusting the temperature dial. While it heats up, you’ve got a perfect opportunity to gather your ingredients and tools. Take a moment to verify everything is ready, from measuring cups to mixing bowls. This little preparation can make your baking process smoother and more enjoyable.
As the oven warms up, it’s important to give it enough time to reach the desired temperature. If you skip this step or rush it, your brownies mightn’t bake evenly, and we definitely want to avoid that!
The right temperature is key to revealing that delicious, gooey center and slightly crisp edges.
Step 2. Mix Dry Ingredients Thoroughly
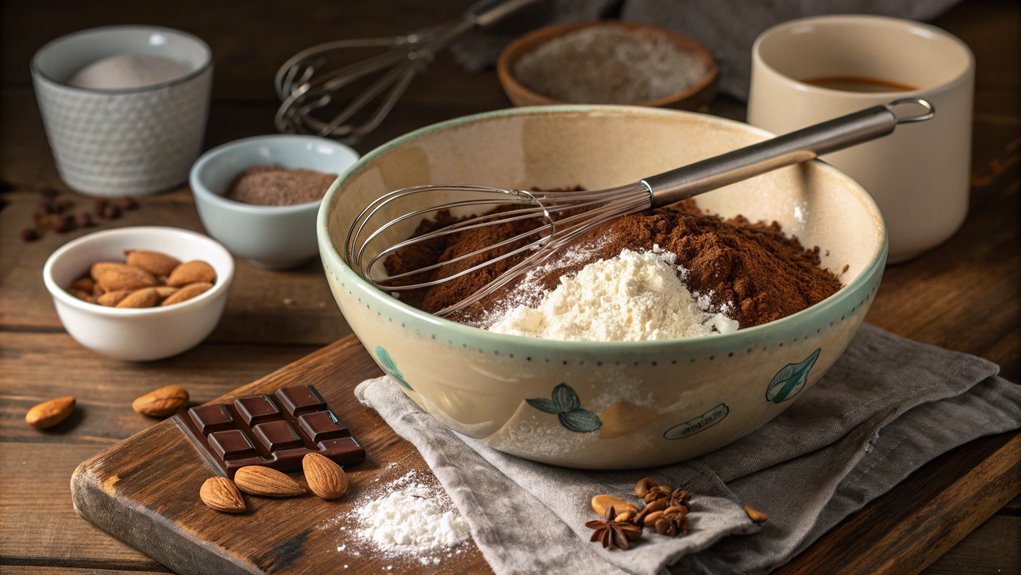
As you move on to mixing the dry ingredients, make sure to combine them thoroughly for a uniform texture. This step is vital for achieving that delightful brownie consistency you crave.
Start by measuring out your flour, cocoa powder, baking powder, and any other dry ingredients you’re using. It’s important to sift the cocoa powder, as it can clump together, which might lead to uneven flavor throughout your brownies.
Once everything is in a large bowl, grab a whisk or a fork. Mix the ingredients together, ensuring there are no dry pockets left. You want the cocoa and flour to blend seamlessly, creating a beautiful, rich mixture.
Don’t rush this step; taking your time will pay off in the final product. If you’re using sweeteners or spices, like cinnamon or vanilla powder, add them now and mix well. The aroma will start to fill your kitchen, making it even more exciting to keep going.
Trust me, a well-mixed dry mixture is the foundation of your scrumptious, sugar-free brownies. So, roll up your sleeves and jump in! You’re one step closer to that irresistible treat. Enjoy the process!
Step 3. Add Wet Ingredients Gradually
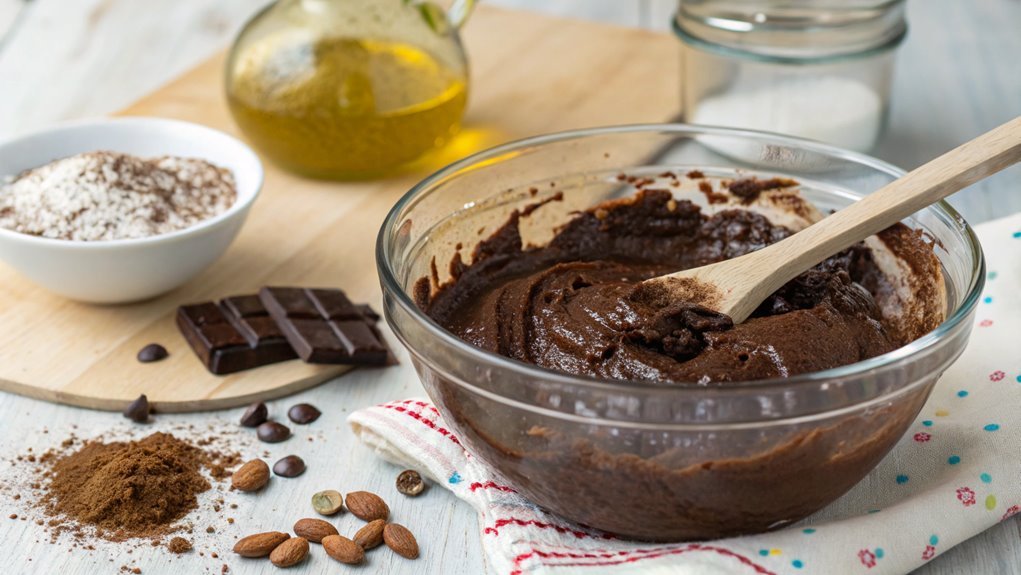
Once your dry ingredients are well combined, gradually add your wet ingredients to the bowl. This step is essential for achieving that perfect brownie texture you crave.
Start by pouring in a small amount of your liquid mixture, which may include ingredients like applesauce, eggs, or vanilla extract. Stir gently to combine, allowing the dry ingredients to absorb the moisture. This gradual approach helps guarantee there are no clumps and creates a smooth batter.
As you continue to add your wet ingredients, keep mixing until everything is well blended. You want to create a luscious, creamy consistency that’s easy to pour into your baking dish.
Don’t rush this process! Taking your time here makes a noticeable difference in the final product.
Once all the wet ingredients are incorporated, you should see a rich, chocolatey batter forming. It’s so satisfying to watch the transformation!
This is the perfect moment to feel proud of your efforts and know you’re one step closer to enjoying those delicious, sugar-free brownies. So, take a moment to appreciate your progress, and get ready for the next exciting step in your baking adventure!
Step 4. Fold in Chocolate Chunks
Now, it’s time to fold in those delicious chocolate chunks! This step is where your brownies get an extra boost of flavor and texture.
Start by grabbing your bowl of brownie batter, which should be smooth and ready for action. Take your chocolate chunks—whether you’re using dark or semi-sweet, make sure they’re sugar-free for the perfect treat.
Gently add the chocolate chunks to your batter. Using a spatula, carefully fold them in by scraping along the edges and turning the mixture over onto itself.
Be patient here! You want to distribute the chocolate evenly without overmixing. You’ll notice those chunks start to blend into the batter, creating pockets of melty goodness throughout.
As you fold, imagine the rich chocolate flavor that’s about to burst in every bite of your brownies. This step not only enhances the taste but also gives your treats a delightful texture.
Once the chocolate is well incorporated, take a moment to appreciate your hard work. You’re so close to enjoying a scrumptious, sugar-free delight! Get ready to move on to the next exciting step in your brownie-making adventure!
Step 5. Bake for 20-25 Minutes
After you’ve folded in the chocolate chunks, it’s time to bake your brownies for 20-25 minutes. Preheat your oven to 350°F (175°C) if you haven’t done so already.
While it warms up, grab your prepared baking pan and pour in that delicious brownie batter. Spread it evenly using a spatula, making certain the chocolate chunks are well-distributed throughout.
Once your oven is ready, carefully place the pan inside. Keep an eye on the time! Around the 20-minute mark, start checking for doneness. You want a toothpick inserted into the center to come out with a few moist crumbs but not wet batter.
If it comes out clean, you might’ve overbaked them, so trust your instincts!
When the brownies look perfect, pull them out of the oven and let them cool in the pan for about 10 minutes. The aroma will be mouthwatering, tempting you to dive right in!
After they’ve cooled a bit, transfer them onto a wire rack to cool completely. This step guarantees they maintain their fudgy texture.
Now you’re just moments away from enjoying your delightful sugar-free brownies!
Final Thoughts
As you savor your sugar-free brownies, it’s clear that indulging in a sweet treat doesn’t have to compromise your health goals. These brownies are proof that you can enjoy delicious, guilt-free desserts without added sugars.
You’ll love how easy they’re to make, bringing joy to your kitchen and satisfying your sweet tooth at the same time.
Imagine serving these delightful brownies at a gathering or enjoying them on a quiet evening at home. They’re sure to impress your friends and family, and they’ll be amazed that these treats are sugar-free!
You can feel proud knowing you’ve made a healthier choice without sacrificing taste.
Experimenting with different mix-ins, like nuts or sugar-free chocolate chips, can also add a personal touch. Feel free to get creative!
Whether you prefer them chewy or fudgy, these brownies offer a versatile base for your baking adventures.
Frequently Asked Questions
Can I Substitute Almond Flour for Regular Flour?
Yes, you can substitute almond flour for regular flour in many recipes. Just remember, almond flour has different properties, so you might need to adjust the liquid or binding agents to get the right consistency.
How Long Do Sugar-Free Brownies Stay Fresh?
Freshness is like a fleeting moment—sugar-free brownies typically last about 3-4 days at room temperature. If you store them in the fridge, they can stay good for up to a week. Enjoy them while they last!
Are Sugar-Free Brownies Suitable for Diabetics?
Yes, sugar-free brownies can be suitable for diabetics, but you should always check the ingredients. Opt for sweeteners that don’t spike blood sugar levels, and monitor your portion sizes to maintain balanced glucose levels.
Can I Add Nuts or Chocolate Chips?
Absolutely, you can add nuts or sugar-free chocolate chips to enhance flavor and texture. Just remember to adjust the quantities to maintain the balance in your recipe, ensuring your brownies stay delicious and satisfying!
What Can I Use Instead of Eggs?
Did you know that about 10% of people are allergic to eggs? If you’re looking for alternatives, consider using flaxseed meal, applesauce, or mashed bananas—they’ll keep your dish moist and add a touch of flavor!
Conclusion
You’ve mastered this sugar-free brownies recipe, and you’re ready for a delicious journey! Each bite is a guilt-free treasure, rich in flavor. Picture sharing these treats with friends and family, their smiles lighting up the room. Roll up your sleeves, gather your ingredients, and let the kitchen magic happen. Satisfy your sweet tooth and create lasting memories with every fudgy piece you serve!
