Chocolate Éclair Recipe
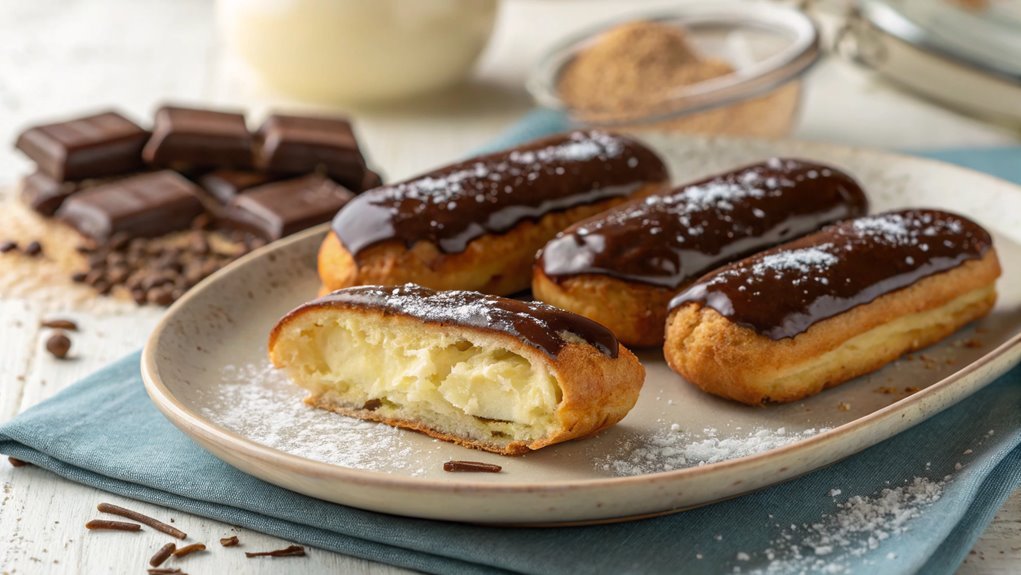
Did you know that more than 75% of people favor chocolate éclairs as their top pastry choice? This classic dessert, with its delicate choux pastry, rich filling, and glossy chocolate glaze, is a staple in many bakeries.
If you want to impress guests or simply indulge your sweet tooth, mastering this recipe is key. Understanding each step’s nuances, from perfecting the choux to achieving an ideal glaze, is crucial for creating irresistibly delicious éclairs.
Recipe
Chocolate éclairs are a classic French pastry that delights dessert lovers around the world. These delectable treats consist of a light and airy choux pastry filled with creamy custard and topped with a luscious layer of chocolate glaze. The contrast between the crisp outer shell and the smooth, rich filling makes for an irresistible combination that’s sure to impress your family and friends.
Making chocolate éclairs may seem challenging, but with a little patience and practice, you can master this elegant dessert. The key to success lies in preparing the choux pastry correctly, ensuring it puffs up beautifully in the oven.
Once you have your pastry baked and cooled, it’s time to fill them with a delicious pastry cream and finish with a glossy chocolate topping. Follow this recipe for a delightful treat that’s perfect for special occasions or simply to satisfy your sweet tooth.
Ingredients:
- 1 cup water
- 1/2 cup unsalted butter
- 1 cup all-purpose flour
- 1/4 teaspoon salt
- 4 large eggs
- 2 cups milk
- 1 cup granulated sugar
- 1/3 cup cornstarch
- 1 teaspoon vanilla extract
- 4 ounces semisweet chocolate
- 1/2 cup heavy cream
- Powdered sugar (for dusting, optional)
Now let’s move on to the cooking steps.
Cooking Steps
Now that you’ve got your ingredients ready, it’s time to jump into the cooking steps that will transform them into delicious chocolate éclairs.
You’ll start by preparing the choux pastry, which is the base for your treats, and then you’ll fill them with rich pastry cream.
Finally, don’t forget to pipe on that luscious chocolate glaze and add a dollop of whipped cream—trust me, it’s worth every effort!
Step 1. Prepare the Choux Pastry
Start by combining water, butter, and a pinch of salt in a saucepan over medium heat. As the butter melts, stir the mixture gently until it comes to a rolling boil.
Once it’s bubbling, remove the saucepan from the heat and add all-purpose flour at once. Stir vigorously with a wooden spoon until the dough pulls away from the sides of the pan and forms a ball. This step is essential, as it develops the structure of your choux pastry.
Next, let the dough cool for about five minutes. You’ll want it warm, not hot, to avoid cooking the eggs you’ll add next.
Once it’s cooled slightly, add one egg at a time, mixing well after each addition. The dough should become smooth and glossy—this is what makes your éclairs light and airy!
After adding all the eggs, you’re ready to pipe your dough. Use a piping bag fitted with a large round tip, and pipe long strips onto a baking sheet lined with parchment paper.
Step 2. Fill With Pastry Cream
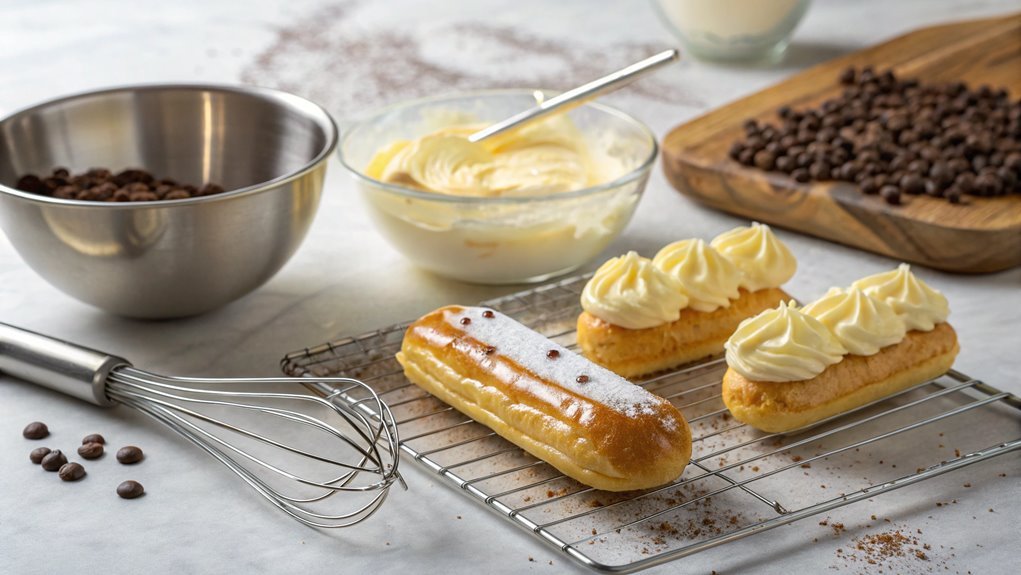
Once your choux pastry has cooled completely, it’s time to fill those éclairs with rich pastry cream. First, grab your pastry cream and make sure it’s smooth and creamy. You can use a piping bag fitted with a small round tip or a simple zip-top bag with a corner snipped off. Either way, you’re aiming for precision here!
Next, insert the tip into one end of an éclair. Gently squeeze the bag and slowly fill the éclair until you feel it begin to swell. Don’t overdo it, or you might burst the pastry!
Repeat this process with each éclair, ensuring each one is filled with that luscious cream. If you find it tricky to fill them, don’t worry! Just practice a bit. The more you fill, the better you’ll get.
Once you’ve filled all your éclairs, take a moment to admire your handiwork. The golden choux pastry and creamy filling look fantastic together! You’re one step closer to a delicious treat. Enjoy the satisfaction of creating these delightful confections; it’s truly a rewarding experience.
Get ready for the next step: adding that decadent chocolate glaze!
Step 3. Pipe the Chocolate Glaze
With your éclairs filled and looking irresistible, the next step is to add that glossy chocolate glaze that will elevate them to a whole new level.
Start by melting your chocolate and butter together in a heatproof bowl over simmering water, stirring until it’s smooth and shiny. Once melted, let it cool slightly; you want it to be pourable but not too hot.
Now, grab a piping bag fitted with a round tip. Carefully dip each éclair into the chocolate glaze, ensuring the tops are fully coated. If you prefer, you can also spoon the glaze over the éclairs for a more rustic look. Just make sure to let any excess drip off before setting them back down on a wire rack.
As you glaze, feel free to get creative! You can sprinkle crushed nuts, or a touch of sea salt for added flair. This is your moment to shine, so enjoy it!
Once all your éclairs are glazed, admire your work. The glossy chocolate finish won’t only look fantastic; it’ll taste divine, too. Trust me, your friends and family won’t be able to resist these tempting treats!
Step 4. Chill Before Serving
Before serving your beautifully glazed éclairs, it’s essential to chill them for a bit. Chilling not only enhances the flavor but also helps the glaze set perfectly, giving your éclairs a delightful texture.
After all that hard work, you want to present them at their best!
To chill your éclairs effectively, follow these simple steps:
- Place the éclairs on a baking sheet lined with parchment paper.
- Cover them loosely with plastic wrap, ensuring they don’t touch the glaze.
- Refrigerate for at least 30 minutes.
This chilling period allows the flavors to meld together, making each bite even more delicious. You’ll notice that the coolness complements the rich chocolate, creating a heavenly treat.
Plus, serving chilled éclairs brings a revitalizing element, perfect for warm days or special occasions.
Once the éclairs have chilled, they’re ready for the finishing touch that’ll elevate them even more. Trust me, your friends and family will be impressed when they taste these delightful desserts.
Step 5. Add Whipped Cream Topping
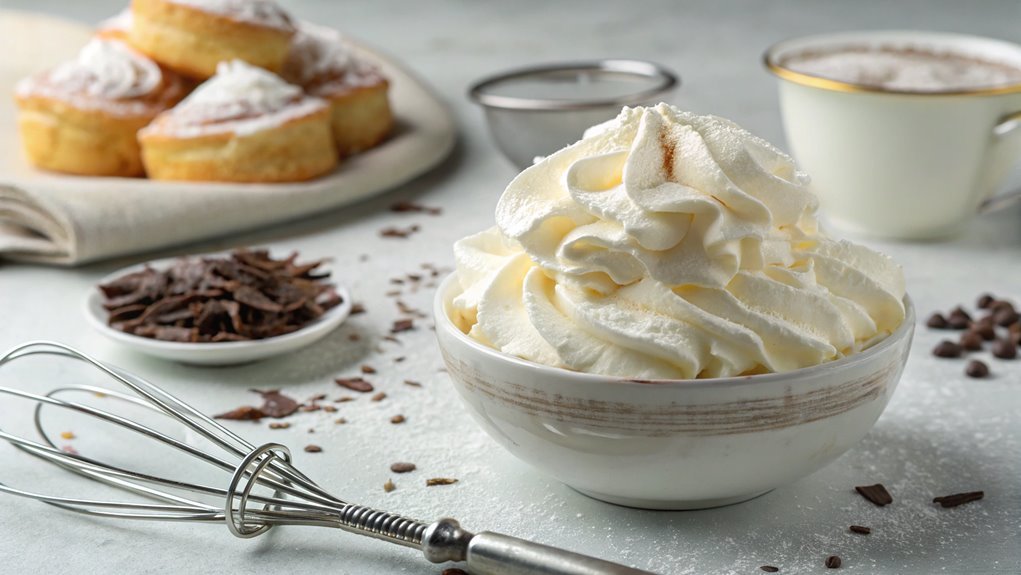
After chilling your éclairs, it’s time to add a luscious whipped cream topping that takes them to the next level.
Start by whipping up some heavy cream in a large mixing bowl. Use an electric mixer on medium speed until soft peaks form; this usually takes about 2 to 3 minutes. Add a splash of vanilla extract and a sprinkle of powdered sugar to sweeten the mixture.
Continue whipping until you reach stiff peaks, which will provide that perfect texture for your topping.
Now, it’s time to fill those beautiful éclairs! You can use a piping bag fitted with a star tip for an elegant look. Gently insert the tip into one end of each éclair and squeeze the whipped cream inside until you feel it fill up nicely.
Don’t overdo it; you want them to be just right!
Finally, you can either pipe some whipped cream on top for a delightful finish or dollop it on with a spoon for a more rustic appeal.
Either way, your éclairs will look stunning and taste heavenly. Enjoy your creation, and get ready for compliments from everyone lucky enough to taste these delicious treats!
Final Thoughts
Creating chocolate éclairs is a delightful journey into the world of pastry. As you explore this recipe, you’ll find that each step brings you closer to a scrumptious treat that’s sure to impress. The process might seem a bit intimidating at first, but with practice, you’ll master the art of making these elegant desserts.
Remember, the key to success lies in your preparation and attention to detail. Here are a few tips to keep in mind:
- Use high-quality ingredients for the best flavor.
- Don’t rush the baking; give your éclairs time to puff up perfectly.
- Experiment with fillings and toppings to make each batch unique.
Once you’ve created your éclairs, you’ll experience the joy of sharing them with family and friends. The satisfaction of seeing their delight as they take that first bite is truly rewarding.
Frequently Asked Questions
Can I Use Gluten-Free Flour for This Recipe?
You can definitely use gluten-free flour for this recipe! Just make sure it’s a good blend that can mimic the texture of regular flour. Adjust baking times if needed, and enjoy your delicious creation!
How Can I Store Leftover Éclairs Properly?
To store leftover éclairs properly, wrap them in plastic wrap or place them in an airtight container. Keep them in the fridge for up to two days, but enjoy them sooner for the best taste!
What Are the Best Substitutes for Eggs?
If you’re looking for egg substitutes, you can try applesauce, mashed bananas, or flaxseed meal mixed with water. These options work well in baking, providing moisture and binding without altering the flavor considerably.
How Long Do Éclairs Last in the Fridge?
You’ve just made a delicious dessert, and now you wonder how long it lasts. Éclairs typically stay fresh in the fridge for about 2 to 3 days, but they’re best enjoyed sooner rather than later.
Can I Freeze Chocolate Éclairs Successfully?
Yes, you can freeze éclairs successfully! Just wrap them tightly in plastic wrap or foil, then place them in an airtight container. When you’re ready, thaw them in the fridge for the best texture. Enjoy!
Conclusion
Enjoy the fruits of your labor with these delightful chocolate éclairs, as “the proof of the pudding is in the eating.” Each bite offers a burst of flavor and elegance.
Share them with friends or savor them alone—either way, you’ve crafted something truly special. Roll up your sleeves and indulge in the joy of baking; you deserve this sweet reward! Bon appétit!
