No-Bake S’mores Bars Recipe
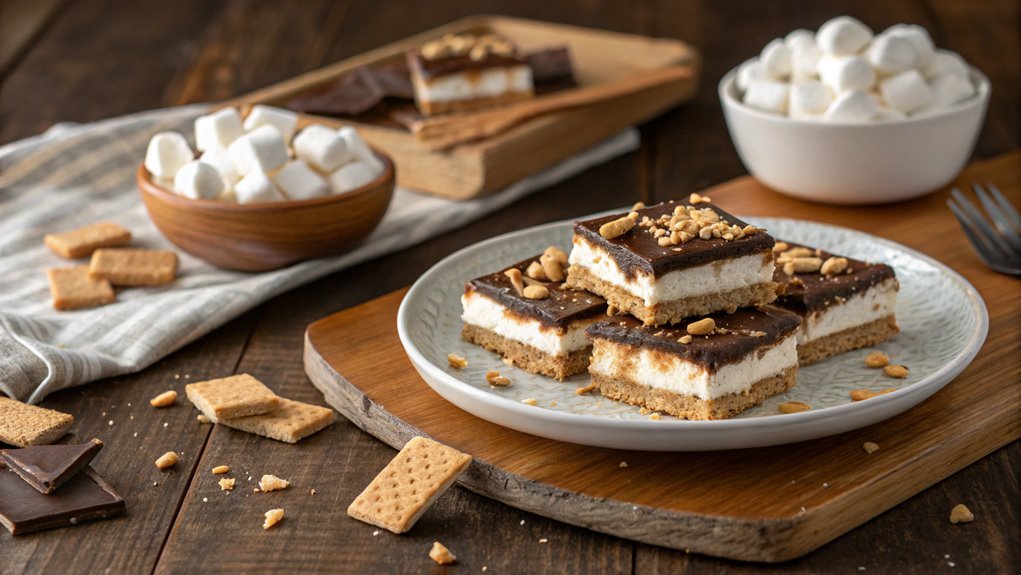
No-Bake S’mores Bars evoke summer nostalgia with their simple ingredients and delightful texture, making them perfect for gatherings or a quick snack. Easy to make, they offer a surprising range of customization options for flavor experimentation.
Curious about trying this recipe? Discover how straightforward it is to create and explore various flavors with these versatile bars.
Recipe
No-Bake S’mores Bars are a delightful treat that brings the classic campfire favorite into the kitchen without the need for an oven.
These bars combine the rich flavors of graham crackers, chocolate, and marshmallows, all layered together for an indulgent dessert that’s perfect for gatherings or a sweet snack. The best part? They’re incredibly easy to make, requiring only a handful of ingredients and minimal prep time.
To prepare these delicious bars, you’ll start by creating a sturdy base with crushed graham crackers and melted butter.
Once the base is set, a creamy chocolate layer is added, followed by a generous topping of mini marshmallows. After chilling in the refrigerator, the bars can be cut into squares and served, offering a taste of summer nostalgia that everyone will love.
Ingredients:
- 1 ½ cups graham cracker crumbs
- ½ cup unsalted butter, melted
- 1 cup chocolate chips (milk or dark)
- 1 cup sweetened condensed milk
- 2 cups mini marshmallows
- ½ cup chocolate chips (for topping, optional)
Now let’s move on to the cooking steps.
Cooking Steps
Get ready to whip up some delicious no-bake s’mores bars!
You’ll start by crushing your graham crackers finely, then melting chocolate and butter together for that perfect gooey base.
Once you mix in the marshmallows and press everything into a pan, all you need to do is chill until firm, and soon you’ll have a sweet treat that everyone will love!
Step 1. Crush Graham Crackers Finely
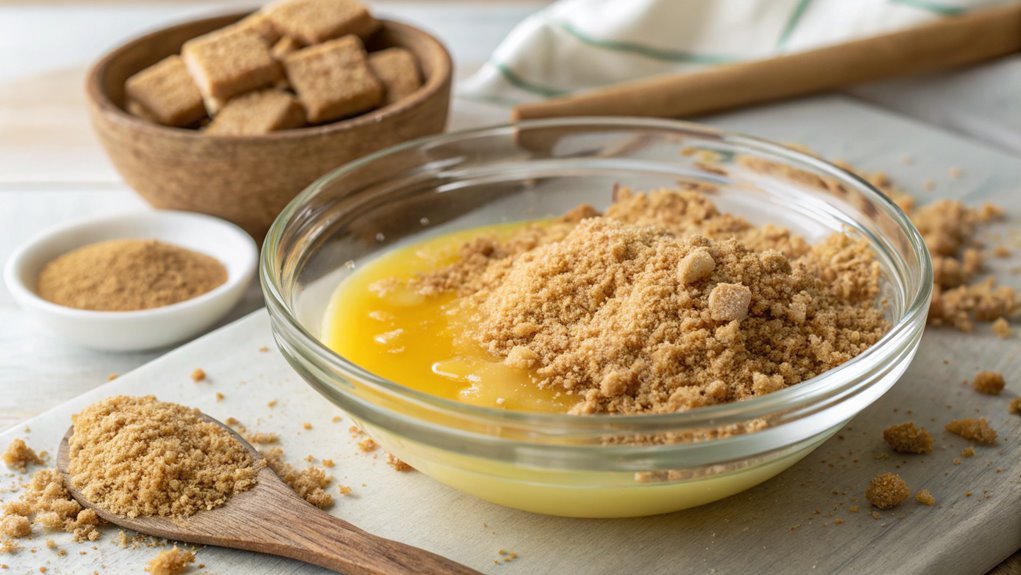
Start by crushing the graham crackers into fine crumbs for a perfect base in your s’mores bars. This step is essential, as those tiny bits will create a deliciously crunchy foundation.
You’ve got a couple of options to do this. If you want a quick and easy method, toss the crackers into a resealable plastic bag, seal it tightly, and use a rolling pin or your hands to crush them. Alternatively, you can use a food processor for a more uniform texture. Just pulse the crackers until they resemble sand.
As you crush the crackers, let the sweet, buttery aroma fill your kitchen. It’s like a cozy hug that reminds you of campfires and summer nights. Aim for about two cups of fine crumbs; this quantity will guarantee you have enough for the base and some extra for later.
Once you achieve that perfect crumb texture, you’ll be ready to mix in your melted butter and start shaping your s’mores bars. So grab those graham crackers and get ready to create a tasty treat that everyone will love! You’re one step closer to enjoying your delicious no-bake s’mores bars!
Step 2. Melt Chocolate and Butter
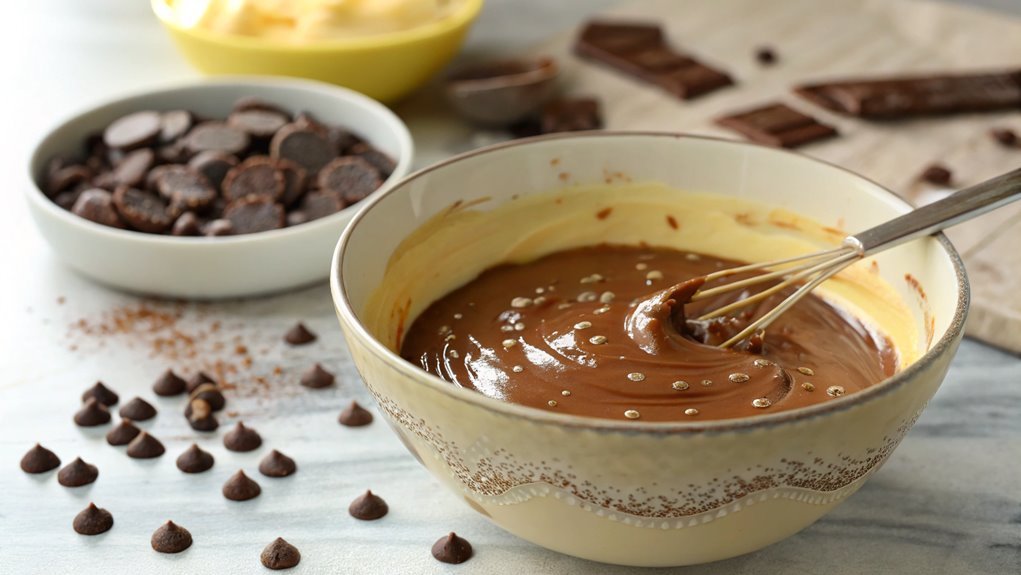
Melt the chocolate and butter together for a rich, gooey layer that will take your s’mores bars to the next level. This step is vital because it creates that deliciously creamy texture that binds everything together.
To start, gather your ingredients and follow these simple steps:
- Chop the chocolate into small pieces for quicker melting.
- Add the butter to the chopped chocolate in a microwave-safe bowl.
- Heat in the microwave in 30-second intervals, stirring in between to guarantee it melts evenly.
- Once melted and smooth, let it cool slightly before moving on.
- Be certain to give everything a good mix until combined.
This melted mixture is where the magic happens, blending the flavors beautifully. You’ll love watching it transform into a silky sauce that’ll coat your other ingredients perfectly.
Don’t rush this step; taking the time to melt the chocolate and butter correctly sets the foundation for your s’mores bars. The anticipation will build as you smell the heavenly aroma wafting from your kitchen.
Once it’s ready, you’ll be one step closer to enjoying a decadent treat that’s sure to impress your friends and family!
Step 3. Mix in Marshmallows
Once your chocolate and butter mixture has cooled slightly, it’s time to fold in the marshmallows for that signature s’mores flavor. Grab a spatula and gently mix in those fluffy marshmallows.
You want to be careful here; the goal is to coat each marshmallow evenly in the chocolate mixture without crushing them. The soft texture of the marshmallows adds a delightful contrast to the rich chocolate, making your bars irresistibly gooey.
As you fold, you might notice the chocolate starting to thicken, which is perfectly normal. Just keep stirring until the marshmallows are well incorporated, creating that dreamy, sticky mixture.
This is where the magic happens; the marshmallows will create pockets of sweetness throughout your bars.
Don’t be afraid to sneak a taste! You’ll find it hard to resist the allure of this delicious blend. The aroma alone will have your mouth watering in anticipation.
Once you’ve mixed everything together, you’ll be one step closer to enjoying these delightful no-bake s’mores bars. So, get excited, and let’s keep the momentum going as we prepare to shape this tasty mixture into bars!
Step 4. Press Mixture Into Pan
With the marshmallows perfectly folded into the chocolate mixture, it’s time to transfer everything into your prepared pan. This step is essential, as it sets the foundation for your delightful no-bake s’mores bars.
Grab a spatula and scoop the mixture into the pan, spreading it evenly. You’ll want to press it down firmly to guarantee it holds together once chilled.
Here’s how to get it just right:
- Start by using the back of the spatula to push the mixture into the corners of the pan.
- Apply even pressure while pressing down, so everything sticks together nicely.
- Make sure the surface is smooth and level, which helps with the final presentation.
- If it’s too sticky, dampen your hands slightly and use them to press the mixture down.
- Don’t rush this step; take your time to get it evenly distributed.
Once you finish pressing, you’ll be one step closer to enjoying these delicious bars. The anticipation builds as you see the layers forming, ready to chill and set.
Trust me, the reward will be worth it! Now, let’s move on to the next exciting part!
Step 5. Chill Until Firm
Now that you’ve pressed the mixture into the pan, it’s important to chill it until firm for the best results. This step may seem simple, but it’s vital for achieving those perfect, sliceable bars.
Grab some plastic wrap or parchment paper, and cover the pan to keep everything nice and fresh. Then, pop it into the refrigerator for at least two hours.
While you wait, you can daydream about how delicious these bars will be! The chilling process allows the ingredients to meld together beautifully, creating that satisfying texture you crave in a dessert.
It’s also the time when the chocolate and marshmallow flavors deepen, making every bite a delightful experience.
After the two hours, check your bars. They should feel firm to the touch and hold their shape when you cut into them. If they’re not quite ready, give them a little more time.
Once they’re set, you can slice them into squares and prepare to impress your friends and family. Trust me, they’ll be begging for the recipe!
Enjoy the anticipation, and get ready for a sweet treat that’ll bring smiles all around!
Final Thoughts
In conclusion, making no-bake s’mores bars is a simple and enjoyable way to satisfy your sweet tooth.
You’ll love how quickly you can whip up these delicious treats without turning on the oven.
Whether you’re hosting a gathering or just craving something sweet, these bars are sure to impress.
Here’s why you should give them a try:
- Easy preparation: No baking means less hassle and cleanup.
- Customizable: Feel free to experiment with different chocolate or marshmallow flavors.
- Kid-friendly: Perfect for cooking with little ones who love to help in the kitchen.
- Quick to set: Just refrigerate, and you’ll have a delightful dessert in no time.
- Great for sharing: Slice them up and bring them to parties or picnics!
Frequently Asked Questions
Can I Use Gluten-Free Graham Crackers?
Absolutely, you can use gluten-free graham crackers! They’ll work just as well in your recipe, ensuring everyone can enjoy the treat. Just check the packaging to confirm they’re truly gluten-free and enjoy your creation!
How Long Do These Bars Last in the Fridge?
Did you know that homemade treats can last up to two weeks in the fridge? These bars typically stay fresh for about five to seven days, so enjoy them while they’re at their best!
Can I Substitute Chocolate for Something Else?
Yes, you can substitute chocolate with alternatives like carob, peanut butter, or even a fruit spread. Just adjust the sweetness to your taste, and enjoy experimenting with flavors that suit your preference!
Are There Any Nut-Free Options for This Recipe?
Yes, you can definitely create nut-free options! Use sunflower seed butter or pumpkin seed butter instead of nut-based spreads. They’ll provide a similar texture and taste without any nuts, ensuring everyone can enjoy your creation.
Can I Freeze the No-Bake S’mores Bars?
Can you imagine indulging in a frozen treat? Yes, you can freeze those bars! Just wrap them well in plastic wrap or an airtight container, and they’ll stay delicious for up to three months. Enjoy!
Conclusion
Create a treat more delightful than a summer campfire with these no-bake s’mores bars! They’re easy to make and sure to impress with gooey marshmallows, rich chocolate, and a crunchy graham cracker crust. Gather your ingredients and friends for this delicious adventure. Trust us, you won’t regret it!
