Thin Mint Cookie Copycat Recipe
Thin Mints are the top-selling Girl Scout cookie, making up about 25% of their annual sales. If you love these chocolate-mint cookies, try making a homemade version that matches the original’s taste. This copycat recipe brings the classic flavor to your kitchen and lets you add your own personal touch. You’ll be amazed at how simple it is to recreate this treat with just a few ingredients.
Recipe
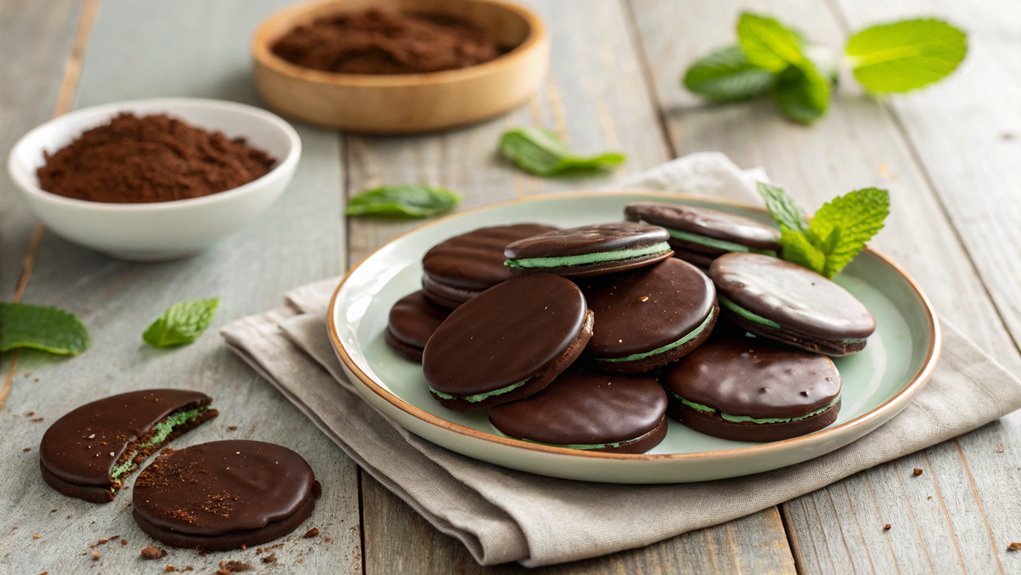
Thin Mint cookies are a delightful treat that perfectly blends the rich flavor of chocolate with a revitalizing minty essence. This beloved dessert, reminiscent of the famous Girl Scout cookies, can be easily recreated in your own kitchen.
With a few simple ingredients and a bit of preparation, you’ll be able to enjoy these crunchy and chocolatey cookies any time of the year. Perfect for sharing with friends or indulging in by yourself, Thin Mints are sure to impress.
To achieve that classic thin and crispy texture, you’ll need to roll out the dough relatively thin before baking. The cookies are finished with a dark chocolate coating infused with peppermint extract, giving them their signature flavor.
With this recipe, you can tailor the mint level to your liking, ensuring that your homemade Thin Mints are just the way you enjoy them.
Ingredients:
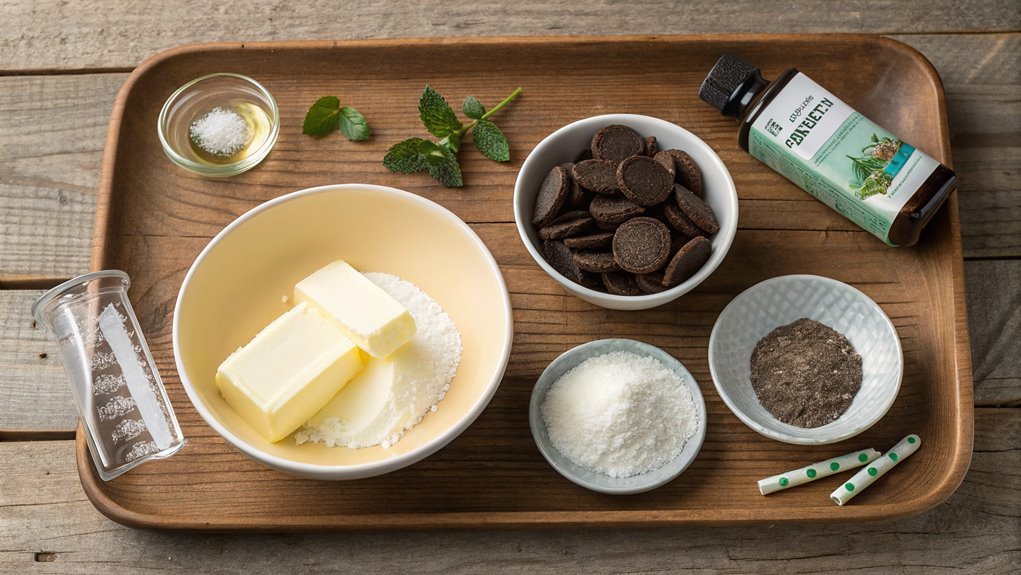
- 1 cup unsalted butter, softened
- 1 cup granulated sugar
- 1 teaspoon vanilla extract
- 1/2 teaspoon peppermint extract
- 2 cups all-purpose flour
- 1/2 cup unsweetened cocoa powder
- 1/2 teaspoon salt
- 1 cup semi-sweet chocolate chips
- 2 teaspoons vegetable oil
- Additional peppermint extract (optional, to taste)
Now let’s move on to the cooking steps.
Cooking Steps
Now that you’ve gathered all your ingredients, it’s time to bring your Thin Mint cookies to life!
You’ll start by creaming the butter and sugar together, creating a sweet base that sets the stage for those delightful flavors.
Once you’ve added the melted chocolate and chilled the dough, rolling and cutting the cookies will have you excited for the delicious treats ahead!
Step 1. Prepare Ingredients for Mixing
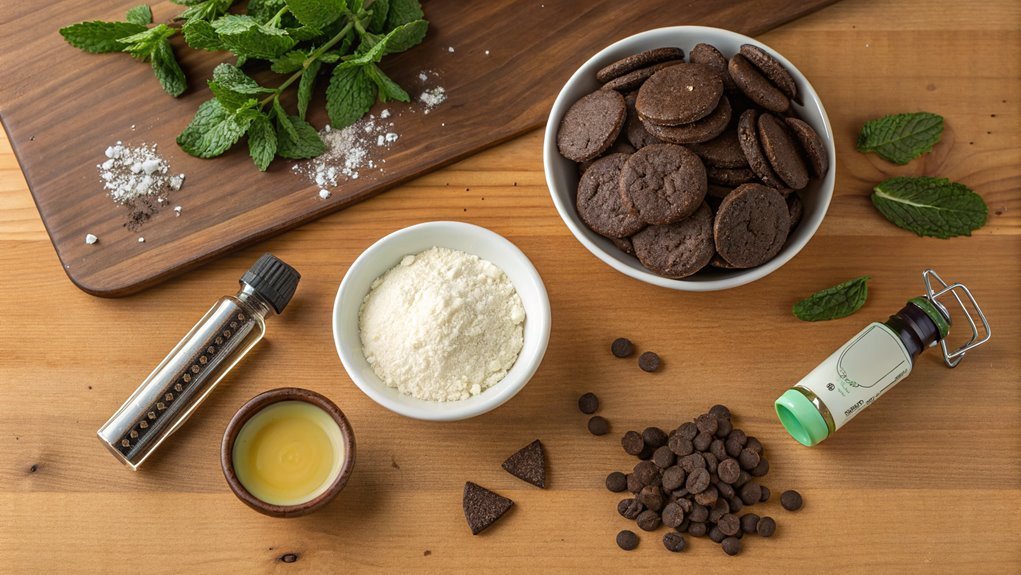
Gathering your ingredients is an essential step in creating perfect Thin Mint cookies. Start by collecting all the items you’ll need. You’ll want to have unsweetened cocoa powder, all-purpose flour, baking soda, and baking powder on hand.
Don’t forget sugar, both granulated and brown, and of course, butter. Grab some peppermint extract for that iconic flavor.
Next, get your semi-sweet chocolate chips, which are vital for the delicious chocolate coating! You should also have a bit of sea salt on standby to enhance those sweet flavors.
Now, measure out the right amounts! For cocoa powder, you’ll need about a third of a cup, while the flour requires around one and a half cups. Different recipes may tweak these ratios, but those are great starting points.
Place all these items on your countertop. This not only keeps you organized but also gets you excited for the delicious adventure ahead!
Plus, having everything prepared makes the mixing process a breeze, allowing you to focus on enjoying each step. So, gather your ingredients and let’s plunge into the hands-on fun of creating your very own Thin Mint cookies!
Step 2. Cream Butter and Sugar Mixture
As you prepare to create your Thin Mint cookies, it’s important to cream the butter and sugar together until light and fluffy. This step is vital because it helps incorporate air into the mixture, which will result in cookies that have that perfect texture—soft yet slightly crisp.
Start by placing softened butter in a mixing bowl. If your butter isn’t soft enough, pop it in the microwave for just a few seconds; you want it pliable but not melted. Add granulated sugar to the bowl, and using an electric mixer, beat them together on medium speed.
As you mix, watch for the transformation—the blend will start to lighten in color and become creamy. This should take about 2 to 3 minutes.
Don’t rush through this step! Take your time to make sure the butter and sugar are fully combined. When you see a light and airy consistency, you’ll know you’re on the right track.
The excitement builds as you realize you’re one step closer to creating those delightful Thin Mint cookies. Trust me; this is the foundation that sets the stage for all the delicious flavors to come!
Step 3. Add Melted Chocolate Mixture
Once your butter and sugar mixture is light and fluffy, it’s time to incorporate the melted chocolate mixture for that signature Thin Mint flavor.
You’ll want to pour the warm, melted chocolate into the bowl, allowing it to blend seamlessly with your sugary concoction. Using a spatula or a wooden spoon, gently fold the chocolate into the mixture. Be certain to scrape down the sides of the bowl to guarantee every bit of that delicious chocolate gets mixed in.
As you mix, you’ll notice the color deepening and the aroma becoming heavenly! This combination is essential, as it gives your cookies that enchanting chocolatey taste.
Keep stirring until everything is thoroughly combined and has a smooth consistency.
If you want an even richer flavor, consider adding a splash of peppermint extract at this point—so delicious! This will truly elevate your cookie experience, echoing that classic Thin Mint taste.
Once everything is nicely blended, you’ll feel the excitement of creating something wonderful. You’re just a few steps away from baking your very own Thin Mints, so keep going!
Step 4. Chill Dough for One Hour
Now that your chocolate mixture is perfectly blended, it’s crucial to chill the dough for at least one hour. Chilling the dough isn’t just a waiting period; it’s an important step that enhances the flavors and helps the cookies maintain their shape during baking. When you pop the dough into the refrigerator, the fats solidify, resulting in a firmer texture that you’ll love.
Before you place it in the fridge, make sure to wrap the dough tightly in plastic wrap or store it in an airtight container. This prevents the dough from drying out and protects it from any odors in the fridge. The cooling process allows the ingredients to meld together, enriching the overall taste, so you can look forward to an even more delicious cookie!
While the dough is chilling, take a moment to clean your workspace or prep any baking sheets you’ll need later. It’s a great time to gather your favorite cookie-cutting shapes too!
Once the hour is up, you’ll be ready to roll out this fabulous dough into irresistible cookie shapes. Trust me; the wait is worth it for those mouthwatering Thin Mint cookies!
Step 5. Roll and Cut Cookies
After the dough has chilled, it’s time to roll it out and cut it into shapes. Start by dusting a clean surface with a bit of flour to prevent sticking.
Grab your chilled dough and place it on the surface. Using a rolling pin, roll it out to about 1/4-inch thickness. Don’t worry if it’s not perfect; just aim for even thickness.
Now, take your cookie cutter—preferably round for that classic Thin Mint shape—and press it into the dough. Lift away the excess dough, leaving your perfectly shaped cookie behind.
Repeat this process, gathering the scraps and re-rolling as needed. It’s like a cookie-making puzzle, and trust me, it’s so satisfying!
Once you’ve cut out all your cookies, place them on a baking sheet lined with parchment paper. Make sure they’re spaced out, so they can spread evenly.
If you want to elevate the fun, you can try different shapes or even add decorative sprinkles!
Now, it’s time to bake them in a preheated oven until they’re set and slightly firm. Enjoy this delicious venture, and get ready for the aroma of Thin Mints filling your kitchen!
Final Thoughts
As you wrap up your Thin Mint cookie baking adventure, you might find yourself inspired by the delightful aroma wafting through your kitchen. This experience isn’t just about indulging in a possibly healthier version of a classic treat; it’s about the joy and satisfaction that comes from creating something delicious yourself.
Picture those beautiful, minty chocolate delights, perfectly crisp yet chewy, ready to be devoured by family and friends.
Don’t hesitate to share these cookies at gatherings or with neighbors; you’ll be the star baker! These homemade Thin Mints aren’t only a fun project but also a way to bond with loved ones.
You could even invite them to join you in the kitchen. Baking together brings laughter and creates lasting memories, and there’s nothing quite like enjoying warm cookies fresh out of the oven.
Frequently Asked Questions
Can I Use Gluten-Free Flour in This Recipe?
Absolutely, you can use gluten-free flour in this recipe! Just make sure to choose a good-quality blend, as it’ll help maintain the cookie’s texture and flavor. Adjust the baking time if needed. Happy baking!
How Long Do Thin Mint Cookies Last?
Thin mint cookies typically last about one to two weeks when stored in an airtight container at room temperature. If refrigerated, they can stay fresh for up to three weeks. Just remember to keep them sealed!
Can I Freeze the Cookies?
You can freeze cookies for up to three months. Just wrap ’em tightly in plastic wrap and place them in an airtight container. When you’re ready, let ’em thaw at room temperature for a delicious treat!
What Can I Use Instead of Peppermint Extract?
If you don’t have peppermint extract, try using peppermint oil for a stronger flavor or substitute with vanilla extract for a milder taste. You could also use crushed peppermint candies for a fun twist!
Are There Any Vegan Substitutions for This Recipe?
Finding vegan substitutions can feel like searching for a needle in a haystack, but don’t worry! You can easily swap dairy butter for coconut oil and use almond milk instead of regular milk in this recipe.