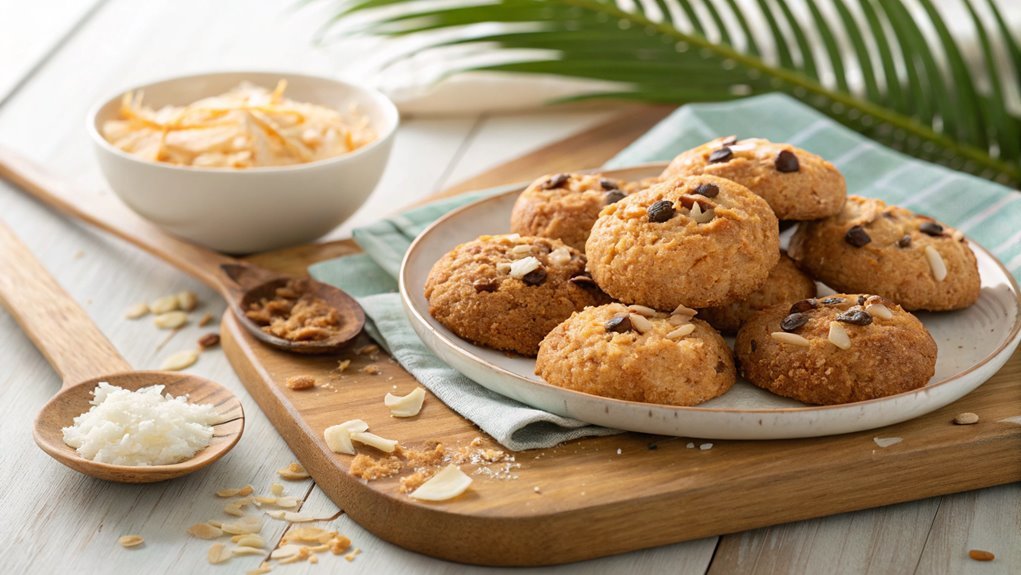
Chewy Coconut Cookie Recipe

When you’re craving a chewy, tropical-flavored treat, opt for a chewy coconut cookie. This simple recipe allows for customization with mix-ins like chocolate chips or other adventurous options. To ensure the perfect texture, pay attention to key steps during preparation.
Recipe
Chewy Coconut Cookie Recipe
If you’re searching for a delightful treat that captures the essence of tropical flavors, search no more than these chewy coconut cookies. With a perfect balance of sweetness and chewiness, these cookies aren’t only easy to make but also require minimal ingredients.
Whether you’re baking for a special occasion, a snack, or simply to satisfy your cookie cravings, these coconut cookies won’t disappoint.
The secret to achieving that perfect chewy texture lies in the combination of shredded coconut and a touch of brown sugar, which adds richness and depth to the cookies.
The heavenly aroma of baking coconut fills the kitchen, making it an enjoyable experience for everyone. So roll up your sleeves and get ready to create a batch of delicious chewy coconut cookies that everyone will love!
Ingredients:
- 1 cup all-purpose flour
- 1/2 teaspoon baking powder
- 1/4 teaspoon salt
- 1/2 cup unsalted butter, softened
- 1/2 cup granulated sugar
- 1/2 cup packed brown sugar
- 1 large egg
- 1 teaspoon vanilla extract
- 1 cup sweetened shredded coconut
- 1/2 cup semi-sweet chocolate chips (optional)
Now let’s move on to the cooking steps.
Cooking Steps
Now that you have your ingredients ready, let’s get cooking!
First, you’ll want to preheat your oven to 350°F, setting the stage for those delicious cookies.
From mixing the flour and coconut to folding in the chocolate chips, each step brings you closer to that perfect chewy bite.
Step 1. Preheat the Oven to 350°F
Preheating the oven to 350°F is an important step in achieving that perfect chewy texture for your coconut cookies. This temperature guarantees that the cookies cook evenly while allowing the flavors to meld beautifully.
Before you start mixing your ingredients, take a moment to set your oven. Simply turn it on and adjust the dial to 350°F.
While the oven heats, you’re preparing yourself for a delightful baking experience! You’ll want to give the oven time to reach the right temperature, which usually takes about 10 to 15 minutes. A well-preheated oven helps the cookies rise properly and achieve that golden-brown color that’s simply irresistible.
Once the oven is warm and cozy, it’s time to enjoy the aroma of freshly baked cookies filling your kitchen. Think about how wonderful it will be to share these treats with family and friends.
The anticipation of that first chewy bite motivates your efforts and makes the waiting worthwhile! So, make certain to get the oven ready, as it’s an important step before diving into the delicious world of coconut cookies.
Happy baking; you’re one step closer to cookie perfection!
Step 2. Mix Flour and Coconut

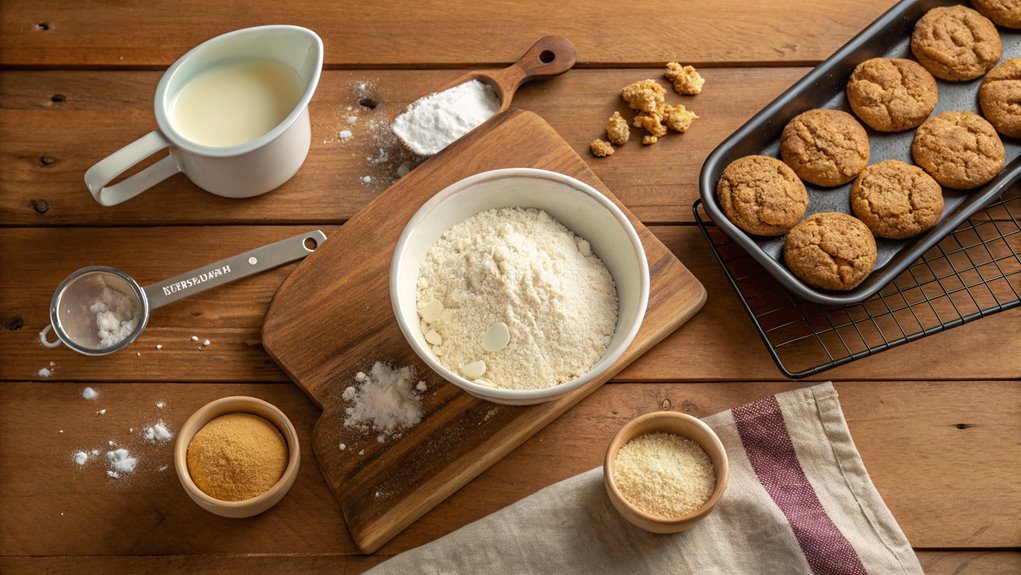
As you prepare to bring your coconut cookies to life, start by mixing the flour and shredded coconut together in a large bowl. This step is vital, as it creates the base for your delicious treats.
Grab your measuring cups and carefully add the flour, making sure to level it off for accuracy. Next, sprinkle in the shredded coconut, which will give your cookies that delightful chewiness we all crave.
Now, take a whisk or a wooden spoon and stir the mixture together. As you combine them, watch the flour and coconut blend into a harmonious mix, filling your kitchen with a tempting aroma.
It’s important to guarantee the ingredients are well incorporated. This will help your cookies bake evenly, giving them that perfect texture.
Feel free to press down gently on any clumps of coconut to break them apart, promoting even distribution. Getting involved and actively mixing these ingredients adds energy to your baking experience!
Once everything is nicely combined, set the bowl aside, and prepare yourself for the next exciting steps in creating your scrumptious coconut cookies. You’re just a short way from enjoying a cookie that’s sure to please!
Step 3. Combine Wet Ingredients
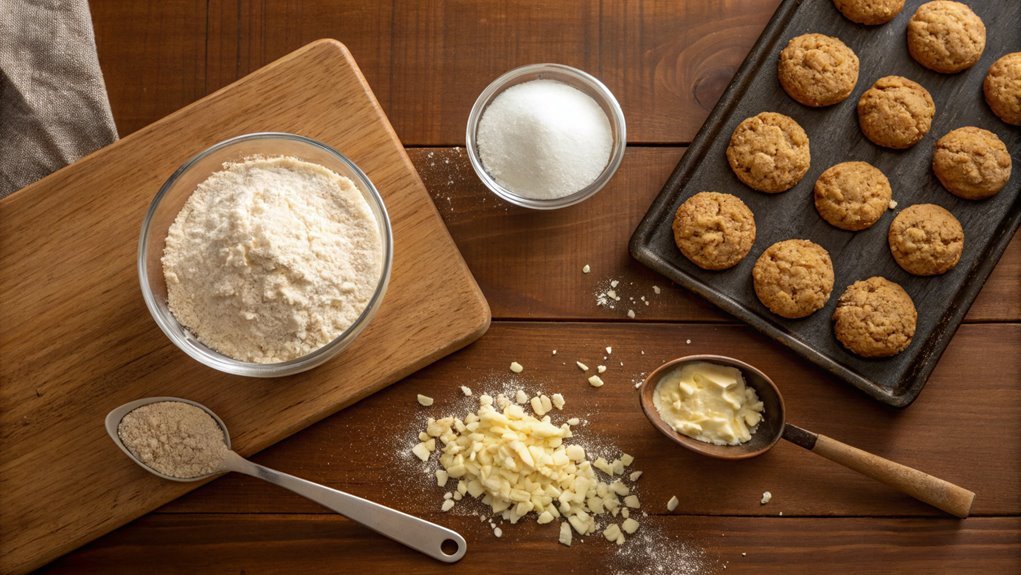
Before diving into mixing the wet ingredients, gather your eggs, melted butter, and vanilla extract. This step is essential for the chewy texture and delightful flavor of your cookies.
Start by cracking two large eggs into a mixing bowl. Whisk them lightly until the yolks and whites blend together nicely. The eggs will help bind the ingredients, giving your cookies that perfect chewy consistency.
Next, pour in the melted butter. Make sure it’s not too hot; you don’t want to cook your eggs! Stir the melted butter gently with the eggs, allowing them to combine.
Now, add a splash of vanilla extract. This step is what transforms your cookies from good to absolutely irresistible!
Mix everything until it’s smooth and creamy, ensuring all the flavors meld together beautifully. The aroma of the vanilla will fill your kitchen, heightening your anticipation for what’s to come.
Once your wet ingredients are well combined, you’re one step closer to baking those delicious coconut cookies. Trust me, the excitement is worth it!
Get ready to blend these wet ingredients seamlessly into your dry mix later, creating cookie magic that’ll impress everyone. Happy mixing!
Step 4. Fold in Chocolate Chips
Gently fold in the chocolate chips to your wet mixture, giving your cookies an extra layer of indulgence. The moment you add those heavenly morsels, you’ll feel the excitement build up!
Make sure your chocolate chips are evenly distributed without over-mixing, as you want to maintain that perfect chewy texture.
Using a spatula, slowly incorporate the chocolate chips into the mixture, ensuring each bit of cookie dough gets a sweet surprise. You’ll notice how the warm, melted bits of chocolate will blend beautifully with the coconut, creating a delightful contrast in flavors.
Don’t rush; take your time to enjoy this step! It’s where the magic truly happens.
Picture the cookies fresh out of the oven, with gooey, melty chocolate enticing you with each bite. Once you’ve folded in the chips, you’re almost there!
You can almost taste the deliciousness that awaits. Trust me, your friends and family will be thrilled when they hear you’re baking these cookies.
Step 5. Scoop Dough Onto Baking Sheet

Now that the chocolate chips are folded into your delightful coconut mixture, it’s time to scoop the dough onto the baking sheet.
Grab a cookie scoop or a spoon, and start portioning out your dough. Aim for about two tablespoons per scoop; this size will give you the perfect chewy cookie once it bakes.
As you scoop, place the dough balls about two inches apart on the baking sheet. This space is essential, as it allows the cookies to spread without sticking together.
If you want a more uniform look, you can roll the dough into perfect balls with your hands before placing them on the sheet. That extra touch can make your cookies even more appealing!
Be sure to line your baking sheet with parchment paper or a silicone baking mat; this helps prevent sticking and makes cleanup a breeze.
Once you’ve got your dough all scooped and ready, you can’t help but feel excited to see how they turn out. The sweet aroma of baked coconut cookies will soon fill your kitchen.
Let’s bake those beauties and treat yourself to the chewy goodness you’ve been waiting for!
Final Thoughts
As you savor these chewy coconut cookies, it’s clear that baking can be both simple and rewarding. Each bite bursts with rich coconut flavor and a delightful chewy texture that’s hard to resist.
You’ve taken a few basic ingredients and transformed them into a treat that’s perfect for sharing or enjoying all by yourself.
Remember, the key to the best cookies isn’t just the recipe but also the love you put into making them. Don’t hesitate to experiment with variations or add your favorite ingredients, like chocolate chips or nuts.
This flexibility is what makes baking so enjoyable—you can make each batch uniquely yours!
Once you master this recipe, you’ll find it’s a great base for numerous different cookies. So, gather your friends and family in the kitchen, and let’s make memories together!
Baking is more than just creating delicious snacks; it’s about connecting with others and sharing joy through food.
Take a moment to appreciate the warmth and aroma from your oven, and dig into these delectable cookies.
Whether it’s your first or hundredth time baking, there’s always something new to learn and savor. Enjoy every bite!
Frequently Asked Questions
Can I Substitute Regular Flour With Gluten-Free Flour?
They say where there’s a will, there’s a way. Yes, you can substitute regular flour with gluten-free flour. Just make sure to adjust any liquids or binding agents for the best results!
How Long Do Leftover Cookies Stay Fresh?
Leftover cookies typically stay fresh for about a week when stored in an airtight container at room temperature. If you want to extend their shelf life, consider freezing them for up to three months.
Can I Add Chocolate Chips to the Recipe?
Yes, you can definitely add chocolate chips to the recipe! They’ll complement the coconut flavor and create a deliciously sweet treat. Just adjust the amount to suit your taste preference, and enjoy the new combination!
What Is the Best Way to Store Cookies?
When it comes to storing cookies, you’ve gotta keep them airtight to lock in that freshness. Use a container and stash them in a cool, dry place. They’ll stay delicious for days, trust me!
Are There Variations for Different Flavors in This Recipe?
You can experiment with different flavors by adding ingredients like chocolate chips, nuts, or dried fruits. Just adjust the sugar and flour accordingly to keep your cookies chewy and delicious. Enjoy your baking adventures!


