Oreo Cupcake Recipe
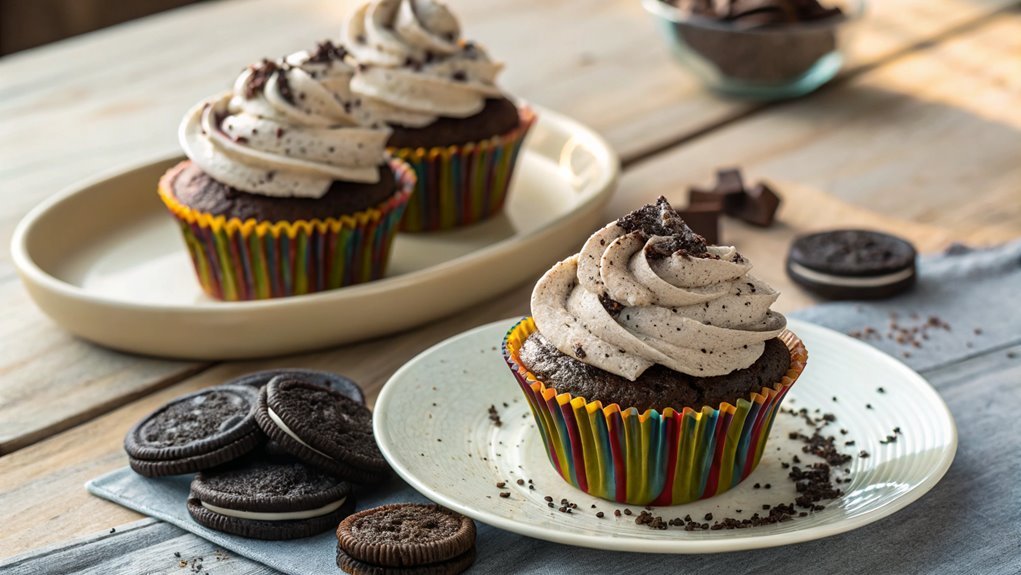
To impress at your next gathering, consider making Oreo cupcakes with a rich chocolate base and the iconic Oreo flavor. These treats are easy to make using common ingredients you likely already have.
As you prepare, think about how to enhance the cupcakes further. The secret lies in perfect frosting that complements the cookie flavor.
Recipe
Oreo cupcakes are a delightful twist on the classic cookie, combining the rich flavor of chocolate with the creamy, dreamy taste of cookies and cream. These decadent treats are perfect for any occasion, whether you’re celebrating a birthday, hosting a gathering, or simply satisfying your sweet tooth.
With a moist chocolate cupcake base and a luscious Oreo frosting, these cupcakes are sure to impress both family and friends. Making Oreo cupcakes is surprisingly simple, allowing even novice bakers to create a show-stopping dessert.
The recipe involves baking chocolate cupcakes, mixing in crushed Oreos for added texture, and topping them with a rich buttercream frosting that features even more crushed Oreos. Get ready to indulge in a sweet treat that’s as fun to make as it’s to eat!
Ingredients:
- 1 ¾ cups all-purpose flour
- 1 ½ cups granulated sugar
- ¾ cup unsweetened cocoa powder
- 1 ½ teaspoons baking powder
- 1 ½ teaspoons baking soda
- 1 teaspoon salt
- 2 large eggs
- 1 cup whole milk
- ½ cup vegetable oil
- 2 teaspoons vanilla extract
- 1 cup boiling water
- 12 Oreo cookies (crushed, plus extra for garnish)
- 1 cup unsalted butter (softened)
- 4 cups powdered sugar
- ¼ cup heavy cream
- 1 teaspoon vanilla extract (for frosting)
Now let’s move on to the cooking steps.
Cooking Steps
Let’s get cooking those delicious Oreo cupcakes!
First, you’ll want to preheat your oven to a toasty 350°F, setting the stage for baking perfection.
After that, you’ll mix together the flour and cocoa powder, creating a rich base that’s just waiting to be transformed into something sweet and delightful.
Step 1. Preheat Oven to 350°F
Before diving into the delicious world of Oreo cupcakes, you need to preheat your oven to 350°F. This initial step is vital because it guarantees that your cupcakes bake evenly and rise perfectly. A properly preheated oven sets the stage for those soft, fluffy treats you’re excited to create.
Here’s how to make certain you get it right:
- Turn on your oven – Locate the dial or digital display and set it to 350°F. This temperature is just right for baking cupcakes.
- Wait for the oven to heat up – It usually takes about 10-15 minutes to reach the desired temperature. You can use this time to gather your ingredients and tools.
- Use an oven thermometer – If you want to be precise, consider placing an oven thermometer inside. It’ll help you confirm that the temperature is accurate.
- Don’t open the door too soon – Resist the urge to peek! Opening the oven door can cause temperature fluctuations, affecting your cupcake batter.
Now that your oven’s ready, you’re one step closer to enjoying those delightful Oreo cupcakes! Get excited, because they’ll be worth the wait!
Step 2. Mix Flour and Cocoa Powder
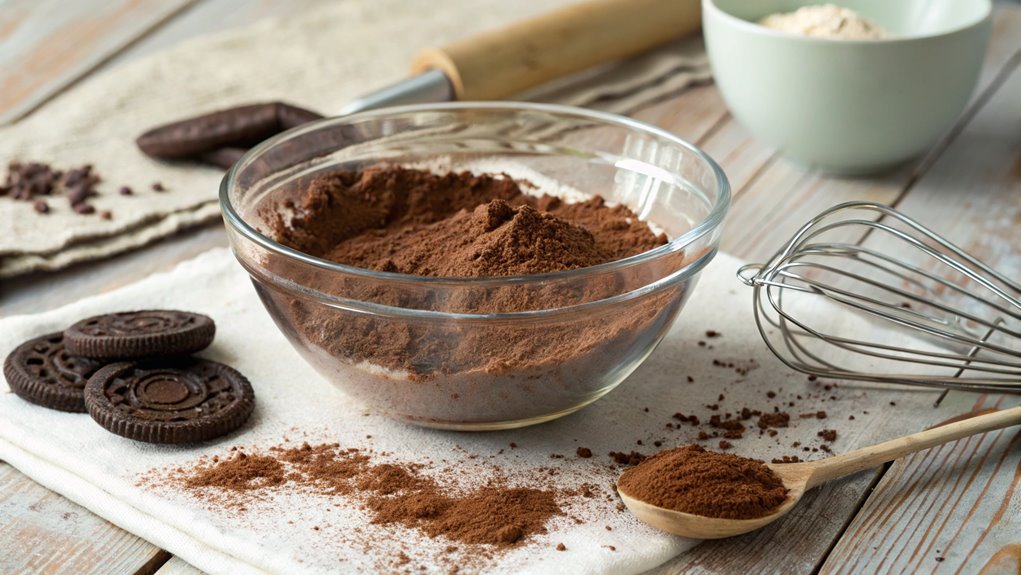
Start by sifting together the flour and cocoa powder in a large bowl. This step is crucial, as it helps to guarantee that your dry ingredients blend evenly, resulting in a light and fluffy cupcake.
As you sift, take a moment to admire the deep, rich color of the cocoa powder. It’s the first sign of the delicious flavor that’s about to come together.
Once you’ve sifted those ingredients, use a whisk to combine them thoroughly. This will help break up any lumps and guarantee the cocoa is evenly distributed throughout the flour.
You want to create a uniform mixture that will give your cupcakes a consistent taste and texture.
While you’re mixing, think about how those chocolatey aromas will soon fill your kitchen, making it feel warm and inviting. Feel free to get lost in the excitement of what’s to come!
Make certain to scrape down the sides of the bowl as needed, so every bit of flour and cocoa is incorporated.
You’re laying the foundation for something truly amazing. Once you’ve got a well-mixed bowl of flour and cocoa, you’re ready to move on to the next delicious step!
Step 3. Add Sugar and Eggs
As you move on to the next step, adding sugar and eggs is essential for creating that rich, moist texture in your cupcakes. This is where the magic begins! The sugar sweetens your batter, while the eggs act as a binding agent, giving your cupcakes structure. Make sure to use room temperature eggs for the best results.
Here’s how to do it:
- Measure your sugar: Use granulated sugar for that perfect sweetness. About one cup should do the trick!
- Crack the eggs: You’ll need two large eggs. Crack them into a small bowl first to avoid any shell mishaps.
- Mix it up: Add the sugar and eggs to your mixing bowl. Beat them together until the mixture is light and fluffy. This usually takes about 2-3 minutes.
- Incorporate slowly: As you mix, gradually add the sugar, ensuring it fully combines with the eggs for a smooth batter.
Once you’ve completed this step, your batter will be looking fantastic! Get ready for the next exciting part of your Oreo cupcake journey!
Step 4. Fold in Crushed Oreos
With your sugar and eggs perfectly mixed, it’s time to add the star ingredient: crushed Oreos. Grab those delightful cookies, and let’s make magic happen! You’ll want to crush the Oreos into small pieces; this will guarantee they blend beautifully into your cupcake batter. Whether you use a food processor for a fine crumb or a plastic bag and rolling pin for a chunkier texture, the choice is yours.
Now, gently fold the crushed Oreos into your mixture. Use a spatula and scoop from the bottom, lifting the batter over the Oreos as you go. This method helps keep the air in your batter, guaranteeing light and fluffy cupcakes.
Be careful not to overmix; you want to see those black cookie bits throughout your batter, creating that classic Oreo look.
As you fold, let the excitement build! Imagine the delicious cookie flavor that’s about to infuse your cupcakes. Each bite will be a delightful surprise, with creamy frosting and crunchy cookie pieces.
Once you’ve incorporated all those Oreos, you’re just moments away from cupcake bliss. Enjoy this stage; your Oreo cupcake adventure is just beginning!
Step 5. Bake for 20 Minutes
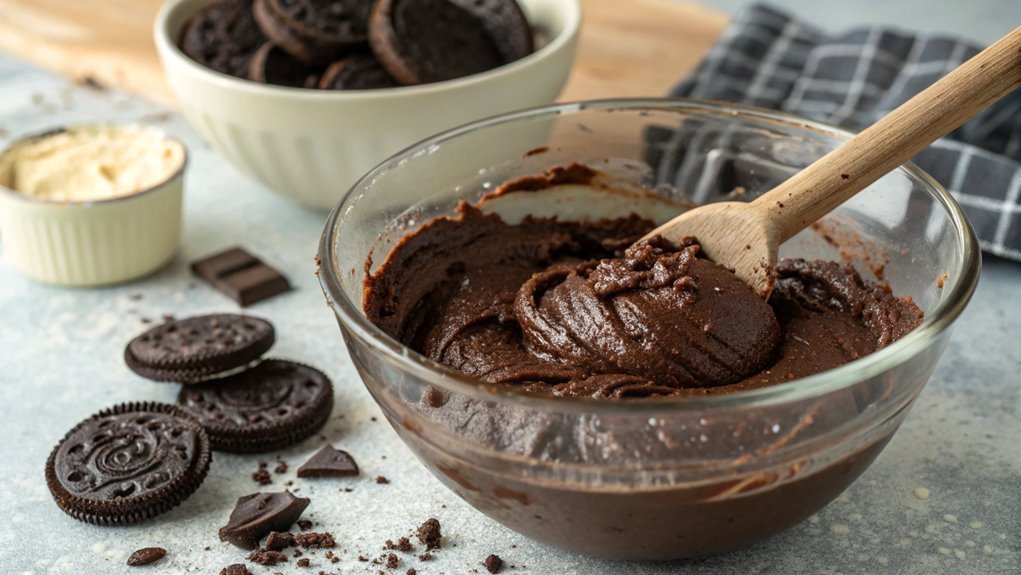
Now that your batter is ready, it’s time to bake those delicious treats! Preheat your oven to 350°F (175°C) and get ready to watch your Oreo cupcakes rise to perfection.
Pour the batter into lined cupcake tins, filling each cup about two-thirds full. This guarantees they’ve enough space to puff up beautifully without overflowing.
Here’s what you need to do next:
- Place the cupcake tray in the preheated oven. Make sure it’s centered for even baking.
- Set a timer for 20 minutes. This is the magic time for your cupcakes to bake, so don’t walk away just yet!
- Check for doneness. You can stick a toothpick in the center of a cupcake; if it comes out clean, they’re ready!
- Let them cool. Once baked, remove the tray and let those cupcakes cool in the pan for about 5 minutes before transferring them to a wire rack.
The aroma will fill your kitchen, making it hard to resist.
You’re just a few steps away from enjoying these irresistible Oreo cupcakes, so stay excited! Happy baking!
Final Thoughts
While baking Oreo cupcakes can be a delightful experience, the joy often comes from sharing them with friends and family.
There’s something magical about the combination of rich chocolate and creamy filling that makes these treats irresistible. As you pull them out of the oven, the aroma alone will have everyone gathered in the kitchen, enthusiastic for a taste.
Once you’ve frosted your cupcakes, don’t forget to add those crunchy Oreo pieces on top for the perfect finishing touch.
Your friends and family will be amazed at how delicious they are, and you’ll feel proud of your baking skills. These cupcakes are perfect for birthdays, picnics, or just a fun afternoon treat.
Frequently Asked Questions
Can I Use Gluten-Free Flour for This Recipe?
Yes, you can use gluten-free flour in this recipe. Just make sure it’s a good blend that mimics all-purpose flour. You might need to adjust the liquid slightly for the best texture. Enjoy!
How Should I Store Leftover Oreo Cupcakes?
Most people don’t realize that cupcakes can last up to a week if stored properly. You should keep your leftovers in an airtight container at room temperature for freshness, or refrigerate them for longer shelf life.
Can I Substitute Oreos With Another Cookie?
You can definitely substitute Oreos with another cookie! Try using chocolate chip cookies, peanut butter cookies, or even sandwich cookies for a fun twist. Just make sure the texture complements your desired cupcake outcome. Enjoy experimenting!
What Frosting Pairs Best With Oreo Cupcakes?
Imagine a moonlit night, where sweet whispers of vanilla dance in the air. For your cupcakes, cream cheese frosting perfectly complements that rich chocolate flavor, while a touch of crushed cookies adds delightful crunch. You won’t regret it!
How Do I Make These Cupcakes Dairy-Free?
To make these cupcakes dairy-free, swap regular milk for almond or oat milk, and use dairy-free butter or coconut oil instead of regular butter. Confirm your chocolate and any other ingredients are also dairy-free.
Conclusion
Your Oreo cupcakes are a little piece of heaven! Each bite offers a delightful combination of chocolatey richness and cookie crunch. Share them with friends and family; they’re perfect for any occasion. Keep baking this recipe to delight your taste buds and wow everyone at gatherings!
