Mint Chocolate Cupcake Recipe
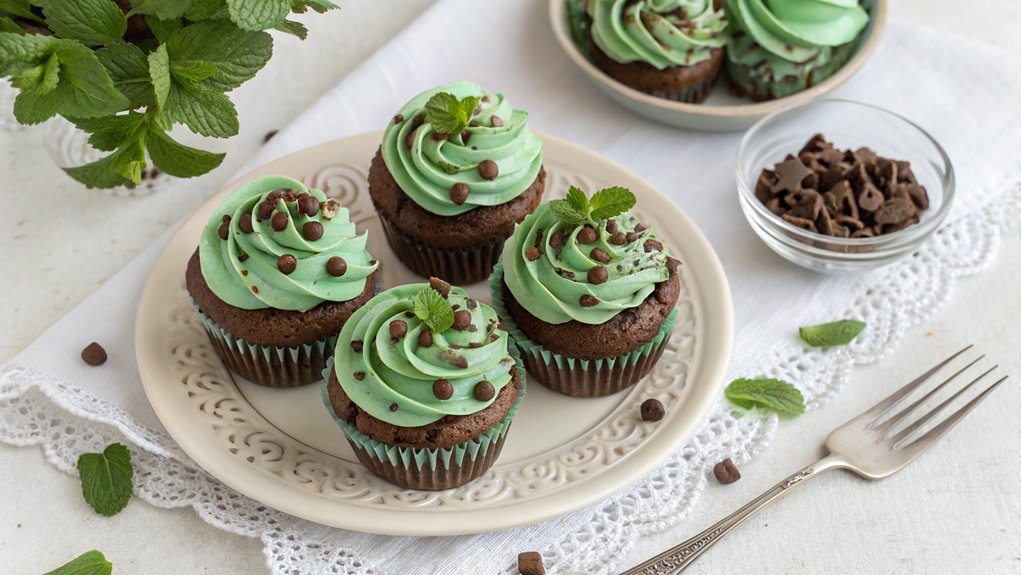
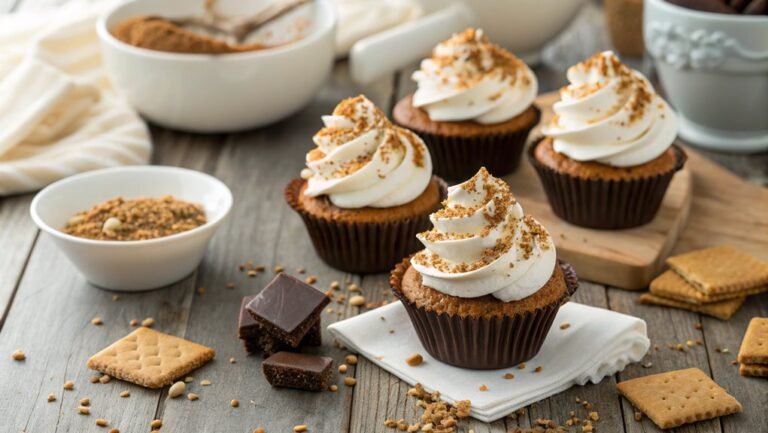
Mint chocolate cupcakes are a staple at celebrations, yet they’re rarely made at home. Their rich chocolate base and refreshing mint flavor can enhance any gathering.
The simplicity of the ingredients leads to impressive results, making them a valuable addition to your dessert repertoire. Follow these steps and tips to achieve the perfect balance of flavors and textures in your kitchen.
You’ll be surprised at how easy it is to impress your friends.
Recipe
If you’re looking for a delightful twist on traditional cupcakes, then mint chocolate cupcakes are the perfect treat. Combining the rich flavors of chocolate with the invigorating taste of mint, these cupcakes offer a deliciously unique experience that’s sure to impress your family and friends.
They’re perfect for any occasion, whether it’s a birthday party, holiday gathering, or simply an indulgent dessert to enjoy at home.
To make these mint chocolate cupcakes, you’ll start with a rich chocolate batter that incorporates cocoa powder for an intense chocolate flavor. The mint flavor comes from mint extract, which adds the perfect touch of vitality.
You’ll top off these cupcakes with a luscious mint chocolate frosting, making them a true delight for any mint chocolate lover. Follow the recipe below for a scrumptious batch that will leave everyone asking for more!
Ingredients:
- 1 cup all-purpose flour
- 1 cup granulated sugar
- 1/2 cup unsweetened cocoa powder
- 1/2 teaspoon baking powder
- 1/2 teaspoon baking soda
- 1/4 teaspoon salt
- 1/2 cup vegetable oil
- 2 large eggs
- 1 teaspoon vanilla extract
- 1/2 teaspoon mint extract
- 1/2 cup buttermilk
- 1 cup powdered sugar
- 1/4 cup unsweetened cocoa powder (for frosting)
- 1/4 cup unsalted butter, softened
- 1-2 tablespoons milk (for frosting)
- 1/2 teaspoon mint extract (for frosting)
- Mint chocolate chips (for garnish)
Now let’s move on to the cooking steps.
Cooking Steps
Let’s get cooking those delicious mint chocolate cupcakes!
First, you’ll want to preheat your oven to 350°F so it’s nice and ready for your sweet creations.
Once that’s set, it’s time to mix your dry ingredients, adding the wet ingredients gradually for a smooth batter that’ll make your cupcakes irresistible!
Step 1. Preheat the Oven to 350°F
Preheating the oven to 350°F is an essential step in baking your mint chocolate cupcakes. This vital action guarantees that your cupcakes cook evenly and rise to perfection. When you preheat, you’re creating a consistent temperature that helps achieve that delightful fluffy texture we all love. So, take a moment to set your oven!
First, turn on your oven and set the temperature dial or input 350°F on a digital display. If your oven takes a bit longer to reach the desired temperature, it’s okay—just be patient! A properly preheated oven means those delectable cupcakes will bake just right.
You’ll want to wait until the oven indicator signals that it’s ready before you put your batter in.
While you’re waiting, you can gather and prep your other ingredients, dreaming of that minty flavor blended with rich chocolate. Trust us, the aroma that fills your kitchen will be irresistible, setting the mood for delicious baking.
Once your oven beeps, you’ll be ready to jump into the next steps of your cupcake adventure. Get excited! You’re just a few steps away from enjoying the sweet perfection of homemade mint chocolate cupcakes!
Step 2. Mix Dry Ingredients Together
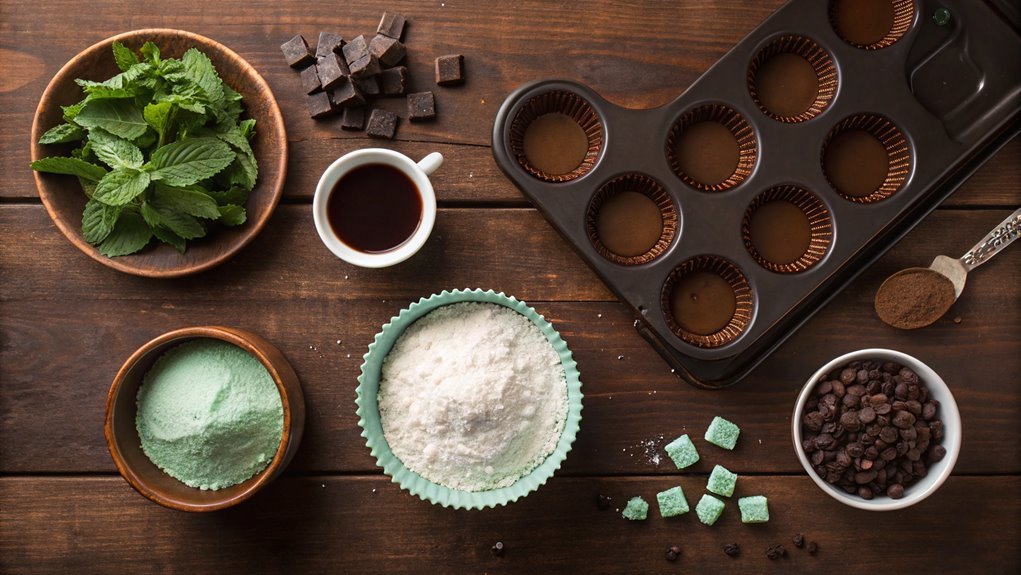
Start by sifting together your dry ingredients to create a smooth, uniform mixture for your mint chocolate cupcakes. This step is vital because it helps avoid lumps, guaranteeing a consistent batter.
Grab a mixing bowl and combine the following ingredients:
- All-purpose flour – This provides the structure for your cupcakes.
- Cocoa powder – For that rich, chocolatey flavor.
- Baking powder – It’s essential for fluffiness and rise.
- Salt – A little boost to enhance all the flavors.
Use a whisk to blend them well, making sure everything’s incorporated evenly. Sifting isn’t just for show; it aerates the dry ingredients, which leads to lighter and fluffier cupcakes.
Plus, mixing them together helps ensure that the cocoa powder doesn’t clump up later. As you mix, envision how these delightful cupcakes will taste, with the cool minty flavor paired perfectly with chocolate.
This simple yet fundamental step sets the foundation for your fantastic creation. Remember, you’re crafting a delicious treat, so enjoy the process, and don’t rush!
Once you’ve mixed the dry ingredients together thoroughly, you’re one step closer to mint chocolate cupcake perfection!
Step 3. Add Wet Ingredients Gradually
Once you’ve combined the dry ingredients, it’s time to incorporate the wet ingredients gradually for a perfectly balanced batter.
Start by whisking together your eggs, milk, and vanilla extract in a separate bowl. This step guarantees that your batter gets a smooth blend of flavors, which is essential for those delicious mint chocolate cupcakes.
Now, pour about a third of the wet mixture into the dry ingredients. Use a rubber spatula or a wooden spoon to gently fold the ingredients together. Don’t rush this! Take your time to combine them just until you no longer see dry flour. If you overmix, your cupcakes could end up dense, and nobody wants that!
Next, add another third of the wet ingredients, repeating the same gentle folding technique. The batter should start to come together beautifully.
Finally, pour in the last of the wet ingredients, folding until everything is just combined. Be patient and keep an eye on the texture; it should be smooth and slightly thick.
You’re just a few steps away from a delightful baking experience! Trust the process, and feel the excitement build as you prepare to create something delicious.
Step 4. Divide Batter Into Liners
Fill each cupcake liner about two-thirds full with the batter to guarantee even rising and a delightful texture. This step is essential for achieving those perfect, fluffy mint chocolate cupcakes you crave.
Once you’ve prepped your batter, it’s time to get it into the liners. The process is simple, and you’ll be amazed at how rewarding it feels to see those liners fill up!
Here’s how to make it a breeze:
- Grab a spoon or a cupcake scoop: This helps control the amount of batter you add, preventing overfilling.
- Spoon the batter into each liner: Aim for the two-thirds mark. Feel free to take your time here—precision counts!
- Tap the pan gently on the counter: This helps remove air bubbles and levels the batter.
- Check your work: Make sure each liner looks similar; consistency leads to beautiful results!
You’re almost there! Once you’ve divided the batter evenly, you’ll be one step closer to enjoying those scrumptious mint chocolate cupcakes.
Just imagine the delightful aroma filling your kitchen soon—it’s an experience you won’t want to miss!
Step 5. Bake for 18-20 Minutes
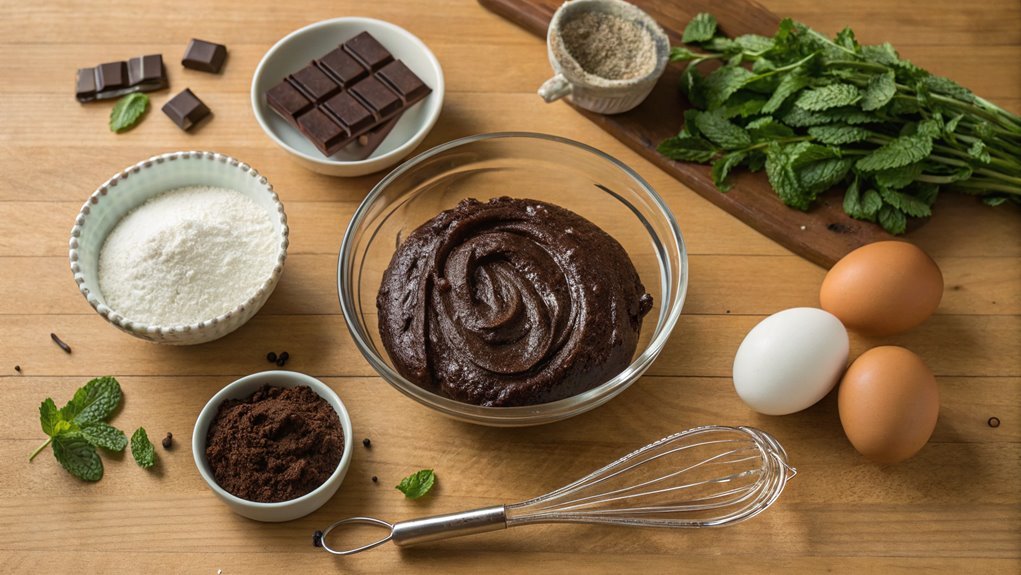
After you’ve divided the batter into the liners, it’s time to bake your cupcakes for 18-20 minutes. Preheat your oven to 350°F (175°C), as this is the perfect temperature for those delightful mint chocolate flavors to develop.
Place your filled cupcake liners onto a baking sheet to make handling easier, and slide them into the hot oven.
At this stage, all that mouthwatering anticipation is worth it! Set a timer for 18 minutes, but keep an eye on them. When they’re done, the edges should look firm, while a toothpick inserted in the center comes out clean or with a few crumbs attached. This tells you those cupcakes have risen beautifully and are ready to emerge!
Once the timer goes off, carefully remove your cupcakes from the oven and let them cool in the pan for about five minutes.
Then, transfer them to a wire rack to cool completely. The aroma filling your kitchen is simply irresistible. You’ll find it hard to resist that first taste!
Celebrate your effort and get ready for the fun part—frosting and decorating your mint chocolate cupcakes!
Final Thoughts
As you indulge in your delicious mint chocolate cupcakes, remember that baking is about experimentation and enjoyment.
It’s a chance to bring creativity to the kitchen while treating yourself and your loved ones. These cupcakes aren’t just a dessert; they’re an experience! Share them at parties, or enjoy them with family after dinner.
To elevate your baking game, keep these tips in mind:
- Use fresh ingredients – Quality matters! Fresh ingredients make a world of difference in flavor.
- Taste as you go – Don’t be afraid to tweak flavors. It’s your creation; make it your favorite!
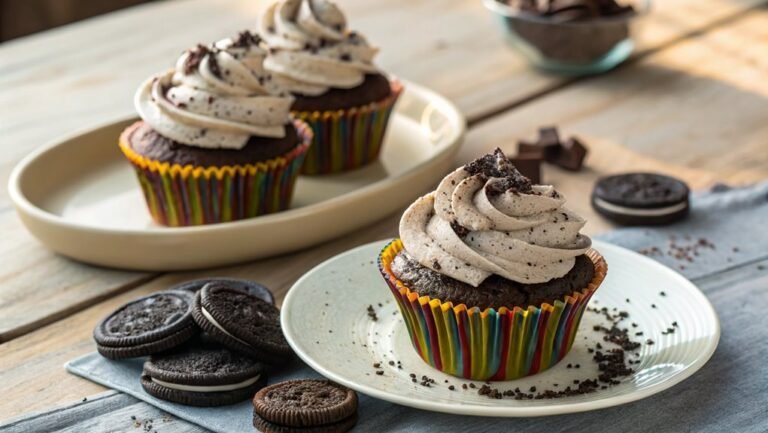
- Experiment with decoration – Get creative with frosting and toppings. Add some crushed cookies or mint flakes for that extra flair!
- Try different flavors – Switch out mint for other extracts to discover new favorites.
Frequently Asked Questions
Can I Use Fresh Mint Instead of Mint Extract?
You can use fresh mint instead of mint extract. Just chop it finely and adjust the quantity to taste, since fresh mint’s flavor is less concentrated than extract. Enjoy your fresh and vibrant results!
How Do I Store Leftover Cupcakes?
Ever wondered how to keep your cupcakes fresh for that next treat? Store them in an airtight container at room temperature for a few days, or refrigerate them for longer storage without losing flavor or texture.
What’s the Best Way to Frost These Cupcakes?
To frost your cupcakes, start with a smooth, creamy frosting. Use a spatula or piping bag to spread or pipe it on. Don’t forget to add sprinkles or chocolate shavings for that perfect finishing touch!
Can I Make These Cupcakes Gluten-Free?
You can absolutely make these cupcakes gluten-free! Just substitute regular flour with a gluten-free blend. Confirm all other ingredients, like baking powder and cocoa, are also gluten-free to maintain the delicious flavor and texture.
How Long Do These Cupcakes Last?
These cupcakes typically last about 2-3 days at room temperature in an airtight container. If you refrigerate them, they’ll stay good for up to a week. Just make sure you seal them properly!

