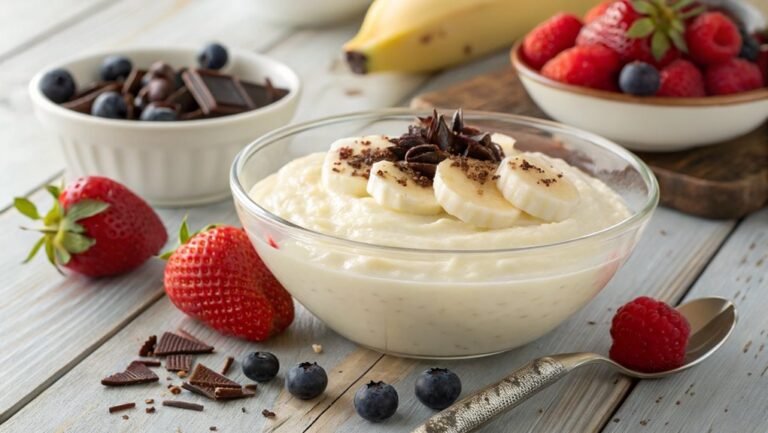
No-Bake Banana Pudding Recipe
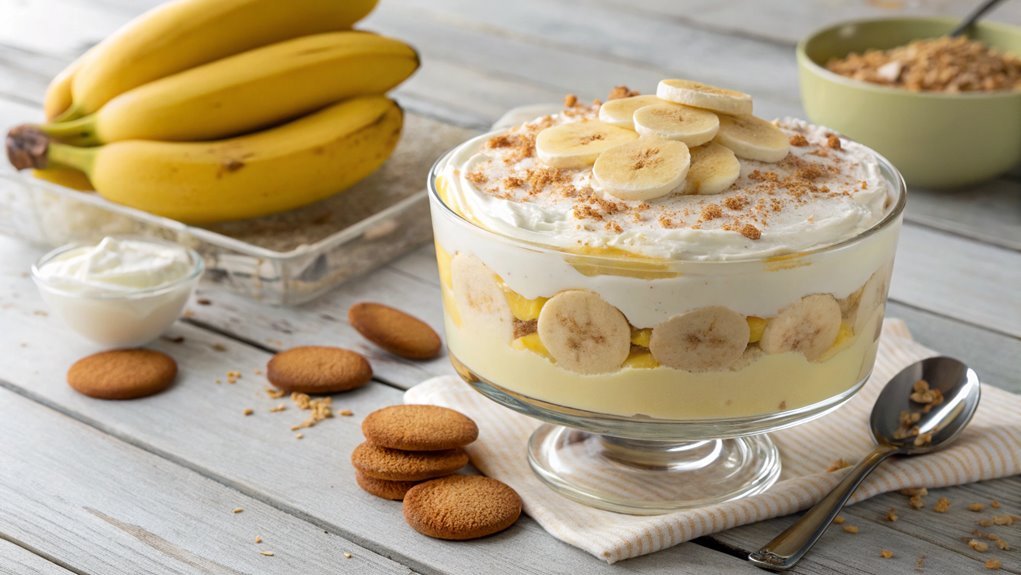
No-bake banana pudding is a simple, yet indulgent dessert that doesn’t require an oven, making it ideal for warm days or spontaneous gatherings. With just a few ingredients and some layering, you can create a delightful treat effortlessly.
Curious about achieving the perfect balance of flavors and textures? Follow these easy steps to bring this classic favorite together seamlessly.
Recipe
No-bake banana pudding is a delightful dessert that requires minimal effort yet delivers maximum flavor. This creamy, layered treat combines the richness of vanilla pudding with the freshness of ripe bananas and the crunch of Nilla wafers, making it a favorite among dessert lovers.
Perfect for warm weather gatherings or a simple indulgence at home, this recipe is quick to whip up and can be made ahead of time, allowing the flavors to meld beautifully in the refrigerator.
The best part about this no-bake banana pudding is how versatile it can be. You can easily customize it by adding different toppings like whipped cream, chocolate shavings, or even a drizzle of caramel.
It’s a great dessert for parties, family gatherings, or just a sweet ending to a cozy dinner. Follow this simple recipe, and you’ll have a delicious banana pudding that’s sure to impress.
Ingredients:
- 2 cups of cold milk
- 1 package (3.4 oz) instant vanilla pudding mix
- 1 can (14 oz) sweetened condensed milk
- 1 container (8 oz) whipped topping (thawed)
- 4-5 ripe bananas, sliced
- 1 box (12 oz) Nilla wafers
- Optional: additional whipped topping for garnish
- Optional: crushed Nilla wafers for garnish
Now let’s move on to the cooking steps.
Cooking Steps
Let’s get started on making your delicious no-bake banana pudding!
First, you’ll prepare the banana slices, which will add a fresh and sweet flavor to your dessert.
Then, you’ll layer the cookies and bananas, followed by the pudding mixture, creating a delightful treat that everyone will love!
Step 1. Prepare Banana Slices First
To prepare the banana slices for your pudding, start by selecting three ripe bananas. Look for ones with a few brown spots—they’re usually sweeter and perfect for this recipe.
Once you’ve got your bananas, grab a cutting board and a sharp knife. Peel the bananas, and slice them into about ¼-inch thick rounds. Make sure to cut them evenly so they look beautiful in your pudding.
As you slice, try to work quickly. Bananas tend to brown pretty fast once they’re exposed to air. If you want to slow down this process a bit, you can sprinkle a little lemon juice over the slices. This’ll not only keep them looking fresh but also add a slight zing to the flavor.
Once all your banana slices are ready, give yourself a pat on the back—you’re one step closer to a delicious no-bake banana pudding!
These slices will blend wonderfully with the creamy layers you’ll create later, adding both texture and sweetness. So, get excited because you’re about to impress your friends and family with a delightful dessert that’s as easy to make as it’s to enjoy!
Step 2. Layer Cookies and Bananas
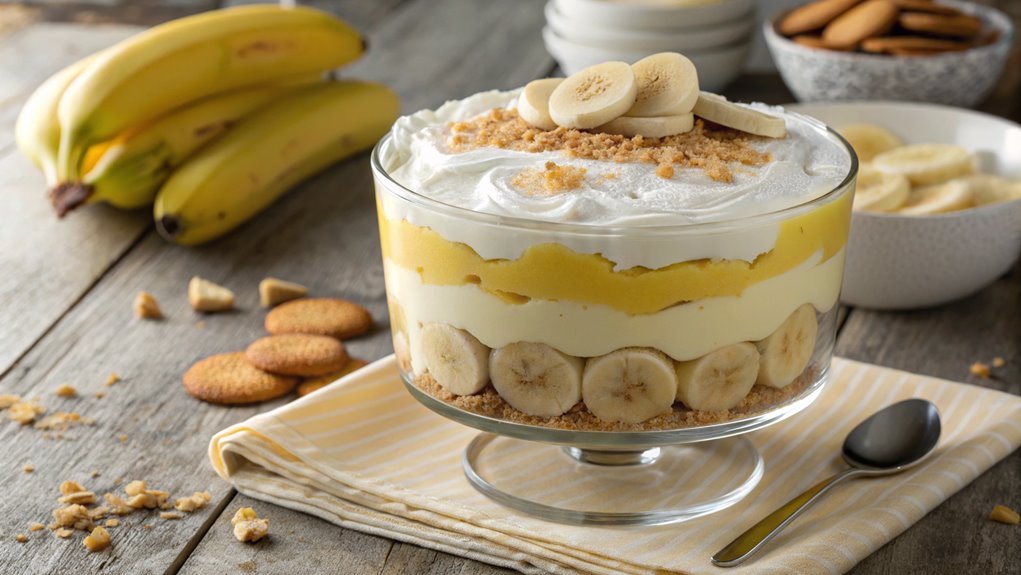
Start by grabbing a large serving dish or a trifle bowl—this will showcase your beautiful layers.
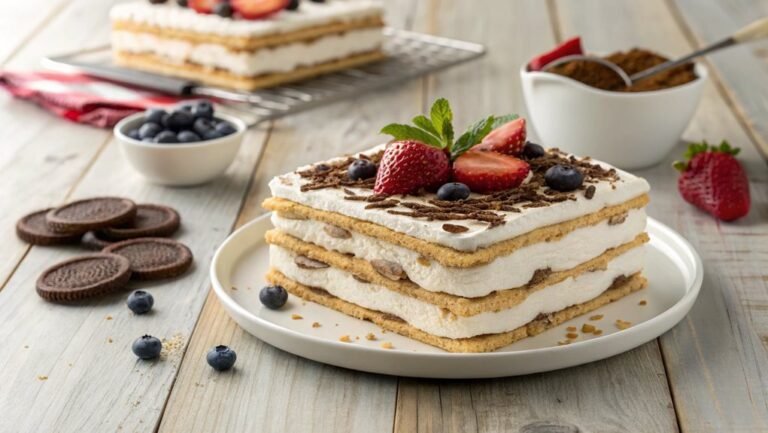
Begin with a layer of cookies at the bottom. You can use vanilla wafers or any favorite cookie that adds a delightful crunch. Arrange them in a single layer, covering the bottom completely.
Once that’s done, it’s time to layer those lovely banana slices you prepared earlier. Place them evenly over the cookies, creating a vibrant yellow layer that’s both inviting and delicious.
Now, repeat the process! Add another layer of cookies, followed by more banana slices. Keep alternating until you reach the top of your dish. The key here is to create a visual treat, so take your time to arrange everything neatly.
Remember, the more layers you create, the more impressive your dessert will look.
As you build your layers, let the colors and textures inspire you. Feel free to mix it up by using different cookies or adding a sprinkle of cinnamon for a twist!
Each layer is a step closer to a delightful no-bake banana pudding that everyone will love. Enjoy the process, and soon you’ll have a stunning dessert ready to impress!
Step 3. Add Pudding Mixture Next
Now it’s time to whip up the creamy pudding mixture that will bring your banana pudding to life. Start by grabbing a large mixing bowl and combine your instant vanilla pudding mix with cold milk. Whisk it together vigorously for about two minutes until it thickens up nicely. This is where the magic begins! You’ll see it transform into a smooth and luscious texture that’s simply irresistible.
Next, gently fold in a container of whipped topping. This step adds an airy lightness that complements the rich pudding. Use a spatula and make sure to fold, not stir, to keep that fluffy consistency. Once it’s well combined, you’ll have a dreamy, creamy mixture that’s begging to be layered.
Now, it’s time to pour this delightful pudding over the layers of cookies and bananas you’ve already set up. Make sure to spread it evenly, covering every nook and cranny. The pudding mixture will seep into the cookies, enhancing their flavor and creating that perfect harmony in your dessert.
Just imagine how delicious it’ll taste—each bite will be a perfect blend of creamy, sweet, and fruity goodness! Enjoy this part; you’re almost there!
Step 4. Chill Until Set
Once you’ve poured the pudding mixture over the cookies and bananas, it’s time to let it chill in the refrigerator. This step is essential, as it allows the flavors to meld beautifully and helps the pudding set into a creamy, delightful treat.
Cover the dish with plastic wrap or a lid to keep it fresh and prevent it from absorbing any odors from your fridge.
You’ll want to let it chill for at least four hours, but if you can wait overnight, that’s even better! The longer it sits, the more delicious it becomes.
As it chills, the cookies soften and soak up the pudding, creating a luscious texture that’s simply irresistible. Trust me, the wait is worth it!
While you’re waiting, you can imagine how amazing it’ll taste when you finally dig in. Picture that first spoonful of creamy banana goodness, layered with the sweet cookies and fresh bananas.
It’s a dessert that brings joy to any occasion, from casual family dinners to festive gatherings. So, pop it in the fridge and get ready for a treat that will impress everyone!
Enjoy the anticipation—your perfect banana pudding is just a chill away!
Step 5. Top With Whipped Cream
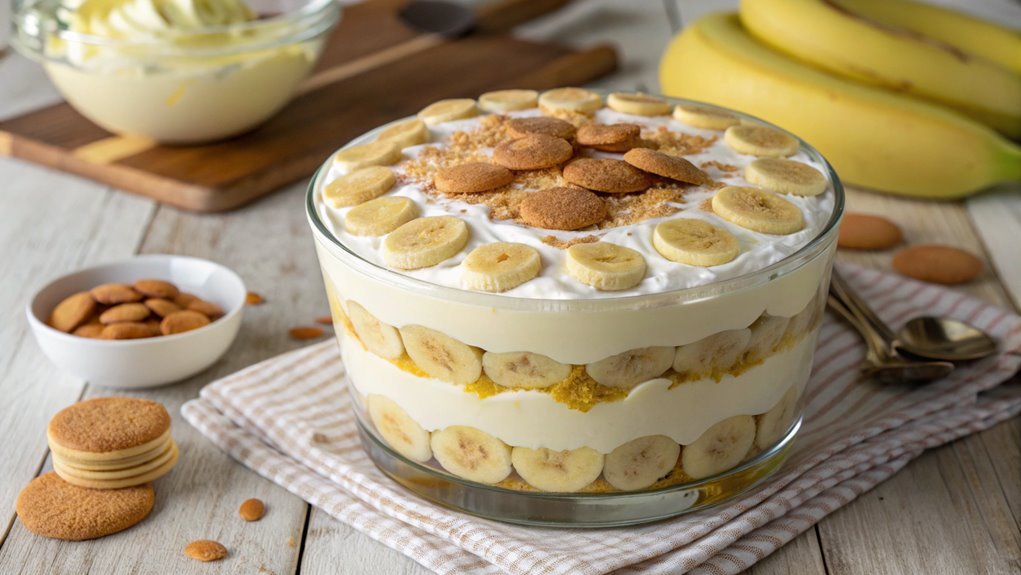
After your banana pudding has chilled and set, it’s time to add a finishing touch that elevates the dessert to a whole new level. Topping it with whipped cream not only enhances the flavor but also gives it a delightful presentation. You’ll want to make this step count, so let’s explore how to do it right!
- Choose Your Whipped Cream: You can use store-bought whipped cream or make your own for a fresher taste. If you decide to whip it up, just beat heavy cream with a bit of sugar until soft peaks form.
- Spread Generously: Using a spatula, spread the whipped cream over the top of your chilled pudding. Don’t be shy—this is your chance to add a fluffy layer!
- Decorate: For an extra touch, consider adding banana slices or crushed vanilla wafers on top. This adds texture and a pop of flavor.
- Chill Again: After topping, let it chill for a few more minutes. This helps the whipped cream set nicely.
Now, dig in! You’ve created a stunning no-bake banana pudding that’s sure to impress. Enjoy every creamy bite!
Final Thoughts
As you savor your delicious no-bake banana pudding, it’s easy to see why this dessert has become a favorite for many. The smooth layers of creamy pudding, fresh bananas, and crunchy wafers create a delightful combination that’s irresistible.
You didn’t just make a dessert; you created a memory that your friends and family will cherish. This no-bake recipe is perfect for anyone, whether you’re a seasoned chef or just starting your culinary journey.
With minimal ingredients and simple steps, you can whip it up in no time! Imagine serving this sweet treat at your next gathering or enjoying it on a cozy evening at home. Each spoonful brings comfort and joy, making it a go-to recipe for any occasion.
Don’t hesitate to get creative! You can add your favorite toppings or experiment with different flavors. This flexibility allows you to personalize the dessert to your taste.
As you share this delightful dish, you’ll spread happiness and warmth. So, gather those ingredients and plunge into this easy, no-bake banana pudding recipe. You’re going to love the process, and the result is sure to impress everyone around you! Enjoy every bite!
Frequently Asked Questions
Can I Use Ripe Bananas for This Recipe?
Absolutely, you can use ripe bananas! They add natural sweetness and a creamy texture, enhancing your dish. Just make sure they’re not overly brown; slightly spotted ones work best for ideal flavor and consistency. Enjoy!
How Long Does Banana Pudding Last in the Fridge?
Banana pudding typically lasts about three to four days in the fridge. Make sure you store it in an airtight container, and it’s best to consume it sooner for peak freshness and flavor. Enjoy!
Can I Substitute Vanilla Wafers With Another Cookie?
Yes, you can definitely substitute vanilla wafers with another cookie! Try using graham crackers, shortbread, or even chocolate cookies for a different flavor. Just remember, it’ll change the overall taste and texture a bit.
Is There a Gluten-Free Version of This Recipe?
Yes, you can definitely make a gluten-free version! Just swap regular cookies for gluten-free alternatives, and confirm any other ingredients, like pudding mix, are also gluten-free. It’ll taste just as delicious!
Can I Make This Dessert in Advance?
You might worry about it losing flavor, but you can absolutely make this dessert in advance! Just store it in the fridge, and it’ll hold up beautifully, letting the flavors meld together perfectly. Enjoy!
Conclusion
You’ve crafted a delightful no-bake banana pudding that will impress with its creamy layers and crunchy cookies. Gather your loved ones, serve this sweet treat, and watch smiles light up the room.
