Butterscotch Pudding Recipe
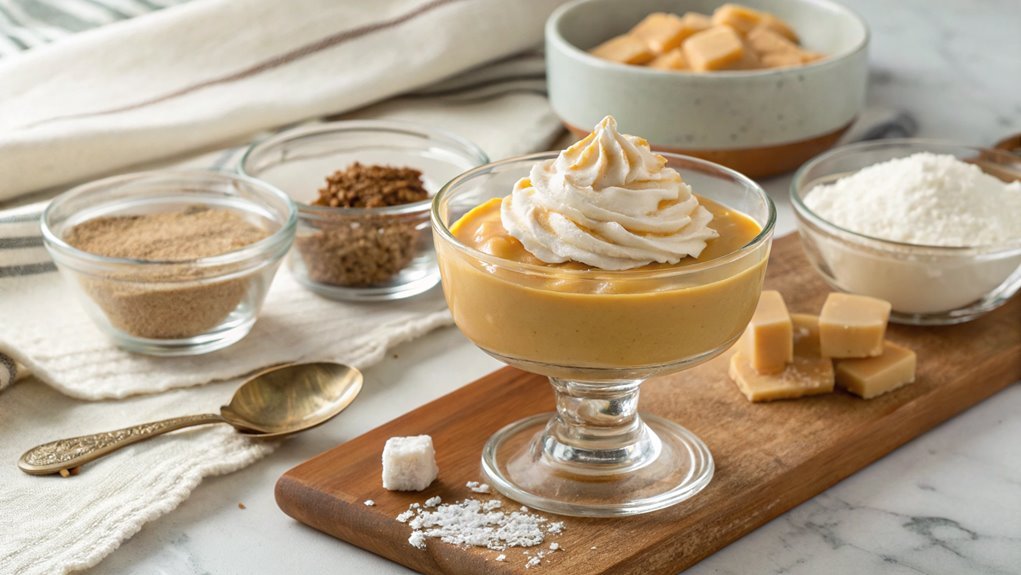
Making butterscotch pudding is easier than it seems, requiring only a few common ingredients to create a superior dessert. The secret lies in the combination of these ingredients and the techniques that enhance the flavor.
Interested in achieving a perfect creamy texture? Let’s explore the essential steps to master this delightful dessert.
Recipe
Butterscotch pudding is a delightful dessert that brings a rich, sweet flavor to the table, making it a favorite for both children and adults. This creamy treat is surprisingly easy to make at home, requiring just a few simple ingredients and minimal effort.
The key to a successful butterscotch pudding lies in the careful cooking of the brown sugar and butter, which creates that signature butterscotch flavor that pairs perfectly with the velvety texture of the pudding.
Once you master this recipe, you’ll find it’s a fantastic option for dinner parties, holiday gatherings, or simply as a comforting indulgence for yourself. Serve it chilled in individual cups or bowls, topped with whipped cream or a sprinkle of sea salt for an extra touch of elegance.
Enjoy this homemade version that beats store-bought any day!
Ingredients:
- 1 cup packed brown sugar
- 1/4 cup unsalted butter
- 1/4 teaspoon salt
- 2 cups whole milk
- 1/4 cup cornstarch
- 2 large egg yolks
- 1 teaspoon vanilla extract
Now let’s move on to the cooking steps.
Cooking Steps
Now that you’ve gathered your ingredients, it’s time to get cooking!
Start by combining the sugar and cornstarch for that sweet base, then whisk in the milk slowly to guarantee a smooth blend.
As you heat the mixture until it thickens, you’ll see your butterscotch pudding come to life, so don’t forget to add the vanilla extract for that irresistible flavor!
Step 1. Combine Sugar and Cornstarch
As you prepare to make your butterscotch pudding, combining the sugar and cornstarch is an essential step that sets the foundation for a smooth, creamy texture. This mixture not only sweetens your pudding but also acts as a thickening agent, guaranteeing that every spoonful is luscious and satisfying.
Here’s how to combine them effectively:
- Measure carefully: Use a dry measuring cup to scoop exactly one cup of granulated sugar and a quarter cup of cornstarch. Precision matters!
- Sift together: In a medium bowl, sift the sugar and cornstarch together. This step helps to eliminate any lumps and guarantees even distribution.
- Mix thoroughly: Use a whisk to combine the two ingredients well. You want a uniform mixture, so whisk until they’re fully blended.
- Set aside: Once mixed, set your sugar and cornstarch aside. This will allow you to focus on the next steps without any distractions.
You’ll love how simple this step is, and it makes a big difference in the final result. Get ready to enjoy a tasty, homemade butterscotch pudding that’s sure to impress!
Step 2. Whisk in Milk Gradually
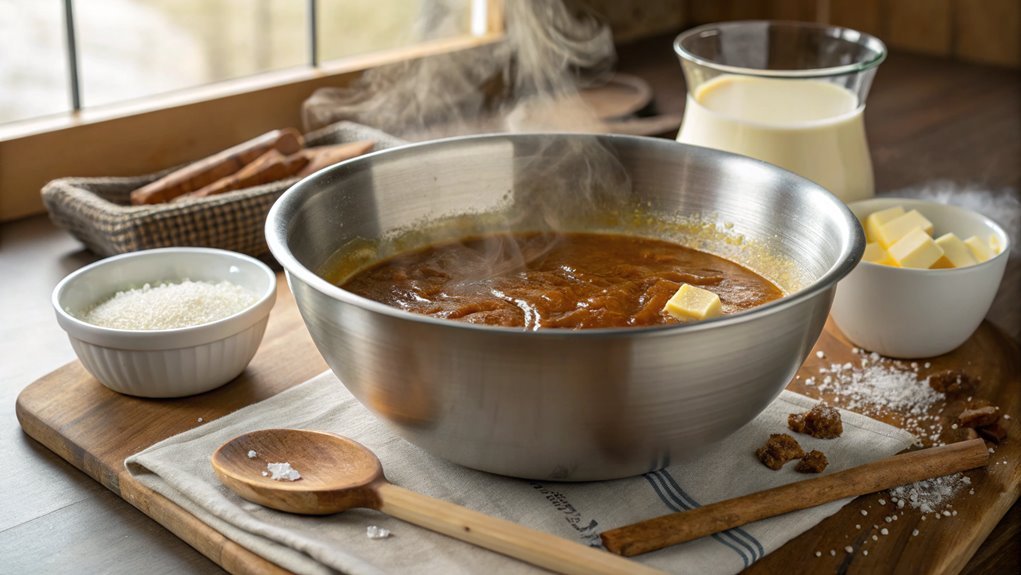
Start by gradually whisking in the milk to your sugar and cornstarch mixture. It’s important to do this slowly, as it helps prevent lumps from forming. Use a medium-sized bowl and a sturdy whisk for the best results. As you pour in the milk, keep whisking continuously to make sure everything blends smoothly. This step is vital because it sets the foundation for your creamy butterscotch pudding.
As you whisk, you’ll notice the mixture starting to thicken ever so slightly. This is a great sign! It means those cornstarch molecules are beginning to activate, helping to create that luscious texture you’re aiming for. Don’t rush; take your time to incorporate the milk completely. If you see any lumps forming, just keep whisking, and they’ll smooth out.
Once you’ve added all the milk, take a moment to admire your handiwork. You’ve already come so far! The sweet aroma of the mixture will start to fill the air, getting you excited for the next steps.
Step 3. Add Egg Yolks Slowly
Once your milk mixture is smooth and well-combined, it’s vital to add the egg yolks slowly to prevent them from scrambling. This step is significant for achieving that velvety texture you crave in butterscotch pudding.
Follow these simple steps to guarantee success:
- Temper the Yolks: Start by adding a small amount of the warm milk mixture into a bowl with the egg yolks, whisking constantly. This helps raise their temperature gradually.
- Combine Gradually: Once the yolks are warmed up, slowly pour the yolk mixture back into the pot with the remaining milk. Keep whisking as you do this; it keeps everything smooth.
- Whisk, Whisk, Whisk: Make sure to whisk continuously. This not only prevents the egg yolks from cooking too fast but also integrates them perfectly with the milk.
- Don’t Rush: Take your time with this process. It’s tempting to pour everything in quickly, but patience is key for a creamy pudding.
Step 4. Heat Mixture Until Thickened
Now it’s time to heat the mixture until it thickens, transforming your pudding into a luscious dessert. Place the saucepan over medium heat, stirring constantly with a wooden spoon or whisk. This step is essential, as you want to prevent the mixture from sticking to the bottom of the pan.
As the heat rises, you’ll notice the mixture begins to bubble gently. Keep stirring—this helps to evenly distribute the heat and guarantees a smooth texture.
You’ll want to watch for the moment when the pudding starts to thicken. It’ll take about 5 to 10 minutes, and you’ll know it’s ready when it coats the back of your spoon. When this happens, you might feel a rush of excitement, knowing you’re just a few steps away from enjoying your homemade butterscotch pudding!
Be patient and attentive. If you notice any lumps forming, don’t hesitate to whisk more vigorously. Your goal is to achieve a creamy, velvety consistency that’s irresistible.
Once thickened, remove the saucepan from the heat, and let it cool slightly before moving on to the next step. You’re doing great—keep it up!
Step 5. Add Vanilla Extract Now
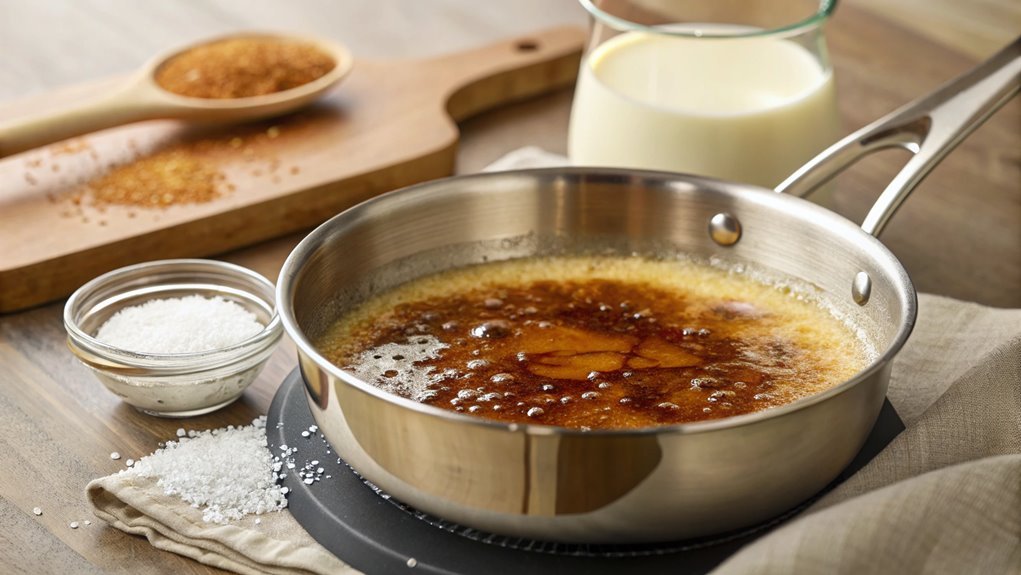
As soon as your pudding has thickened beautifully, it’s time to add the vanilla extract for that signature flavor boost. This step not only elevates your butterscotch pudding but also brings a warm, comforting aroma that will have everyone excitedly anticipating dessert.
Here’s how to make the most of this moment:
- Measure carefully: Use about 1 teaspoon of pure vanilla extract. This amount strikes the perfect balance without overpowering the butterscotch flavor.
- Stir gently: Once you’ve added the vanilla, stir gently but thoroughly. You want to make sure the extract is evenly distributed throughout the pudding.
- Taste and adjust: Take a quick taste to see if it needs a bit more vanilla. If you love that rich flavor, feel free to add a drop more!
- Let it cool: After incorporating the vanilla, allow the pudding to cool to room temperature before refrigerating. This helps the flavors meld together beautifully.
Now you’re just moments away from enjoying a luscious, homemade butterscotch pudding. Get ready to scoop out that creamy goodness and share it with friends and family!
Final Thoughts
While making butterscotch pudding might seem intimidating at first, you’ll find that the process is both rewarding and enjoyable.
Once you gather your ingredients and start cooking, the sweet aroma of caramelized sugar will fill your kitchen, making your mouth water in anticipation. The creamy texture and rich flavor of homemade butterscotch pudding are simply unbeatable.
Don’t be afraid to experiment with variations! You can add a pinch of sea salt for a delightful contrast or even fold in whipped cream for extra lightness.
Serving it in individual cups or a beautiful dish can elevate your dessert presentation, impressing anyone who gets to enjoy it.
Frequently Asked Questions
Can I Use a Sugar Substitute for This Recipe?
Yes, you can use a sugar substitute in recipes. Just make certain it’s suitable for cooking and adjust the amount according to the package instructions. You might need to tweak other ingredients for the best results.
How Long Can Butterscotch Pudding Be Stored?
You can store butterscotch pudding for about 3 to 5 days in the fridge. Curiously, 60% of homemade desserts get eaten within two days, so enjoy it while it’s fresh and delicious!
Is This Recipe Suitable for a Gluten-Free Diet?
Yes, this recipe can be suitable for a gluten-free diet, provided you use gluten-free ingredients. Always check labels to verify there’s no hidden gluten. Enjoy your delicious treat without worrying about gluten!
Can I Make Butterscotch Pudding in Advance?
You can definitely whip up butterscotch pudding ahead of time. Just store it in the fridge, covered, until you’re ready to serve. It’ll taste just as delightful, like a classic vinyl record!
What Toppings Pair Well With Butterscotch Pudding?
You can elevate your dessert with toppings like whipped cream, crushed toffee bits, chocolate shavings, or a sprinkle of sea salt. Fresh bananas or caramel sauce also complement the rich flavors beautifully for a delightful finish.
Conclusion
Now that you’ve mastered butterscotch pudding, prepare to enjoy a dessert that’s pure bliss. Each creamy spoonful offers a comforting warmth, perfect for chilly days.
Relish its rich flavors alone or with velvety whipped cream; this treat is sure to impress. Roll up your sleeves and indulge in this delightful dessert—you deserve every delectable bite!
