Pineapple Upside-Down Cake Recipe
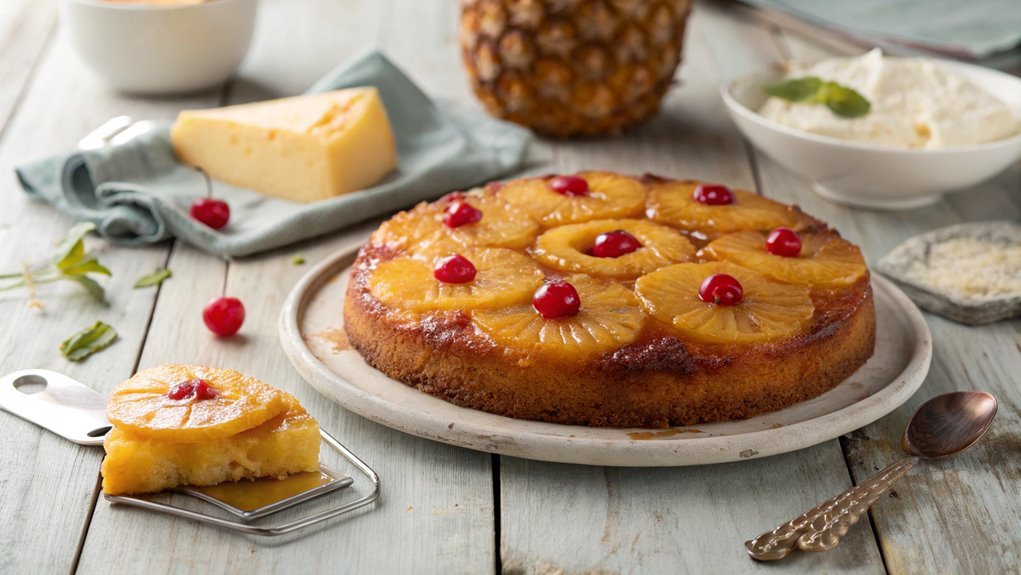
A Pineapple Upside-Down Cake is a visually stunning dessert that combines a beautiful presentation with a delicious mix of flavors. Achieving the perfect caramelized topping and moist cake texture is key to making it the star of any gathering.
Mastering a few essential steps will enhance your baking skills and ensure success. With these techniques, your cake will consistently impress and delight all who taste it.
Recipe
Pineapple Upside-Down Cake is a classic dessert that combines the sweet, caramelized flavor of pineapples with a moist, buttery cake. This delightful treat isn’t only visually stunning but also incredibly easy to make, making it a perfect choice for gatherings, potlucks, or a cozy family dessert night.
The art of flipping the cake allows the vibrant pineapple rings to take center stage, creating an eye-catching presentation that’s sure to impress your guests.
To get started, you’ll want to gather all your ingredients and preheat your oven to 350°F (175°C). The combination of brown sugar and butter creates a luscious base for the pineapples, while the cake batter is light and fluffy, ensuring a delightful contrast in textures.
With just a few simple steps, you’ll have a delicious Pineapple Upside-Down Cake ready to be enjoyed.
Ingredients:
- 1/2 cup unsalted butter
- 1 cup packed brown sugar
- 1 can (20 oz) sliced pineapple in juice, drained
- Maraschino cherries
- 1 cup all-purpose flour
- 1 cup granulated sugar
- 1/2 cup milk
- 2 large eggs
- 1 1/2 tsp baking powder
- 1 tsp vanilla extract
- 1/4 tsp salt
Now let’s move on to the cooking steps.
Cooking Steps
Now that you’ve got the recipe, it’s time to get cooking!
Start by preheating your oven to 350°F so it’s ready to bake that delicious cake.
As you prepare the pineapple topping and mix the cake batter, you’ll feel the excitement building—just wait until you see how it all comes together!
Step 1. Preheat Oven to 350°F
To kick off your Pineapple Upside-Down Cake, you’ll want to preheat your oven to 350°F. This step is essential because it guarantees your cake bakes evenly and achieves that perfect golden-brown color.
As the oven heats up, it creates the ideal environment for your cake to rise beautifully, giving it a light and fluffy texture.
While you wait for the oven to reach the right temperature, take a moment to gather your ingredients and get everything ready. This little preparation will set you up for success and make the entire baking process smoother. You’ll find that the anticipation of baking really adds to the excitement!
Once the oven signals it’s reached 350°F, you’ll be ready to move on to the next steps. Just imagine the sweet aroma of pineapple and cake wafting through your kitchen, making your mouth water in anticipation.
Preheating your oven properly is the first step toward creating a delicious dessert that you and your loved ones will enjoy. So, embrace the moment, feel the warmth of the oven, and get ready to create something truly special! Happy baking!
Step 2. Prepare the Pineapple Topping
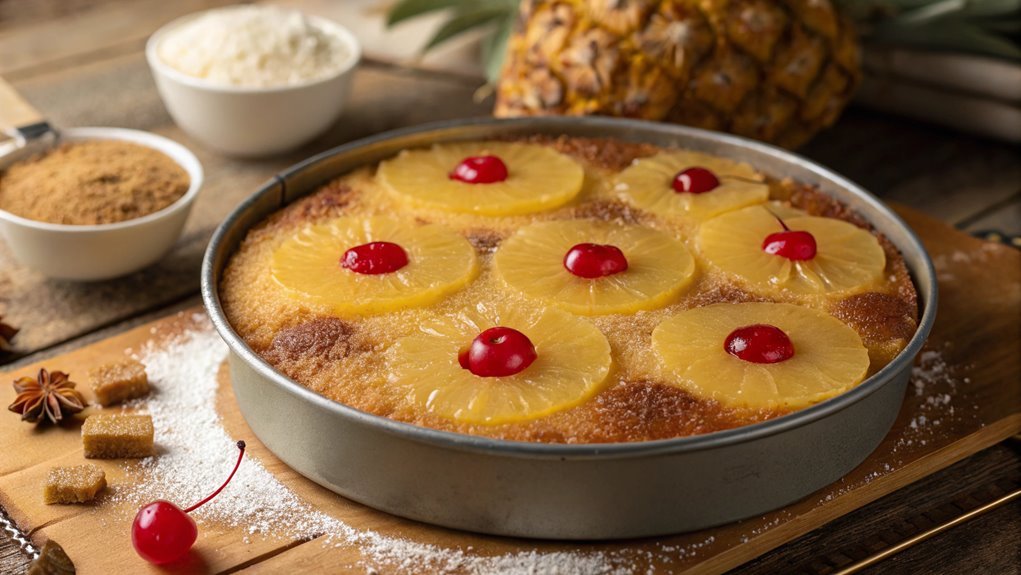
Before you plunge into mixing your cake batter, it’s important to prepare the pineapple topping, as this will create a delicious base for your cake.
Start by gathering your ingredients: canned pineapple rings, brown sugar, and butter. You’ll want to use a heavy skillet for this step.
Melt the butter over medium heat, and as it sizzles, sprinkle in the brown sugar. Stir these together until the mixture bubbles and turns into a lovely caramel. This step is key, as it’ll infuse your cake with rich flavor.
Once the sugar and butter are combined, carefully arrange the pineapple rings in the skillet, making sure they fit snugly. Don’t forget to add maraschino cherries in the center of each ring for a pop of color and sweetness!
Let the pineapple topping cook on low heat for about five minutes. This helps the flavors meld beautifully, enhancing your cake’s overall taste.
Afterward, you’re all set! Allow the topping to cool slightly before you pour your cake batter over it. This tasty topping will elevate your pineapple upside-down cake to new heights, making it a delightful treat everyone will love!
Step 3. Mix Cake Batter Thoroughly
With the pineapple topping prepared and cooling in the skillet, it’s time to focus on mixing the cake batter. Grab your mixing bowl and start by combining the dry ingredients. Whisk together the flour, baking powder, and a pinch of salt to guarantee everything’s well blended.
In a separate bowl, cream the butter and sugar until it’s light and fluffy—this step is essential for a delightful texture. Add in the eggs one at a time, beating well after each addition.
Now, it’s time to mix the wet and dry ingredients together. Alternate between adding the dry mixture and milk to your butter-sugar-egg mix, stirring gently until just combined. Don’t overmix! You want the batter to be smooth but still a little lumpy. This helps keep your cake tender and moist.
Lastly, fold in any additional flavorings, like vanilla extract, to elevate the taste. As you mix, let the sweet aroma fill your kitchen, and get excited—your delicious pineapple upside-down cake is just a few steps away!
Enjoy the process and take pride in creating something wonderful from scratch.
Step 4. Pour Batter Over Pineapple
Carefully pour the cake batter over the cooled pineapple topping in the skillet, ensuring an even distribution. This step is essential for achieving that beautiful, caramelized look when you flip the cake over.
As you pour, take your time and gently spread the batter with a spatula if needed. You want to make sure every bit of pineapple gets covered, creating a delightful surprise in every slice.
Here are a few tips to keep in mind:
- Don’t rush! Pour slowly to avoid disturbing the topping.
- Use a spatula to help spread the batter evenly if needed.
- Check for lumps in the batter before pouring, ensuring a smooth texture.
This is where the magic starts! Once the batter is in place, you can already imagine the sweet aroma filling your kitchen as it bakes.
Your patience will pay off with a cake that’s not only delicious but also visually stunning. So, get ready to flip and reveal that gorgeous pineapple topping!
You’re one step closer to enjoying a slice of this classic dessert. Enjoy the process, and let the anticipation build!
Step 5. Bake for 30 Minutes
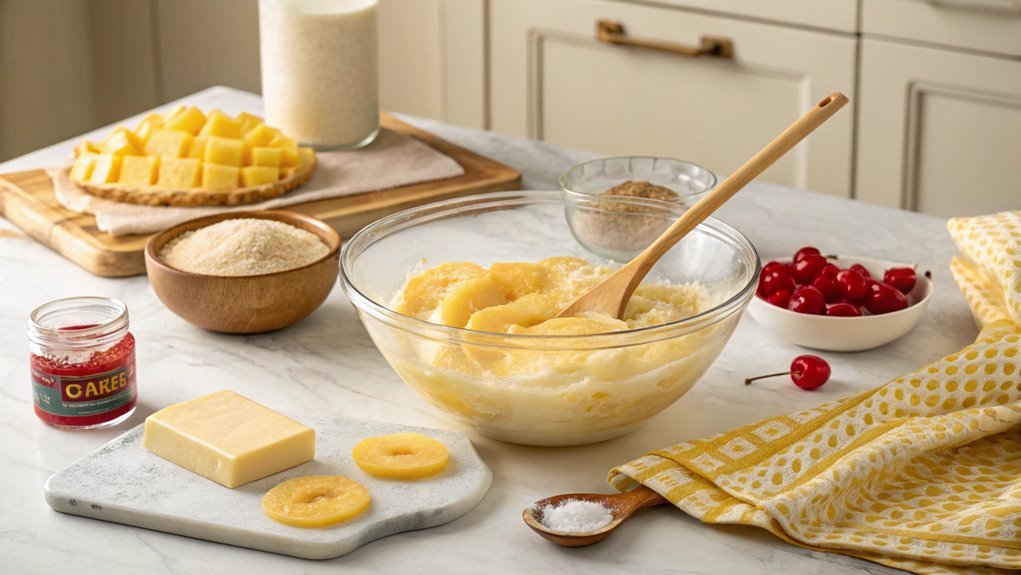
Now that your batter is poured over the pineapple, it’s time to bake! Preheat your oven to 350°F (175°C) if you haven’t already.
Place your cake in the oven and set a timer for 30 minutes. As the cake bakes, your kitchen will fill with the sweet aroma of caramelizing brown sugar and buttery goodness. It’s an exciting moment, and you may find yourself peeking through the oven door to catch a glimpse of that golden-brown top.
While the cake bakes, resist the urge to open the oven door too often. Each time you do, heat escapes, which can affect how evenly your cake rises. Instead, take this time to clean up your workspace and prepare for the delicious treat ahead.
Once the timer goes off, check for doneness by inserting a toothpick into the center. If it comes out clean, your cake is ready!
When you pull it from the oven, let it cool for a few minutes. This is an essential step, as it allows the flavors to settle and makes it easier to flip.
Get ready for that delightful moment when you turn it upside down!
Final Thoughts
As you savor the last bite of your homemade pineapple upside-down cake, it’s clear that this dessert brings a delightful twist to any occasion.
The combination of sweet pineapple, buttery caramel, and fluffy cake creates a symphony of flavors that’s hard to resist. Whether you’re celebrating a special event or just enjoying a cozy night in, this cake is sure to impress!
If you’re still on the fence about making this treat, consider these reasons:
- Versatile for Any Occasion: Perfect for birthdays, potlucks, or just a sweet weekend treat.
- Easy to Make: With simple ingredients and straightforward steps, you’ll find it a breeze to whip up.
- Impressive Presentation: The stunning presentation will wow your guests, making you the star of the gathering!
Frequently Asked Questions
Can I Use Fresh Pineapple Instead of Canned?
Yes, you can definitely use fresh pineapple instead of canned. Just make sure to slice it properly and adjust the cooking time slightly, as fresh fruit may release more moisture during baking. Enjoy your creation!
How Can I Make a Gluten-Free Version?
You can easily make a gluten-free version by substituting regular flour with a gluten-free blend. Just guarantee the blend contains xanthan gum for proper texture, and you’ll enjoy a delicious cake without gluten!
What Can I Substitute for Butter in the Recipe?
Imagine butter as the sun in your baking universe. You can substitute it with coconut oil, applesauce, or vegan butter. Each brings unique flavors and textures, ensuring your creation shines just as bright!
How Do I Store Leftover Cake?
To store leftover cake, wrap it tightly in plastic wrap or place it in an airtight container. Keep it at room temperature for a few days or refrigerate for longer freshness. Enjoy your delicious treat later!
Can I Make This Cake Ahead of Time?
You can make this cake ahead of time, and about 60% of bakers prefer it that way. It’ll actually taste better after resting, so don’t hesitate to prepare it a day in advance!
Conclusion
Enjoy the caramelized pineapple rings atop a fluffy, buttery base in your homemade Pineapple Upside-Down Cake. It’s a slice of sunshine perfect for any occasion. The sweet aroma in your kitchen is just a hint of the joy to be shared. Gather loved ones, serve it warm, and let this treat bring smiles and sweet memories.
