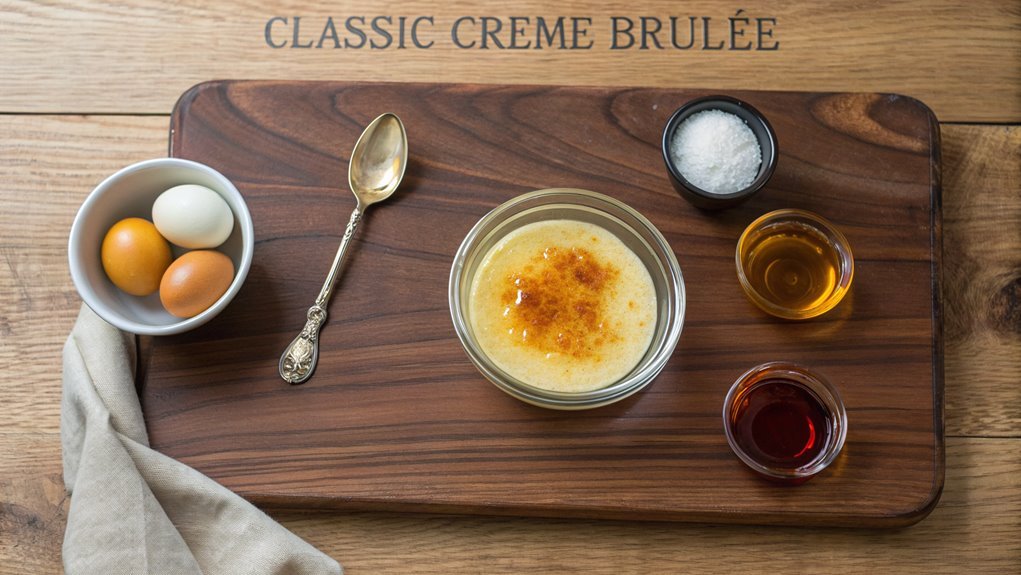
Classic Crème Brûlée Recipe
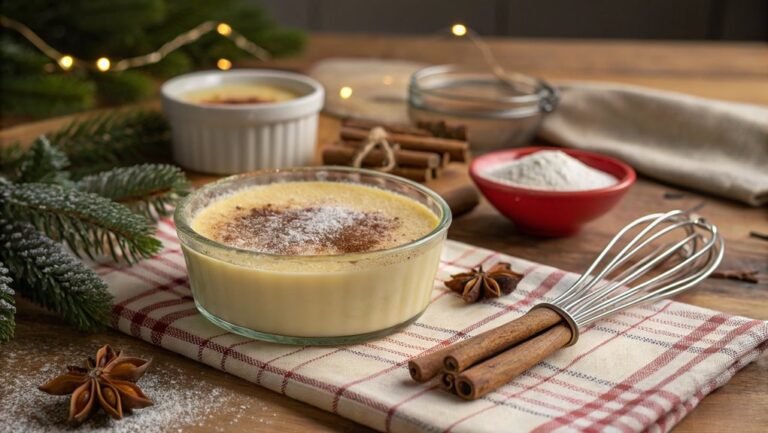
Crème brûlée is a classic French dessert featuring creamy custard and a caramelized sugar crust. Despite its elegance, it is surprisingly simple to make by focusing on a few key ingredients and techniques.
Achieving the dessert’s silky texture and golden crust doesn’t require culinary expertise. Understanding the preparation nuances is essential, and with a few steps, you can create a treat that elevates any dining experience.
Recipe
Classic Crème Brûlée is a timeless dessert that embodies sophistication yet is surprisingly simple to make. With a velvety custard base infused with vanilla and a contrasting crunchy caramelized sugar topping, this delightful treat is sure to impress at dinner parties or simply satisfy a sweet craving.
The magic lies in the delicate balance of flavors and textures, with the creamy custard melting on your tongue while the crackling sugar layer offers an exhilarating crunch.
To prepare this indulgent dessert, you’ll need to start by combining high-quality ingredients and carefully following the method to guarantee a perfectly set custard. The fundamental step is to temper the egg yolks, which adds richness without curdling.
Once baked and cooled, the crème brûlée is finished with a sugar topping caramelized to perfection using a kitchen torch or broiler, creating a stunning presentation that’s hard to resist.
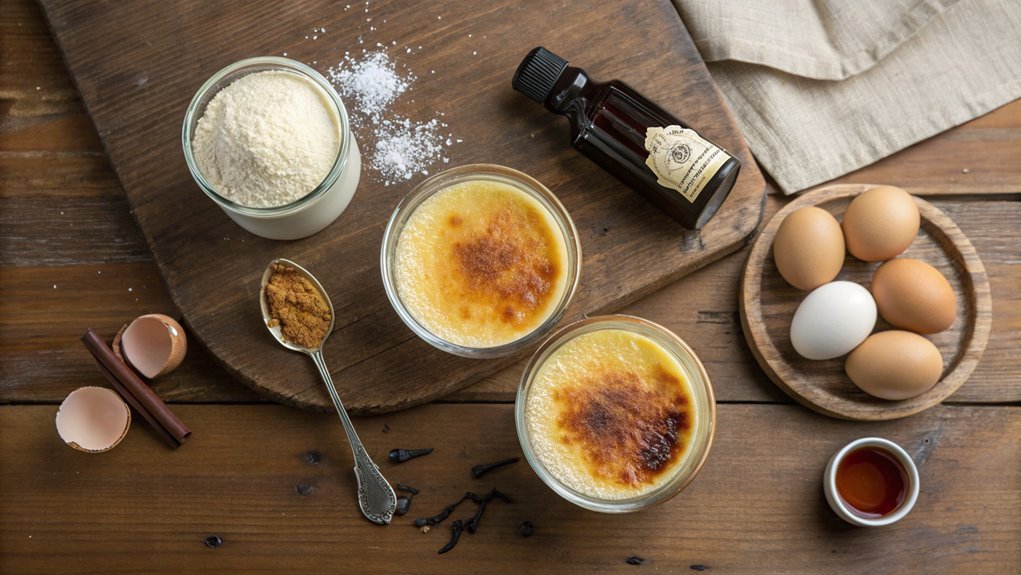
Ingredients:
- 2 cups heavy cream
- 1 teaspoon vanilla extract
- 5 large egg yolks
- ½ cup granulated sugar (plus extra for caramelizing)
- 1/4 teaspoon salt
Now let’s move on to the cooking steps.
Cooking Steps
Now that you have your ingredients ready, it’s time to get cooking!
You’ll start by preparing the cream mixture, which is the heart of your crème brûlée, so pay attention to the details.
After chilling it for four hours and caramelizing the sugar with a torch, you’ll end up with an elegant dessert that’s sure to impress, especially when served with fresh berries on top!
Step 1. Prepare the Cream Mixture
To prepare the cream mixture for your crème brûlée, start by combining two cups of heavy cream and one cup of whole milk in a saucepan. This combination creates a rich and luscious base that will give your dessert its signature silky texture.
Over medium heat, gently warm the mixture until it starts to steam, but don’t let it boil. Stir it occasionally, allowing the ingredients to mingle beautifully.
Next, you’ll want to add some delightful flavors. Consider adding:
- Vanilla Bean: Split a vanilla bean and scrape the seeds into the mixture for deep flavor.
- Sugar: Sweeten with ½ cup of granulated sugar, stirring until it fully dissolves.
- Salt: A pinch of salt enhances the flavors, making everything taste better.
- Nutmeg or Orange Zest: These add a unique twist if you’re feeling adventurous!
Once everything’s combined, remove the saucepan from the heat.
Allow the warm mixture to cool slightly before moving on to the next stage. Your creamy concoction is starting to take shape, and you’re well on your way to creating something truly special!
Step 2. Chill Mixture for Four Hours
After your cream mixture has cooled slightly, it’s vital to chill it in the refrigerator for at least four hours. This step might seem simple, but it’s important for achieving the perfect texture and flavor in your crème brûlée. Chilling the mixture allows it to thicken and meld together beautifully, creating that rich, custard-like base you crave.
When you place your mixture in the fridge, cover it tightly with plastic wrap, so it doesn’t absorb any unwanted odors. You’ll want the flavors to shine through without interference.
As the mixture chills, the anticipation will build, and you’ll dream of that creamy custard topped with caramelized sugar.
While you wait, this is a great time to prepare for the next steps. Gather your ramekins, a torch, and any ingredients you’ll need for the final touches. Enjoy this downtime, because the result will be so worth it!
Once your mixture has chilled for the right amount of time, you’ll be just one step away from serving decadent, homemade crème brûlée to friends and family. So, get excited—deliciousness is just around the corner!
Step 3. Pour Into Ramekins
Once your chilled mixture is ready, carefully pour it into individual ramekins, filling each one about three-quarters full. This is where your crème brûlée starts to take shape! As you pour, take a moment to admire the golden color of your custard mixture, a sign of the delicious dessert to come.
Make certain to use a steady hand to avoid spilling; a small mess is okay, but you want to keep things clean for presentation.
Once you’ve filled all your ramekins, set them aside to settle for a moment. This step is essential because it helps to guarantee an even texture. You’ll love how these little dishes of creamy goodness come together.
Here are a few tips to keep in mind:
- Use a spouted measuring cup for easier pouring.
- If bubbling appears, gently tap the ramekins to release air.
- Consider using a roasting pan for easy transport.
- Wipe any drips off the edges of the ramekins for a polished look.
With all your ramekins filled, you’re so close to enjoying a classic crème brûlée! Embrace the excitement as you prepare for the next step: caramelizing the sugar!
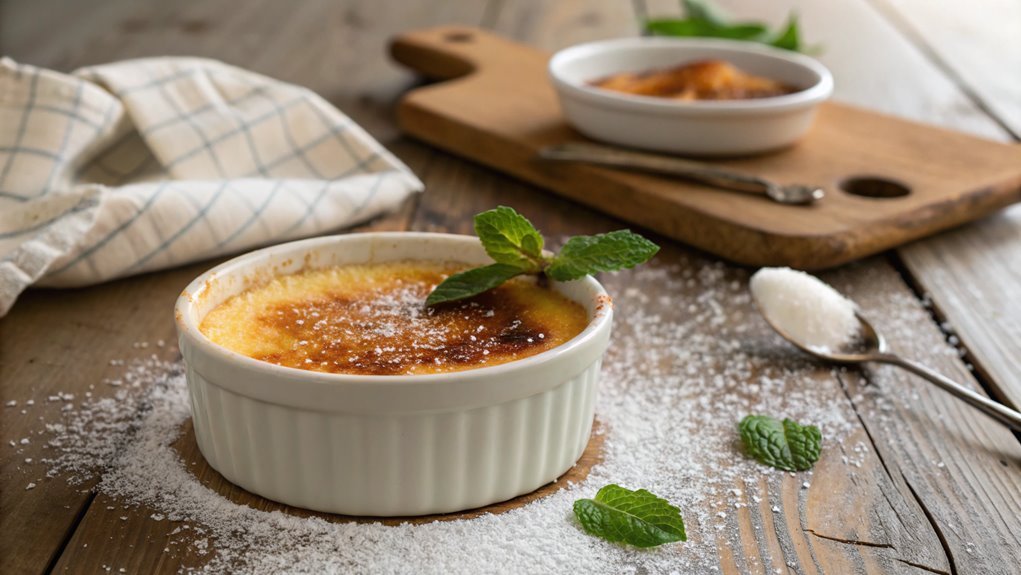
Step 4. Caramelize Sugar With Torch
Caramelizing the sugar on top of your crème brûlée is the moment that transforms your dessert from delicious to extraordinary. Grab your kitchen torch and set it aside, because this is where the magic happens!
Start by sprinkling an even layer of granulated sugar over the chilled custard in each ramekin. Make sure it’s not too thick, just enough to cover the surface fully.
Now, ignite your torch, aiming the flame at the sugar. Keep the flame about two inches away and move it in small circles for an even caramelization. You’ll see the sugar start to melt and bubble. Stay focused!
As the sugar begins to turn golden brown, you’re witnessing the transformation that creates that delightful crunchy top we all love.
Once you’ve achieved that perfect caramel color—think of a rich amber—you can stop torching. Let the ramekins cool for a minute, allowing the sugar to harden. This will give you that satisfying crack when you break through with your spoon.
You’re almost there! The anticipation of enjoying your crème brûlée is sure to make your heart race. Now, it’s time to enjoy the fruits of your labor!
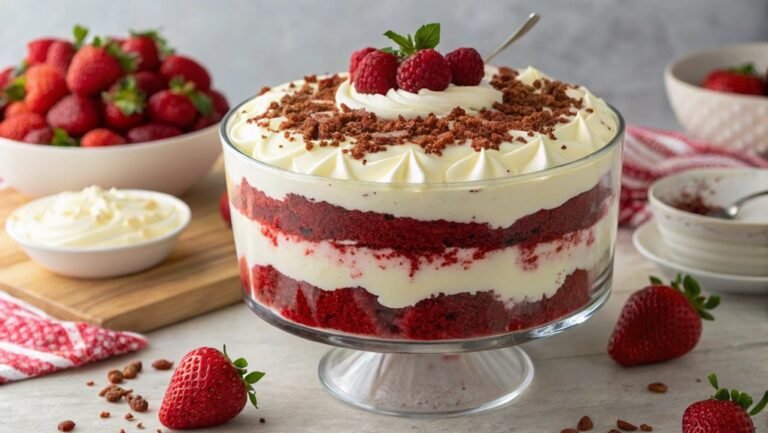
Step 5. Serve With Fresh Berries
To enhance your crème brûlée experience, serve it alongside fresh berries for a burst of color and flavor. The creamy richness of the custard perfectly complements the tartness and juiciness of seasonal fruits.
Plus, the vibrant colors make your dessert visually stunning. Imagine the impressive presentation when berries spill across the plate, adding an appealing touch to your sweet treat!
Here are some delicious berry options to contemplate:
- Raspberries: Their slight tartness will balance the sweet custard beautifully.
- Strawberries: The sweetness of ripe strawberries can elevate the dessert to new heights.
- Blueberries: Their juicy pops of flavor and striking color create a fun contrast.
- Blackberries: These bold berries add a deep, rich taste that pairs wonderfully with crème brûlée.
When serving, you can arrange the berries artistically on the plate or even create a small berry compote to drizzle over each serving.
Don’t forget a sprig of mint for that extra touch! By adding fresh berries, you’re not just enhancing the taste but also creating a dessert experience that’s sure to impress your family and guests.
Enjoy every delightful bite!
Final Thoughts
While mastering the classic crème brûlée may seem challenging, the result is a truly rewarding dessert that impresses both guests and yourself.
Once you engage with this delightful recipe, you’ll discover the magic of silky custard beneath that elegantly bruléed sugar crust. It’s not just about the taste; it’s the texture, the contrast, the enjoyment of cracking through that caramel layer with your spoon.
Imagine serving this decadent treat at your next gathering. As you dish it out for friends and family, watch their faces light up with anticipation. They won’t believe you made it yourself! Not only is it a feast for the taste buds, but it also elevates any occasion into something special.
Don’t hesitate to experiment, either. You can infuse flavors like vanilla, espresso, or even citrus to make the dessert your own.
So, gather your ingredients, fire up that kitchen torch, and get ready to impress. You’ll soon find that creating crème brûlée isn’t only achievable but also a joyful experience that leaves a lasting impression.
Frequently Asked Questions
Can I Use Alternatives to Heavy Cream in This Recipe?
Yes, you can use alternatives to heavy cream, like coconut cream or cashew cream, for a different flavor. Just keep in mind that the texture might change a bit, so adjust your recipe accordingly!
How Long Does Crème Brûlée Last in the Fridge?
Crème brûlée lasts about three to four days in the fridge. Make sure you cover it tightly to prevent absorbing odors. Enjoy it within that time for the best flavor and texture!
What Sugar Is Best for the Caramelized Crust?
When it comes to creating that perfect caramelized crust, granulated sugar’s your best friend. It melts evenly, forming a crispy layer that contrasts beautifully with creamy desserts, giving you satisfaction with every delicious bite.
Can I Make Crème Brûlée in Advance?
Yes, you can definitely make crème brûlée in advance. Prepare the custard the day before, refrigerate it, and then caramelize the sugar right before serving. This way, you’ll enjoy a perfect dessert without the last-minute rush.
What Kitchen Tools Do I Need for This Recipe?
You’ll need a few essential tools: ramekins for baking, a whisk for mixing, a saucepan for heating, a fine mesh strainer for smoothness, and a kitchen torch for that perfect caramelized sugar topping.