Eggnog Custard Recipe
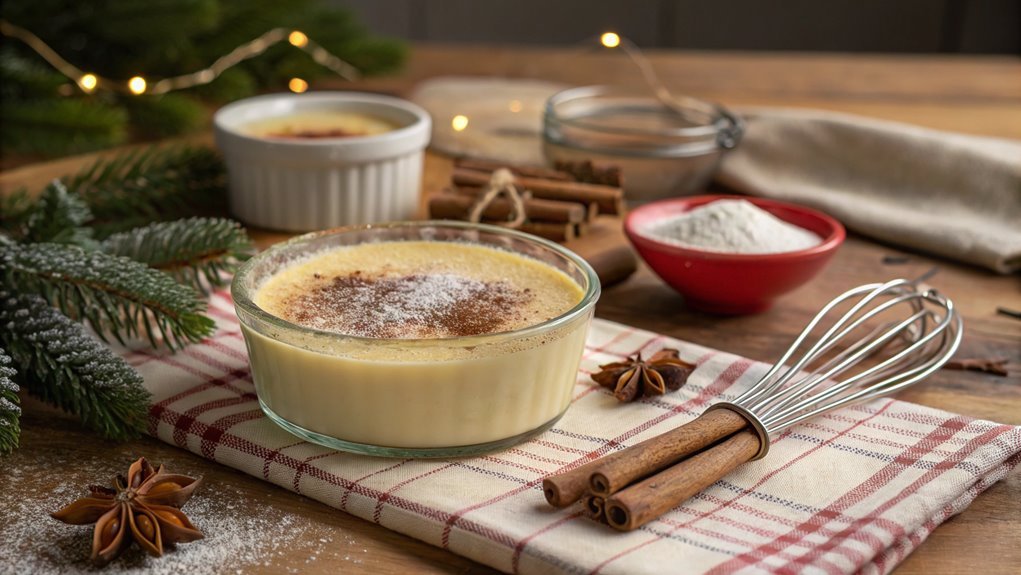
Eggnog custard, like a warm hug on a chilly winter night, combines comforting flavors that elevate any holiday gathering. Creating this creamy dessert is an art form that requires attention to detail as you whisk eggs and sugar to perfection before mixing with rich milk and cream.
The secret to the perfect texture and taste lies in understanding the magic behind each step. By focusing on precise execution, you can achieve a delightful custard that impresses every guest.
Recipe
Eggnog custard is a delightful holiday treat that brings the festive flavors of eggnog into a creamy, comforting dessert. This rich custard is perfect for serving during holiday gatherings or simply enjoying on a cozy winter evening.
The combination of eggs, milk, cream, and warming spices like nutmeg and cinnamon creates a luscious texture and a taste that evokes the spirit of the season.
Making eggnog custard is a simple process that requires just a few ingredients and some patience. The key to a perfect custard is to cook it slowly and gently, allowing the flavors to meld without curdling the eggs.
Once prepared, this custard can be served warm or chilled, making it a versatile dessert option for any occasion.
Ingredients:
- 2 cups whole milk
- 1 cup heavy cream
- 3/4 cup granulated sugar
- 5 large eggs
- 1 teaspoon vanilla extract
- 1 teaspoon ground nutmeg
- 1/2 teaspoon ground cinnamon
- Pinch of salt
Now let’s move on to the cooking steps.
Cooking Steps
Now that you’ve gathered your ingredients, it’s time to get cooking!
Start by whisking the eggs and sugar together until they’re nice and smooth, then add in your creamy milk mixture.
As you heat it up until it thickens, you’ll be one step closer to a deliciously rich eggnog custard that’s perfect for chilling and serving!
Step 1. Whisk Eggs and Sugar Together
Start by vigorously whisking the eggs and sugar together in a medium bowl until the mixture is smooth and well combined. This step is essential, as it creates the foundation for your delicious eggnog custard.
Feel the excitement as you see the color transform into a lovely pale yellow, indicating that the ingredients are marrying perfectly.
As you whisk, you’ll notice the sugar dissolving, creating a creamy texture that’s simply irresistible. The aroma of fresh eggs fills the air, making the process even more delightful.
Keep whisking until you achieve a fluffy consistency—this will help incorporate air, giving your custard a light and airy feel.
Imagine:
- The silky texture of the egg and sugar blend coating your whisk.
- The vibrant yellow hue brightening up your kitchen counter.
- The anticipation building as you prepare for the next step in your eggnog adventure.
This is where the magic begins! Trust the process, and enjoy this hands-on moment.
With each whisk, you’re not just mixing ingredients; you’re crafting a holiday treat that will warm hearts and bring smiles to faces.
Get ready for the next phase of your eggnog masterpiece!
Step 2. Add Milk and Cream Mixture
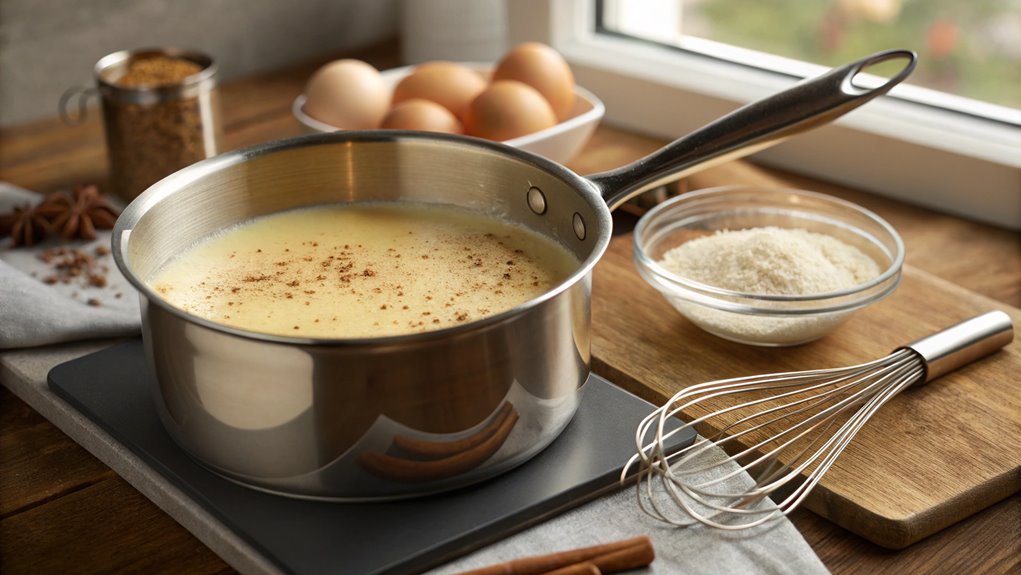
To create a rich and creamy texture, gradually add the milk and cream mixture to your whisked eggs and sugar. This step is essential, as it guarantees a smooth custard without any lumps.
Start by pouring a small amount of the warm milk and cream into the egg mixture while continuously whisking. This technique, called tempering, helps to gently raise the temperature of the eggs, preventing them from scrambling.
Once you’ve combined a bit of the liquid, you can confidently add the rest of the mixture in a slow, steady stream. Keep whisking! This is where the magic happens, as the creamy goodness blends beautifully with the sweetened eggs, creating a velvety custard.
Don’t rush this process; take your time to guarantee everything mixes evenly. It’s all about achieving that perfect consistency.
You’ll notice the mixture becoming thicker and more luxurious as you whisk. Plus, the aroma of the milk and cream will fill your kitchen with a delightful scent that’s hard to resist.
Step 3. Heat Mixture Until Thickened
As you pour the custard mixture into a saucepan, heat it over medium-low heat while stirring constantly. This step is vital for achieving that smooth, velvety texture you desire.
As the mixture warms, you’ll notice it begins to thicken. Keep an eye on it, and don’t rush; patience is key here.
You’ll want to look for these signs that your custard is thickening:
- A creamy, luscious consistency that coats the back of a spoon
- Tiny bubbles forming around the edges as it simmers gently
- A rich aroma of spices and sweetness filling your kitchen
Continue stirring until the custard reaches the perfect thickness. This process usually takes about 10 to 15 minutes.
Remember, it should be thick enough to hold its shape when you drizzle it. Once it’s ready, you can feel the excitement building—you’re one step closer to that delightful eggnog custard!
Enjoy the process, and savor the deliciousness that awaits. Your hard work will pay off, and you’ll be thrilled to serve this festive treat to family and friends.
Step 4. Strain Mixture Through Sieve
Once your custard has thickened to perfection, you’ll want to strain it through a sieve to guarantee a silky texture. This step is essential for achieving that smooth, luscious finish that makes eggnog custard so irresistible.
Grab a fine-mesh sieve and place it over a mixing bowl or a large measuring cup.
Now, carefully pour the thickened custard into the sieve. You’ll see some bits of cooked egg and other solids get caught in the mesh. Don’t worry, that’s exactly what you want!
Using a spatula or the back of a spoon, gently press the mixture through the sieve. This helps extract every bit of creamy goodness while leaving behind any unwanted lumps.
Take your time with this step; it’s where all your hard work pays off! Once you’ve strained it all, you should have a beautifully smooth custard ready for the next stage.
You can already imagine how delightful this will taste, right? Enjoy the satisfaction of a job well done as you prepare to chill this custard, making it the perfect treat for any gathering.
Keep up the great work, and let the festive flavors shine through!
Step 5. Chill Custard Before Serving
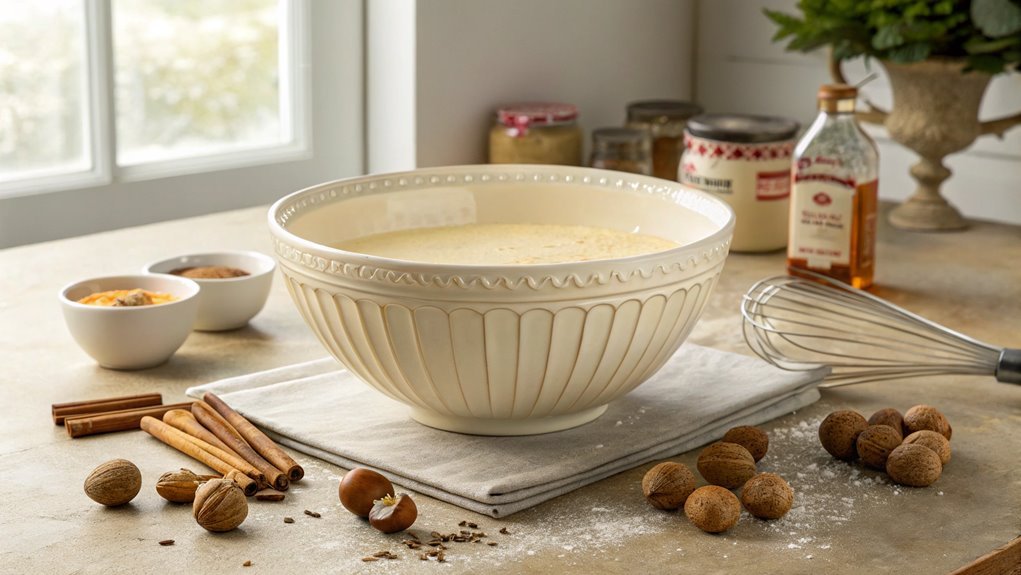
Now that you have your silky eggnog custard, it’s crucial to chill it before serving for the best flavor and texture. Chilling allows the flavors to meld beautifully, creating a delightful treat that’s perfect for the holidays or any special occasion.
To chill your custard, pour it into individual serving dishes or a larger bowl, then cover it with plastic wrap. Make sure the wrap touches the custard’s surface to prevent a skin from forming. Place it in the refrigerator for at least two hours, or until it’s nice and cold.
While you wait, picture how it’ll look when you finally serve it:
- A creamy, golden custard, glistening in the light
- A sprinkle of freshly grated nutmeg, adding a festive touch
- A dollop of whipped cream, inviting and airy atop each serving
Once your custard has chilled, it’s ready to shine! Serve it as a decadent dessert, and watch as your family and friends indulge in this heavenly treat.
You’ll love how easy it’s to impress everyone with such a delightful dish. Enjoy the process, and savor every sweet spoonful!
Final Thoughts
While you may have enjoyed making this eggnog custard, the real pleasure comes from savoring the rich, creamy dessert with family and friends.
Picture yourself gathered around the table, sharing laughter and stories, while everyone digs into this delightful treat. It’s not just a dessert; it’s a moment of connection, a sweet memory in the making.
As you take that first spoonful, you’ll experience the warm spices and the smooth texture that make eggnog custard so special.
You’ve put in the effort, and now it’s time to relish the fruits of your labor. Whether you choose to serve it chilled, warm, or with a sprinkle of nutmeg on top, each bite is a reminder of the joy that comes from cooking and sharing.
Don’t hesitate to experiment with this recipe, too! You can adjust the sweetness or add your favorite flavors to create your unique twist.
Invite your loved ones into the kitchen, and let them join in the fun. After all, cooking is about bringing people together.
Frequently Asked Questions
Can I Use Store-Bought Eggnog Instead of Making My Own?
Absolutely, you can use store-bought eggnog instead of making your own. It’ll save you time and still deliver great flavor. Just be sure to check the ingredients to match your desired taste. Enjoy!
How Long Can I Store Leftover Eggnog Custard?
You can store leftover eggnog custard in the refrigerator for up to three days. Make sure it’s in an airtight container to maintain its freshness. Just give it a good stir before serving again!
Is This Custard Suitable for Freezing?
Yes, you can freeze custard, but it may change texture. To maintain quality, cool it completely, transfer to an airtight container, and label it. Thaw in the refrigerator before serving for the best results.
Can I Substitute Dairy for Non-Dairy Alternatives?
Yes, you can substitute dairy with non-dairy alternatives. Just make sure to choose options that match the consistency and flavor profile you desire. Almond milk, coconut milk, or oat milk are great choices for many recipes.
What Spices Pair Well With Eggnog Custard?
Did you know that 60% of people love spicing up desserts? For your custard, try nutmeg, cinnamon, and cloves. They’ll enhance the flavor, creating a warm, cozy treat that’ll impress your guests!
Conclusion
Serve your eggnog custard at your next gathering to surprise guests with its creamy texture and spiced aroma. It might even become a new holiday tradition in your home! Gather your loved ones, share a slice, and celebrate the season with this delightful dessert. Cooking can truly bring people together in heartwarming ways.
