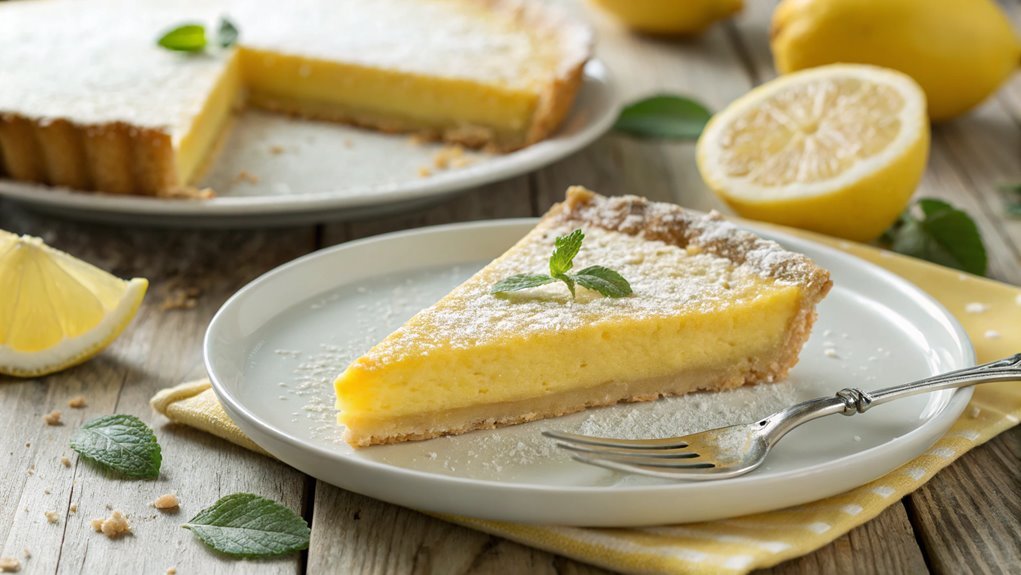
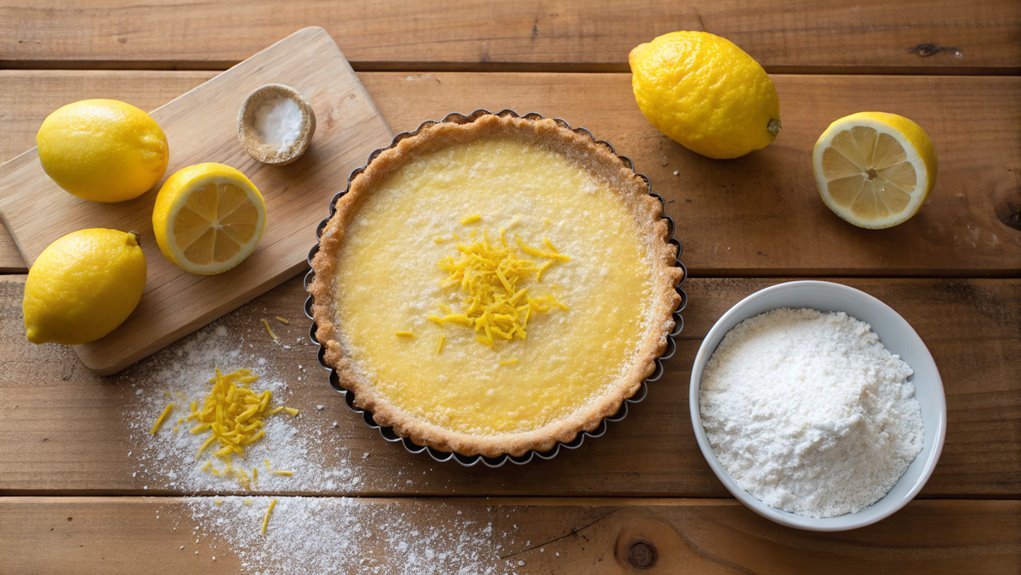
Gluten-Free Lemon Tart Recipe

Picture hosting a gathering where your gluten-sensitive friend praises your homemade gluten-free lemon tart, unaware it’s tailored to their needs. You’ve crafted a dessert that impresses with bright flavors and satisfying texture, appealing to everyone. Curious about achieving this balance of taste and dietary consideration? The process is simpler than you might think, and the results will elevate any occasion.
Recipe
If you’re looking for a delightful dessert that doesn’t compromise on flavor, this gluten-free lemon tart is the perfect solution. With its zesty lemon filling and a buttery, crumbly crust, it’s a satisfying treat that’s easy to prepare.
Whether serving it for a special occasion or simply indulging on a sunny afternoon, this tart is sure to impress your family and friends.
To achieve that perfect balance of sweetness and tartness, this recipe uses fresh lemons, which pack a vibrant flavor that will brighten your palate. The gluten-free crust provides a lovely texture that complements the luscious lemon filling, making each bite a rejuvenating experience.
Follow this simple recipe and enjoy a slice of sunny goodness!
Ingredients:
- 1 cup almond flour
- 1/4 cup coconut flour
- 1/2 cup unsalted butter, melted
- 1/4 cup powdered sugar
- 1/4 teaspoon salt
- 2 large eggs
- 1 cup granulated sugar
- 1/2 cup fresh lemon juice
- Zest of 2 lemons
- 1/4 teaspoon baking powder
- Optional: powdered sugar for dusting
Now let’s move on to the cooking steps.
Cooking Steps
Let’s get started on creating your delightful gluten-free lemon tart!
First, you’ll want to preheat your oven to 350°F to guarantee it’s ready for baking.
Then, gather your ingredients and combine them thoroughly to form the crust—it’s the perfect canvas for that zesty lemon filling!
Step 1. Preheat the Oven to 350°F
To kick off your gluten-free lemon tart, preheat your oven to 350°F. This step is essential because it guarantees your tart bakes evenly, resulting in that perfect golden crust and creamy lemon filling. As you turn on the oven, you can feel the excitement build—you’re one step closer to enjoying a delicious treat!
While the oven is heating, take a moment to gather your ingredients and tools. Grabbing everything beforehand helps streamline the process and keeps your kitchen organized. You won’t want to scramble for items later!
Make certain your oven rack is positioned in the center, as this allows for even heat circulation, guaranteeing your tart bakes to perfection.
As the temperature rises, take a deep breath and relish the anticipation. Baking isn’t just about following a recipe; it’s a chance to express your creativity and share something special with loved ones.
Once the oven reaches the desired temperature, you’ll be ready to create that delightful crust that forms the base of your lemon tart. So, let the oven warm up, and get excited—the best part of baking is just around the corner!
Step 2. Combine Crust Ingredients Thoroughly

With the oven preheated, it’s time to combine the crust ingredients thoroughly.
Grab your mixing bowl and let’s create that perfect gluten-free crust! You’ll want to guarantee all your ingredients blend beautifully, setting the stage for a delightful lemon tart. This step isn’t just about mixing; it’s about crafting a delicious foundation.
Here’s what you’ll need to combine:
- Gluten-free flour – Choose your favorite blend!
- Butter – Melted and slightly cooled for easy mixing.
- Sugar – For that delightful hint of sweetness.
- Salt – Just a pinch to enhance all those flavors!
Start by adding the gluten-free flour into the bowl, then pour in the melted butter.
Sprinkle the sugar and salt over the top. Use a fork or your hands to mix everything together until you achieve a crumbly texture, resembling wet sand. This method helps to evenly distribute the ingredients, making certain each bite of your tart is just as scrumptious as the last!
Get excited, you’re well on your way to a revitalizing gluten-free lemon tart!
Keep it up, and soon you’ll savor your hard work with every zesty slice!
Step 3. Chill the Crust for 30 Minutes
Chilling the crust for 30 minutes is essential to achieving that perfect texture. This step is vital as it helps the fats in the crust firm up, ensuring your tart has a lovely, flaky base that holds its shape beautifully.
After you’ve combined your crust ingredients thoroughly, wrap the dough in plastic wrap and place it in the fridge. This short wait might seem like a tedious task, but trust me, the results are absolutely worth it!
While the crust chills, you can gather your other ingredients or even prep your filling, making the most of your time.
Once the 30 minutes are up, you’ll notice the dough feels firmer and easier to handle. Now, you’ll be set for the next steps in creating that delightful lemon tart everyone will love.
Step 4. Bake for 25 Minutes
Lift your chilled crust from the fridge and preheat your oven to 350°F (175°C). It’s time to transform that beautiful crust into a golden-brown masterpiece!
Place your crust in the preheated oven and set a timer for 25 minutes. You’ll want to keep an eye on it as it bakes, ensuring it becomes perfectly cooked, fragrant, and light.
Here’s what to remember while it’s in the oven:
- Watch for the color: Look for a lovely, even golden-brown hue.
- Check the edges: Make sure the edges are set without browning too much.
- Be patient: This is where the magic happens—aroma fills your kitchen!
- Cool it down: Once baked, let your crust cool briefly before touching it.
When the timer goes off, take a moment to admire your hard work.
You’ve just accomplished an important step towards an irresistible lemon tart. The crust will provide a deliciously crunchy base for the zesty lemon filling that’s about to come next.
Enjoy the process, and get ready for the next delicious stage of your tart!
Step 5. Prepare the Lemon Filling

As you prepare for the next step, gathering your ingredients for the lemon filling is essential. You’ll need fresh lemons, eggs, sugar, and cornstarch. The freshness of the lemons will truly elevate the tart, so don’t hesitate to pick out the juiciest ones.
Start by zesting two lemons; this bright yellow zest is packed with flavor. Once you’re done, juice them until you have about half a cup of freshly squeezed lemon juice.
In a mixing bowl, combine the lemon zest, juice, eggs, and sugar. Whisk everything together until it’s smooth and well incorporated.
Now, add in the cornstarch to help give the filling a wonderful, silky texture. Mix again until you see no lumps. Your filling should now look vibrant and inviting! If you’re feeling adventurous, you can even add a pinch of salt to enhance the flavors.
Once your mixture’s ready, pour it into your pre-baked crust. It’s about to go into the oven again, where it will transform into a creamy, delicious lemon filling.
You’re one step closer to enjoying that delightful gluten-free lemon tart!
Final Thoughts
Once you’ve perfected your gluten-free lemon tart, you’ll likely find it becomes a go-to dessert for any gathering. This delightful treat not only impresses with its bright flavor, but it’s also a fantastic way to share a slice of happiness with friends and family.
You’ll love how easy it’s to whip up, and the compliments will surely keep coming!
Remember, baking is all about creativity and enjoyment. Here are a few tips to make your lemon tart experience even better:
- Experiment with different crusts, like almond or coconut flour, for a unique twist.
- Top your tart with fresh berries or a dollop of whipped cream for an extra pop of flavor.
- Don’t hesitate to adjust the sweetness in the filling to suit your taste.
- Serve it chilled; it enhances the invigorating lemon taste and makes for a perfect summer treat.
Frequently Asked Questions
Can I Substitute Ingredients in the Gluten-Free Lemon Tart Recipe?
You can substitute ingredients in recipes, adapting flavors and textures to suit your preferences. Just make sure the replacements match the original’s purpose for a harmonious result. Experiment and enjoy your culinary creativity!
How Do I Store Leftover Lemon Tart Properly?
When life gives you lemons, you’ve gotta savor ’em! Store your leftover lemon tart in the fridge, covered with plastic wrap or in an airtight container, to keep it fresh and flavorful for up to three days.
Is This Lemon Tart Suitable for Vegans?
It depends on the ingredients used. If it’s made with eggs or dairy, it isn’t vegan. However, if you substitute these with plant-based alternatives, then you can enjoy a delicious vegan lemon tart.
What Is the Best Way to Serve Lemon Tart?
Isn’t it delightful when a dessert steals the show? Serve your lemon tart chilled, dusted with powdered sugar, and paired with fresh berries. A dollop of whipped cream adds a creamy touch everyone will love!
Can I Freeze Gluten-Free Lemon Tart for Later Use?
Yes, you can freeze lemon tart for later use! Just wrap it well in plastic wrap or foil, then store it in an airtight container. When you’re ready, thaw it in the fridge before serving.


