Matcha Green Tea Pudding Recipe

Matcha Green Tea Pudding is a simple yet sophisticated dessert with a rich, earthy flavor and creamy texture, perfect for satisfying your sweet tooth while offering health benefits. It’s surprisingly easy to make with just a few ingredients and can be quite versatile.
Consider elevating your experience by experimenting with different serving methods to enhance this delightful dish further. There’s more to this pudding than meets the eye, making it a unique addition to any dessert menu.
Recipe
Matcha green tea pudding is a delightful and healthy dessert that combines the earthy flavors of matcha with a creamy texture that’s sure to satisfy your sweet tooth.
This pudding isn’t only visually appealing with its vibrant green color, but it also packs a nutritional punch, rich in antioxidants and vitamins. It’s perfect for a light dessert or a midday snack, and can be enjoyed by anyone, regardless of dietary preferences, as it can easily be made vegan.
To prepare this delicious pudding, you’ll need a few simple ingredients that come together to create a velvety treat. The subtle bitterness of matcha is balanced with the sweetness of your chosen sweetener, making this dessert both invigorating and indulgent.
Follow the steps below to whip up your own batch of matcha green tea pudding that’s sure to impress family and friends alike.
Ingredients
- 1 cup coconut milk (or any milk of choice)
- 1/4 cup maple syrup (or sweetener of choice)
- 2 tablespoons matcha green tea powder
- 1/4 cup cornstarch
- 1/4 teaspoon salt
- 1 teaspoon vanilla extract
- Optional toppings: whipped cream, fresh berries, or toasted coconut flakes
Cooking Steps
Get ready to create a delicious matcha green tea pudding that’s sure to impress!
First, you’ll prepare the matcha mixture and whisk it in with creamy coconut milk, making it a treat for both your taste buds and your senses.
Once you chill the mixture thoroughly and add sweetener to your liking, you’ll be ready to serve it with fresh berries for a revitalizing finish!
Step 1. Prepare Matcha Mixture
Before you plunge into making the pudding, you’ll need to prepare the matcha mixture. Start by gathering your matcha powder, a fine mesh sieve, and a small bowl. This step is essential because it guarantees your matcha is lump-free and ready to blend seamlessly into your pudding.
Sift about two tablespoons of matcha powder through the sieve into the bowl. Sifting not only breaks up any clumps but also helps aerate the powder, enhancing its vibrant color and flavor.
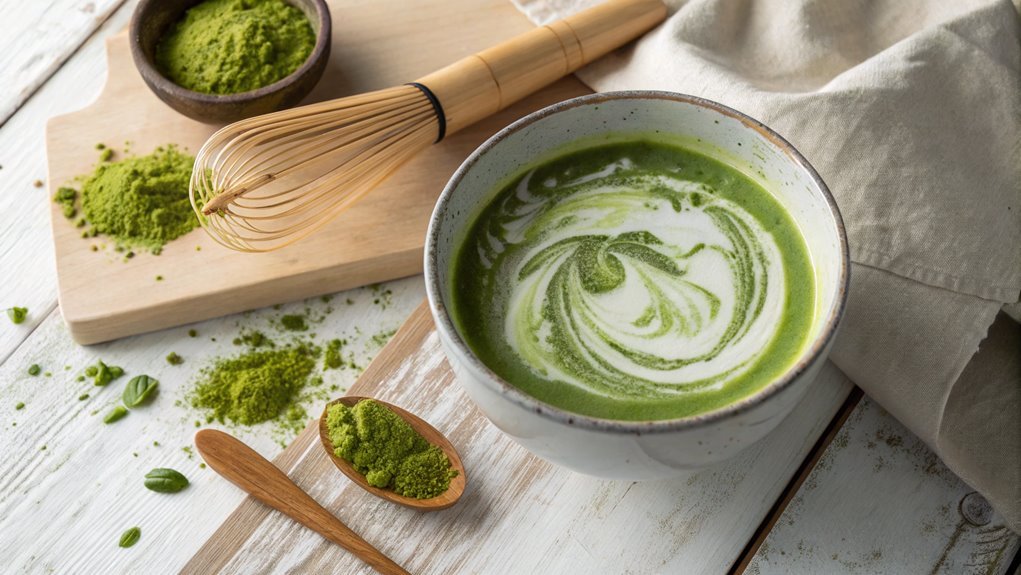
Next, add a couple of tablespoons of warm water to the matcha. Using a bamboo whisk or a small whisk, stir the mixture briskly in a zigzag motion. This technique helps to dissolve the matcha completely, creating a smooth, luscious paste. You want to see no lumps, just a beautiful green liquid!
Once your matcha is perfectly mixed, set it aside. This vibrant mixture is the heart of your pudding and will infuse it with a delightful flavor.
Now that you’ve prepared the matcha, you’re one step closer to creating a creamy, dreamy dessert that’s sure to impress! Get excited; your pudding adventure is just beginning!
Step 2. Whisk in Coconut Milk

Now it’s time to incorporate the creamy goodness of coconut milk into your matcha mixture. This step is essential because coconut milk adds a rich, velvety texture that elevates your pudding to a whole new level.
Start by gently shaking your can of coconut milk to guarantee it’s well mixed. Then, open it and pour about one cup into your bowl with the matcha mixture.
Grab a whisk and start blending! As you whisk, watch how the vibrant green matcha swirls together with the coconut milk, creating a beautiful, smooth blend. Keep whisking until there are no lumps left and the mixture is silky. This shouldn’t take long, just a minute or two.
Don’t rush—take your time to enjoy the process! The aroma of the coconut will fill your kitchen, making it hard to resist.
If you want to sweeten your pudding, consider adding a bit of honey or maple syrup at this stage. Just mix it in, tasting as you go, until you achieve your desired sweetness.
Once it’s perfectly combined, you’re ready to move on to the next step, and trust me, you’ll love the results!
Step 3. Chill the Mixture Thoroughly
Once you’ve achieved a smooth and sweet matcha-coconut mixture, it’s vital to chill it thoroughly for the best results. This step isn’t just about making the pudding cool; it’s significant for enhancing the flavors and achieving that perfect creamy texture you crave.
Begin by transferring your mixture into a clean bowl or individual serving cups. Cover them tightly with plastic wrap or a lid to prevent any unwanted odors from seeping in.
Next, place the mixture in the refrigerator. You’ll want to let it chill for at least two hours, although longer is even better if you can wait. This allows the matcha and coconut flavors to meld beautifully, creating a delightful harmony that’ll tantalize your taste buds.
While it’s chilling, you can take a moment to daydream about the deliciousness waiting for you!
Once the time is up, your pudding will be perfectly set, with a luscious texture that’s oh-so-inviting. It’s time to enjoy your creation. So grab a spoon and get ready to indulge in this revitalizing treat—you deserve it!
Step 4. Add Sweetener to Taste
Taste is key when it comes to your matcha green tea pudding, so adding sweetener is an essential step. After chilling your mixture thoroughly, it’s time to elevate the flavors. You’ve got a few options here, like honey, maple syrup, or a sugar substitute. Each sweetener brings its unique twist to the dish, so feel free to experiment!
Start by adding a small amount of your chosen sweetener. Stir it in well, then take a taste. This part is vital! The idea is to balance the natural earthiness of the matcha with just the right amount of sweetness. If you find it’s not quite sweet enough, add a little more, but remember—less is more. You can always add more, but you can’t take it out!
Once you’ve reached your desired sweetness, give your pudding one last mix. You want everything well combined before serving. This is your moment to shine, so trust your instincts!
Enjoy the process, and don’t hesitate to adjust the sweetness to suit your palate. Your matcha green tea pudding will be deliciously satisfying, making every bite a delightful experience. Happy cooking!
Step 5. Serve With Fresh Berries

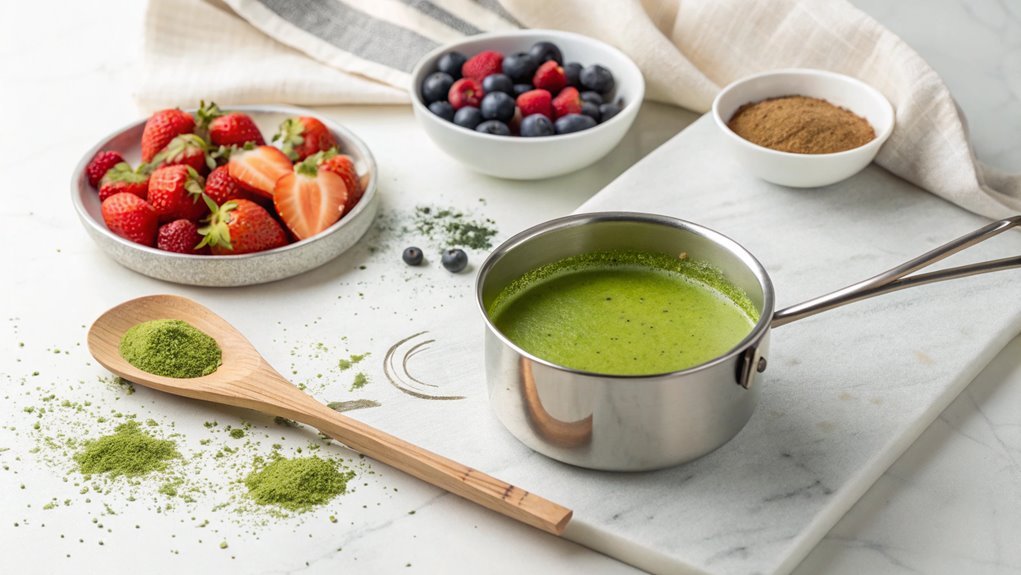
Serving your matcha green tea pudding with fresh berries adds a burst of color and flavor that elevates this delightful dessert. The vibrant berries not only enhance the visual appeal but also provide a revitalizing contrast to the creamy, earthy notes of matcha.
You’re going to love how easy it’s to elevate your pudding with just a few fresh fruits!
Here’s how to serve it up beautifully:
- Choose Your Berries: Opt for strawberries, blueberries, raspberries, or blackberries. Each type brings its own unique sweetness and tartness.
- Prep the Berries: Wash your berries thoroughly and, if using strawberries, slice them into bite-sized pieces. This makes them easier to enjoy with each spoonful.
- Layering: In serving bowls, layer your matcha pudding and berries. You can alternate layers for a pretty effect or simply top the pudding with the berries.
- Finish with a Drizzle: For an extra touch, drizzle a bit of honey or maple syrup over the berries right before serving.
Final Thoughts
As you wrap up your culinary adventure with matcha green tea pudding, it’s clear that this delightful dessert not only satisfies your sweet tooth but also offers a unique twist on traditional puddings.
This creamy treat, infused with the vibrant flavors of matcha, is a wonderful way to impress your family and friends. It’s perfect for any occasion, whether it’s a cozy night in or a festive gathering.
Making matcha pudding isn’t only straightforward but also a fun process. You’ll love watching the green tea powder blend seamlessly into the mixture, creating a beautiful hue that’s just as appealing to the eyes as it’s to the palate.
Plus, you can customize it! Experiment with different toppings like fresh berries, whipped cream, or even a sprinkle of toasted coconut to elevate your dessert.
Don’t hesitate to share your matcha pudding creation on social media, inviting others to join in this delicious experience.
With its health benefits and rich flavor, this pudding is sure to become a favorite in your recipe repertoire. Immerse yourself and enjoy every silky spoonful, because you’ve earned it!
Happy cooking!
Frequently Asked Questions
Can I Use a Different Type of Green Tea?
You can definitely use a different type of green tea! Just keep in mind that the flavor and color will vary. Experimenting with various teas can lead to unique and delightful results in your dish.
How Long Does Matcha Green Tea Pudding Last in the Fridge?
If you store it properly in an airtight container, your pudding should last about 3 to 5 days in the fridge. Just make sure to check for any changes in texture or smell before enjoying!
Is Matcha Safe for Children to Consume?
Yes, matcha can be safe for children in moderation. Its caffeine content is lower than coffee, but it’s still wise to limit intake. Always consult with a pediatrician if you’re unsure about introducing it.
What Are the Health Benefits of Matcha?
You might be surprised to learn that matcha’s packed with antioxidants, boosts metabolism, enhances mood, and supports brain function. It’s a delicious way to elevate your health and daily routine without much effort. Enjoy!
Can I Make This Recipe Vegan-Friendly?
Yes, you can definitely make this recipe vegan-friendly! Substitute dairy ingredients with plant-based alternatives like almond milk or coconut cream. Adjust sweeteners as needed, and you’ll have a delicious, cruelty-free treat to enjoy!
Conclusion
Enjoy a delicious bowl of matcha green tea pudding in moments! With each creamy bite, experience a delightful blend of earthy and sweet flavors. Whether shared with friends or savored solo, it’s a guilt-free indulgence. Gather your ingredients and whip up this easy recipe for a truly special treat.


