Chocolate Pudding Recipe
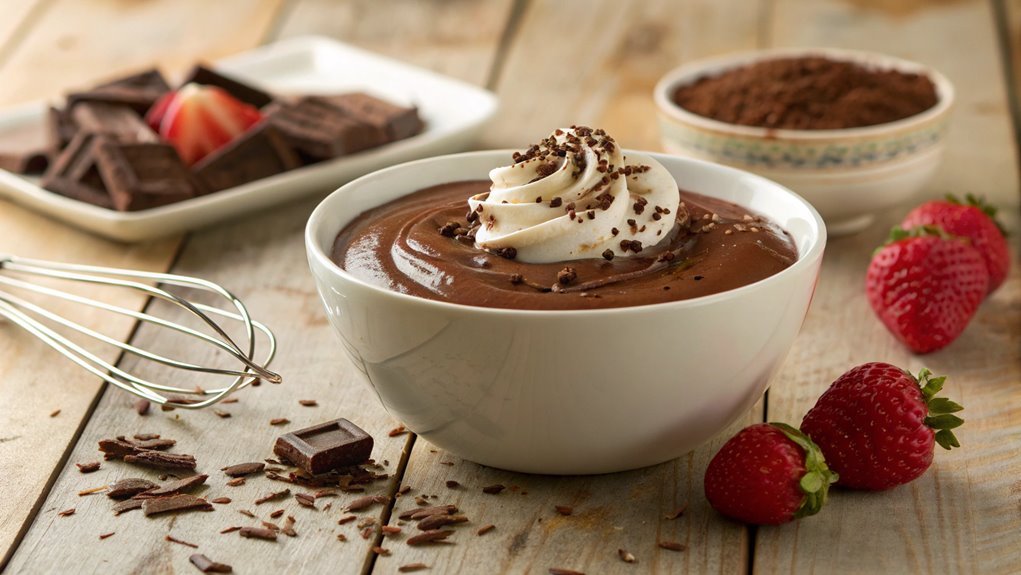
Perfect chocolate pudding may hinge on combining ingredients with a focus on balancing flavors and textures. Simple steps can yield a rich, creamy dessert that surpasses store-bought options.
Customization possibilities abound, inviting exploration of toppings and variations to enhance your pudding experience.
Recipe
Chocolate pudding is a classic dessert that’s loved by many for its rich, creamy texture and deep chocolate flavor. This indulgent treat can be made easily at home using simple ingredients.
Whether you’re looking to satisfy a sweet tooth or impress guests at a dinner party, homemade chocolate pudding is a delightful choice that’s sure to please.
Making chocolate pudding is a straightforward process that involves cooking a mixture of cocoa powder, sugar, cornstarch, and milk until it thickens, then adding in butter and vanilla for that extra touch of flavor.
Once prepared, the pudding can be served warm or chilled, depending on your preference. You can also get creative by adding toppings such as whipped cream, chocolate shavings, or fresh berries to elevate your dessert experience.
Ingredients:
- 1/2 cup unsweetened cocoa powder
- 1/2 cup granulated sugar
- 1/4 cup cornstarch
- 1/8 teaspoon salt
- 2 3/4 cups milk
- 2 tablespoons unsalted butter
- 1 teaspoon vanilla extract
Now let’s move on to the cooking steps.
Cooking Steps
Now that you’ve got all your ingredients ready, it’s time to jump into the exciting cooking steps!
You’ll start by mixing the cocoa and sugar to create a rich base, then heat up the milk while whisking it to perfection.
Gradually adding the egg yolks will make your pudding luscious, so let’s get started and enjoy the delicious process!
Step 1. Gather All Ingredients Needed
To whip up a delicious chocolate pudding, you’ll need a handful of essential ingredients. First and foremost, gather some unsweetened cocoa powder, as it’ll give your pudding that rich chocolate flavor we all crave.
You’ll also need granulated sugar to sweeten things up just right. Don’t forget about cornstarch; it’s key for thickening your pudding to the perfect consistency.
Next, grab a pinch of salt; it enhances the chocolate taste beautifully. You’ll also need milk—whole milk works best for that creamy texture, but you can use any milk you prefer.
If you want an extra indulgent touch, consider adding a bit of vanilla extract; it elevates the flavor even further. Lastly, make sure you have butter on hand, as it adds a luscious richness to your pudding.
Now that you’ve rounded up all these ingredients, you’re well on your way to creating a delightful dessert. The combination of these simple elements will transform into a velvety treat that’s sure to impress.
Step 2. Mix Cocoa and Sugar
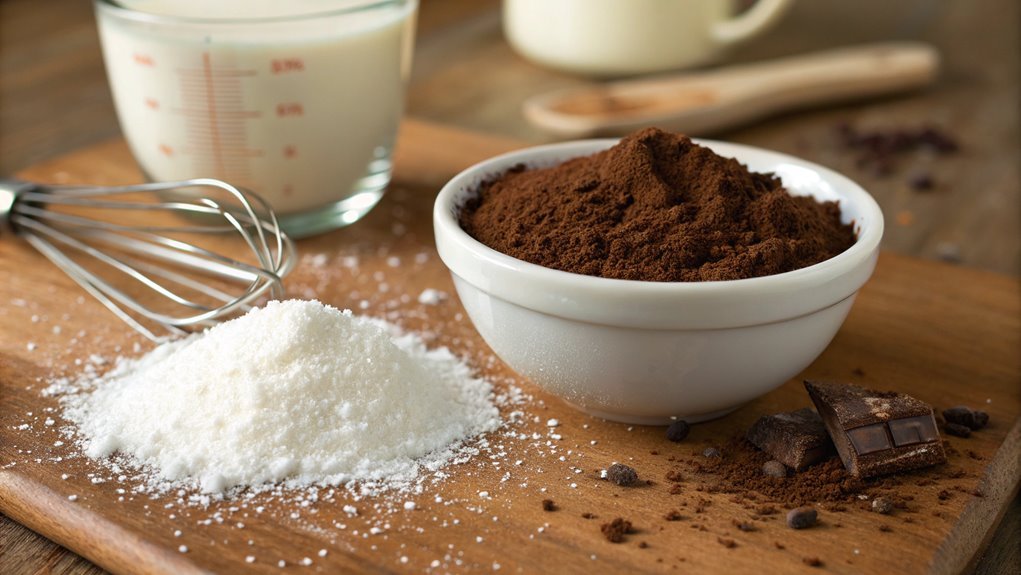
It’s time to bring those ingredients together. Mixing cocoa and sugar is an essential step in creating a rich, velvety chocolate pudding that you’ll absolutely love. Here’s how to get it done:
- Start with unsweetened cocoa powder, the star ingredient that gives your pudding that deep chocolate flavor.
- Measure out the sugar—this will balance the bitterness of the cocoa and add sweetness to your pudding.
- Use a whisk to combine these two dry ingredients in a medium bowl, ensuring there are no lumps. A smooth mixture will lead to a smoother pudding!
- Take a moment to admire the deep, chocolatey color. It’s a preview of the deliciousness to come.
As you mix, let your excitement build! This combination is the foundation of your pudding, and it sets the stage for all the creamy goodness that’s about to unfold.
Trust me, the aroma of cocoa and sugar is just the beginning of a delightful journey. Once you’ve got this mixture ready, you’re one step closer to serving up a decadent dessert that will impress everyone.
Let’s get ready to heat that milk and whisk it all together!
Step 3. Heat Milk and Whisk
As you prepare to heat the milk, remember that this step is crucial for achieving the creamy texture of your chocolate pudding. Start by pouring the milk into a medium saucepan. Place the saucepan over medium heat and keep a close eye on it. You want to heat the milk gently, bringing it just to a simmer; this will help to meld the flavors beautifully.
While the milk heats, grab a whisk. Once you see those tiny bubbles forming around the edges of the pan, it’s time to whisk! Stir the milk gently, incorporating air and ensuring it heats evenly. Whisking also helps prevent any milk from scorching on the bottom. If you notice the milk starting to steam, you’re right on track!
This part of the process is essential—it not only warms the milk but also prepares it for the delicious chocolate and sugar mixture you created earlier. The aroma will start to fill your kitchen, making it hard to resist!
Step 4. Add Egg Yolks Gradually
Once the milk reaches a gentle simmer, you’re ready to add the egg yolks gradually. This step is essential because it helps create a rich, velvety texture in your chocolate pudding. You don’t want to scramble the eggs, so take your time and follow these steps:
- Temper the Egg Yolks: Start by whisking the egg yolks in a separate bowl. Slowly drizzle in a bit of the hot milk while whisking continuously. This warms the yolks gently without cooking them.
- Combine: Once the yolks are warmed, you can pour the mixture back into the saucepan with the remaining milk. Stir it all together!
- Cook Gently: Keep the heat low, stirring constantly. You want the mixture to thicken without boiling, which could ruin the creamy texture.
- Check the Consistency: After a few minutes, the pudding should coat the back of a spoon. That’s when you’ll know it’s just right!
This step is where the magic happens, transforming simple ingredients into a decadent dessert.
Enjoy the process, and get ready for a delicious treat that’s sure to impress!
Step 5. Chill Before Serving
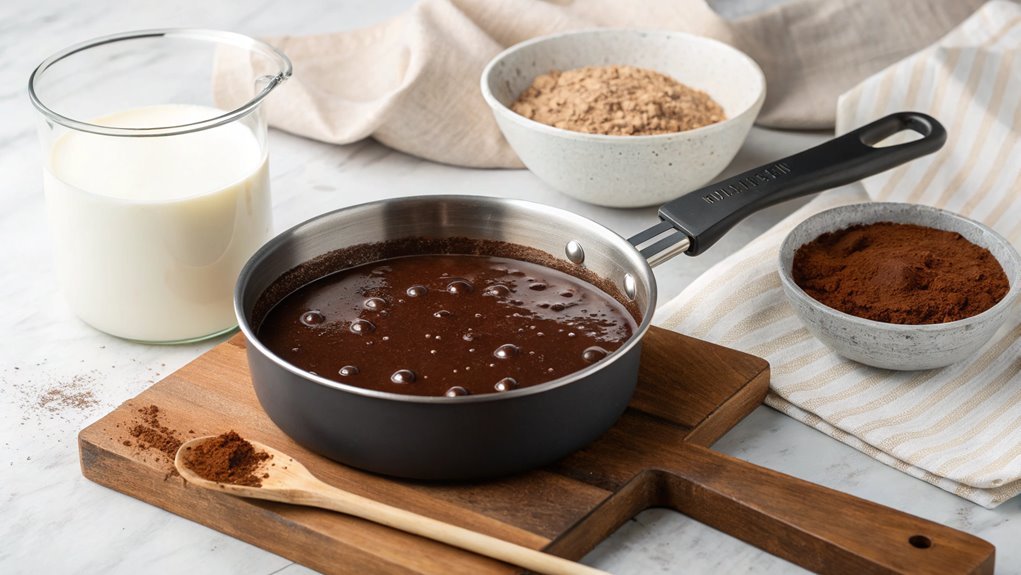
To guarantee your chocolate pudding reaches its full potential, chilling it before serving is essential. Once you’ve carefully prepared your pudding, it’s time to let it sit in the refrigerator for at least two hours. This step not only allows the pudding to thicken up, but it also enhances the rich, chocolatey flavor.
When you finally take it out, you’ll notice that the texture is divine—smooth and creamy, making each spoonful a delight.
As you pour the pudding into individual serving dishes, consider adding a dollop of whipped cream or a sprinkle of chocolate shavings on top. This extra touch not only looks beautiful but also adds an exciting burst of flavor.
You’ll love how the coolness of the pudding contrasts with the warm notes of chocolate, creating a harmonious experience for your taste buds.
Final Thoughts
While the journey of making chocolate pudding may seem simple, the end result can be a delightful treat that impresses friends and family alike.
When you take that first spoonful, you’ll understand why this classic dessert never goes out of style. Here are a few reasons to get excited about your homemade pudding:
- Customization: You can tweak the recipe to suit your taste—add a pinch of sea salt, or a dash of vanilla, or even mix in some fresh fruit!
- Easy Preparation: With just a handful of ingredients, you can whip up this dish in no time.
- Versatile Serving Options: Serve it in individual cups, layered with whipped cream, or topped with your favorite nuts.
- Satisfying Experience: There’s something incredibly rewarding about making dessert from scratch, and the aroma will fill your kitchen with warmth.
Frequently Asked Questions
Can I Use Cocoa Powder Instead of Chocolate Bars?
Yes, you can use cocoa powder instead of chocolate bars. Just remember to adjust the sugar and fat content since cocoa powder is less sweet. It’ll still create a delicious, rich flavor in your dessert!
How Long Can Chocolate Pudding Be Stored in the Fridge?
Storing chocolate pudding’s like tucking a secret away; it typically lasts about three to five days in the fridge. Just make sure you cover it tightly to keep that deliciousness fresh and inviting!
What Dairy Alternatives Can I Use for a Vegan Version?
For a vegan version, you can use almond milk, coconut milk, or soy milk as dairy alternatives. Each option offers a unique flavor and texture, so try them out to find your favorite!
Can I Make Chocolate Pudding in Advance?
Yes, you can definitely make chocolate pudding in advance! Just prepare it, let it cool, and store it in the fridge. It’ll stay fresh for a few days, making it perfect for quick desserts.
How Can I Thicken My Chocolate Pudding if It’s Too Runny?
If your pudding’s as thin as a summer rain, don’t fret! You can whisk in cornstarch mixed with water, or simmer it gently on low heat, watching it transform into a creamy delight.
Conclusion
You’ve mastered this chocolate pudding recipe, a timeless dessert that evokes childhood delights. Each creamy bite is like a warm hug on a chilly day, perfect for savoring the moment.
Enjoy it straight from the pot or elegantly topped, this pudding is sure to impress. Roll up your sleeves, gather your ingredients, and let your kitchen fill with the sweet aroma of homemade goodness!
