No-Bake Chocolate Lasagna Recipe
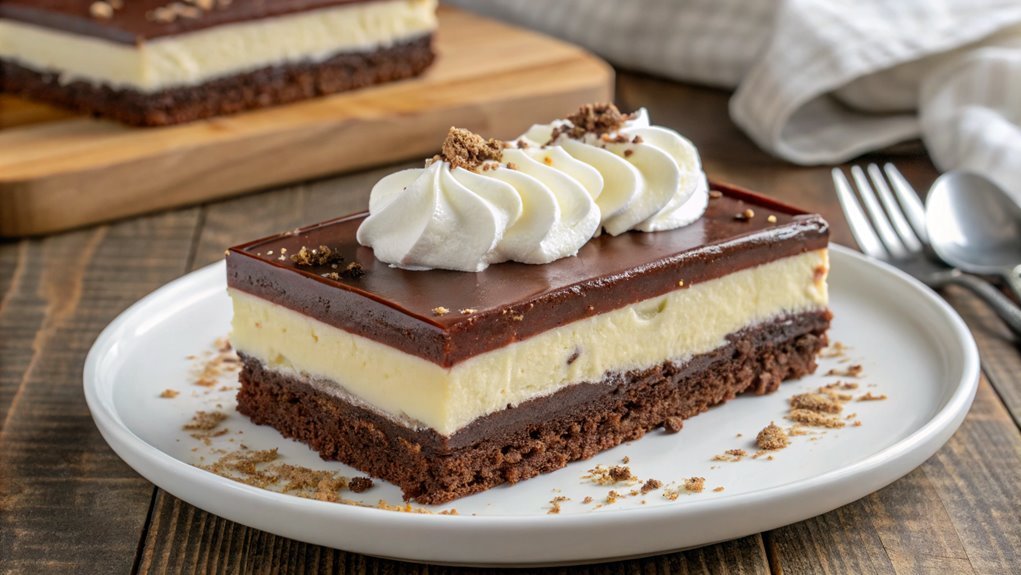
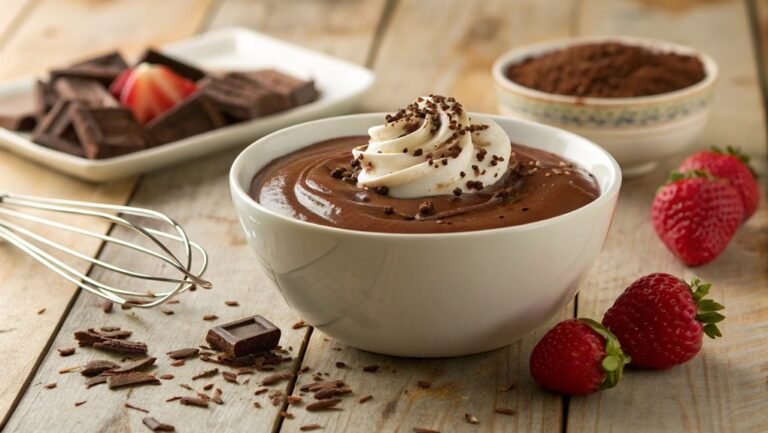
For a dessert that’s indulgent and easy to make, try the No-Bake Chocolate Lasagna. This recipe layers creamy chocolate without needing an oven, perfect for gatherings or last-minute events.
Enjoy the simple preparation and impressive presentation that will effortlessly wow your guests. Beyond its looks and ease, learn the techniques that make it truly memorable.
Recipe
No-bake chocolate lasagna is a decadent dessert that combines layers of creamy goodness with rich chocolate flavors, making it a perfect treat for any occasion. This easy-to-make delight requires no baking, which means you can whip it up in no time and focus on enjoying it with friends and family.
The combination of chocolate pudding, cream cheese, and whipped topping gives this dessert a perfect balance of sweetness and creaminess.
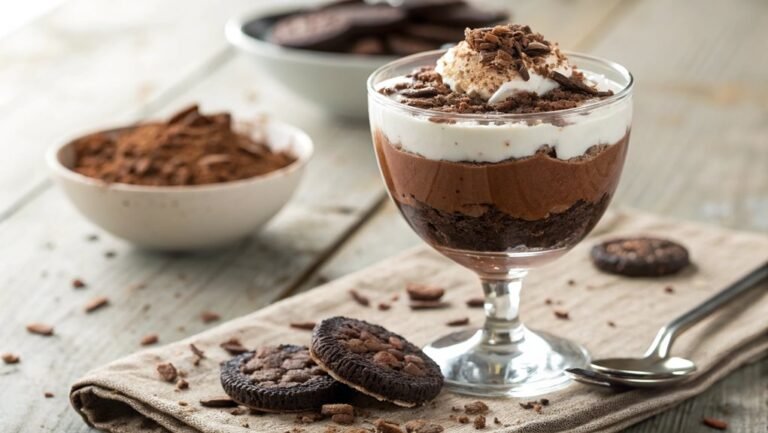
The layers of this delightful dessert include chocolate cookies, a luscious cream cheese mixture, and chocolate pudding, all topped off with a final layer of whipped topping. It’s ideal for any chocolate lover and is sure to impress your guests.
Just prepare it a few hours in advance to allow the flavors to meld and the dessert to set properly. Let’s explore the recipe!
Ingredients:
- 1 package (14.3 oz) chocolate sandwich cookies
- 1/2 cup unsalted butter, melted
- 8 oz cream cheese, softened
- 1/2 cup granulated sugar
- 1 cup whipped topping
- 2 packages (3.9 oz each) instant chocolate pudding mix
- 3 1/4 cups milk
- 1 cup whipped topping (for topping)
- Chocolate shavings or cocoa powder (for garnish, optional)
Now let’s move on to the cooking steps.
Cooking Steps
Get ready to create a delicious no-bake chocolate lasagna that’s sure to impress!
You’ll start with preparing a crunchy crust layer, then move on to blending a creamy cheese mixture that’s downright dreamy.
Each step builds on the last, bringing you closer to a delightful dessert that you’ll want to chill and savor!
Step 1. Crust Layer Preparation
While preparing the crust layer for your no-bake chocolate lasagna, you’ll want to gather your ingredients to guarantee a smooth process. Start with about 20 whole chocolate sandwich cookies, which will provide a deliciously rich flavor. You’ll also need a little melted butter to bind everything together perfectly.
Begin by crushing the cookies into fine crumbs. You can use a food processor or place them in a zip-top bag and crush them with a rolling pin. The goal is a consistent crumb texture, making that crust nice and firm.
Next, transfer the cookie crumbs to a mixing bowl and stir in the melted butter, ensuring every bit of crumb gets coated. This will create a buttery, flavorful blend.
Once combined, press this mixture firmly into the bottom of a 9×13-inch dish. You can use the back of a measuring cup or your hands to pack it down tightly—this step is essential for a crust that holds up against the creamy layers to come.
After leveling it out, pop the dish in the fridge for about 10 minutes. This simple crust will be the perfect base for your irresistible chocolate lasagna!
Step 2. Cream Cheese Mixture Blending
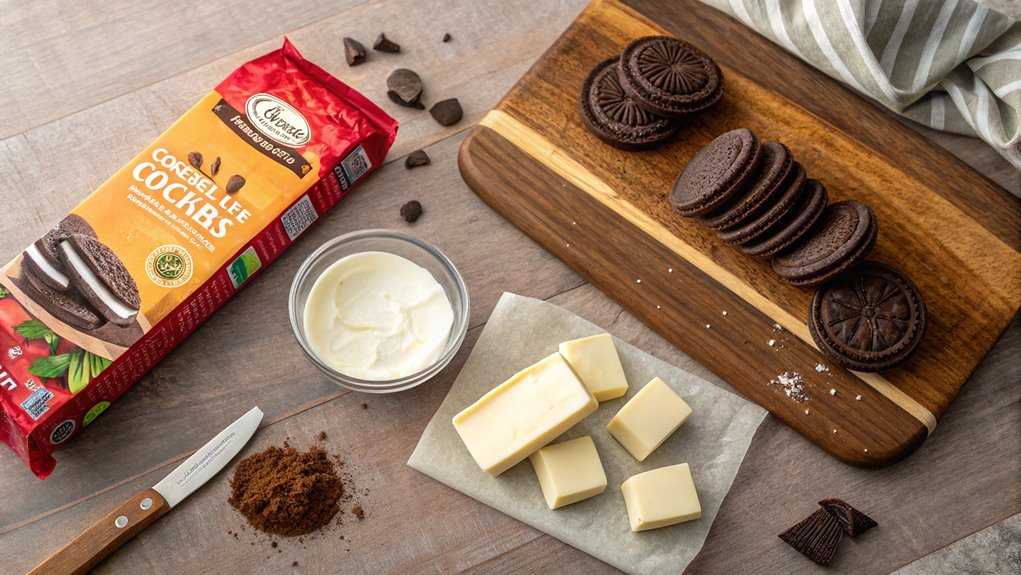
Once you’ve got the crust firmly set, it’s time to create the creamy, dreamy filling. You’re going to love this rich cream cheese mixture! Start by gathering your ingredients: cream cheese, powdered sugar, vanilla extract, and whipped topping.
Grab your electric mixer and combine the cream cheese and powdered sugar until it’s smooth and well-blended. Adding the vanilla will give it an incredible flavor boost that complements the entire dessert.
Next, gently fold in the whipped topping to achieve that light, airy texture which makes every bite so irresistible. Make sure there are no lumps; you want this mixture to be as creamy as possible. It’s all about balance here!
As you mix, keep an eye out for these essential steps:
- Allow your cream cheese to soften before mixing.
- Use an electric mixer for a smooth consistency.
- Fold in whipped topping gently to maintain fluffiness.
- Taste as you go—don’t hesitate to tweak sweetness!
- Keep it cool in the fridge until you’re ready to layer it.
With this luscious cream cheese mixture ready, you’re one step closer to dessert heaven! Enjoy the process; it’s all part of the magic!
Step 3. Chocolate Pudding Layer Spreading
Now that you’ve prepared the creamy cream cheese layer, it’s time to create the next level of decadence with the chocolate pudding. This is where the magic happens! Grab your instant chocolate pudding mix and a cold cup of milk.
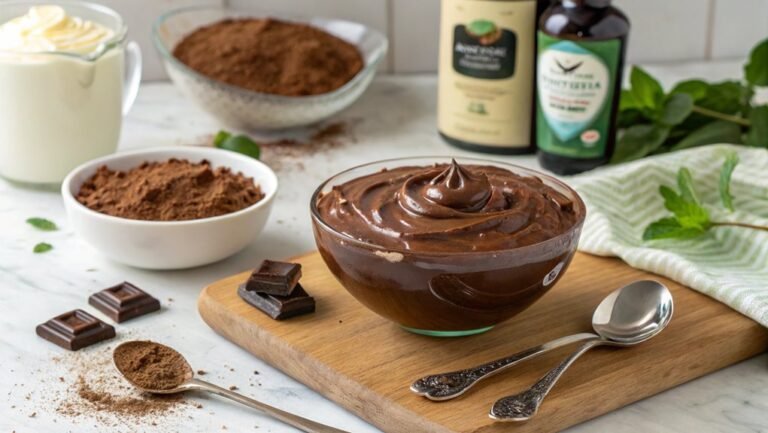
Since this recipe is all about simplicity, just combine the two in a mixing bowl. Whisk it together for about two minutes until it thickens beautifully. You’ll see it transform into a luscious, silky mixture that’s almost impossible to resist!
Once your pudding is ready, take a spatula and gently spread it over that lovely cream cheese layer. Be sure to cover it evenly, allowing the pudding to cascade into every corner of the dish.
It’s all about creating that perfect balance of flavors! As you spread, you’ll feel the pudding’s creamy texture, and you’ll know this dessert is going to be a showstopper.
After you’ve smoothed out the pudding layer, take a step back and admire your work. Trust me; you’re just a few steps away from indulging in this delightful treat. Let’s keep that momentum going for the next layer!
Step 4. Whipped Topping Layer Spreading
Three simple steps are all you need to add the final touch to your no-bake chocolate lasagna: the whipped topping layer. It’s a delightful finish that elevates your dessert into something truly special. Grab your ingredients, and let’s make this layer shine!
- Prepare your whipped topping – You can use store-bought or make your own for a fresher taste.
- Spread evenly – Using a spatula, gently spread the whipped topping over the chocolate pudding layer. Aim for an even coat, creating a smooth surface that looks inviting.
- Garnish if desired – For an extra touch, sprinkle chocolate shavings, crushed cookies, or chopped nuts over the whipped topping. This adds texture and a pop of flavor!
Once you’ve completed these steps, you’ll see just how beautiful your no-bake chocolate lasagna turns out. The whipped topping layer not only adds a creamy texture, but it also balances the richness of the chocolate layers beneath.
And best of all, it’s super easy! So roll up your sleeves, get mixing, and don’t forget to savor the moment you reveal this gorgeous dessert. You’re going to love every bite!
Step 5. Chill Before Serving
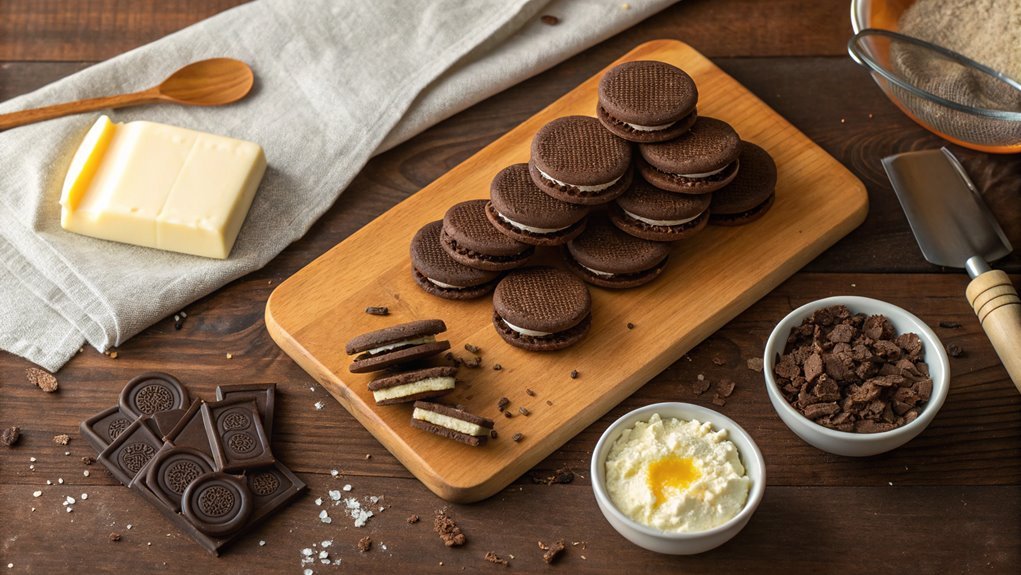
After you’ve adorned your no-bake chocolate lasagna with that luscious whipped topping, it’s important to let it chill before serving. This step isn’t just a formality; it’s essential for achieving the perfect texture and flavor. By chilling your dessert, you’re allowing the layers to firm up, making it easier to slice and serve. It also gives the flavors time to meld together, resulting in a truly delightful treat.
Cover your lasagna with plastic wrap, ensuring it’s sealed tight to keep out any unwanted air. Pop it in the refrigerator for at least four hours, but if you can wait overnight, you’ll be rewarded with even better results. The longer it chills, the creamier and richer it becomes.
Just imagine slicing into a well-set, chilled chocolate lasagna, revealing those beautiful layers, and hearing the delighted gasps from your friends and family!
When the time’s up, remove your dessert from the fridge and get ready for a delicious celebration. Serve it chilled for the best experience, and watch as everyone asks for seconds! Enjoy your heavenly creation, and relish the smiles it brings. Cooking doesn’t get much better than this!
Final Thoughts
As you take a moment to reflect on this delicious no-bake chocolate lasagna recipe, you’ll realize it’s not just a dessert; it’s an experience that brings joy to gatherings and boosts your confidence in the kitchen.
Making this layered delight is a simple yet rewarding way to impress friends and family. The best part? You won’t even need to turn on the oven!
Here are a few reasons why you should add this recipe to your go-to list:
- Easy Preparation: With minimal steps, you’ll save time and hassle.
- Impressive Presentation: The beautiful layers make for a stunning dessert that draws everyone in.
- Versatility: You can customize it with different flavors or add your favorite toppings.
- Perfect for Any Occasion: Whether it’s a birthday, holiday, or just a cozy night in, it fits right in.
- Delightful Flavor: The combination of chocolate, cream cheese, and whipped topping is heavenly!
Frequently Asked Questions
Can I Make This Dessert Ahead of Time?
You’ve hit the nail on the head! Yes, you can absolutely make this dessert ahead of time. Just store it in the fridge, and it’ll taste even better after a little time to set.
What Can I Substitute for Mascarpone Cheese?
If you need a mascarpone cheese substitute, you can mix cream cheese with heavy cream to achieve a similar texture. Alternatively, ricotta cheese or a combination of sour cream and Greek yogurt can work well too.
How Long Does the Lasagna Need to Chill?
You’ll want to chill the lasagna for at least four hours. This allows the layers to set properly. If you can, letting it chill overnight will enhance the flavors even more! Enjoy the delicious results!
Is It Suitable for Gluten-Free Diets?
Like a butterfly emerging from a cocoon, you’ll discover that this dessert can be adapted for gluten-free diets. Just substitute gluten-free cookies for the traditional ones, and you’re good to go! Enjoy without worry!
Can I Add Fruit to This Chocolate Lasagna?
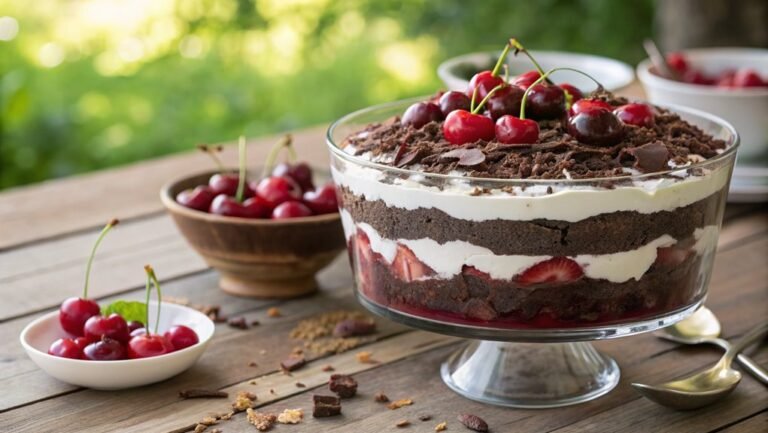
Absolutely, you can add fruit to enhance the flavor! Slices of strawberries, bananas, or raspberries complement the chocolate beautifully. Just layer them in between, and enjoy the delicious combination that’ll delight everyone’s taste buds!
