Chocolate Peanut Butter Trifle Recipe
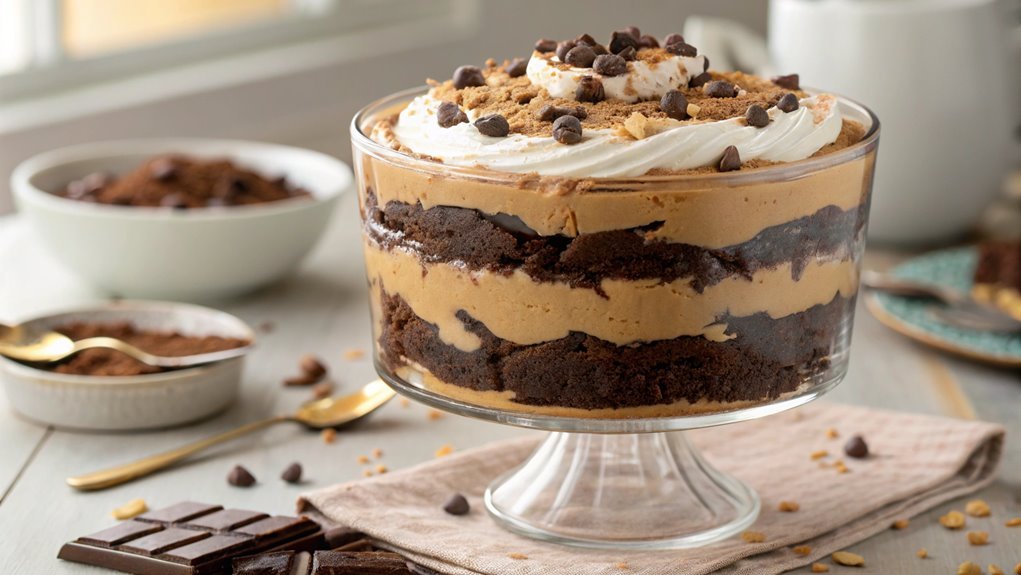
The Chocolate Peanut Butter Trifle is a delightful combination reminiscent of a classic sundae. This layered dessert is visually stunning yet simple to prepare, offering a perfect balance of rich chocolate and creamy peanut butter. Understanding these layers can elevate your dessert skills, inspiring you to impress at your next gathering. Explore the secrets of trifles to transform your culinary expertise.
Recipe
Chocolate Peanut Butter Trifle is a delightful dessert that combines layers of rich chocolate cake, creamy peanut butter mousse, and fluffy whipped cream, all topped with chocolate shavings.
This indulgent treat is perfect for gatherings, family dinners, or simply as a weekend treat. It isn’t only visually appealing but also packs a punch of flavor that chocolate and peanut butter lovers will adore.
To create this trifle, you’ll need to prepare the chocolate cake, peanut butter mousse, and whipped cream in advance. Layer them in a clear trifle dish or glass bowl for an impressive presentation that lets everyone see the deliciousness inside.
This recipe is versatile, allowing you to swap out ingredients or add your favorite toppings, making it a perfect base for creative variations.
Ingredients:
- 1 box chocolate cake mix
- 3 large eggs
- 1 cup water
- 1/3 cup vegetable oil
- 1 cup creamy peanut butter
- 1 cup powdered sugar
- 1 teaspoon vanilla extract
- 1 cup heavy whipping cream
- 2 tablespoons granulated sugar
- 1/2 cup chocolate shavings or chips (for garnish)
Now let’s move on to the cooking steps.
Cooking Steps
Now that you’ve got your ingredients ready, let’s jump into the fun part—cooking!
You’ll create scrumptious layers of chocolate pudding and creamy peanut butter that’ll have your taste buds dancing.
Get excited, because by the end of these steps, you’ll have a delightful trifle that’s perfect for any occasion!
Now let’s move on to the cooking steps.
Step 1. Gather Ingredients and Tools
To create a delicious chocolate peanut butter trifle, you’ll need to gather a few key ingredients and tools. First, head to the store for chocolate pudding mix, creamy peanut butter, whipped cream, and crumbled cookies or brownie pieces. These elements unite to create a heavenly dessert that’s sure to impress!
You’ll also want to get some decorative glass or clear plastic cups to showcase your creation beautifully. A mixing bowl is essential for preparing your pudding, while a whisk or electric mixer will guarantee it’s nice and smooth. Don’t forget a spatula to help with layering and a measuring cup for precision.
For an extra touch, consider grabbing some chocolate shavings or sprinkles to top your trifle once it’s layered. These little details can really elevate your dessert!
Now that you’ve rounded up your ingredients and tools, you’re ready to plunge into the exciting process of putting it all together.
Step 2. Layer Chocolate Pudding Mixture
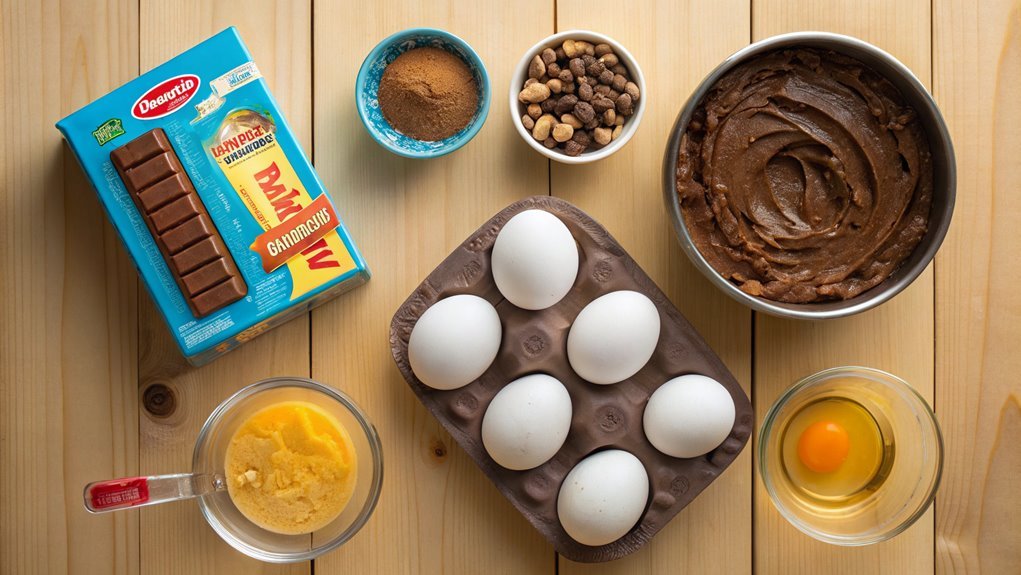
Start by preparing your chocolate pudding according to the package instructions, and once it’s ready, let it cool slightly.
This is the part where the magic starts to happen! Grab your serving dish or individual cups, and get ready to layer your delightful dessert.
Spoon a generous layer of that rich, velvety chocolate pudding into the bottom of your dish. Make sure it covers the base evenly, allowing that luxurious chocolate flavor to set the stage for what’s to come. You can use a spatula to spread it out smoothly; it’ll make for an elegant look when you’re done.
As you layer, think about how each spoonful will bring pleasure to those lucky enough to indulge in your creation. This layer forms the foundation of your trifle, so take your time to enjoy the process. You might even want to sneak a taste of the pudding – it’s that good!
Once you’ve got your first layer, pause for a moment and admire your handiwork.
You’re already well on your way to creating a dessert that’s not only delicious but visually stunning as well! Prepare for the next exciting step that’ll take your trifle to the next level.
Step 3. Add Peanut Butter Layer
With the chocolate pudding layer in place, it’s time to craft the creamy peanut butter layer that will elevate your trifle. This layer is where the real magic happens, bringing that irresistible peanut butter flavor into the mix. You’ll love how easy it’s to whip up this delicious layer!
Start by gathering your ingredients. You’ll need to get some creamy peanut butter, powdered sugar, softened cream cheese, and whipped topping.
Once you have everything ready, follow these steps:
- In a medium bowl, combine the peanut butter and cream cheese until smooth.
- Gradually add in the powdered sugar, mixing well to guarantee there are no lumps.
- Fold in the whipped topping gently to keep the mixture light and airy.
- Taste your mixture and adjust the sweetness if needed.
Once your peanut butter layer is ready, it’s time to spread it over the chocolate pudding layer. Use a spatula to create an even layer, making it as thick or thin as you like.
You’ll start to see the beautiful layers forming, and your trifle is definitely coming together! Enjoy the delightful combination of flavors as you go!
Step 4. Top With Whipped Cream
As you finish assembling your trifle, adding a luscious whipped cream topping brings it all together beautifully. The cream isn’t just a finishing touch; it elevates the dessert, creating a delightful contrast to the rich layers below.
Start by using heavy whipping cream for a satisfying texture. In a chilled bowl, beat it with an electric mixer until soft peaks form. You can add a bit of powdered sugar and vanilla extract to enhance the flavor, making the cream even more irresistible.
Once your whipped cream is ready, gently spoon it over the top of your trifle. You want it to be generous, allowing it to cascade over the edges for that beautiful, inviting look.
Don’t rush this step—take your time spreading the cream evenly to cover every bit of that delicious peanut butter and chocolate goodness underneath.
After the whipped cream is in place, you can admire your creation for a moment. Trust me, your efforts will be well worth it when you see how enticing it looks.
Now you’re just one step away from enjoying your Chocolate Peanut Butter Trifle—get excited for the final touch coming soon!
Step 5. Garnish With Chocolate Shavings
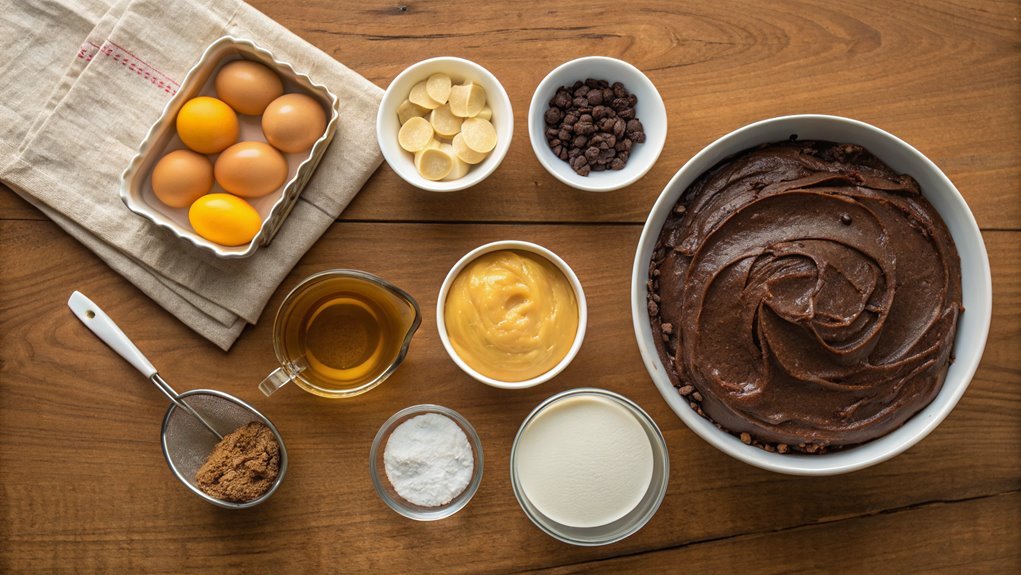
Once the whipped cream topping is beautifully layered on your trifle, it’s time to add the finishing touch that will make it shine—chocolate shavings. This simple step will elevate your dessert, adding a rich, decadent texture and a gorgeous visual appeal. It’s all about that wow factor!
To create those perfect shavings, grab a bar of chocolate, preferably dark or semi-sweet, and follow these steps:
- Use a vegetable peeler: It works wonders to create those gorgeous, delicate shavings.
- Chill the chocolate: A cold bar will help you get thinner, more manageable shavings.
- Scrape gently: Apply light pressure to avoid breaking the chocolate into chunks.
- Sprinkle generously: Once you’ve got your shavings, scatter them over the whipped cream layer, letting them fall haphazardly for a festive look.
Now, step back and admire your creation! This chocolate-peanut butter trifle won’t only taste divine but also look stunning.
Your guests will be impressed, and trust me, they won’t be able to resist digging in. Enjoy every moment as you savor the delight your dessert brings!
Final Thoughts
Creating a Chocolate Peanut Butter Trifle not only satisfies your sweet tooth but also brings a touch of elegance to any gathering. This dessert is easy to assemble, making it perfect for both experienced bakers and those new to the kitchen.
Layering the creamy peanut butter mousse, rich chocolate pudding, and fluffy whipped cream creates an eye-catching masterpiece that your guests won’t forget.
You’ll love how versatile the trifle is, too. Feel free to customize it with your favorite chocolate or peanut butter options! Whether you choose store-bought ingredients or make them from scratch, you’re in for a treat.
It’s a fantastic dessert for birthdays, holidays, or casual get-togethers—everyone will be talking about it long after the last spoonful.
As you embark on preparing this delectable dessert, remember to take your time and enjoy the process. The joy of creating something delicious is part of what makes cooking so special!
Don’t be surprised if this trifle becomes your go-to recipe for sweet celebrations. Gather your friends and family, and share the experience.
Happy baking, and indulge in every delightful bite!
Frequently Asked Questions
Can I Use Crunchy Peanut Butter Instead of Creamy?
Yes, you can use crunchy peanut butter instead of creamy. It’ll add a nice texture and extra crunch to your dish. Just keep in mind it may slightly alter the overall creaminess you’re aiming for.
How Long Does the Trifle Last in the Fridge?
Like a treasure chest of flavors, your trifle can brighten up your fridge for about 3 to 4 days. Just make sure it’s tightly covered; otherwise, it might lose its delightful charm!
Can I Substitute With Dairy-Free Chocolate?
Yes, you can definitely substitute with dairy-free chocolate! It’ll provide a delicious and accommodating option for those avoiding dairy, so feel free to experiment and enjoy your creation without compromising on flavor or texture.
Is This Recipe Suitable for Gluten-Free Diets?
Yes, this recipe can be made gluten-free. Use gluten-free cookies or cake instead of regular ones. Always double-check ingredient labels to verify they’re gluten-free, making it suitable for your dietary needs without compromising on taste.
What Can I Use Instead of Whipped Cream?
If you’re looking for alternatives to whipped cream, consider using coconut cream for a dairy-free option, Greek yogurt for a protein boost, or even silken tofu blended until smooth for a unique twist.
