Chocolate Lava Cake Recipe
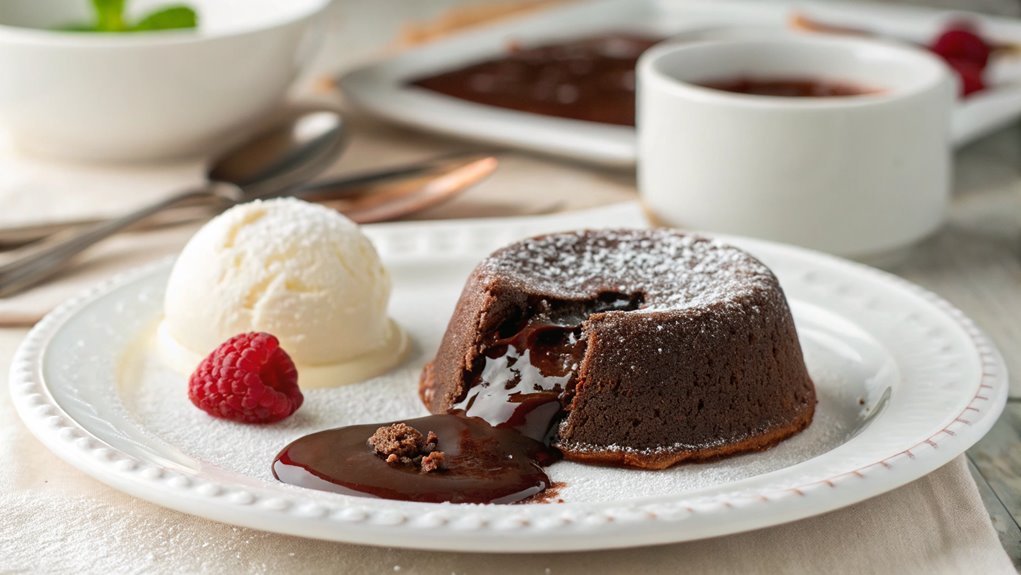
A perfectly baked chocolate lava cake is a delightful experience, with a molten center waiting to be revealed. Achieving this requires a balance of ingredients and precise baking time to ensure success.
Recipe
Chocolate lava cake is a decadent dessert that’s perfect for any chocolate lover. It combines a rich, gooey center with a soft outer cake, creating a delightful experience in every bite. When you cut into the cake, the molten chocolate flows out, resembling lava from a volcano, and is sure to impress your guests.
This recipe is ideal for special occasions or a fancy dinner, but it’s also simple enough to make whenever you have a craving for something indulgent.
To make chocolate lava cake, you’ll need just a few ingredients, and the process is quick and straightforward. It’s best to use high-quality chocolate to enhance the flavor of the cake. You’ll also need small ramekins to bake the cakes, ensuring the right portion size and that they hold their shape beautifully.
Serve your chocolate lava cake warm, with a scoop of vanilla ice cream or a dollop of whipped cream for an extra treat.
Ingredients:
- 1 cup dark chocolate (chopped)
- ½ cup unsalted butter
- 1 cup powdered sugar
- 2 large eggs
- 2 large egg yolks
- ½ teaspoon vanilla extract
- ½ cup all-purpose flour
- Pinch of salt
- Butter and cocoa powder for greasing ramekins
Now let’s move on to the cooking steps.
Cooking Steps
Let’s get started on making your decadent chocolate lava cake!
First, you’ll want to preheat your oven to 425°F to guarantee it’s nice and hot when you’re ready to bake.
As we move through the cooking steps, you’ll mix rich chocolate and butter, creating a luscious base that’s simply irresistible!
Step 1. Preheat the Oven to 425°F
As you commence on making this delicious chocolate lava cake, it’s essential to preheat your oven to 425°F. This step not only sets the stage for perfectly baked cakes but also helps create that ooey-gooey center we all love. The right temperature makes all the difference in making sure your lava cakes cook just right, giving you that chocolatey surprise in every bite.
Here’s what you need to remember when preheating your oven:
- Check Your Oven: Make certain it’s clean and in good working condition. A dirty oven can affect your baking results.
- Use an Oven Thermometer: Sometimes, ovens can be off by a few degrees. An oven thermometer will help you verify it’s truly at 425°F.
- Give It Time: Allow at least 10-15 minutes for your oven to reach the desired temperature. Rushing this step could lead to undercooked centers.
Once your oven is preheated, you’ll be on the way to creating a dessert that will impress everyone around you. Get ready for the magical combination of soft cake and molten chocolate that’s simply irresistible!
Step 2. Grease Ramekins With Butter
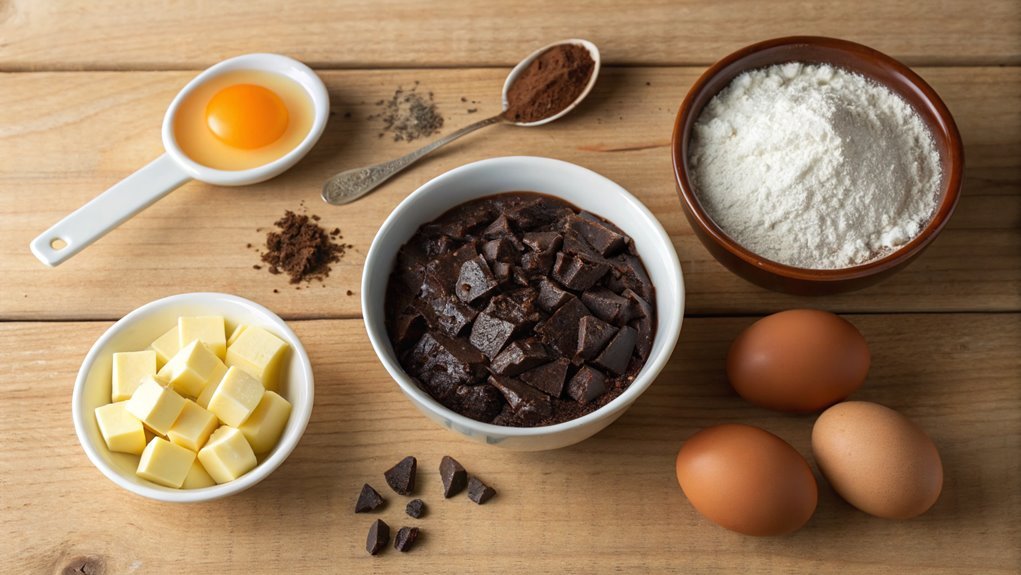
To achieve the perfect chocolate lava cake, you need to thoroughly grease your ramekins with butter. This step may seem simple, but it’s essential for ensuring your cake comes out beautifully and doesn’t stick.
Start with unsalted butter, as it allows the chocolate flavor to shine through. Grab a bit of the butter and, using your fingers or a paper towel, coat the interior of each ramekin in a thin layer.
Make sure to cover every inch, including the bottom and the edges. If you miss any spots, the cakes might cling to the sides, and you’ll be left with a gooey mess instead of a luscious dessert.
For extra assurance, you can dust the inside of each buttered ramekin with a little cocoa powder, giving your cake that perfect release.
Once you’ve finished greasing all your ramekins, you’ll be ready for the next exciting step in your chocolate lava cake adventure. Just imagine the thrill of breaking into that warm, molten center!
Step 3. Mix Chocolate and Butter
Melt the chocolate and butter together in a heatproof bowl set over a pot of simmering water. This method, known as a double boiler, guarantees gentle heating and prevents burning. Stir the mixture occasionally with a spatula until it’s smooth and glossy—this is where the magic begins!
Here’s how to do it perfectly:
- Choose high-quality chocolate: The better the chocolate, the richer your lava cake will taste! Aim for semi-sweet or dark chocolate for that deep flavor.
- Cube the butter: Cutting your butter into small cubes helps it melt evenly and quickly. Toss them into the bowl with the chocolate.
- Stir with love: Keep stirring gently as the chocolate melts. You want to blend them both into a luxurious mix—no lumps allowed!
Once everything is well combined and melted, you’ll have a deliciously smooth chocolate-butter blend, ready to elevate your lava cake.
The aroma will be irresistible! This step sets the foundation for your cake’s rich, molten center, and you’ll be one step closer to indulging in pure chocolate bliss. Enjoy the process!
Step 4. Add Sugar and Eggs
Now it’s time to add sugar and eggs to your chocolate mixture, transforming it into a rich batter. Start by measuring out the perfect amount of granulated sugar. You want that sweetness to balance the rich chocolate flavor beautifully. Pour the sugar into your melting chocolate and butter, and mix it thoroughly until the sugar starts to dissolve. This step is essential for a smooth texture!
Next, crack in your eggs, one at a time. This not only enriches your batter but also helps it rise, creating a delightful lava effect. Whisk the eggs in vigorously after each addition, making sure they’re fully incorporated before adding the next.
You’ll notice your mixture becoming glossy and thick, which is a delight to see! Don’t rush; take your time to blend these ingredients well, as this is what makes your cake exceptional.
Feel the excitement building as the batter transforms! This step is all about creating a luscious base, ensuring that your chocolate lava cake will ooze that delicious, molten chocolate center you’re after. Go ahead and savor each moment of this process—it’s all part of the joy of baking!
Step 5. Fold in the Flour
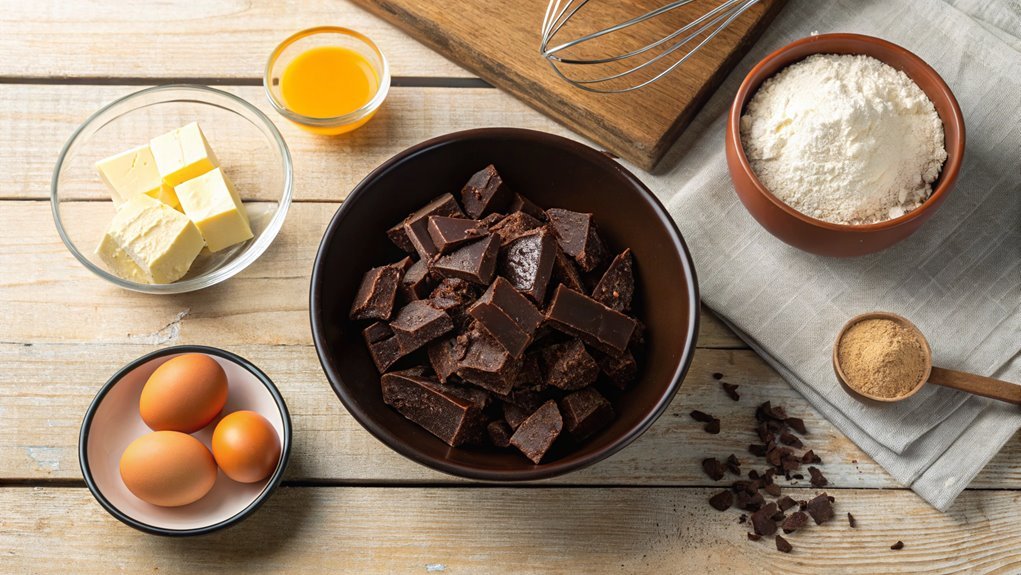
With your luxurious chocolate mixture ready, it’s time to bring in the flour. This step is essential because the flour gives your lava cake structure while keeping it delightfully gooey inside. Let’s get this right!
- Measure the flour: Carefully scoop your flour and level it off. Too much flour can ruin the texture, so be precise!
- Sift the flour: Sifting helps eliminate any clumps, ensuring a smooth batter. It also adds air, making your cake lighter and more decadent.
- Fold it in: Gently add the sifted flour to your chocolate mixture. Use a spatula and fold the flour into the batter until just combined. Be careful not to overmix, as you want to keep that airy texture!
As you fold in the flour, feel the excitement build. You’re just one more step away from a delectable dessert!
Once the flour is incorporated, your batter will have a glossy finish, indicating it’s ready for the next stage.
Final Thoughts
Creating the perfect chocolate lava cake brings a sense of accomplishment that’s hard to beat. There’s something magical about cracking through that delicate outer layer to reveal the gooey, molten center. It’s a dessert that never fails to impress friends and family, making any dinner feel special. This cake isn’t only delicious but also surprisingly easy to make.
As you gather your ingredients, you’ll feel the excitement building. The rich aroma of chocolate melting will fill your kitchen, inviting everyone to be a part of the experience.
From mixing the batter to watching them puff up in the oven, each step is a joy.
Don’t hesitate to experiment with flavors, like adding a dash of espresso or a sprinkle of sea salt on top. These small tweaks can elevate your lava cake to new heights.
Frequently Asked Questions
Can I Make Chocolate Lava Cake Ahead of Time?
You can prepare chocolate lava cake ahead of time by mixing the batter and filling the ramekins. Just refrigerate them and bake when you’re ready. Enjoy that warm, gooey center fresh out of the oven!
What Type of Chocolate Works Best for the Recipe?
For rich flavor, you’ll want to use high-quality dark chocolate, ideally around 60-70% cocoa. It melts beautifully, enhancing your dessert’s texture and taste. Avoid overly sweet chocolate; you want that perfect balance!
How Do I Store Leftover Lava Cakes?
Leftover lava cakes, like buried treasures, need careful preservation. You’ve gotta cool them completely, then wrap each in plastic wrap. Store in the fridge for up to three days, bringing warmth back before serving.
Can I Substitute Ingredients for a Gluten-Free Version?
Yes, you can substitute ingredients for a gluten-free version. Use almond flour or a gluten-free all-purpose blend instead of regular flour. Just verify all other ingredients, like chocolate and butter, are also gluten-free.
What Can I Serve With Chocolate Lava Cake?
You can serve chocolate lava cake with a scoop of vanilla ice cream, fresh berries, or whipped cream. A drizzle of caramel or raspberry sauce adds a delightful touch, enhancing the rich flavors of your dessert.
