Sugar-Free Chocolate Pudding Recipe
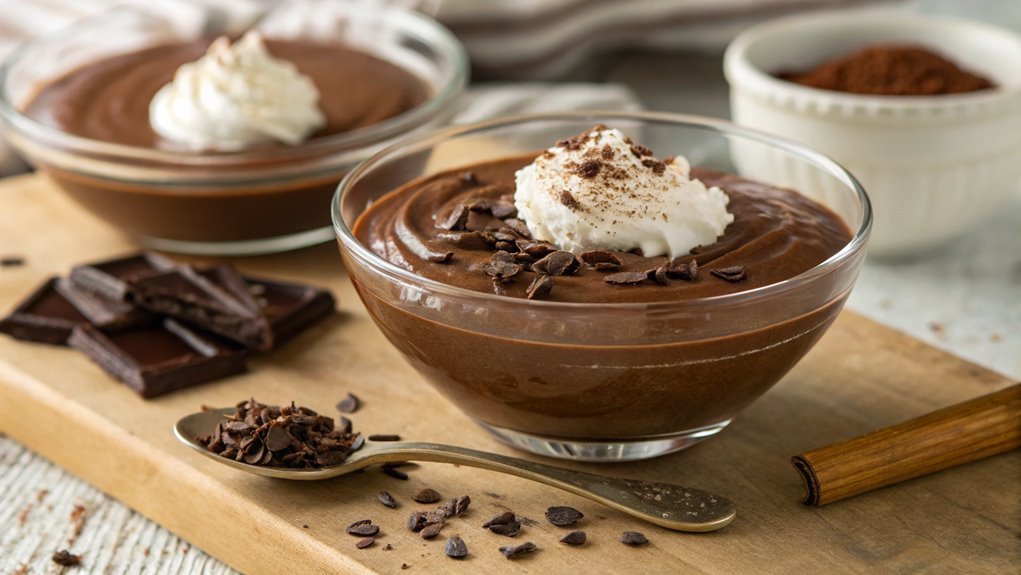
For a guilt-free dessert that satisfies chocolate cravings, try sugar-free chocolate pudding made with unsweetened almond milk and a sugar substitute. It’s an easy-to-prepare treat perfect for a low-sugar lifestyle.
To enhance texture and flavor, pay attention to a few key preparation steps. With these tweaks, you can elevate your pudding to the next level.
Recipe
Making a delicious sugar-free chocolate pudding is easier than you might think. This creamy treat is perfect for those looking to indulge their sweet tooth without the added sugar. Not only is it rich in flavor, but it’s also a healthier alternative that can be enjoyed by everyone, including those on special diets.
With just a few simple ingredients, you can whip up this delightful dessert in no time. To get started, you’ll need to gather your ingredients and prepare to cook. This recipe utilizes unsweetened cocoa powder to achieve that rich chocolate flavor while using sugar substitutes to keep it guilt-free.
Whether you’re making it for a family gathering or just for yourself, this pudding is sure to satisfy your cravings. Let’s explore the ingredients and instructions to create this delectable dessert!
Ingredients:
- 2 cups unsweetened almond milk (or any milk of choice)
- 1/4 cup unsweetened cocoa powder
- 1/4 cup sugar substitute (like erythritol or stevia)
- 1/4 cup cornstarch
- 1 tsp vanilla extract
- 1/4 tsp salt
- Optional: sugar-free whipped cream for topping
Now let’s move on to the cooking steps.
Cooking Steps
Let’s get started on making your delicious sugar-free chocolate pudding!
First, gather all your ingredients so you’re ready to mix cocoa and sweetener together for a rich base.
Once everything’s combined thoroughly, you’ll just need to chill the mixture for 30 minutes before serving it with fresh berries on top—trust me, you’re going to love it!
Step 1. Gather All Ingredients
Before you plunge into crafting your sugar-free chocolate pudding, gather all the necessary ingredients to guarantee a smooth cooking process. This delicious dessert is easy to whip up, but having everything ready will make it even more enjoyable!
You’ll love the rich, creamy texture combined with the irresistible chocolate flavor.
Here’s what you’ll need:
- Unsweetened cocoa powder – This is your chocolate base. Opt for high-quality cocoa for the best taste!
- Sugar substitute – Choose your favorite sugar-free sweetener, like stevia or erythritol, to keep it guilt-free while still satisfying your sweet tooth.
- Milk – Use any milk you prefer, whether it’s almond, coconut, or traditional cow’s milk, to create that creamy consistency.
Once you have these ingredients on hand, you’re ready to create something truly scrumptious!
The process is straightforward, and the result will impress anyone who tries it. So, roll up your sleeves and get excited; you’ll soon savor a delightful, sugar-free treat that’s sure to please.
Cooking can be a wonderful adventure, and this pudding is a fantastic way to start!
Step 2. Mix Cocoa and Sweetener
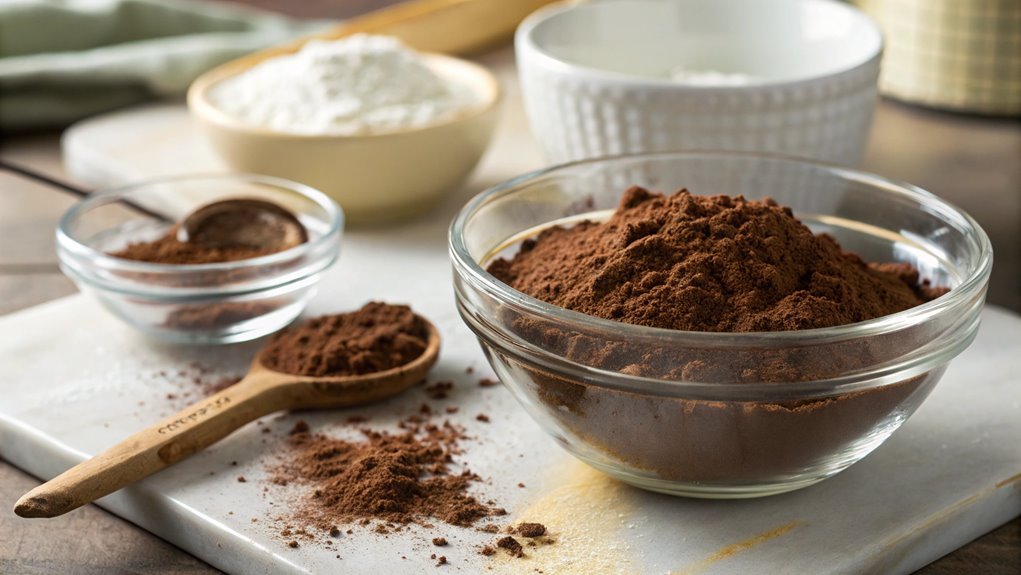
As you immerse yourself in the cooking process, start by combining the unsweetened cocoa powder and your chosen sugar substitute in a medium bowl. This step is essential, as it lays the foundation for your delicious, sugar-free chocolate pudding.
Using a whisk, gently mix the cocoa and sweetener together. You want to make certain they’re evenly blended, which will help create a smooth texture later on.
Take a moment to appreciate the rich, deep aroma of the cocoa. It’s a reminder that you’re about to create something truly indulgent without the guilt!
If you’re using a granulated sweetener, you might want to break up any clumps to achieve a fine blend.
Don’t rush this process; enjoy it! As you mix, envision how creamy and satisfying the pudding will be once it’s ready.
Remember, the right combination of cocoa and sweetener can make a world of difference in flavor. So, take your time, and get it just right.
Once you’ve achieved a consistent mixture, you’ll be one step closer to enjoying a delightful, guilt-free dessert!
Step 3. Combine Ingredients Thoroughly
Once you’ve mixed the cocoa and sweetener, it’s time to bring in the remaining ingredients for a perfectly creamy pudding. This step is essential, as it guarantees all flavors meld beautifully together. Grab a medium saucepan and let’s get to work!
Start by adding these ingredients to your cocoa mixture:
- Milk: Pour in your choice of milk—dairy or non-dairy will work perfectly. This adds creaminess and richness to your pudding.
- Vanilla Extract: A splash of vanilla extract will elevate the flavors, making each bite a delightful experience.
- Cornstarch: This ingredient acts as a thickening agent, giving your pudding the right texture.
Now, whisk everything together vigorously! You want to guarantee there are no lumps, so keep mixing until the mixture is smooth and even.
It might take a minute or two, but it’s so worth it. As you blend, you’ll start to see the pudding come together, and the chocolatey aroma will fill your kitchen.
It’s a beautiful sight! Once you’ve achieved a silky consistency, you’re ready to move on to the next step. Enjoy this journey of flavor and texture!
Step 4. Chill Mixture for 30 Minutes
Now that your mixture is smooth and creamy, it’s time to let it chill for 30 minutes. This step is essential for achieving the perfect texture and flavor in your sugar-free chocolate pudding. As the mixture cools, it thickens, transforming into a delightful treat that’s even more enjoyable to eat.
To chill your pudding, simply transfer it into a bowl or individual serving cups. Cover it with plastic wrap or a lid, ensuring it touches the surface of the pudding to prevent a skin from forming. You want to lock in that rich, chocolatey goodness!
While it’s chilling, take a moment to appreciate the wonderful aroma wafting through your kitchen.
After 30 minutes, you’ll find that your pudding has set beautifully, ready to be devoured. This waiting period builds anticipation, making it even more rewarding when you finally dig in. Just think about how satisfying it’ll be to enjoy a delicious, guilt-free dessert that you made yourself.
Step 5. Serve With Fresh Berries
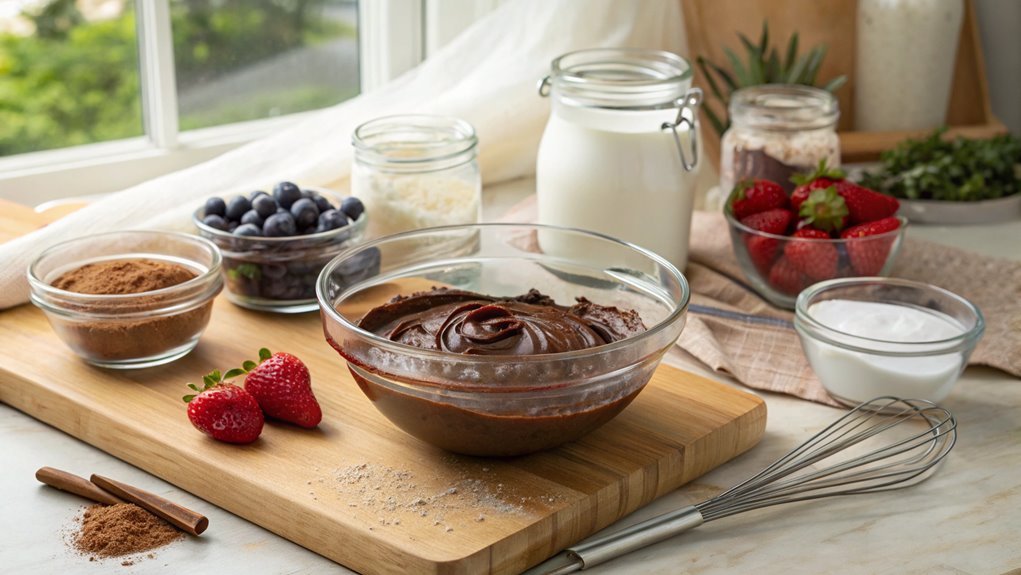
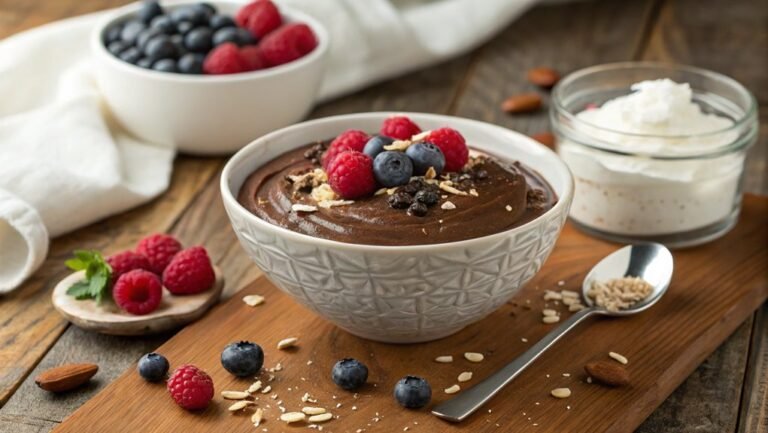
To elevate your sugar-free chocolate pudding, consider serving it with fresh berries for a burst of flavor and color. The combination of creamy chocolate pudding and juicy berries creates a delightful dessert experience that’s both satisfying and visually appealing.
You’ll love how easy it’s to add this vibrant touch!
Here’s how to do it:
- Choose Your Berries: Select your favorite fresh berries, like strawberries, blueberries, or raspberries. Each adds a unique flavor that complements the rich chocolate.
- Prepare the Berries: Rinse the berries under cold water and pat them dry with a paper towel. If you’re using larger strawberries, slice them for easier serving.
- Serve It Up: Scoop the chilled pudding into serving bowls, then generously top each with a handful of fresh berries. You can even sprinkle a bit of mint for an extra pop of freshness!
This simple addition not only enhances the taste but also turns your dessert into a beautiful presentation.
Your family and friends will be impressed, and you’ll enjoy the perfect blend of sweetness and tartness in every bite. So go ahead, indulge in this delicious combination!
Final Thoughts
As you wrap up your sugar-free chocolate pudding adventure, it’s clear that this delightful treat not only satisfies your sweet tooth but also aligns with healthier eating choices.
You’ve created something that’s rich, creamy, and guilt-free, making it a perfect addition to your dessert repertoire.
Trying new recipes can be an exciting journey, and this pudding is no exception. You can easily customize it by adding your favorite toppings or mixing in a hint of peppermint or espresso for a twist.
Imagine serving it at a gathering, where everyone raves about how delicious it is, without even realizing it’s sugar-free!
The best part is that you don’t need to sacrifice flavor for health. Each spoonful is a reminder that you can enjoy dessert while still making mindful choices.
So, whether you’re preparing it for yourself or sharing it with family and friends, your sugar-free chocolate pudding is sure to impress.
Don’t hesitate to experiment and make this recipe your own. Immerse yourself and revel in the joy of creating something truly satisfying, all while sticking to your health goals.
Happy cooking!
Frequently Asked Questions
Can I Use Coconut Milk Instead of Almond Milk?
Yes, you can use coconut milk instead of almond milk. It’ll add a rich, creamy texture and a hint of coconut flavor. Just make sure to adjust any other ingredients to maintain the pudding’s consistency.
How Long Does Sugar-Free Chocolate Pudding Last in the Fridge?
Sugar-free chocolate pudding typically lasts about three to five days in the fridge. To keep it fresh, store it in an airtight container. If you notice any changes in texture or smell, discard it.
Is This Recipe Suitable for Diabetics?
Yes, this recipe’s suitable for diabetics. It uses sugar substitutes, helping you enjoy a sweet treat without spiking your blood sugar. Always consult your doctor or dietitian for personalized advice before trying new recipes.
Can I Add Protein Powder to the Pudding?
You can definitely add protein powder to the pudding! Just mix it in gradually, ensuring it blends well. This’ll boost the nutritional value without compromising the creamy texture you love. Enjoy your delicious creation!
What Toppings Pair Well With Sugar-Free Chocolate Pudding?
Ah, the quest for the perfect topping! You’ll find that fresh berries, whipped cream, or a sprinkle of nuts elevate your dessert. Go wild with coconut flakes or a drizzle of nut butter for an extra kick!
Conclusion
You’ve crafted a delightful sugar-free chocolate pudding that’s sure to impress. Picture yourself enjoying this velvety treat under the stars, like a scene from a classic movie night.
It’s a simple yet indulgent dessert that brings joy without the guilt. Top it with fresh berries for an added pop of color and flavor.
Gather your ingredients and dive into this delicious recipe—you’ll be amazed at how satisfying a healthy dessert can be!
