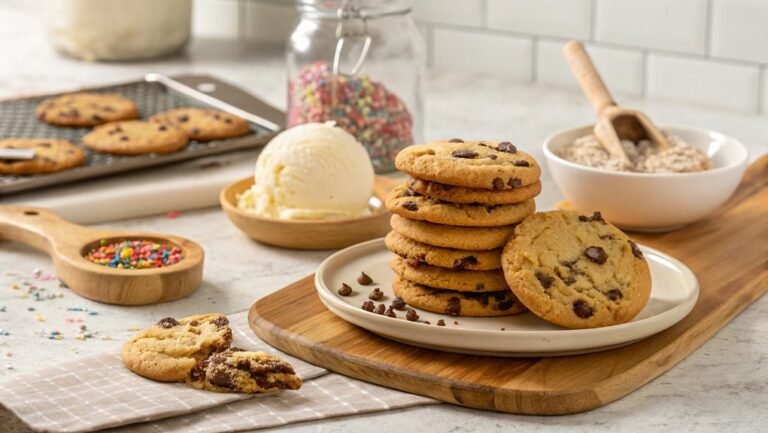
Sugar-Free Ice Cream Recipe
Sugar-free ice cream can be as delicious as traditional options, thanks to modern sweeteners. If you want to enjoy dessert without added sugars, this recipe could be your ideal choice.
Picture making a creamy, delightful treat that fits your dietary needs. Interested in the easy steps and ingredients for this guilt-free indulgence?
Recipe
Making sugar-free ice cream at home isn’t only a delicious way to satisfy your sweet cravings, but it’s also a healthier alternative to traditional ice cream. This recipe uses natural sweeteners and can be customized with your favorite flavors, making it a versatile treat for everyone.
Whether you’re looking to enjoy a guilt-free dessert or cater to dietary restrictions, this homemade ice cream is sure to please.
To get started, you’ll need a few simple ingredients, most of which you may already have in your kitchen. The process is straightforward and can be done with or without an ice cream maker.
This recipe yields a creamy, rich texture that will make you forget you’re indulging in a sugar-free dessert. So, let’s gather our ingredients and get ready to whip up a batch of this delightful treat!
Ingredients:
- 2 cups heavy cream
- 1 cup unsweetened almond milk (or any milk of your choice)
- 1/2 cup sugar-free sweetener (like erythritol or stevia)
- 1 teaspoon vanilla extract
- A pinch of salt
- Optional mix-ins (like sugar-free chocolate chips, nuts, or fruit)
Now let’s move on to the cooking steps.
Cooking Steps
Get ready to make your own delicious sugar-free ice cream!
First, you’ll gather all the ingredients and tools you need, which sets the stage for a fun cooking adventure.
Once you blend everything until it’s smooth, you’ll chill the mixture, churn it, and then it’s time to serve and enjoy your delightful treat!
Step 1. Gather Ingredients and Tools
Before you jump into creating your delicious sugar-free ice cream, it’s essential to gather all the necessary ingredients and tools. Having everything ready will make your ice cream-making experience smooth and enjoyable.
Start by collecting your main ingredients: unsweetened almond milk or coconut milk, sugar-free sweetener of your choice, vanilla extract, and any flavor add-ins you love, like cocoa powder or fresh fruit.
Next, grab your tools, which will include a mixing bowl, a whisk or electric mixer, and an ice cream maker. If you don’t have an ice cream maker, don’t worry! You can use a shallow dish and a fork to create a delightful texture.
You’ll also want measuring cups and spoons for accuracy, as well as a spatula for scraping down the sides of your bowl.
Make sure you have a storage container ready to hold your ice cream once it’s finished. Having everything on hand means you can focus on the fun part—creating a tasty treat!
Step 2. Blend Ingredients Until Smooth
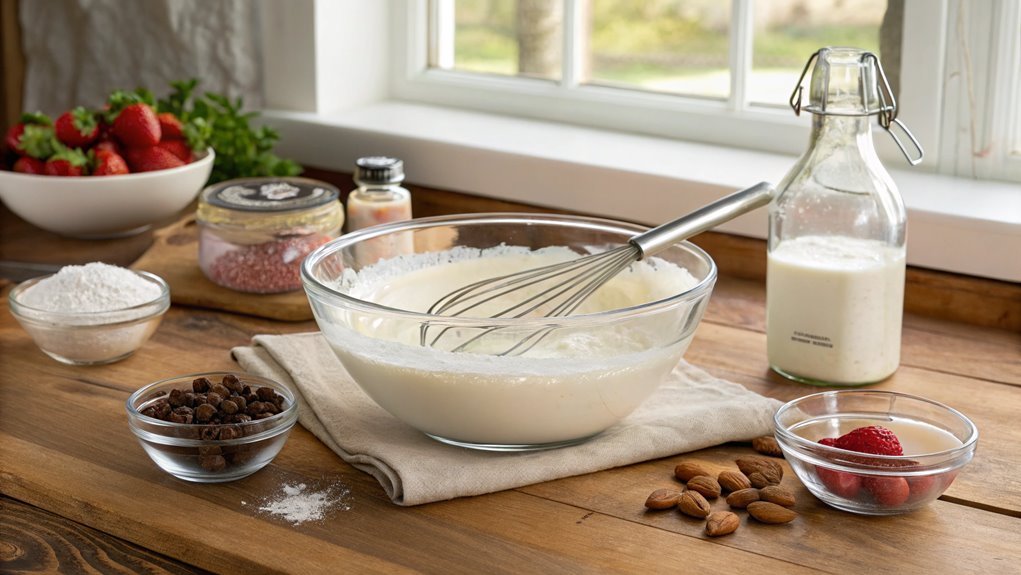
Once you’ve gathered all your ingredients, it’s time to blend them until smooth. This step is essential for creating that creamy texture you love in ice cream.
Start by adding your base ingredients—like Greek yogurt or coconut milk—into your blender. Then, toss in any sweeteners, flavorings, or add-ins you’re excited to use. You can get creative here!
Place the lid on securely and start blending at a low speed. Gradually increase the speed until everything is well combined and silky smooth. You’ll know it’s ready when you can’t see any lumps or chunks. If your mixture seems too thick, feel free to add a splash of milk or a bit of water to help it along.
Don’t forget to stop and scrape down the sides of the blender occasionally. This guarantees all ingredients are fully incorporated.
Taste your mixture before moving on—this is your chance to adjust sweetness or add a bit more flavor if desired. Blending your ingredients until smooth isn’t only satisfying but sets the perfect foundation for your delicious sugar-free ice cream adventure.
Enjoy the process, and get ready for the next exciting step!
Step 3. Chill Mixture in Freezer
After blending your ingredients to a silky smooth consistency, it’s time to chill the mixture in the freezer. This step is essential, as it helps the flavors meld beautifully and creates that creamy texture we all love in ice cream.
Pour your blended mixture into a suitable container, making certain to leave some space at the top since it will expand as it freezes.
Pop the container into the freezer, and let it chill for about 1 to 2 hours. During this time, you’ll want to keep an eye on it. After about an hour, check the mixture’s consistency. If it’s starting to freeze around the edges, give it a good stir. This will help prevent ice crystals from forming and guarantee a smoother final product.
Chilling the mixture is a hands-off process, so take this time to clean up your workspace or prepare any toppings you want to enjoy later.
This part of the process is just as exciting as the final result, as you know you’re one step closer to a delicious, guilt-free treat. You’re going to love the outcome!
Step 4. Churn Mixture in Ice Cream Maker
Now that your mixture has chilled and thickened nicely in the freezer, it’s time to churn it in your ice cream maker. This step is where the magic happens! Pour your well-chilled mixture into the ice cream maker, making certain not to overfill it.
Follow your machine’s instructions for churning time—typically, it takes about 20 to 30 minutes. As the mixture churns, you’ll notice it transforming into a creamy, smooth delight.
Here are some tips to enhance your churning experience:
- Use a pre-chilled bowl for better texture.
- Keep the ice cream maker running until it reaches a soft-serve consistency.
- Add mix-ins like nuts or sugar-free chocolate chips during the last few minutes of churning.
- Taste test to verify it’s just right; you can adjust flavors if needed!
- Be patient—good things take time, and the wait will be worth it!
Once you’ve achieved that perfect consistency, you’re almost there! This step is vital for achieving the delightful texture that makes your sugar-free ice cream a fantastic treat.
Enjoy the process; you’re just a few steps away from enjoying your homemade creation!
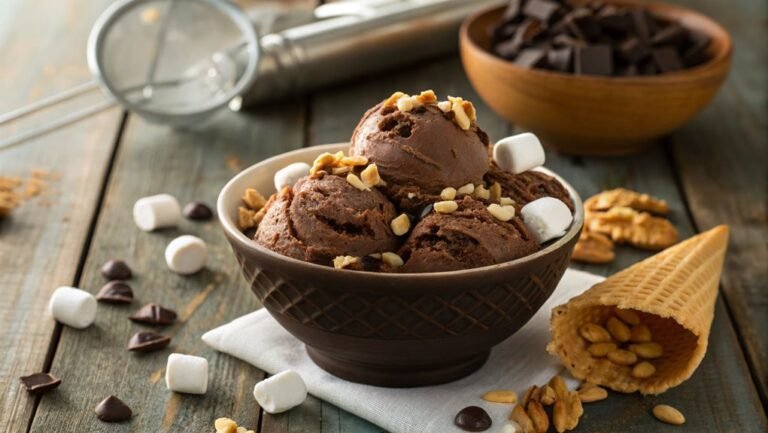
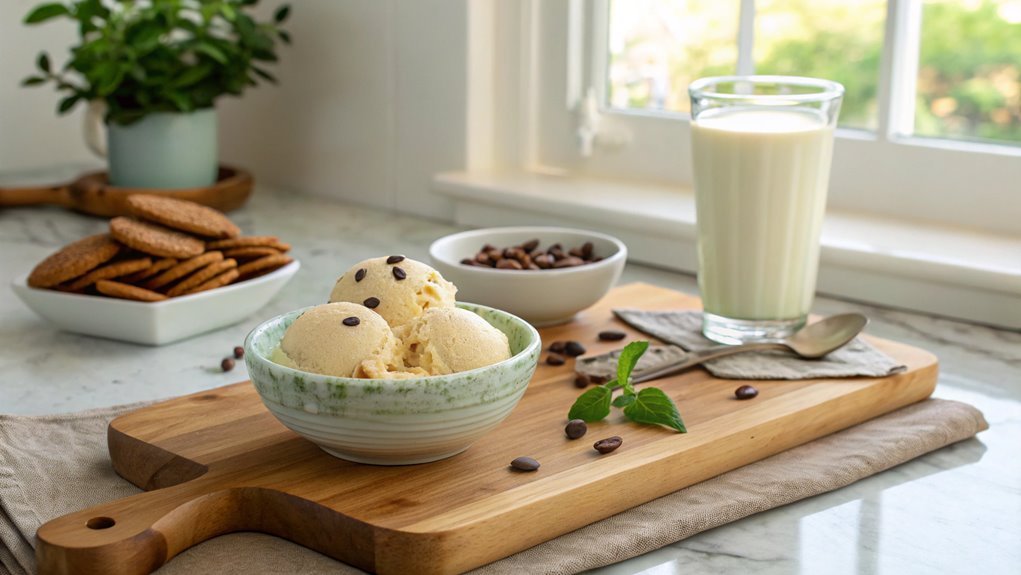
Step 5. Serve and Enjoy!
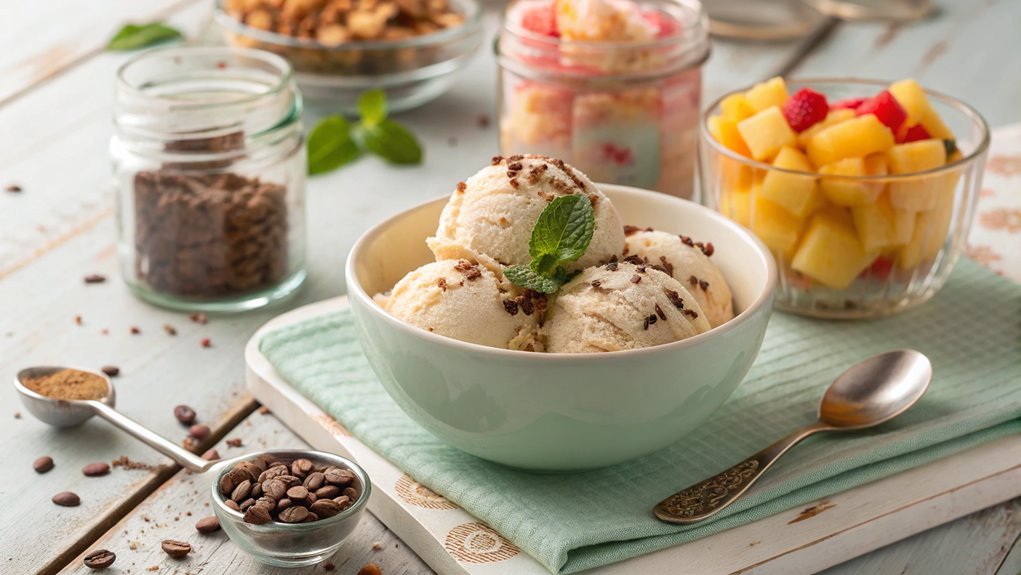
With your sugar-free ice cream now churned to a delightful soft-serve consistency, it’s time to serve and enjoy your creation!
Grab your favorite bowls or cones, and scoop generous portions of your creamy masterpiece. You’ll love how it looks, with its smooth texture and inviting color.
Feel free to get creative with toppings! A sprinkle of crushed nuts, a drizzle of sugar-free chocolate sauce, or some fresh fruit can elevate your dessert.
Don’t forget a dollop of sugar-free whipped cream for an extra treat.
As you take your first bite, savor the rich flavor and the sweetness that won’t spike your sugar levels. This guilt-free indulgence is perfect for warm days, family gatherings, or simply a cozy night in.
Sharing is caring, so consider serving it to friends or family. They’ll be amazed that your delicious ice cream is sugar-free!
Remember to store any leftovers in an airtight container in the freezer, though it mightn’t last long.
You’ve created something special, so enjoy every spoonful, and relish the satisfaction of making a healthier dessert that everyone can love!
Final Thoughts
While making your own sugar-free ice cream might seem intimidating at first, it’s an incredibly rewarding experience that can satisfy your sweet tooth without the guilt.
You’ll discover that with just a few simple ingredients, you can whip up a delicious frozen treat that’s both healthy and satisfying. Plus, you get to customize flavors to suit your taste!
Here are some reasons why you should plunge into this delightful endeavor:
- You control the ingredients, ensuring everything’s fresh and wholesome.
- It’s perfect for satisfying cravings without the added sugars.
- You can experiment with flavors, from classic vanilla to exotic mango.
- It’s a fun activity to share with friends and family.
- You’ll impress everyone with your homemade creations!
Frequently Asked Questions
Can I Use Alternative Sweeteners in This Recipe?
Yes, you can definitely use alternative sweeteners in your recipes. They’ll provide the sweetness you desire without the sugar. Just choose ones that suit your taste and adjust the quantity according to your preference.
How Long Can I Store Sugar-Free Ice Cream?
You can tuck away your delightful creation in the freezer for about two to three weeks. Just remember, it might lose its charm over time, so enjoy it while it’s still dancing with flavor!
Is This Recipe Suitable for Lactose-Intolerant Individuals?
Yes, this recipe can be suitable for lactose-intolerant individuals if you use lactose-free alternatives. Just make sure to check the ingredients, and you’ll enjoy a delicious treat without any discomfort.
Can I Add Mix-Ins Like Nuts or Chocolate Chips?
Imagine a canvas awaiting vibrant colors; you can definitely add mix-ins like nuts or chocolate chips. They’ll enhance the texture and flavor, making your creation even more delightful. Just mix them in before freezing!
What Equipment Do I Need to Make Sugar-Free Ice Cream?
To make sugar-free ice cream, you’ll need an ice cream maker, mixing bowls, a whisk, and a spatula. If you don’t have an ice cream maker, a blender or food processor can work, too.
Conclusion
You’re just a few steps away from a delicious, sugar-free ice cream treat! With creamy goodness and customizable flavors, this recipe is sure to satisfy your cravings. Indulge in a guilt-free delight whether you enjoy it immediately or save it for later. Gather your ingredients and dive into this delightful kitchen adventure—you won’t regret it!