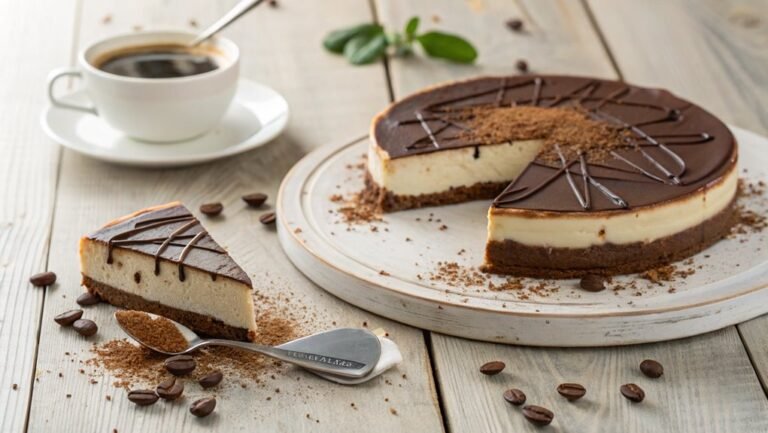
Sugar-Free Cheesecake Recipe
For a guilt-free dessert, try a sugar-free cheesecake. This recipe uses almond flour and erythritol for a nutritious twist without sacrificing flavor.
Enjoy a rich, creamy filling while maintaining your dietary goals. Follow the steps below to achieve the perfect texture and taste.
Recipe
Creating a sugar-free cheesecake is a delightful way to enjoy a classic dessert without the added sugar. This version utilizes natural sweeteners and rich ingredients to provide the same creamy texture and flavor that cheesecake lovers adore.
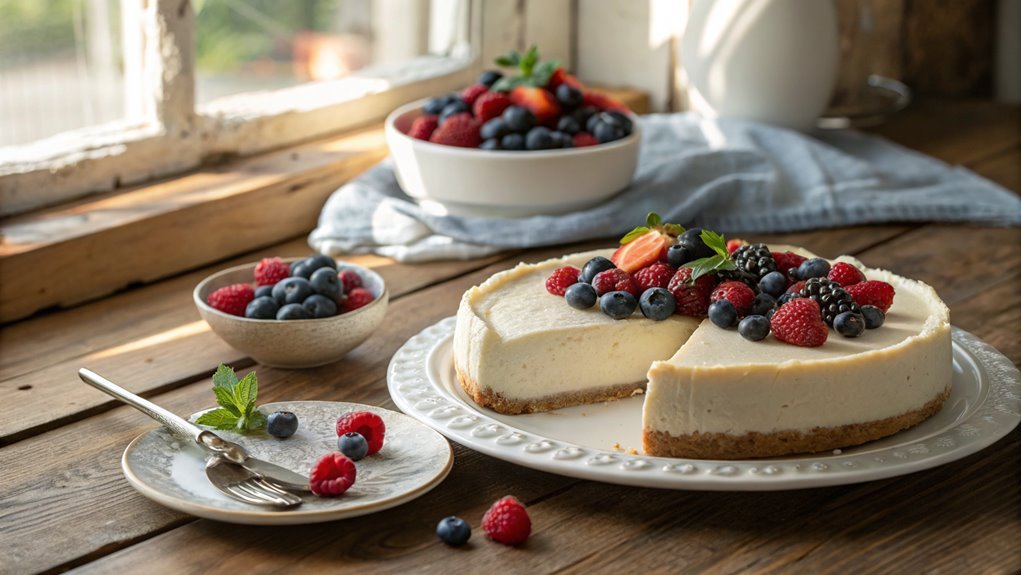
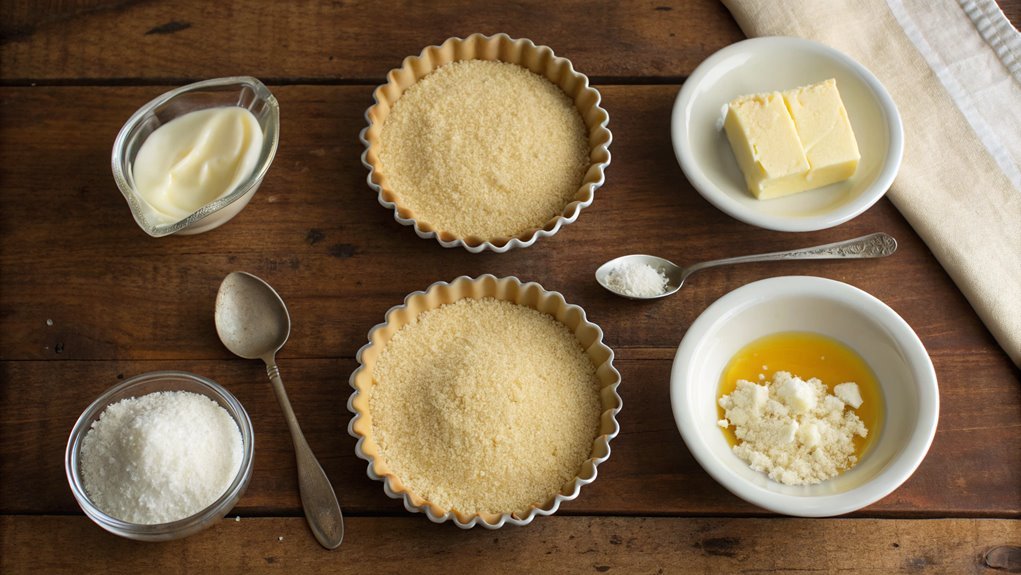
With a buttery, nut-based crust and a creamy filling, this sugar-free cheesecake is perfect for those who are watching their sugar intake or simply want a healthier dessert option.
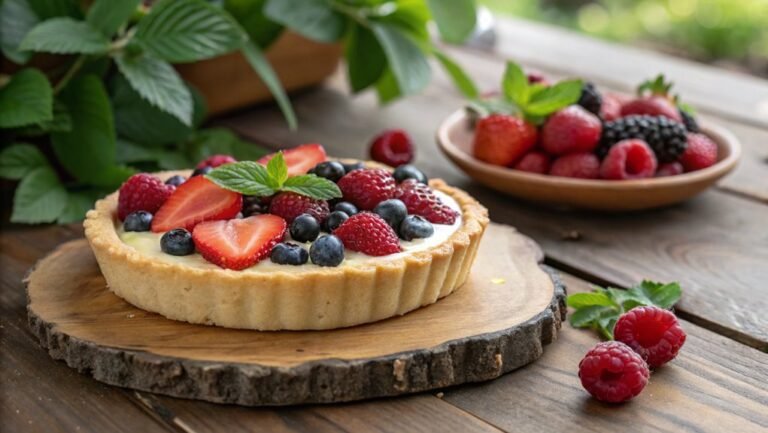
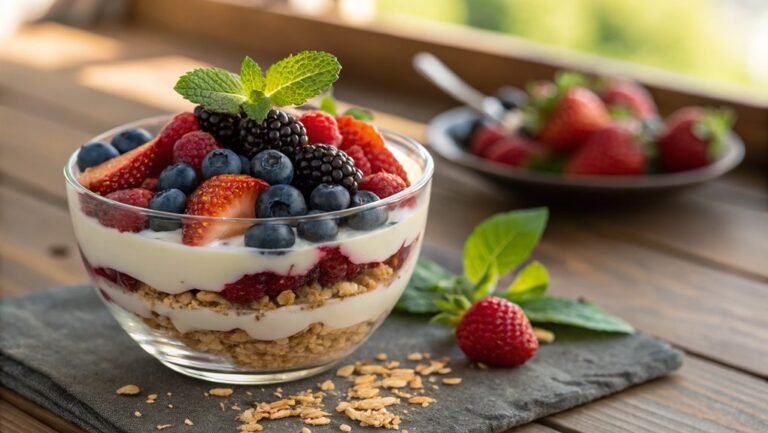
This cheesecake is versatile and can be topped with fresh berries, sugar-free chocolate, or a fruit compote made from your favorite naturally sweet fruits. Whether you serve it for a special occasion or a simple family gathering, it’s sure to impress your guests while keeping your dietary preferences in check.
Get ready to whip up this decadent yet guilt-free treat!
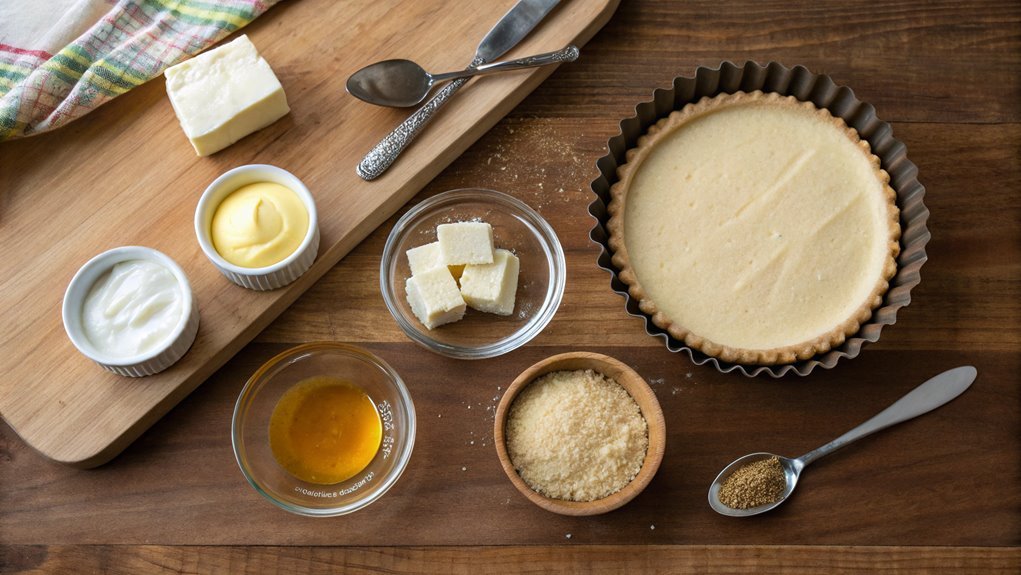
Ingredients:
- 1 ½ cups almond flour
- ¼ cup unsalted butter, melted
- 2 tablespoons erythritol or other sugar substitute
- 3 (8 oz) packages cream cheese, softened
- 1 cup sour cream
- 1 teaspoon vanilla extract
- ½ cup erythritol or other sugar substitute (for filling)
- 3 large eggs
Now let’s move on to the cooking steps.
Cooking Steps
Now that you’ve got your ingredients ready, let’s get started on the cooking steps!
First, you’ll preheat your oven to 325°F to create that perfect baking environment for your cheesecake.
As you mix the cream cheese and sweetener, you’ll feel the excitement building, so let’s keep that energy going as we add the eggs one by one and blend in the vanilla extract!
Step 1. Preheat Oven to 325°F
To kick off your sugar-free cheesecake, you’ll want to preheat your oven to 325°F. This step is vital, as it guarantees your cheesecake bakes evenly and achieves that perfect texture. Take a moment to prepare your oven, letting it heat up while you gather your ingredients.
Make certain the oven rack is positioned in the center of the oven. This placement allows for even airflow and prevents any hot spots that could lead to uneven baking. If you’ve got an oven thermometer, it’s worth checking to confirm your oven is reaching the right temperature—ovens can sometimes be a bit off.
While the oven warms up, you can visualize the deliciousness that’s about to unfold. Think of that creamy, smooth cheesecake setting just right while the aroma fills your kitchen. It’s hard not to get excited!
Step 2. Mix Cream Cheese and Sweetener
With the oven preheated and ready, it’s time to focus on mixing your cream cheese and sweetener. Grab your softened cream cheese and a mixing bowl. It’s essential that the cream cheese is at room temperature; this guarantees a smooth, lump-free mixture.
You’ll want to blend in your sweetener of choice, whether it’s erythritol, stevia, or another sugar substitute. Measure the sweetener carefully; too little, and your cheesecake may not satisfy your sweet tooth, but too much could overpower the flavor.
Using an electric mixer, start blending the cream cheese and sweetener on low speed to avoid any splattering. As the two combine, gradually increase the speed to medium. Beat until the mixture is creamy, smooth, and well incorporated. This process should take about two to three minutes.
You’re looking for a consistency that feels velvety and light, almost as if it’s begging to be transformed into your delicious cheesecake.
Take a moment to scrape the sides of the bowl to guarantee everything is mixed evenly. The excitement is building! You’re one step closer to enjoying a delightful, sugar-free cheesecake that’ll impress everyone!
Step 3. Add Eggs One by One
Adding eggs one by one is an essential step for ensuring your cheesecake has the perfect texture. When you incorporate the eggs gradually, you allow them to blend seamlessly into your cream cheese mixture. This prevents any lumps, resulting in a smooth and creamy filling that you’ll absolutely love.
Start by cracking the first egg into your bowl. Make sure it’s room temperature, as this helps it mix better. Beat it gently until it’s fully integrated, then it’s time for the next egg.
Repeat this process until you’ve added all the eggs. Don’t rush; give each egg the time it needs to blend before introducing the next one. You’ll notice how the mixture becomes creamy and rich as you continue.
Step 4. Blend in Vanilla Extract
After blending in each egg, the next step is to enhance the flavor of your cheesecake with vanilla extract. This little addition can take your cheesecake from ordinary to extraordinary, bringing a warm and inviting essence to every bite.
You’ll love how it complements the creamy texture and balances the sweetness.
To get the perfect vanilla flavor, here’s how to do it:
- Measure It Out: Grab a teaspoon of pure vanilla extract. Don’t skip on the quality—pure extract makes a real difference in flavor.
- Add it to the Mixture: Slowly pour the vanilla extract into your batter while mixing at a low speed. This guarantees it’s evenly blended without splattering all over your kitchen!
- Taste Test (Optional): If you’re feeling adventurous, take a small taste of the batter to see if you’d like to elevate the vanilla flavor even more. If your taste buds are saying “yes,” consider adding another half teaspoon.
Now that your cheesecake mixture is bursting with delightful vanilla flavor, you’re one step closer to creating a delicious, sugar-free treat!
Enjoy the process—you’re doing great!
Step 5. Bake for 50 Minutes
Now that your cheesecake mixture is prepared, it’s time to bake it to perfection. Preheat your oven to 350°F (175°C) and grab a springform pan. Carefully pour that luscious cheesecake mixture into the pan, spreading it evenly. This is where the magic begins!
Slide the pan into your preheated oven and set your timer for 50 minutes. As it bakes, you’ll be embraced by the warm, sweet aroma filling your kitchen, hinting at the deliciousness to come. The cheesecake will puff up slightly and the edges will start to set while the center stays a bit jiggly—this is exactly what you want!
Once the timer goes off, resist the urge to dive right in. Turn off the oven and crack the door open, letting the cheesecake cool gradually for an hour. This gentle cooling helps prevent cracks on top and guarantees a silky texture.
After that, transfer it to the fridge for at least 4 hours, or overnight if you can wait! Enjoy the anticipation; each moment brings you closer to that delightful slice of sugar-free cheesecake you’ve worked so hard to create. Happy baking!
Final Thoughts
As you wrap up your baking adventure, consider how this sugar-free cheesecake can fit into your healthy lifestyle.
It’s not just a delicious dessert; it’s a guilt-free option that everyone can enjoy, whether you’re watching your sugar intake or simply want a lighter treat.
This cheesecake proves you don’t have to sacrifice taste for health!
Here are three reasons why you should whip up this tasty dessert:
- Healthy Ingredients: You can enjoy all the creaminess and flavor without added sugar. Natural sweeteners like stevia or erythritol keep it light.
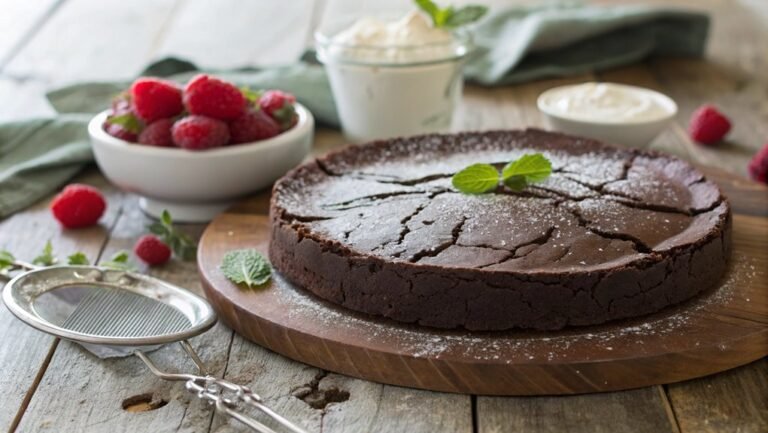
- Versatile Recipe: Feel free to experiment! Add your favorite fruit toppings, a drizzle of chocolate, or even a sprinkle of nuts for a delightful crunch.
- Perfect for Any Occasion: Whether it’s a family gathering, a potluck, or just a cozy night in, this cheesecake will impress everybody and leave them asking for the recipe!
Frequently Asked Questions
Can I Substitute Cream Cheese With Another Type of Cheese?
Yes, you can substitute cream cheese with mascarpone or ricotta for a different flavor. Just keep in mind that the texture and taste might change, so adjust other ingredients as needed to maintain balance.
How Long Will the Cheesecake Last in the Refrigerator?
When you gaze at that creamy cheesecake, it’s hard to resist! In your fridge, it’ll last about one week, staying fresh and delightful. Just remember to cover it well to keep flavors intact.
Is It Possible to Freeze Sugar-Free Cheesecake?
Yes, you can freeze sugar-free cheesecake! Just wrap it tightly in plastic wrap or aluminum foil. When you’re ready to enjoy, thaw it in the refrigerator for a few hours before serving. Enjoy your treat!
What Sweeteners Work Best for a Sugar-Free Cheesecake?
When making desserts, you’d want sweeteners that mimic sugar’s taste and texture. Stevia, erythritol, and monk fruit are great options. They blend well and won’t compromise your cheesecake’s flavor or creaminess. Enjoy experimenting!
Can I Add Fruit Toppings to This Cheesecake Recipe?
Absolutely, you can add fruit toppings! Fresh berries, sliced peaches, or a fruit compote can enhance flavor and visual appeal. Just remember to choose low-sugar options to keep it sugar-free and enjoyable for everyone.