Chocolate Covered Pretzels Recipe
For a simple yet satisfying snack, try chocolate covered pretzels. The process is quick and allows for creative toppings and variations.
As you melt the chocolate and dip the pretzels, consider an important detail that can elevate your treats. Knowing this could change how you enjoy the sweet and salty flavors.
Recipe
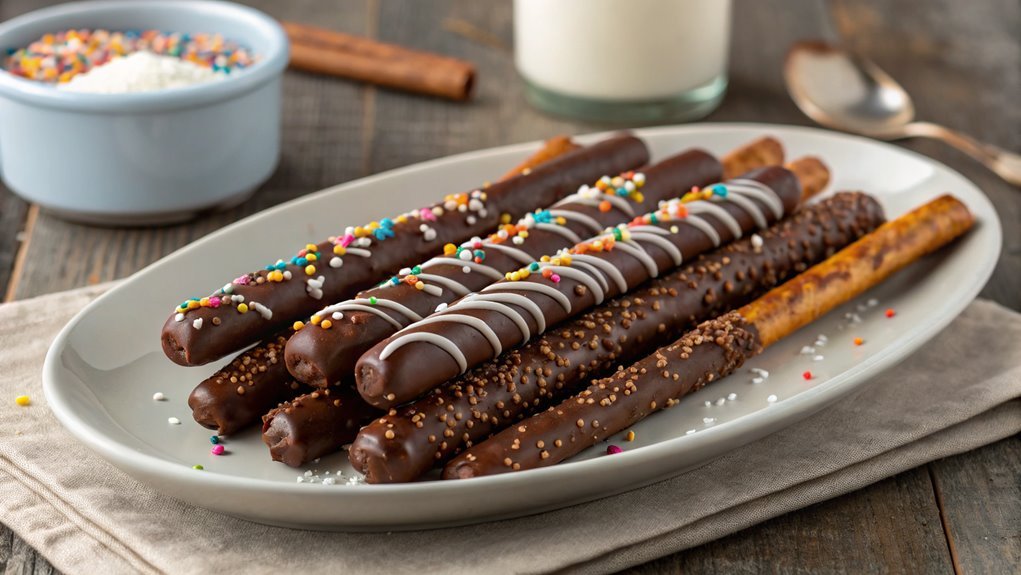
Chocolate covered pretzels are a delightful treat that perfectly combines sweet and salty flavors, making them an irresistible snack for any occasion.
Whether you’re preparing them for a party, packing them in a lunchbox, or simply indulging yourself, these crunchy pretzels encased in rich chocolate are sure to please everyone.
Plus, they’re incredibly easy to make, allowing you to whip up a batch in no time!
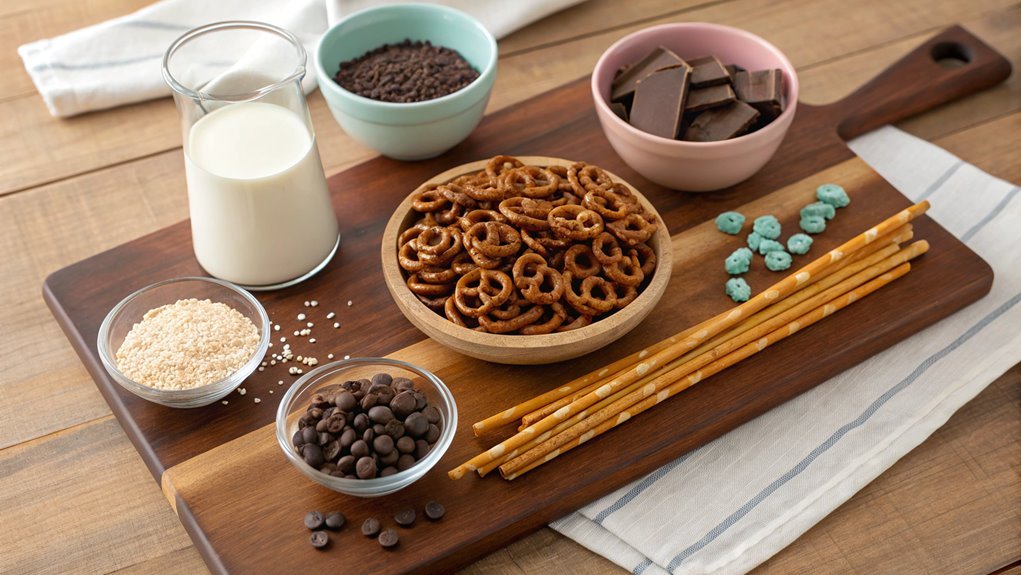
To get started, you’ll need just a few simple ingredients. You can use either milk chocolate or dark chocolate, depending on your personal preference.
If you want to add a little flair, consider sprinkling some toppings such as crushed nuts, sprinkles, or sea salt on top of the chocolate before it sets.
These chocolate covered pretzels not only make a delicious treat, but they also make excellent gifts when packaged in a cute jar or box.
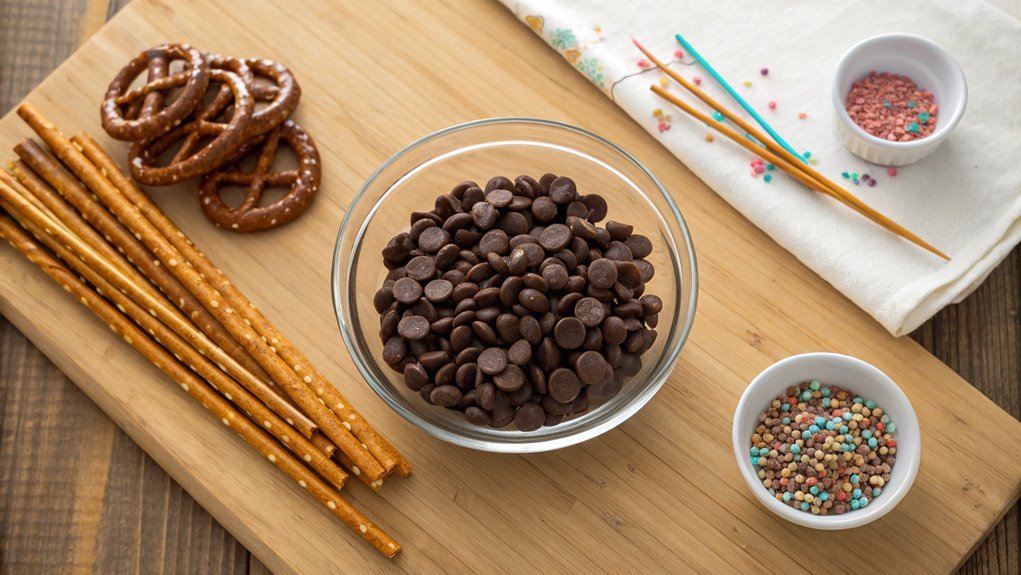
Ingredients:
- 1 bag of pretzel rods or twist pretzels
- 2 cups of chocolate chips (milk or dark)
- 1 tablespoon of vegetable oil (optional, for smoother chocolate)
- Toppings of your choice (sprinkles, nuts, sea salt, etc.)
Now let’s move on to the cooking steps.
Cooking Steps
Now that you’ve got your ingredients ready, it’s time to bring those chocolate covered pretzels to life!
First, you’ll melt the chocolate gently so it becomes nice and smooth; then you’ll dip each pretzel into that delicious mixture.
Don’t forget to sprinkle some sea salt on top for that perfect sweet and salty combo before chilling them to set—trust me, you’re going to love the result!
Step 1. Melt Chocolate Gently
To melt chocolate gently, you’ll want to use a double boiler or a microwave for the best results. If you’re using a double boiler, fill the bottom pot with water, making sure it doesn’t touch the upper pot.
Place your chopped chocolate in the upper pot over low heat, stirring frequently. It’s important to keep the heat low to prevent the chocolate from seizing or burning, which can really ruin your project.
If you prefer the microwave, chop your chocolate into small, even pieces and place it in a microwave-safe bowl. Heat it in 30-second intervals, stirring well in between. This way, you’ll avoid overheating it, and the residual heat will help melt the remaining chunks.
You might be surprised at how easy and quick this method is!
Whichever method you choose, patience is key. Don’t rush the process! Once the chocolate’s smooth and glossy, you’re ready for the next step—dipping!
The warm, melted chocolate will create a delightful outer layer for your pretzels, making your sweet treat irresistible. Enjoy this exciting process and prepare to indulge in some delicious chocolate-covered pretzels!
Step 2. Dip Pretzels in Chocolate
Ready your pretzels for a delicious transformation! It’s time to dip those crispy snacks into the luscious, melted chocolate you prepared. Grab a fork or a slotted spoon to make this process a breeze.
First, hold a pretzel over the chocolate and give it a gentle dip, making sure to coat it evenly. Take your time, and let the chocolate cascade over the pretzel in a beautiful, glossy layer.
Once you’ve covered each pretzel, tap the fork against the edge of the bowl to shake off any excess chocolate. This step is essential—it prevents your treats from becoming too clumpy.
Now, carefully place the coated pretzels on a baking sheet lined with parchment paper. This will help keep them from sticking as they cool.
If you’re feeling adventurous, you can even swirl the chocolate or create patterns for extra flair! Aim for complete coverage, as every bite should be a delightful mix of sweet chocolate and crunchy pretzel.
Keep dipping until all your pretzels are transformed. Your kitchen should now smell divine, and you’re one step closer to enjoying these tasty treats!
Step 3. Sprinkle With Sea Salt
While the chocolate is still warm and glossy, it’s time to add a sprinkle of sea salt for that perfect balance of sweet and salty. This simple step elevates your chocolate-covered pretzels from good to absolutely irresistible.
Grab your sea salt and gently sprinkle it over the chocolate-coated pretzels. Make sure to do this while the chocolate is still soft; otherwise, the salt won’t stick as well.
As you sprinkle, think about how the crispness of the pretzel complements the rich chocolate, while the sea salt adds a lovely contrast. You want just enough salt to entice the taste buds without overwhelming the sweetness. A few flakes here and there will do the trick!
Feel free to adjust the amount based on your preference. If you love the salty-sweet combo, go a little heavier. If you’re not a fan, a light dusting will work just fine.
Once you’ve added the sea salt, you’re one step closer to a delicious treat that everyone will love.
Enjoy the anticipation as you prepare to let these beauties cool, setting the stage for the next delightful phase of your chocolate-covered pretzel journey!
Step 4. Chill Pretzels Until Set
After adding that perfect sprinkle of sea salt, it’s time to chill your pretzels until the chocolate sets. This step is crucial, as it guarantees that your mouthwatering creation firms up just right for that crunch you’re craving.
Grab a baking sheet lined with parchment paper and carefully place each chocolate-covered pretzel on it, making sure they aren’t touching each other. You want them to have enough space to cool and set properly.
Now, pop the baking sheet into the refrigerator for about 30 minutes. This isn’t just waiting around; it’s a fundamental part of the process! The cool air helps the chocolate solidify, creating that glossy finish we love so much.
While you wait, take a moment to envision the delicious treat you’re about to enjoy. You’ll be rewarded for your patience, trust me!
Once the time’s up, check to see if the chocolate has completely hardened. You can give them a little gentle poke to verify they’re ready.
If they are, it’s time to take your lovely pretzels out and prepare for the next exciting steps in your chocolate-covered journey! Enjoy each moment; you’ve earned it!
Step 5. Add Toppings of Choice
Now that your chocolate-covered pretzels have set, it’s time to get creative with toppings! This is where the fun really begins, so let your imagination run wild. You can sprinkle crushed nuts, like almonds or peanuts, for an added crunch. If you’re a fan of sweets, try adding colorful sprinkles or mini chocolate chips for a festive touch.
To take it up a notch, drizzle some white chocolate over your pretzels for a beautiful contrast. Simply melt the white chocolate and use a fork to create zigzag patterns on top. Want a salty-sweet combination? Try sprinkling a pinch of sea salt over the chocolate while it’s still soft!
For a tropical twist, consider coconut flakes or chopped dried fruit like cranberries or apricots. The possibilities are endless!
No matter what toppings you choose, make sure to act quickly before the chocolate hardens. After you’ve added your toppings, allow the pretzels to set again for about 10-15 minutes. Then, you’ll be ready to indulge in your delicious creations.
Enjoy sharing these tasty snacks with family and friends – they’re sure to be a hit!
Final Thoughts
Savoring the delightful combination of chocolate and pretzels is truly a satisfying experience. You’ve got the perfect blend of sweet and salty, crunchy and creamy, all in one snack.
These chocolate-covered pretzels not only make a delicious treat for yourself, but they’re also a hit when you share them with family and friends.
Whether you choose to make them as a fun activity or whip them up for a special occasion, your creativity can shine through with toppings and flavors. Imagine the joyful smiles on everyone’s faces when they taste your homemade masterpiece!
They’re ideal for parties, movie nights, or simply as a delightful indulgence after a long day.
Plus, the process itself is simple, making it a fantastic project for both novice and experienced cooks alike. Immerse yourself in the world of chocolate drizzling, and you might just establish a new favorite go-to snack.
Don’t hesitate—grab your ingredients and get started! You’ll love experimenting with different chocolates and toppings, and each bite will remind you of why this treat is so beloved.
Frequently Asked Questions
Can I Use White Chocolate Instead of Dark Chocolate?
Yes, you can absolutely use white chocolate instead of dark chocolate. Just melt it gently, as it has a different consistency. You’ll end up with a sweeter treat that’s perfect for those who love white chocolate.
How Long Do Chocolate Covered Pretzels Last?
Chocolate covered treats typically last about two weeks if stored properly. You’ll want to keep them in an airtight container at room temperature. If refrigerated, they might last a bit longer, but texture could change.
Can I Use Gluten-Free Pretzels?
You can use gluten-free pretzels, and they’ll taste just as delicious! In fact, they’ll be so good, you might just forget they’re gluten-free! Go ahead and indulge without a second thought!
What Toppings Can I Add to Chocolate Covered Pretzels?
You can get creative with toppings for your chocolate-covered pretzels! Try crushed nuts, sprinkles, shredded coconut, or sea salt. You could also drizzle caramel or white chocolate for added flavor and visual appeal. Enjoy experimenting!
Do I Need to Refrigerate Chocolate Covered Pretzels?
Think of chocolate-covered pretzels as little treasures. You don’t have to refrigerate them unless you’re in a humid climate; otherwise, they stay fresh at room temperature. Just store ’em in an airtight container, and you’re good!